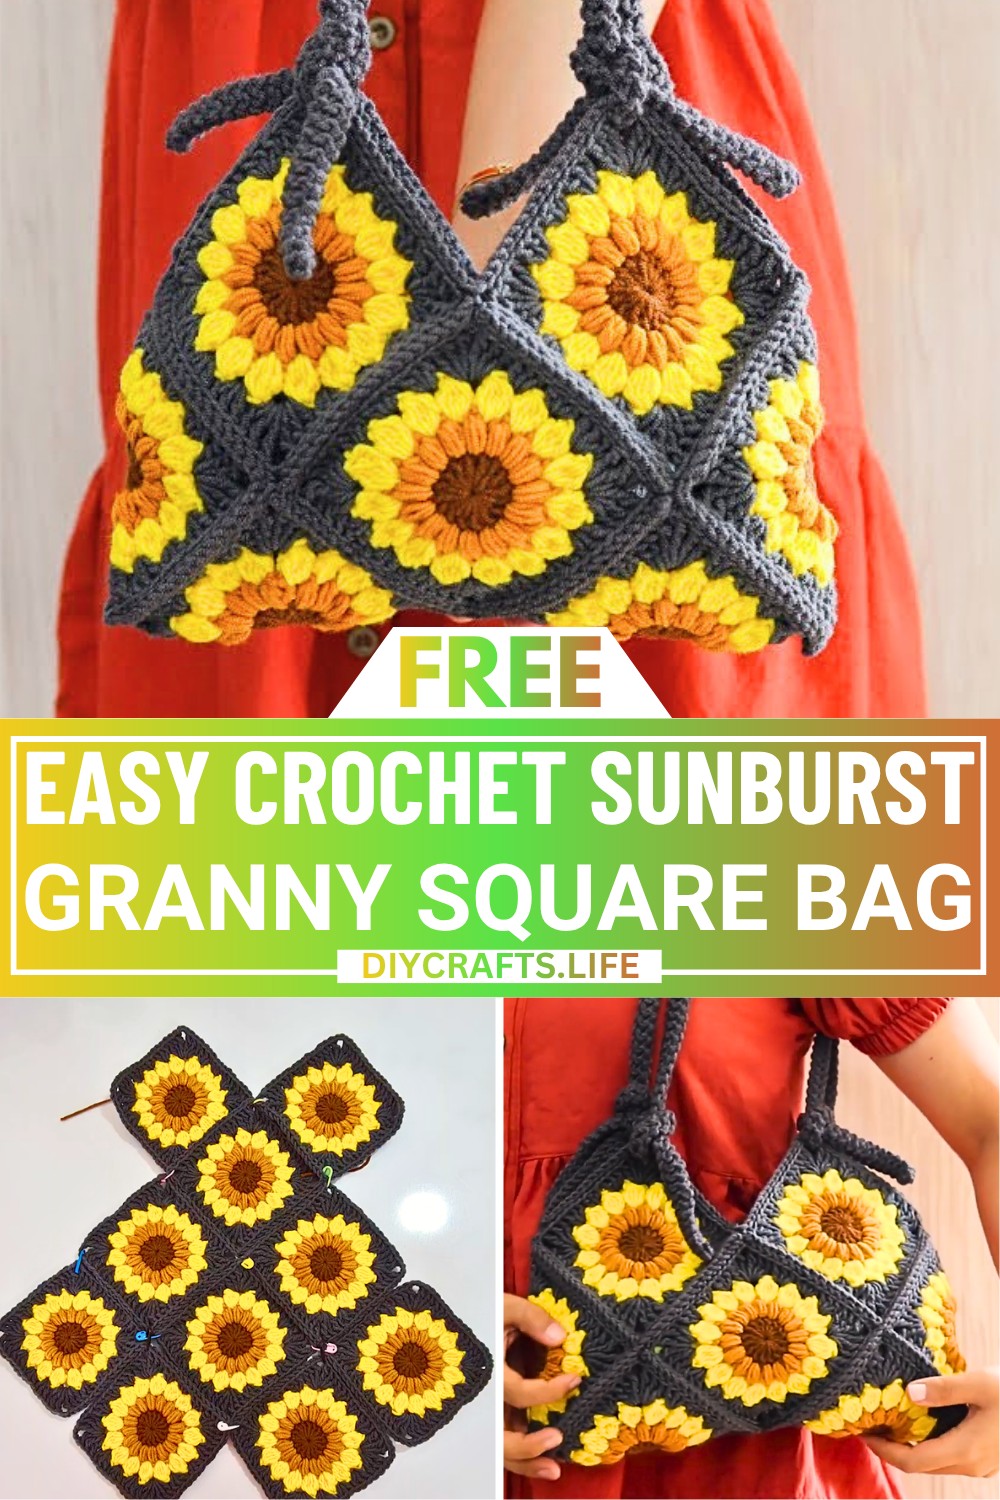
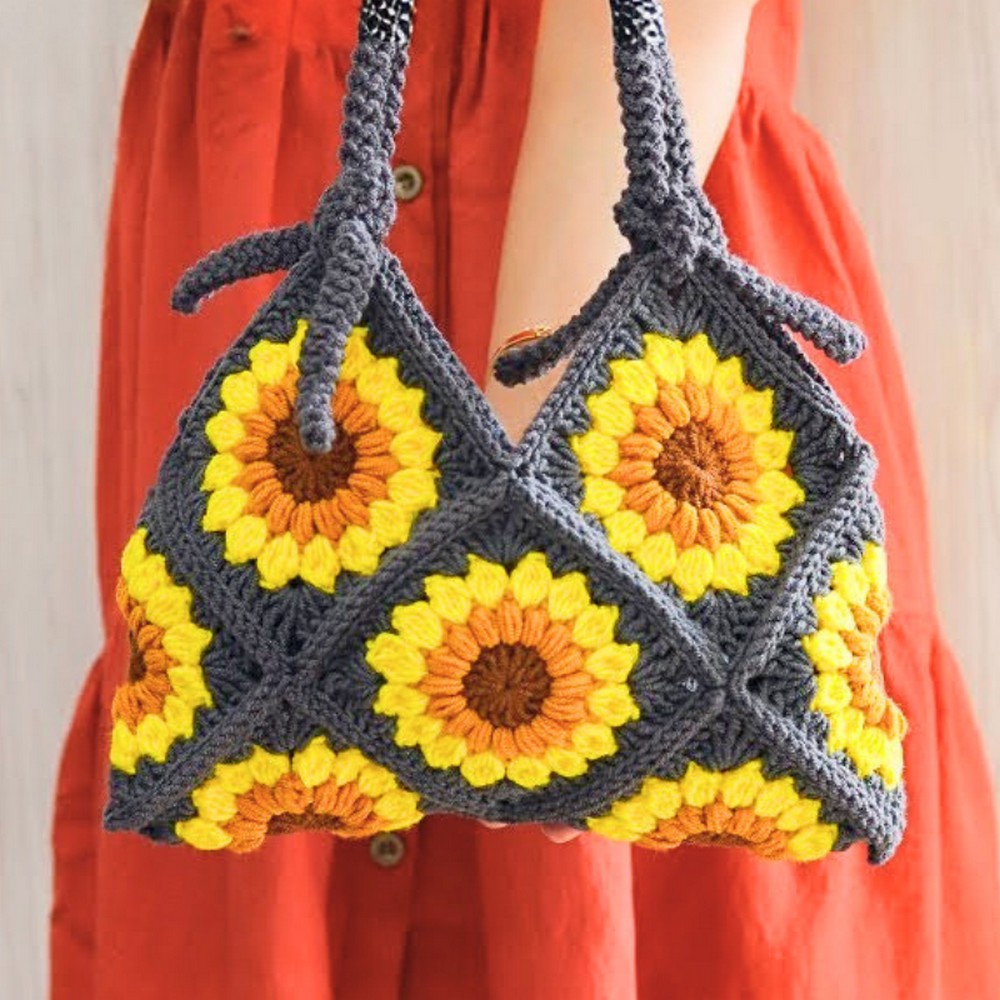
This crochet bag is a perfect blend of style and function, made using vibrant and textured sunburst granny squares. Its unique design makes it ideal for daily use, shopping trips, or even as a thoughtful handmade gift. The bag’s colorful squares give it a cheerful and eye-catching look, while the soft texture adds a cozy feel to it.
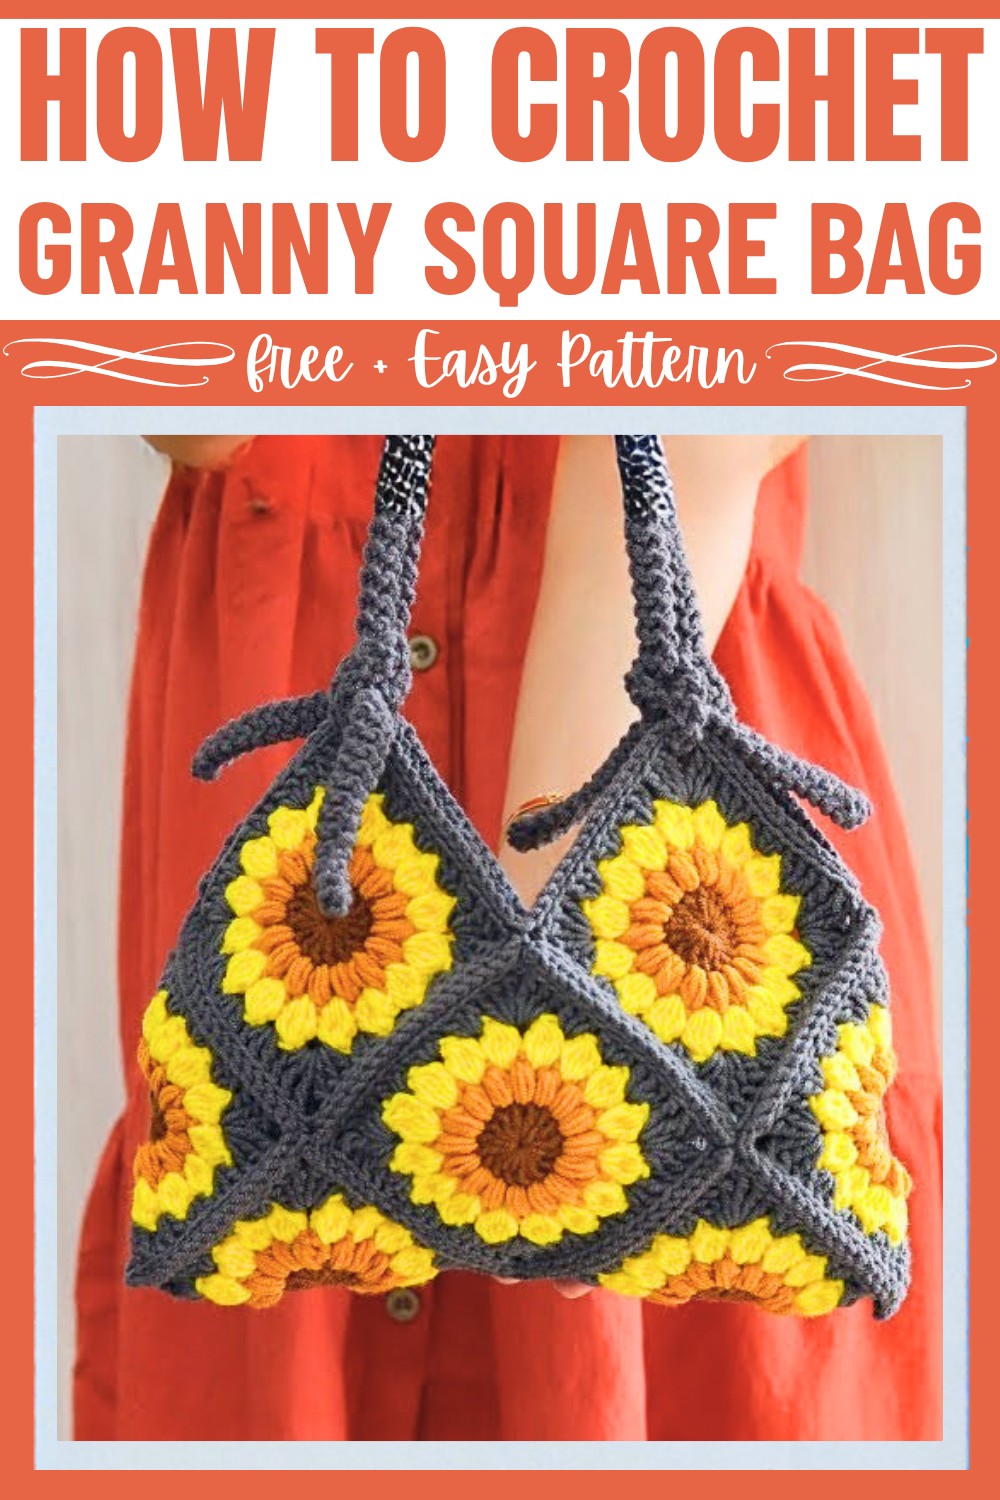
To create this bag, you’ll crochet ten sunburst granny squares. These squares are joined together seamlessly with clean edges and finished with sturdy straps. One of the best parts? You can mix and match yarn colors to create something uniquely yours. The process includes making squares, joining them together, and adding a comfortable strap to complete the bag. Once assembled, the bag measures approximately 32 cm wide and 24 cm long, with straps you can customize to your preferred length.
Credit crochet with parisa
Materials & Tools Needed
To complete this project, you’ll need:
- Yarn: Choose your preferred yarn weight and colors (at least 3 different colors for a vibrant sunburst effect).
- Hook: A crochet hook suited to your yarn (commonly 4mm or 5mm for medium-weight yarn).
- Scissors: For trimming yarn.
- Darning needle: Used for weaving in ends.
- Stitch markers: Optional, to mark certain areas.
Finished Size & Customization Ideas
- Bag Size:
- Final bag dimensions: 32 cm wide x 24 cm long.
- Each granny square measures about 11 cm.
- Customization Ideas:
- Add buttons, a zipper, or lining to the bag.
- Use various color palettes to match seasonal themes.
- Adjust the strap length for a crossbody, shoulder, or handheld bag.
Pattern Abbreviations & Terminology
Here are common crochet abbreviations and terms used:
- Ch: Chain
- Sc: Single crochet
- Dc: Double crochet
- Tr: Treble crochet
- Hdc: Half-double crochet
- Sl st: Slip stitch
- Yo: Yarn over
- Puff stitch: Yarn over, pull up loops multiple times, then pull through.
- Cluster stitch: Group of stitches worked together.
Terminology: Pattern uses US crochet terms.
Step-by-Step Detailed Crochet Instructions
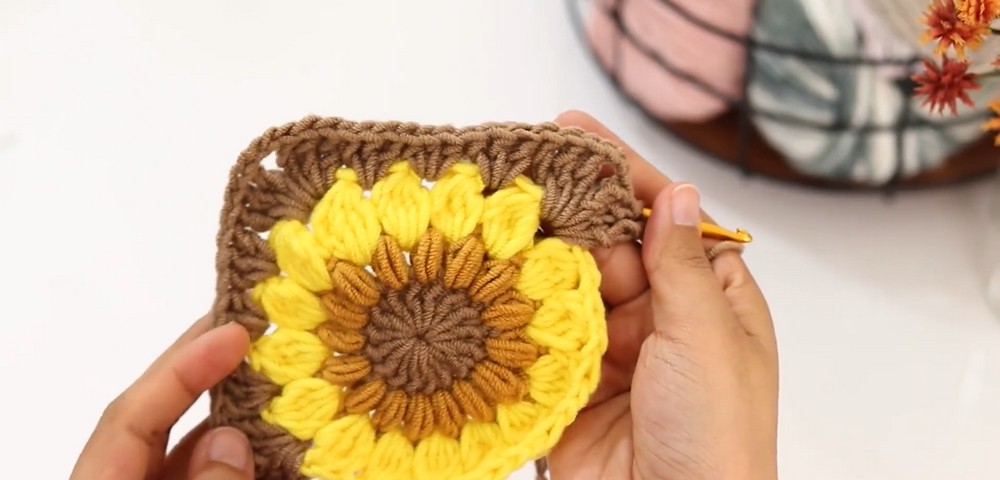
Part 1: Crochet the Sunburst Granny Square
Repeat the steps below to make 10 granny squares.
- Round 1 - Magic Ring + DC Round:
- Make a magic ring.
- Ch 3 (counts as a dc), then crochet 15 dc into the magic ring.
- Total: 16 stitches.
- Finish with an invisible join:
- Cut the yarn and pull it through the last loop.
- Insert the hook under both loops of the first dc of the round.
- Insert the hook into the top of the last dc (back loop only).
- Pull the yarn firmly to form a seamless join.
- Weave in the tail for security.
- Round 2 - Puff Stitch Round:
- Attach new yarn with a sc in any stitch.
- Work 1 puff stitch per stitch:
- Pull up 3 loops, pull up 5 loops, and then pull up 7 loops.
- Yo and pull through all 7 loops, Ch 1 to lock.
- Repeat in all stitches (total 16 puff stitches).
- Sl st into the first Ch-1 space and fasten off.
- Round 3 - Cluster Stitch Round:
- Attach new yarn into any Ch-1 space with a sc.
- Ch 2, then begin making cluster stitches:
- Yo, pull up a loop, pull through 2 loops (repeat 3 times), then pull through all 5 loops, Ch 2.
- Repeat in each Ch-1 space (total 16 clusters).
- Sl st into the first Ch-2 space and fasten off.
- Round 4 - Corner Formation (Final Round):
- Attach new yarn in any Ch-2 space with a sc.
- Work the corner:
- (2 tr, Ch 3, 3 tr) in the same space.
- Work 3 dc, 3 hdc, 3 dc in each non-corner space.
- Repeat (2 tr, Ch 3, 3 tr) at each corner.
- Finish with an invisible join and fasten off.
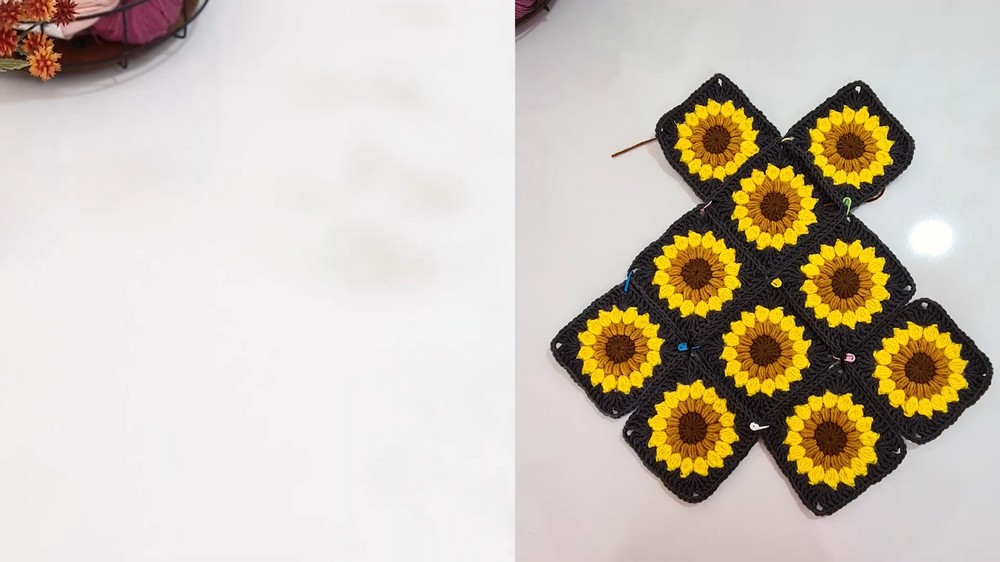
Part 2: Joining the Squares
- Layout the 10 granny squares in the desired arrangement.
- Example: Arrange 2 rows of 5 squares each for the body of the bag.
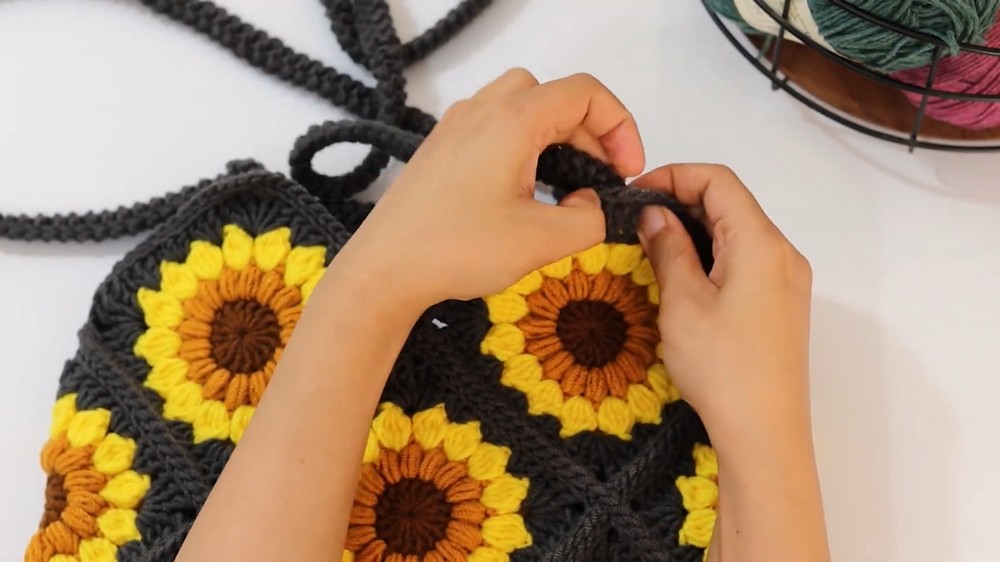
- Joining with Slip Stitches:
- Place two squares wrong sides together.
- Make a slip knot and attach yarn at the corner space.
- Working through the back loop of the first square and the front loop of the second square, secure with a sc.
- Proceed with slip stitches along the edges until you reach the next corner.
- Fasten off and repeat for adjoining squares.
- Work slip stitches around the edge of the entire bag, working in back loops only.
Part 3: Creating and Attaching the Strap
- Crochet the Strap:
- Ch 3, start from the second chain from hook:
- Sc two together.
- Turn your work and continue by repeating sc two together.
- Once the strap reaches your desired length (e.g. 100 cm), fasten off.
- Ch 3, start from the second chain from hook:
- Attach the Straps:
- Make 2 straps for the bag.
- Tie the ends securely to the top corners of the finished bag.
Part 4: Final Touch
- Finishing:
- Weave in all loose ends using a darning needle.
- Ensure that corners are evenly attached and any seams are sturdy.