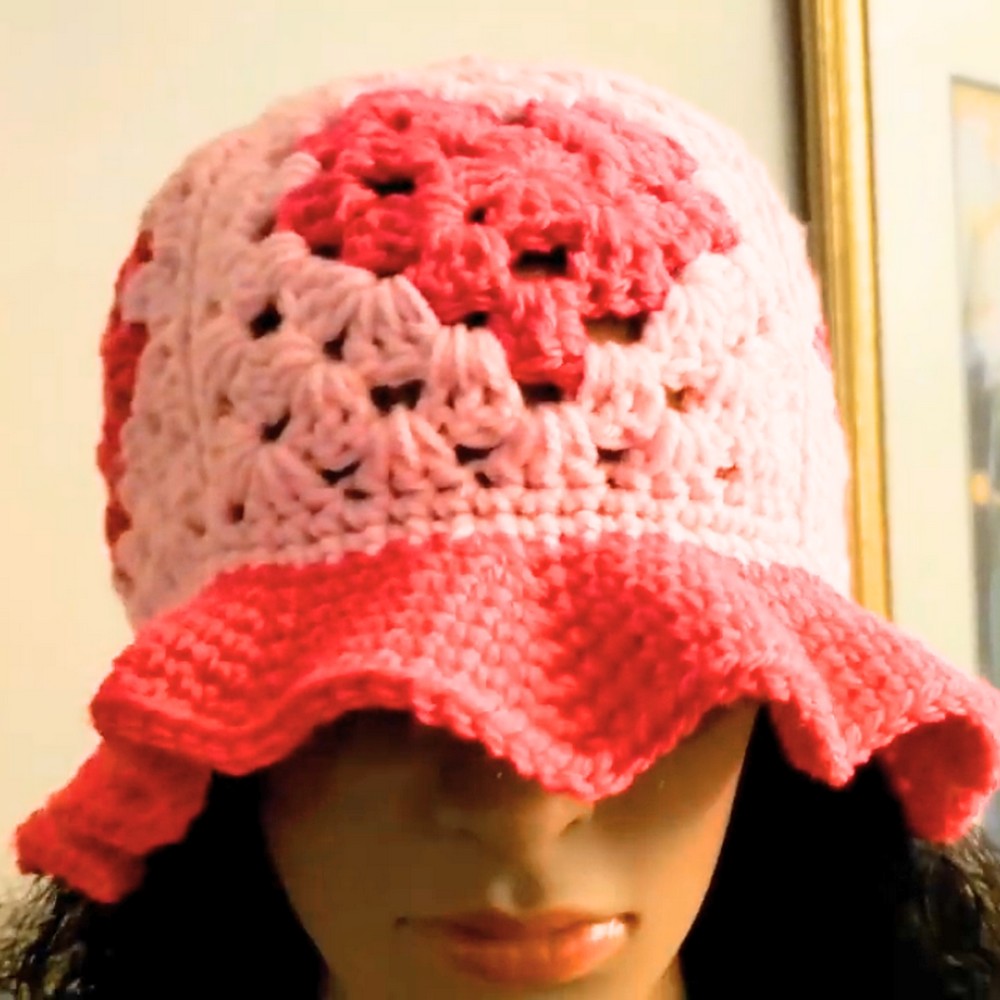
This Crochet bucket hat is more than just an accessory—it's a wearable work of art made from beautiful heart-patterned granny squares! Playful and full of charm, this hat is a perfect way to showcase your creativity and love for crochet. Whether you're spending a sunny day outdoors or adding a cute touch to your outfit, this hat is both stylish and practical.
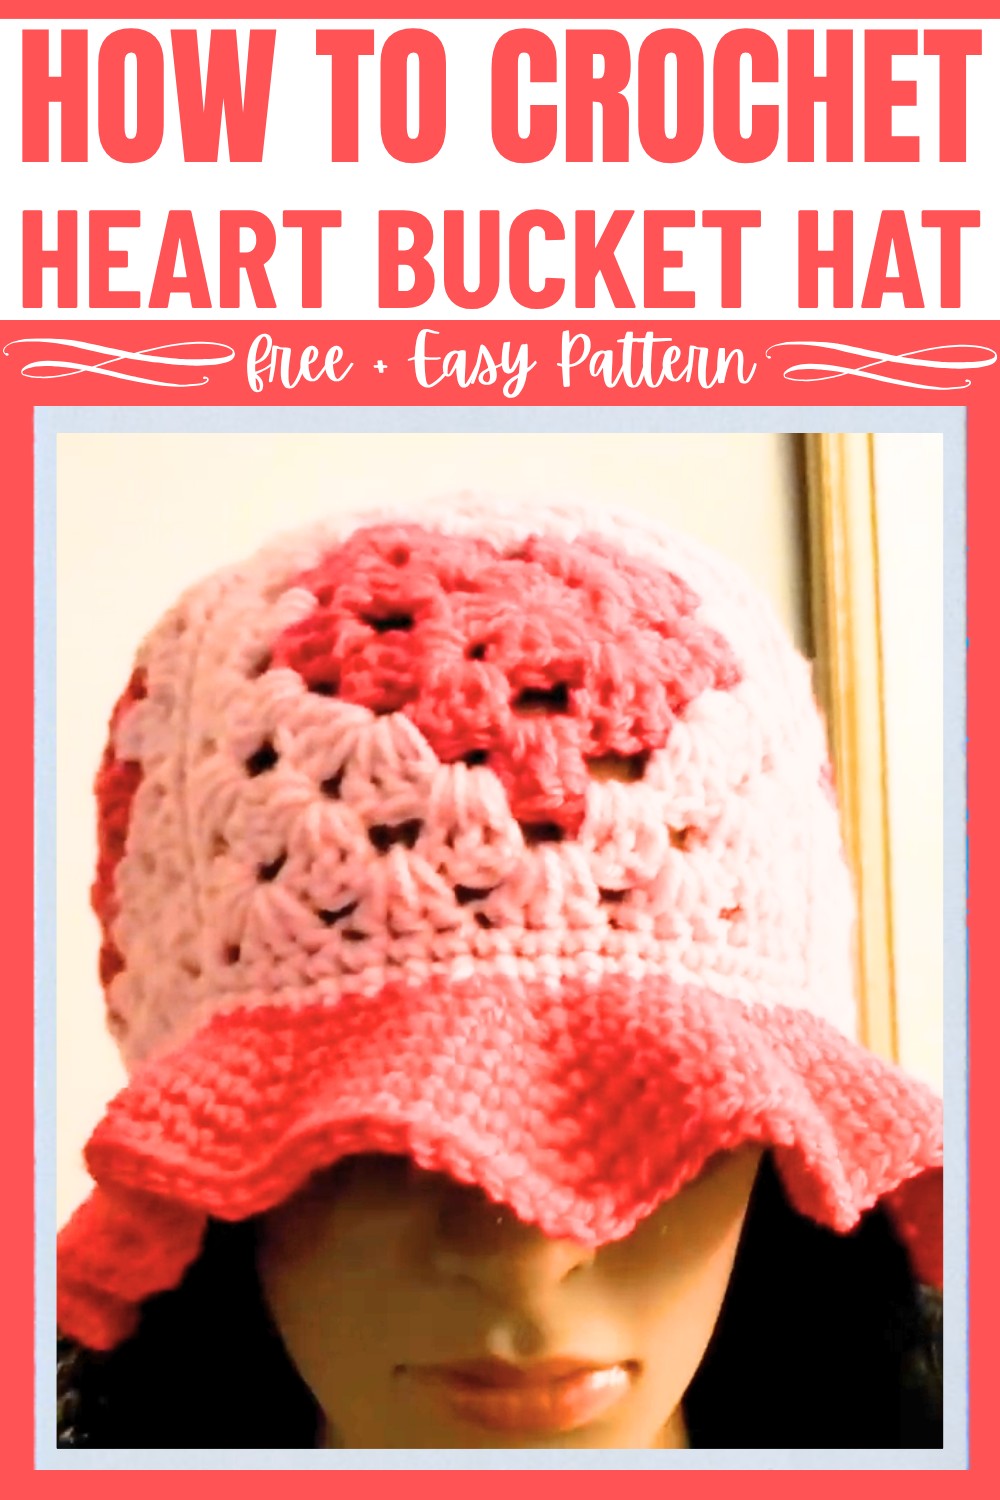
Making this hat is simple. Start by crocheting five granny squares with a heart design, sewing them together, and shaping them into a hat. The crown, body, and wide, flared brim all come together seamlessly. You can even mix and match colors to make it truly your own! The result? A unique, handmade hat that's sure to turn heads and spread smiles wherever you go.
Credit Creative Hands by SHAY
Materials & Tools Needed
- Yarn: Bernat Premium Acryllic Yarn (Hot Pink, Rose Pink)
- Crochet Hook: 5.0mm crochet hook (or 4.5mm if you want a smaller hat).
- Darning Needle: For sewing the squares together and weaving in ends.
- Scissors: For cutting yarn.
- Measuring Tape: To measure your squares (each square should be approximately 5 inches wide).
Finished Size & Customization Ideas
- Finished Size: The hat size is based on 5 granny squares, with each square measuring 5 inches wide. The finished bucket hat will fit an average adult head.
- Customization Ideas:
- Adjust the hook size for a smaller or larger fit.
- Change the yarn colors to customize the heart design or brim.
- Add additional increases to the brim for a larger flare.
Pattern Abbreviations & Terminology
- SC: Single Crochet
- CH: Chain
- SL ST: Slip Stitch
- ST (or STS): Stitch(es)
- Back Loop: The loop of a stitch furthest from you.
- Front Loop: The loop of a stitch closest to you.
- Rep: Repeat
Notes:
- This pattern uses US Terminology.
- The squares are joined using a sewing method with back and front loops, which ensures the stitches lay flat.
Step-by-Step Detailed Crochet Instructions
1. Making the Granny Squares
The tutorial assumes you already know how to make the granny squares with a heart design in the center. If you are unsure how to do this, then check out this detailed tutorial on how to crochet a granny square with a heart design. (Each square is 5 inches wide.) You will need a total of 5 squares.
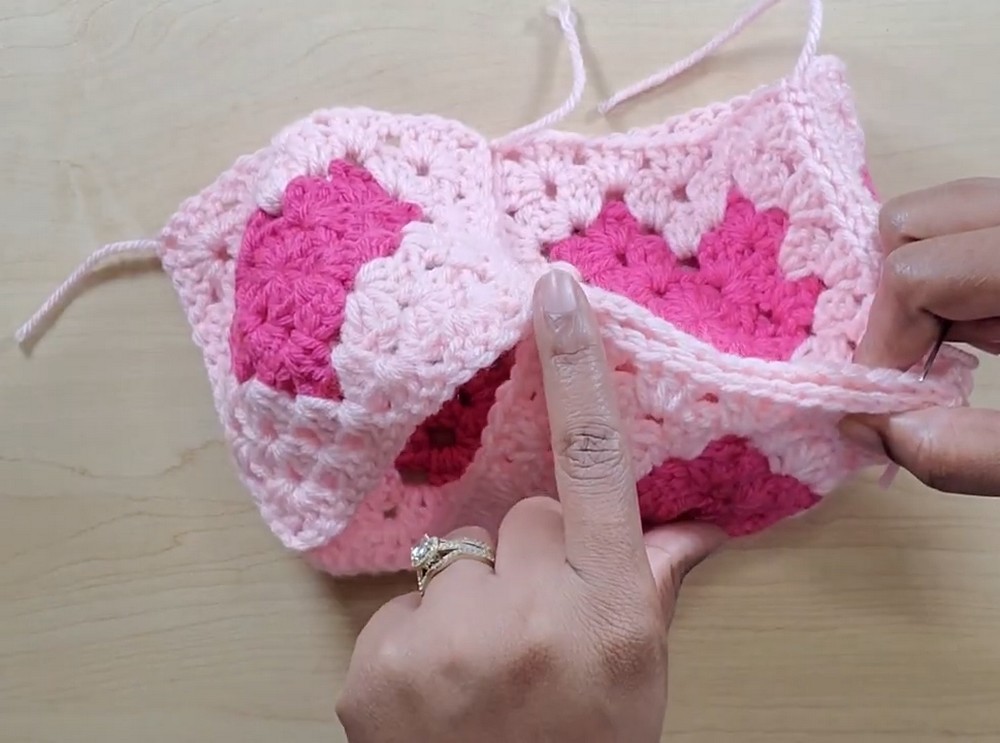
2. Assembling the Hat Body
- Sewing Four Squares Together:
- Lay four squares flat in a 2x2 formation.
- Align the squares so the edges match up.
- Use a darning needle and yarn for sewing.
- Sew the squares together by joining their edges using the back loops on the square facing you and the front loops on the opposite square. Work stitch by stitch and don’t pull the yarn too tightly.
- When the four squares are sewn into one large piece, stretch the edges gently to flatten the seams.
- Sewing the Tube:
- With all four squares joined, fold the piece in half lengthwise (like a tube).
- Sew the remaining two edges together using the same technique (back loop and front loop method).
- Attaching the Fifth Square (Top of the Hat):
- Position the fifth square on top of the tube (it will form the hat’s top).
- Sew each edge of the fifth square to the top edges of the tube using the same technique.
- Be careful to align the hearts correctly so they face outward on the completed hat.
3. Working the Brim
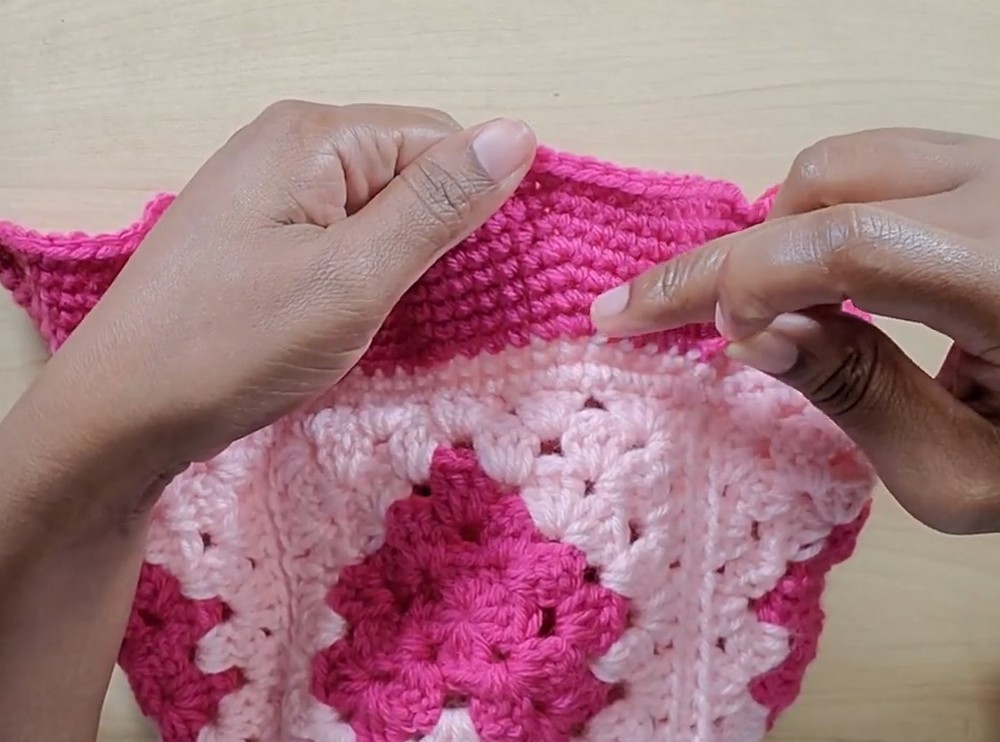
- Adding the First Round of SC:
- Rejoin your yarn into any chain space at the bottom edge of the hat (where the brim will start).
- CH 1, work 1 SC into each stitch around, including the corners where squares meet (adjust to make the stitching even). Use around 1 SC in each stitch or space, ensuring you maintain a flat edge.
- At the end of the first round, join with a SL ST to the first SC.
- Brim Rows with Increases:
- The brim is worked in rows with increases for a flared effect. Follow the sequence below:
- Row 2: Work 1 SC into the front loops only around. Join with a SL ST.
- Row 3: Start increases. SC in the first 4 stitches, then 2 SC in the next stitch. Repeat this sequence around. Join with a SL ST.
- Row 4: SC in the first 5 stitches, then 2 SC in the next stitch. Repeat this sequence around. Join with a SL ST.
- Row 5: SC in the first 6 stitches, then 2 SC in the next stitch. Repeat this sequence around. Join with a SL ST.
- Row 6: SC in the first 7 stitches, then 2 SC in the next stitch. Repeat this sequence around. Join with a SL ST.
- Row 7: SC in the first 8 stitches, then 2 SC in the next stitch. Repeat this sequence around. Join with a SL ST.
- Continue adding similar rows, increasing by 1 SC between the increases if you want a wider brim. (The tutorial stops at Row 7.)
- The brim is worked in rows with increases for a flared effect. Follow the sequence below:
- Fastening Off:
- After completing the brim, fasten off and weave in your ends using the darning needle.
4. Finishing Touches
- Secure and Flatten Seams:
- Double-check that all seams are sewn flat and ensure the hearts face outward.
- If needed, stretch the hat gently to shape it evenly.
- Weave in All Ends:
- Use the darning needle to securely weave in all loose ends, particularly where color changes occur at the brim.
- Optional Customization:
- You can add extra flair by stitching embellishments or crocheting a decorative border onto the brim.