Bring elegance and charm to your doll accessories with this delightful crochet handbag pattern. Designed to be both playful and functional, this miniature handbag is perfect for imaginative play or doll styling. The soft pastel design and delicate craftsmanship make this crochet piece irresistible for anyone who loves creative expression through yarn. Start creating stylish moments for your dolls today!
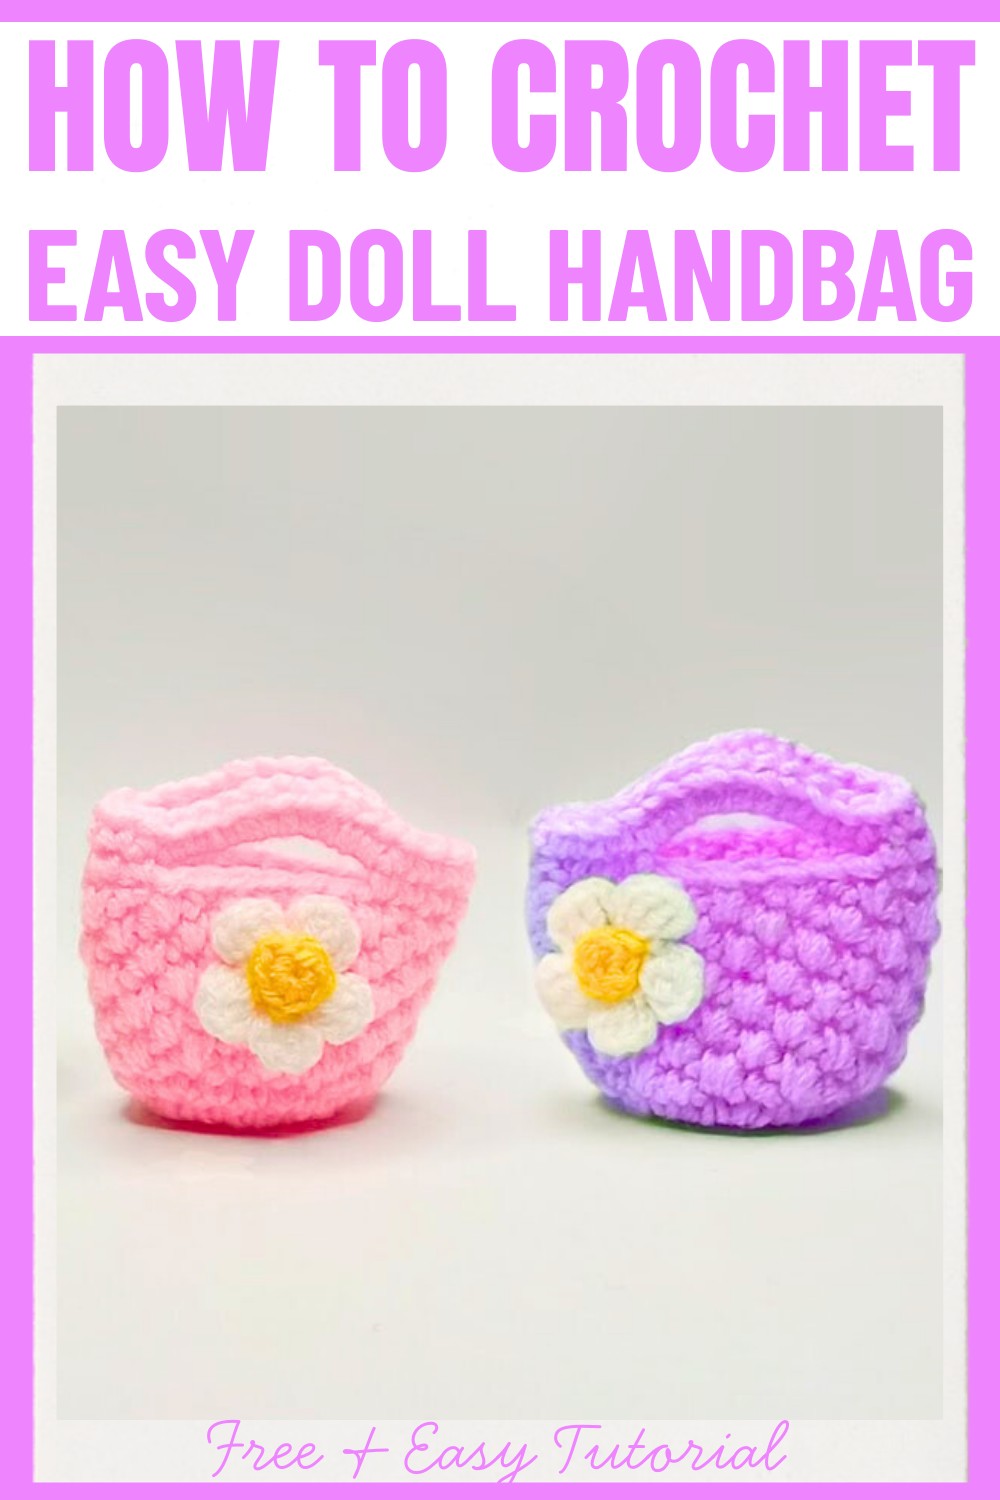
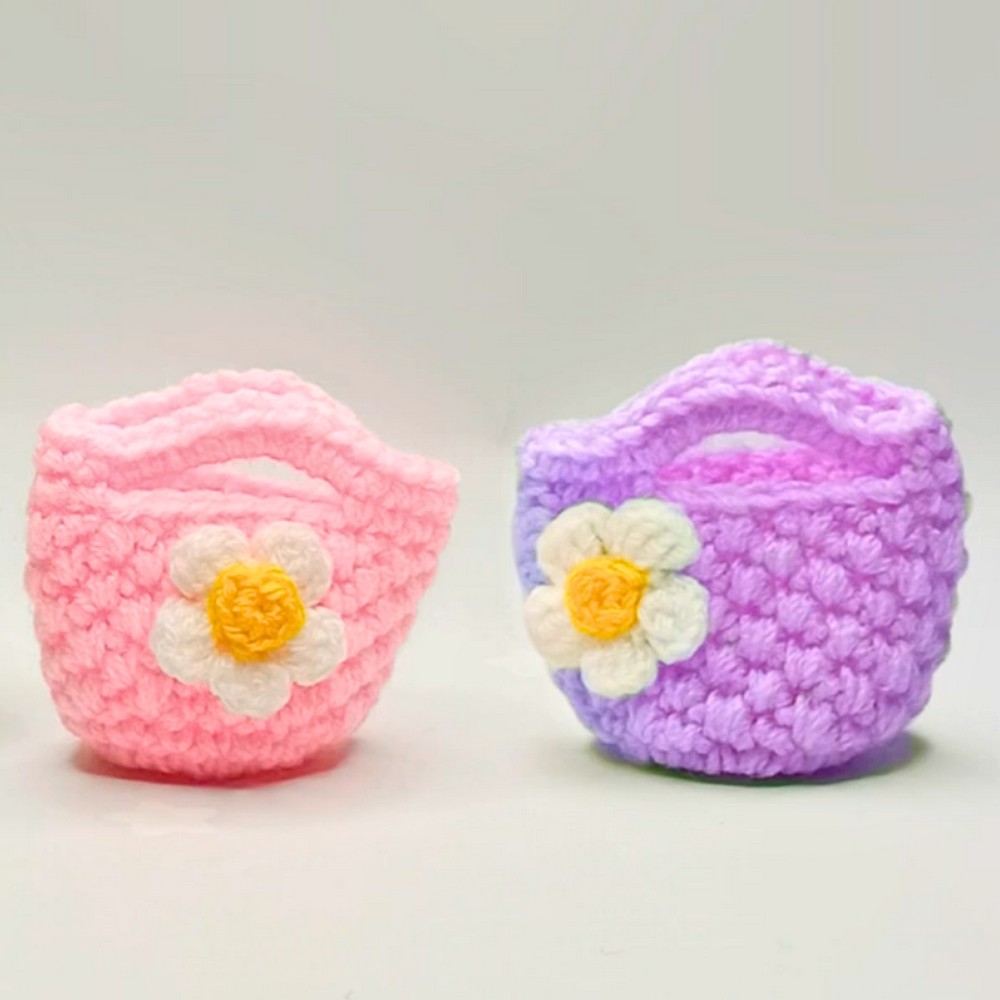
This crochet doll handbag stands out with intricate craftsmanship and thoughtful details. Featuring alternating rows and a mix of simple crochet stitches, it combines a soft floral accent with a compact and practical design. At 7-8 cm, it’s perfect for sweets, tiny trinkets, or doll-sized accessories, making it just as enjoyable to make as it is to use. With a personalized choice of yarn thickness and colors, this pattern becomes a one-of-a-kind creation that adds beauty to doll wardrobes while celebrating your artistic touch.
Credit Olga Garkusha
Required Materials
- Yarn Colors:
- Pink yarn
- White yarn
- Yellow yarn
- Crochet Hooks:
- Hook size 1.75 mm
- Hook size 3 mm
- Other Notes:
- Crochet using two threads for this project to ensure sturdiness and proper texture.
Important Notes
- The size of the handbag will depend on the thickness of your yarn and the hook size. In the tutorial, the completed bag is approximately 7–8 cm.
- Use an extended single crochet stitch (described below) in some sections for texture.
- For decorative purposes, a crocheted flower will be added at the end.
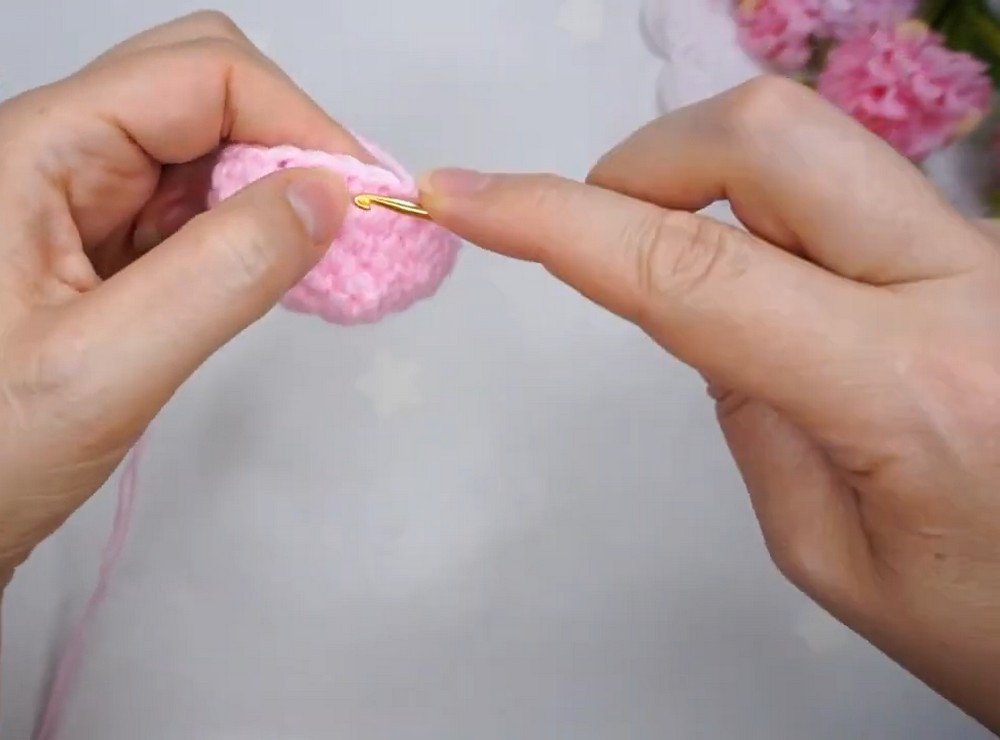
Step-by-Step Crochet Instructions
Base & Body of the Bag
- Foundation (Row 1):
- Start with 6 single crochets (6 sc) in a magic ring.
- Pull the ring tight and secure.
- Row 2:
- Increase in each stitch around (6 increases).
- Total stitches: 12 sc.
- Row 3:
- Crochet 1 single crochet in the first stitch, then an increase in the next (repeat this sequence):
1 sc, 1 inc. - Repeat 6 times.
- Total stitches: 18 sc.
- Crochet 1 single crochet in the first stitch, then an increase in the next (repeat this sequence):
- Row 4:
- Crochet 2 single crochets, then increase in the next stitch:
2 sc, 1 inc. - Repeat 6 times.
- Total stitches: 24 sc.
- Crochet 2 single crochets, then increase in the next stitch:
- Row 5:
- Work 24 single crochets (sc) evenly around with no increases.
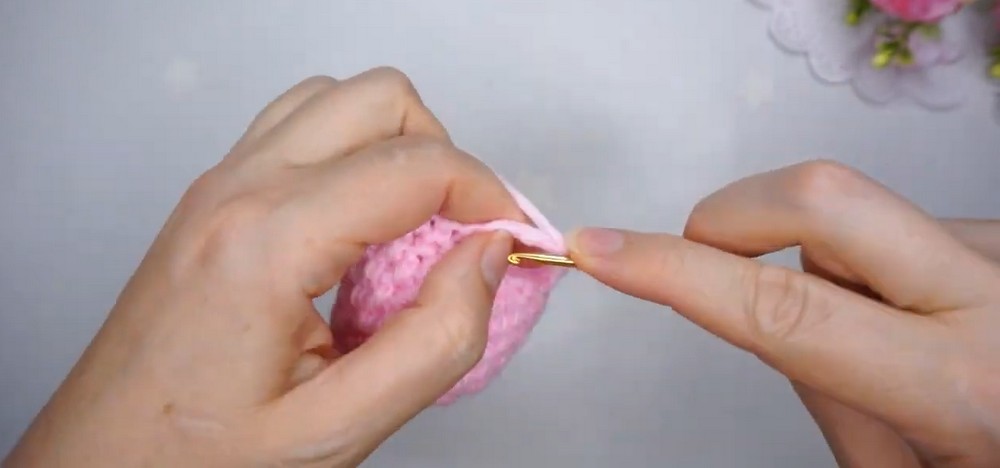
- Row 6:
- Use an extended loop single crochet stitch as follows: (insert hook into stitch, pull up a loop to the desired height, yarn over, pull through both loops to complete the stitch).
- Alternate between extended single crochet and regular single crochet in the sequence: ext sc, sc, sc.
- Repeat for the row.
- Row 7:
- Continue alternating the same sequence as above: extended single crochet, sc, sc.
- Rows 8 to 12:
- Work 24 single crochets (sc) evenly around. Alternate regularly to maintain texture.
- By now, the body of the bag begins to take shape.
Handle Setup
- Row 13:
- To create handles, work this sequence:
- 3 sc
- Create 8 chain stitches, skip the next 6 stitches, attach with a single crochet in the 7th stitch.
- Work 6 sc.
- Again, create 8 chain stitches, skip 6 stitches, and attach with single crochet.
- Work 3 sc to complete the round.
- Ensure handles are symmetrical.
- To create handles, work this sequence:
- Row 14:
- Work stitches around the bag, including the handles:
- 3 sc
- 10 sc across the first handle
- 6 sc along the body
- 10 sc across the second handle
- 3 sc.
- Total: 30 sc.
- Work stitches around the bag, including the handles:
Flower Decoration
- Base of the Flower (Small Flower):
- With pink or white yarn, create a small flower as follows:
- Row 1: Work 8 sc in a magic ring and secure.
- With pink or white yarn, create a small flower as follows:
- Larger Flower:
- Using yellow yarn for the second, larger flower:
- Row 1: Work 10 sc in a magic ring.
- Row 2: Create petals by alternating:
- 2 chain stitches
- 2 double crochets
- 2 chain stitches
- Attach with a slip stitch into the next stitch.
- Repeat around to form 5 petals.
- Using yellow yarn for the second, larger flower:
- Attach the Flower:
- Position the flowers onto the bag.
- Sew or glue the flowers securely to the front of the handbag, ensuring symmetry and good placement.
Finishing Techniques
- Weave in all loose yarn ends using a tapestry needle.
- Shape the handbag gently to make sure it lays flat and the handles are properly rounded.
- If desired, lightly starch the bag to give it additional structure, especially if being used for display with a doll.
Final Notes
- The entire project should be quick and fun to complete.
- By adjusting the yarn type, thickness, or hook size, you can customize the bag's size and overall texture to suit your needs.


