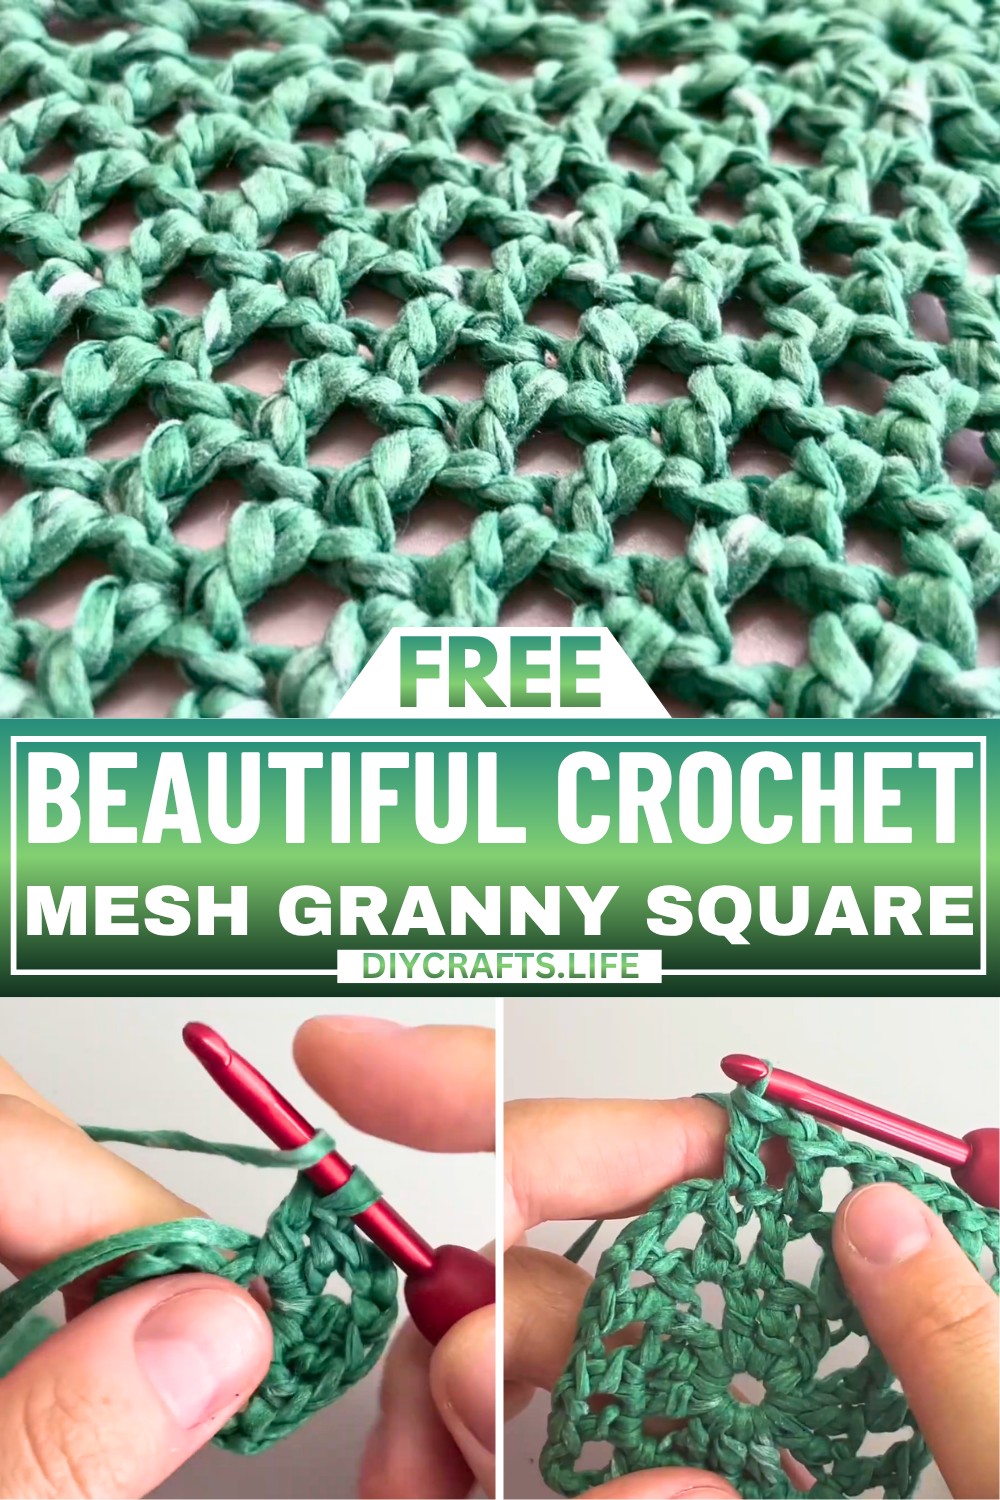
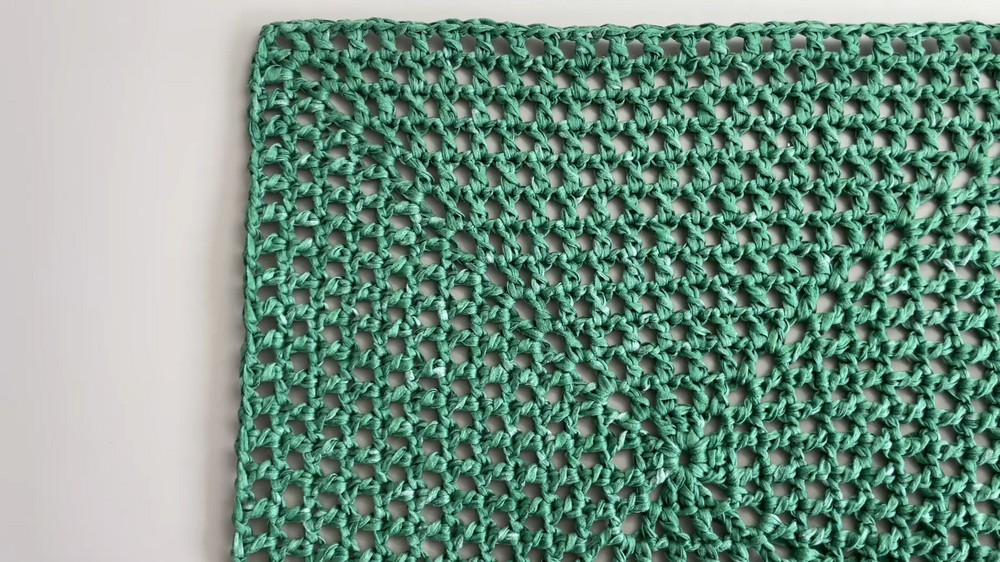
The crochet mesh granny square is a beautiful and simple design that works for everyone, even beginners. What makes it special is its even and airy structure, which stays smooth and stable no matter how many rows you add. It’s quick to make, fun to create, and offers endless possibilities. You can use it for making bags, placemats, sweaters, or even decorative pieces.
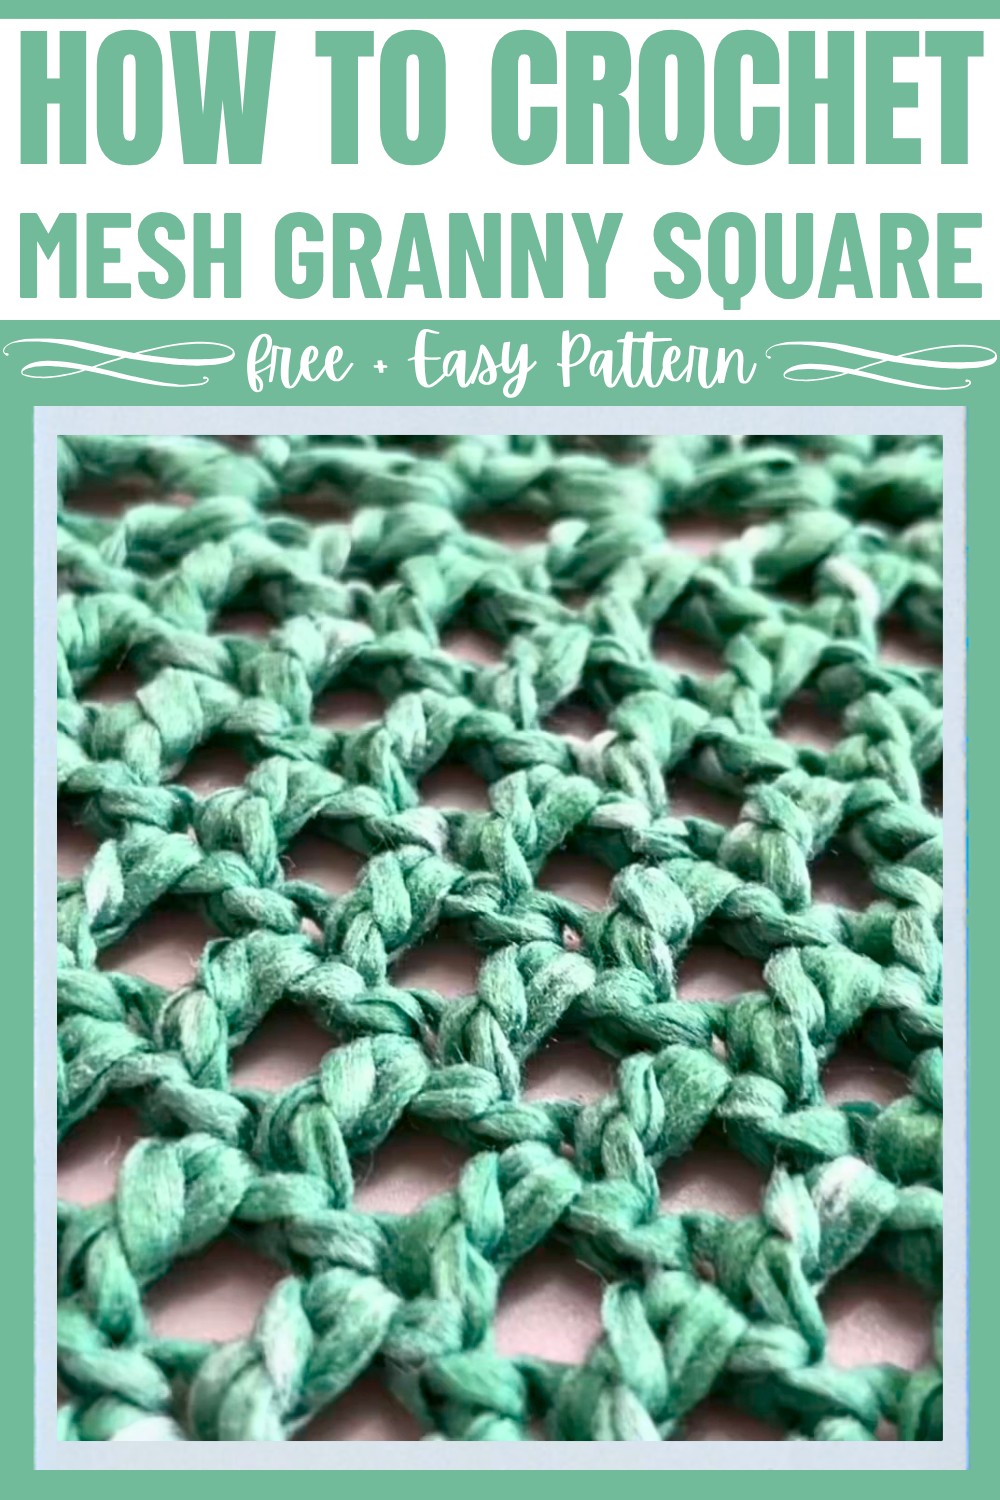
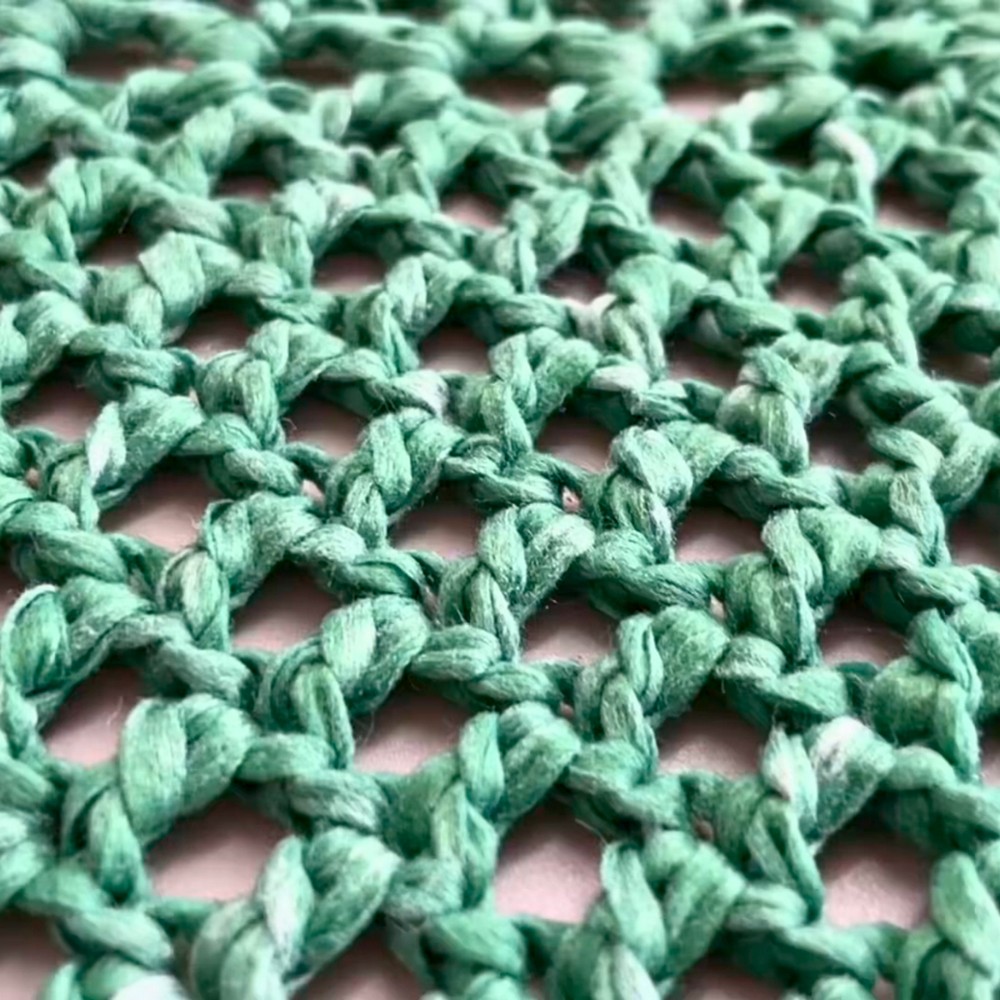
This Granny Square uses an open mesh pattern, giving it a light and breathable feel. It’s perfect if you want detailed designs without the complexities of traditional granny squares. While you’re crocheting, you’ll notice how therapeutic it is—you just keep adding rows to make it larger as needed. All you need is yarn, a crochet hook, and scissors to get started. This versatile creation is a great way to express creativity while making something stylish and functional.
Credit Sasha and Crochet
Materials & Tools Needed
- Yarn: Yarn called Capio (polyester/viscose blend mimicking raffia). You can substitute with any similar yarn like raffia or cotton yarn.
- Crochet Hook: Size 4.5 mm crochet hook.
- Other Tools:
- Scissors
- Yarn needle (optional, for weaving in ends)
Finished Size & Customization Ideas
- The finished size will depend on the number of rounds completed.
- This granny square is extremely versatile and can be used for projects like:
- Bags (e.g., as a bag base or panels)
- Placemats
- Sweaters
- Blankets
- To achieve the desired size, simply continue adding rounds following the established pattern.
Pattern Abbreviations & Terminology
- ch: chain
- dc: double crochet
- sl st: slip stitch
- sp: space
- beg ch-3: beginning chain 3 (counts as a double crochet)
- YO: yarn over
Terminology: This pattern uses US Crochet Terms.
Step-by-Step Crochet Instructions
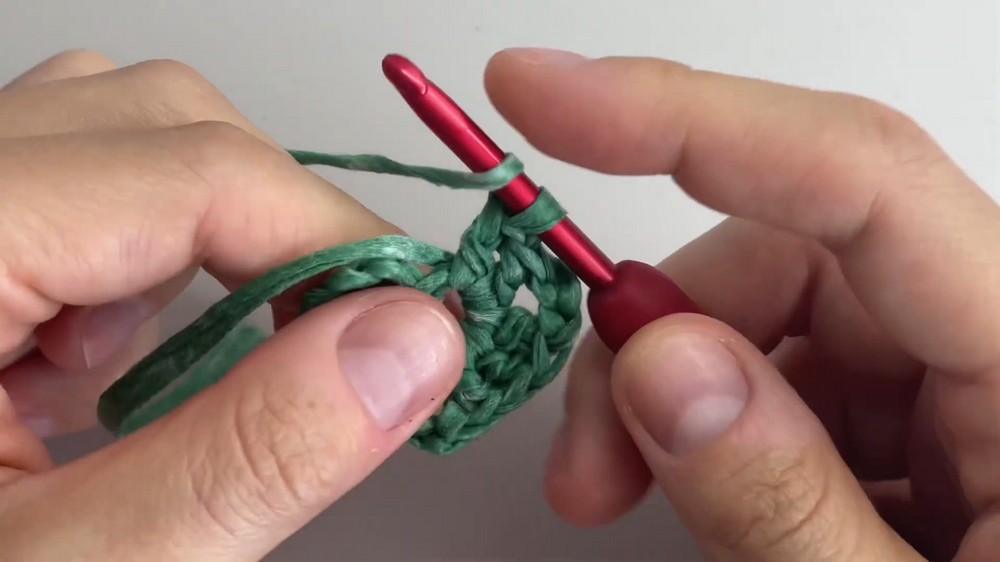
Foundation Round
- Make a slip knot:
- Create a basic slip knot on your hook.
- Chain 4:
- Ch 4 to form the foundation ring.
- Form a ring:
- Sl st into the first chain to create a circular ring.
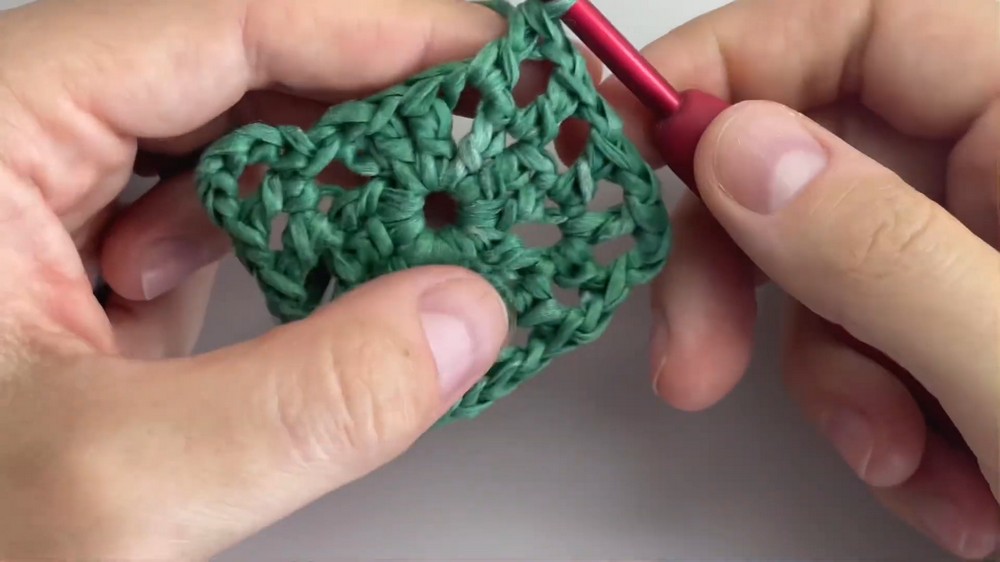
Round 1: Create the base
- Chain 5:
- Ch 5. This counts as your first (dc + ch 2).
- Start double crochet clusters into the center:
- Place 3 dc into the center of the ring.
- (Ch 2) after this cluster.
- Repeat three more corners:
- (3 dc, ch 2) into the center three more times.
- Close the round:
- After you complete the last ch 2, add 2 dc into the ring.
- Sl st into the 3rd chain of the starting ch-5 to close the round.
- You now have a square with 4 corners and open spaces in between.
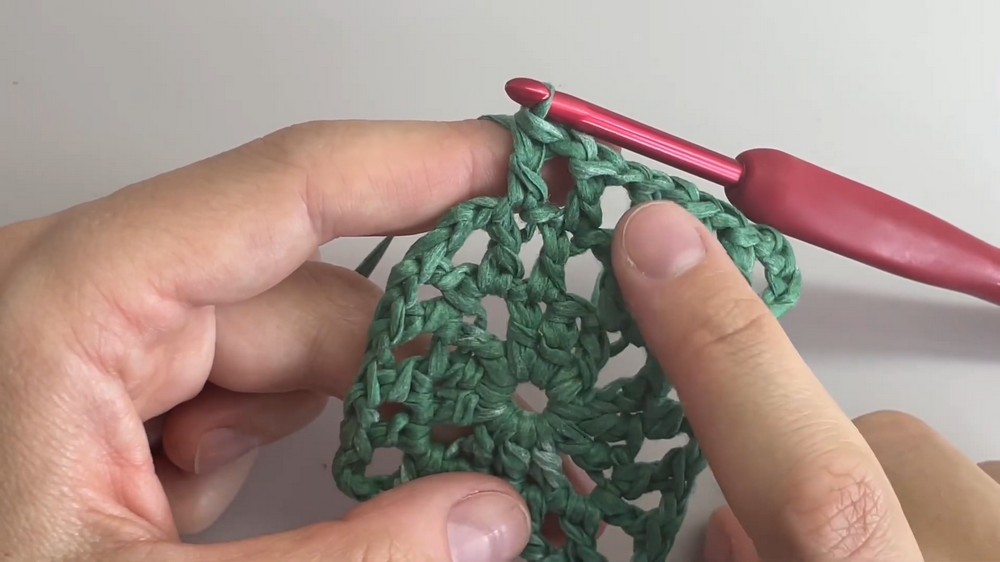
Round 2: Mesh structure
- Chain 5:
- Ch 5 (counts as dc + ch 2).
- Work in the same corner space:
- Place 1 dc in the same ch-2 corner sp.
- Work mesh along the sides:
- Ch 1.
- Skip the first dc and place 1 dc in the next dc.
- Continue: (ch 1, skip 1 dc, dc in the next dc) until you reach the next corner.
- Form a corner:
- (dc, ch 2, dc) in the ch-2 corner space.
- Repeat for all sides:
- Work the mesh pattern (ch 1, skip 1 dc, dc in the next dc) along each side, and (dc, ch 2, dc) in each corner.
- Close the round:
- After the last corner is completed, sl st into the 3rd chain of the starting ch-5.
Additional Rounds (3 and beyond)
- Chain 5 to begin each round:
- Ch 5 (counts as dc + ch 2).
- Start in the same corner space:
- Place 1 dc in the same corner space.
- Work mesh pattern on sides:
- (ch 1, dc in the next dc) across each side, skipping spaces as needed.
- Maintain alignment by placing each new dc directly on top of the dc from the previous round.
- Form corners the same way:
- (dc, ch 2, dc) in every corner space.
- Close the round:
- Sl st into the 3rd chain of the starting ch-5.
Important Notes
- Tail management: Hold the tail behind the circle during the first round to weave it in as you go.
- Finishing: Once you’ve reached your desired size, finish your square by slip stitching into the next stitch, fastening off, and using scissors to cut the yarn.
- Customization: This pattern can be continued for as many rounds as needed for your project.
Color Changes (Optional)
If you want to use multiple colors, follow these steps:
- At the end of the round, fasten off the current color after the slip stitch join.
- Attach a new color by making a slip knot on your hook, then join into any corner space with a sl st.
Tips for Success
- Keep your tension consistent for an even mesh structure.
- Make sure your beginning and end stitches for each round remain aligned for a balanced square.
- If using this square for a bag, stop increasing rounds once you achieve the desired bag base size.