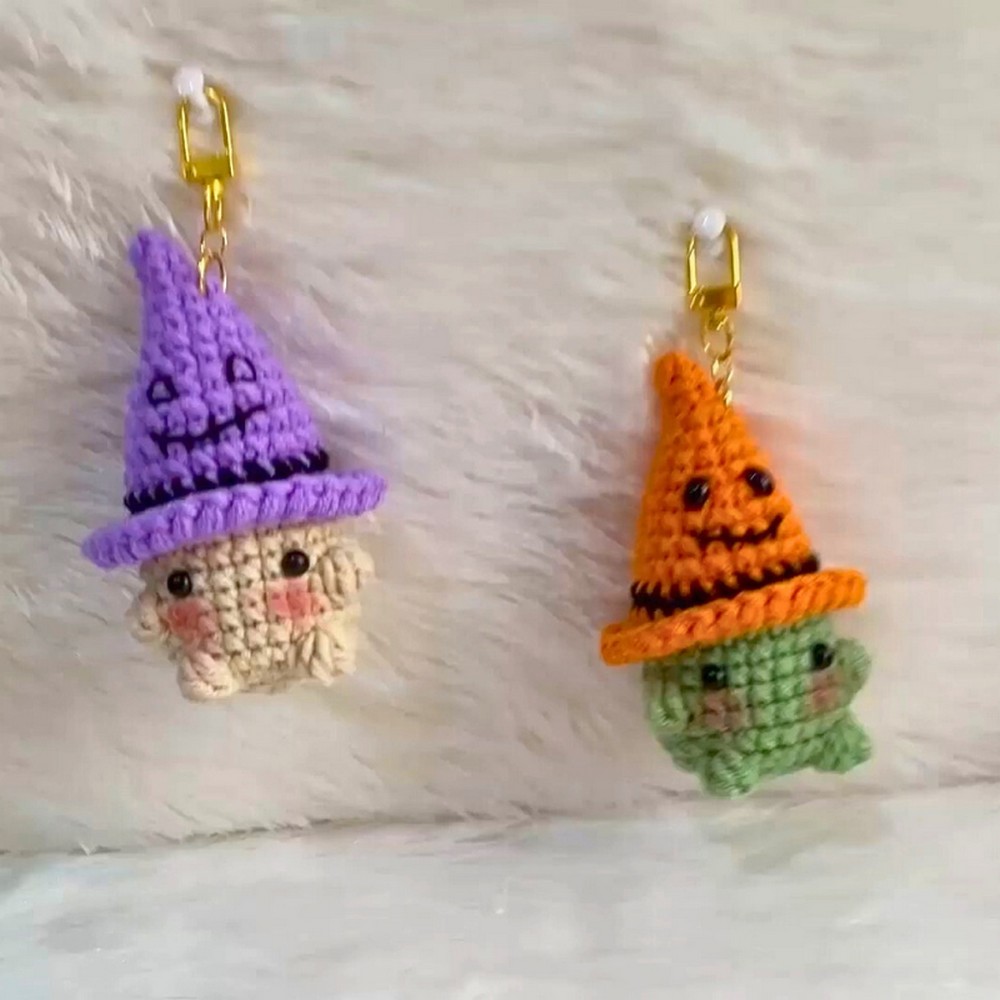
Create an adorable crochet baby mushroom that’s perfect as a whimsical decoration, charming gift, or unique toy. Its playful design, soft texture, and versatile appeal make it a delightful addition to any crochet project collection. Easy to craft and customize, it adds beauty and joy to your space.
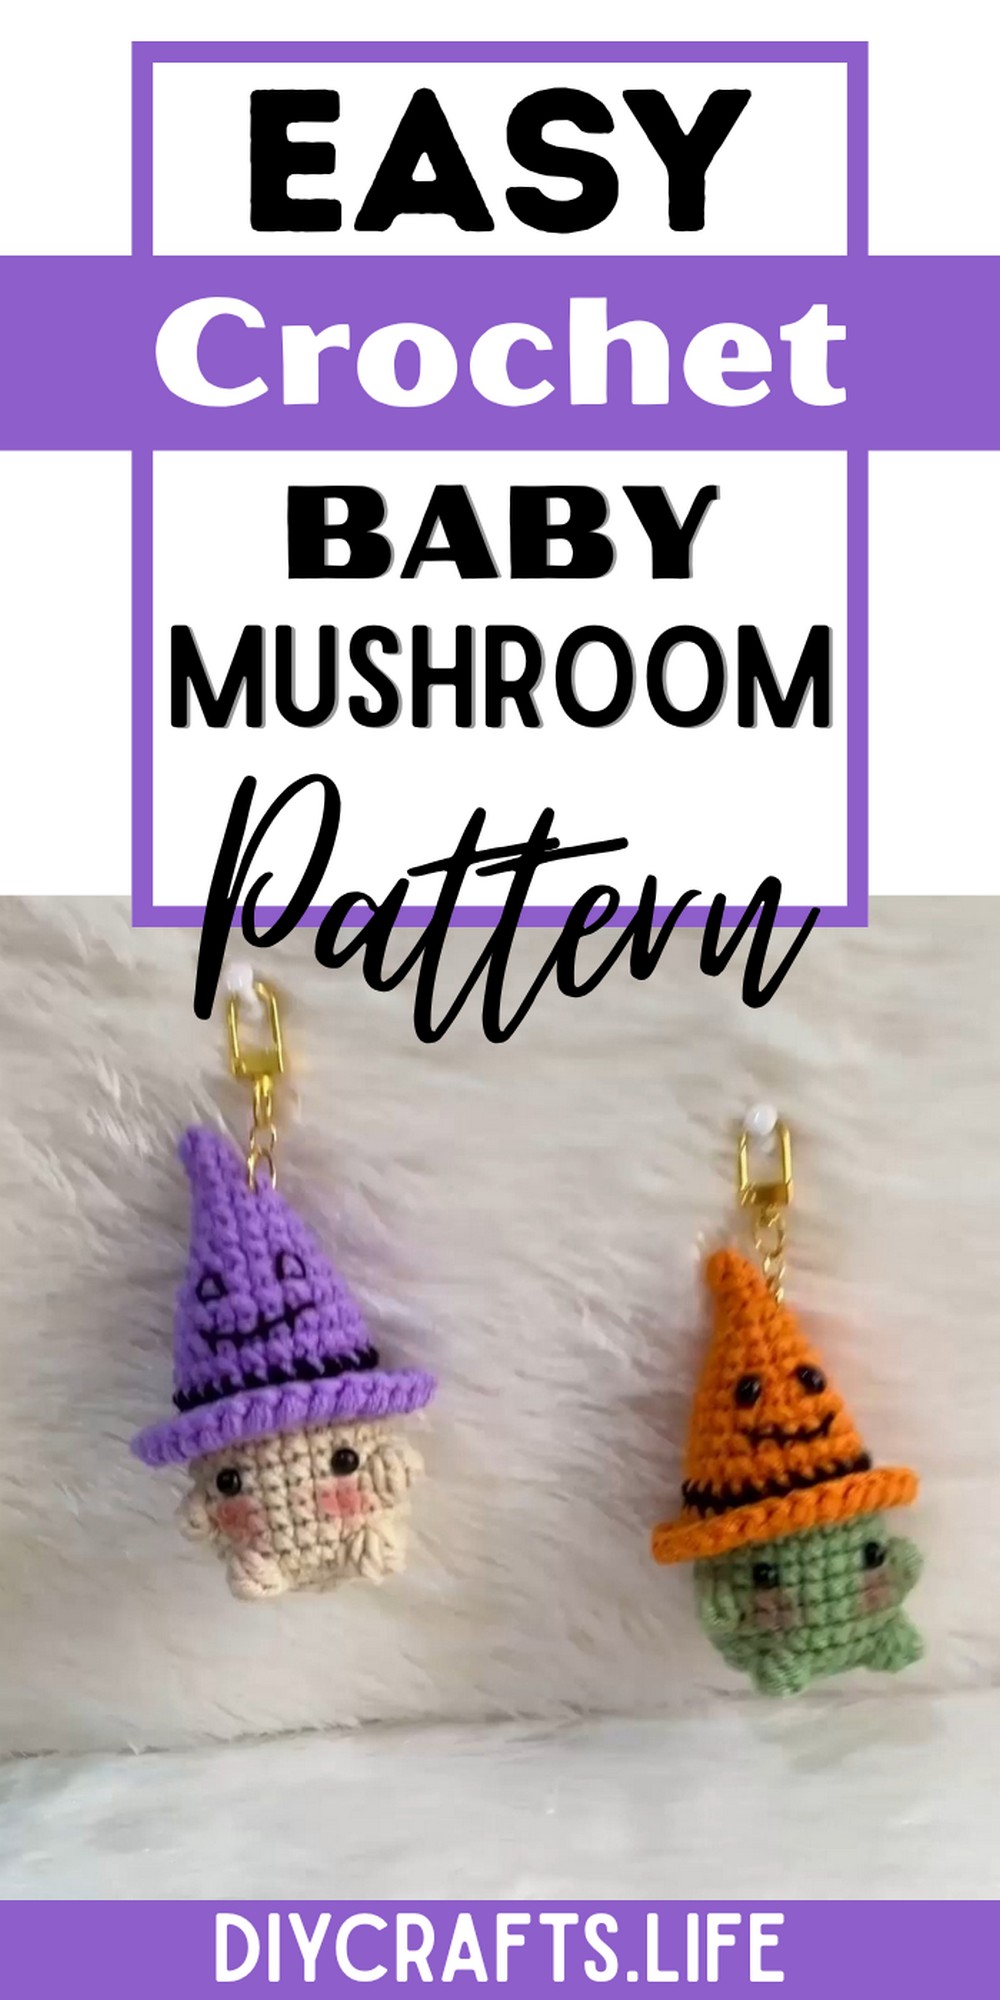
This crochet baby mushroom is both durable and lightweight, making it an ideal keepsake, keychain, or decorative item. Its standout features include its textured details, cheerful appearance, and cozy design, allowing it to be used as a charming accent or thoughtful handmade present.
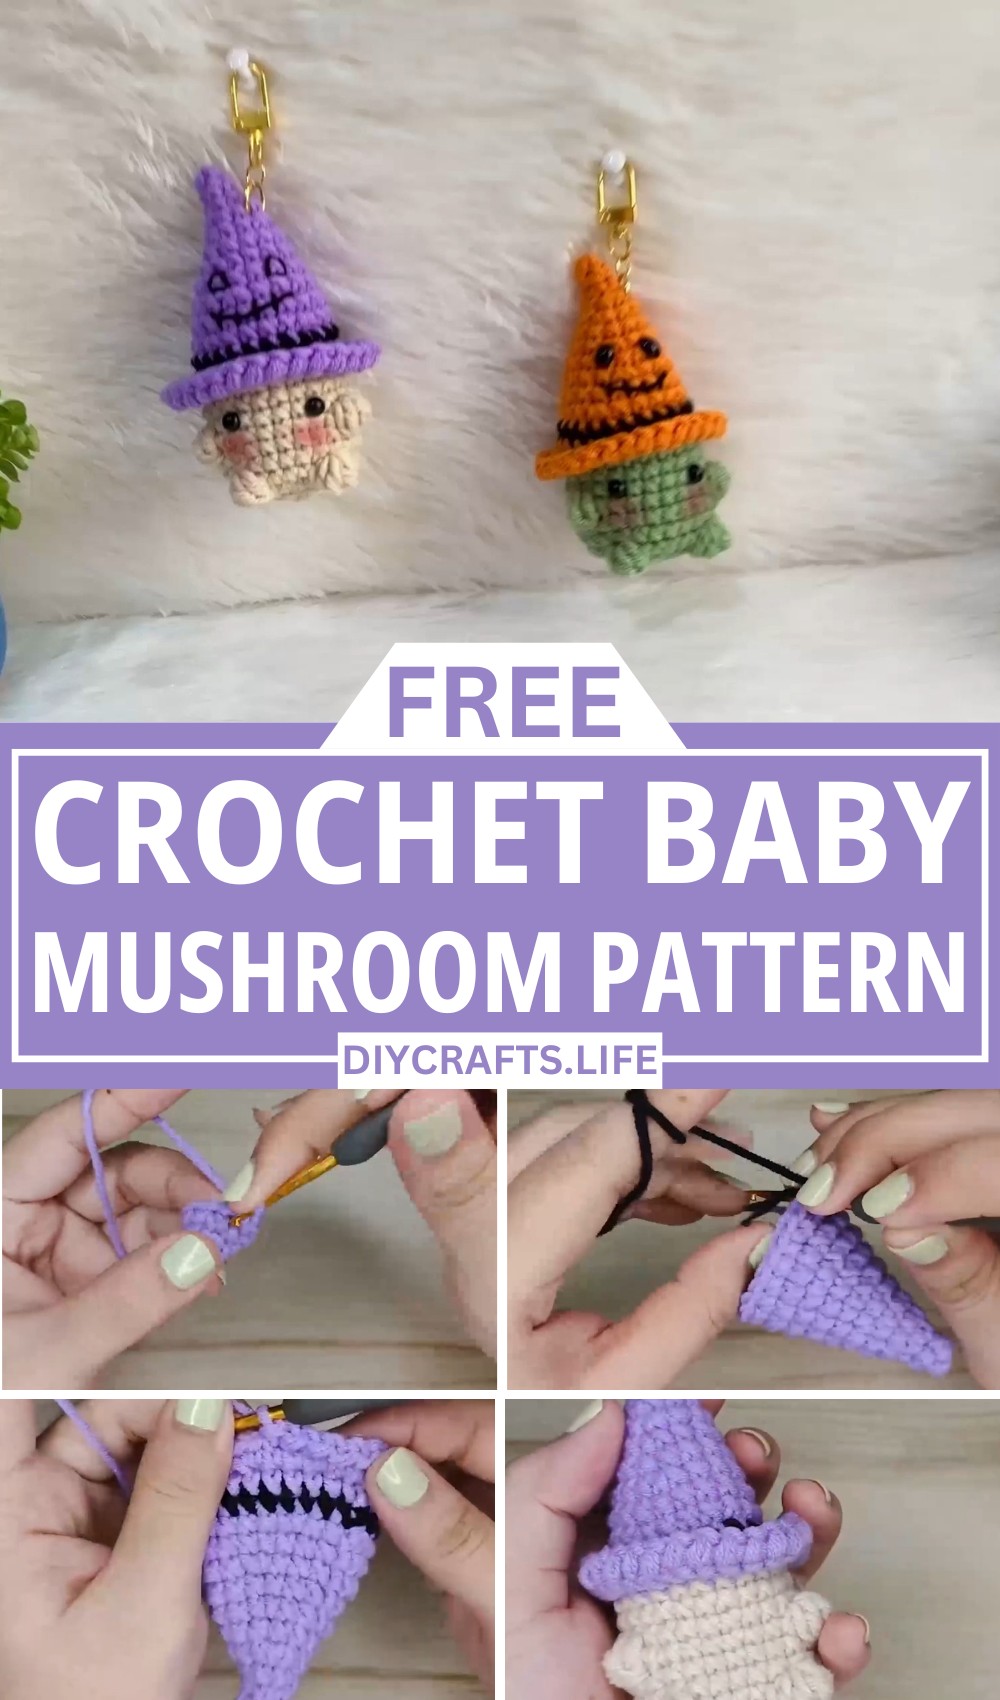
Crochet Baby Mushroom
Crafting the baby mushroom is simple and enjoyable, suitable for both beginners and advanced crocheters. With endless customization options for colors and shapes, it lets your creativity shine while providing a fun, stress-free project. It's a perfect way to relax and create!
Materials and Preparation
Materials Required:
- Yarn:
- Red yarn (for the mushroom cap)
- White yarn (for the stem and spots)
- Optional: Light brown or beige yarn (for an extra decorative stem pattern)
- Hook Size: 3.5mm - 4mm crochet hook (or as specified for your yarn weight)
- Fiberfill: For stuffing the mushroom stem and cap.
- Stitch Markers: To help keep track of rounds.
- Yarn Needle: For weaving in ends and sewing pieces together.
- Scissors: For cutting yarn.
Yarn Weight:
Use DK weight yarn or adjust based on the desired size of your mushroom.
Abbreviations and Notes
Abbreviations Used:
- MR: Magic Ring
- SC: Single Crochet
- INC: Increase (work two SC into the same stitch)
- DEC: Decrease (work two stitches together)
- SL ST: Slip Stitch
- CH: Chain
- ST: Stitch(es)
Pattern Notes:
- This project is worked in rounds unless noted otherwise.
- Use stitch markers to mark the beginning of each round for ease of tracking.
- Adjust hook size to achieve a tighter result if your stitches are loose (prevent fiberfill from showing).
- Familiarize yourself with the Magic Ring technique—it’s crucial for shaping the mushroom cap and stem.
Gauge, Approximate Size, and Pattern Notes
Gauge:
Gauge is not critical for this project, but working tightly is recommended to keep the stuffing from showing.
Finished Dimensions:
- Approximate height: 3-4 inches (depending on yarn and hook size).
- Approximate width of the mushroom cap: 2-3 inches.
Special Techniques:
- Magic Ring: Used to start both the cap and stem.
Step-by-Step Pattern
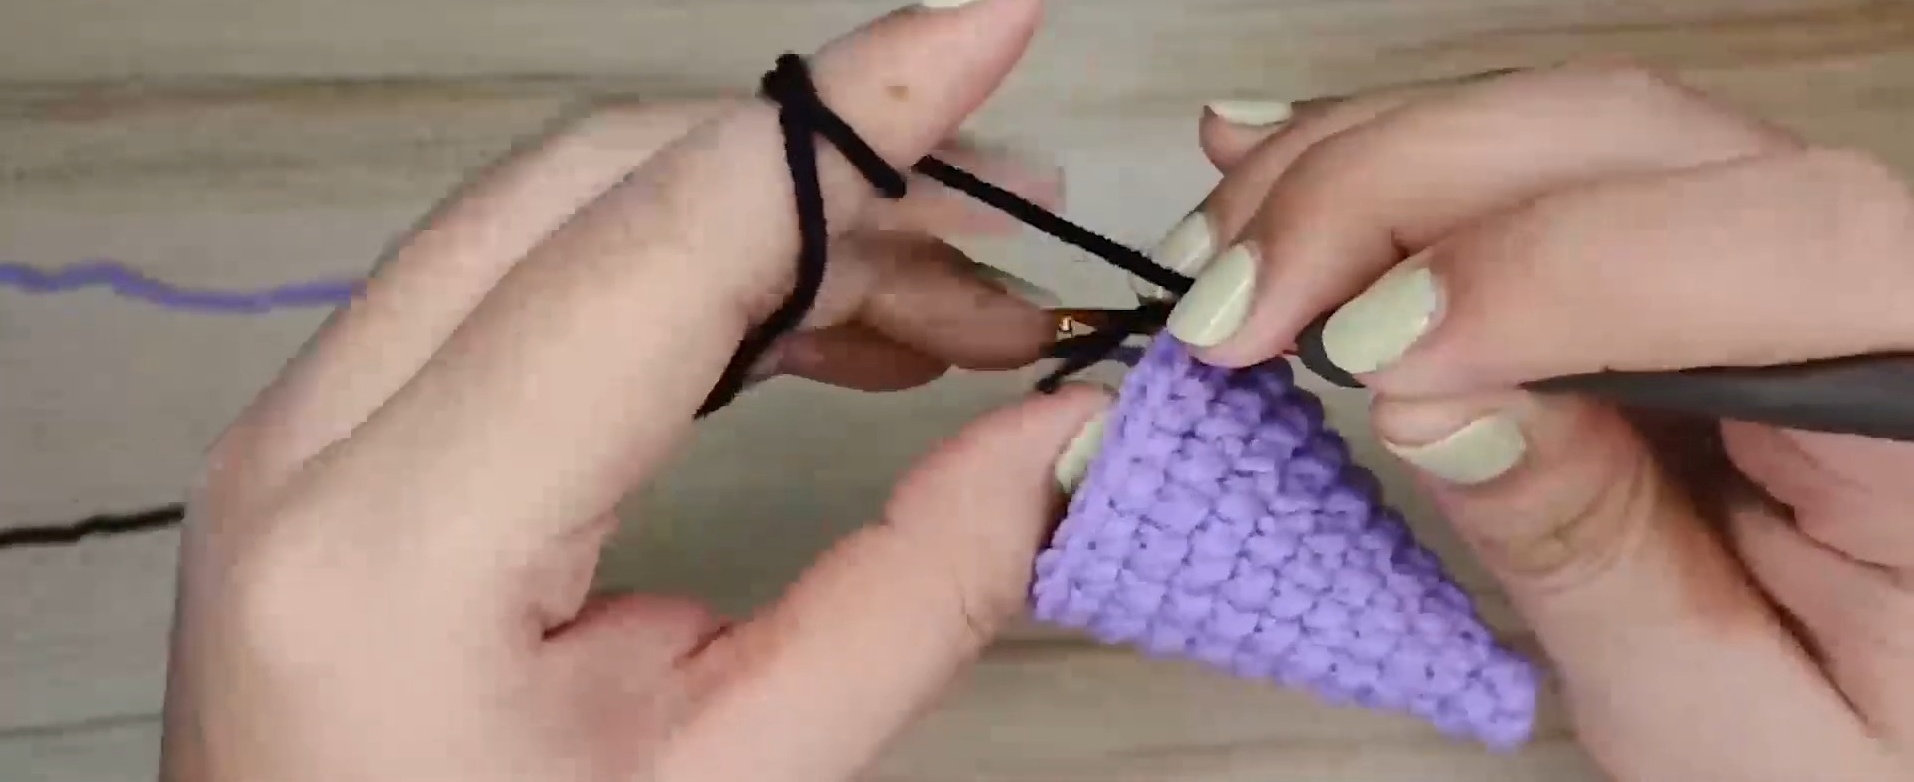
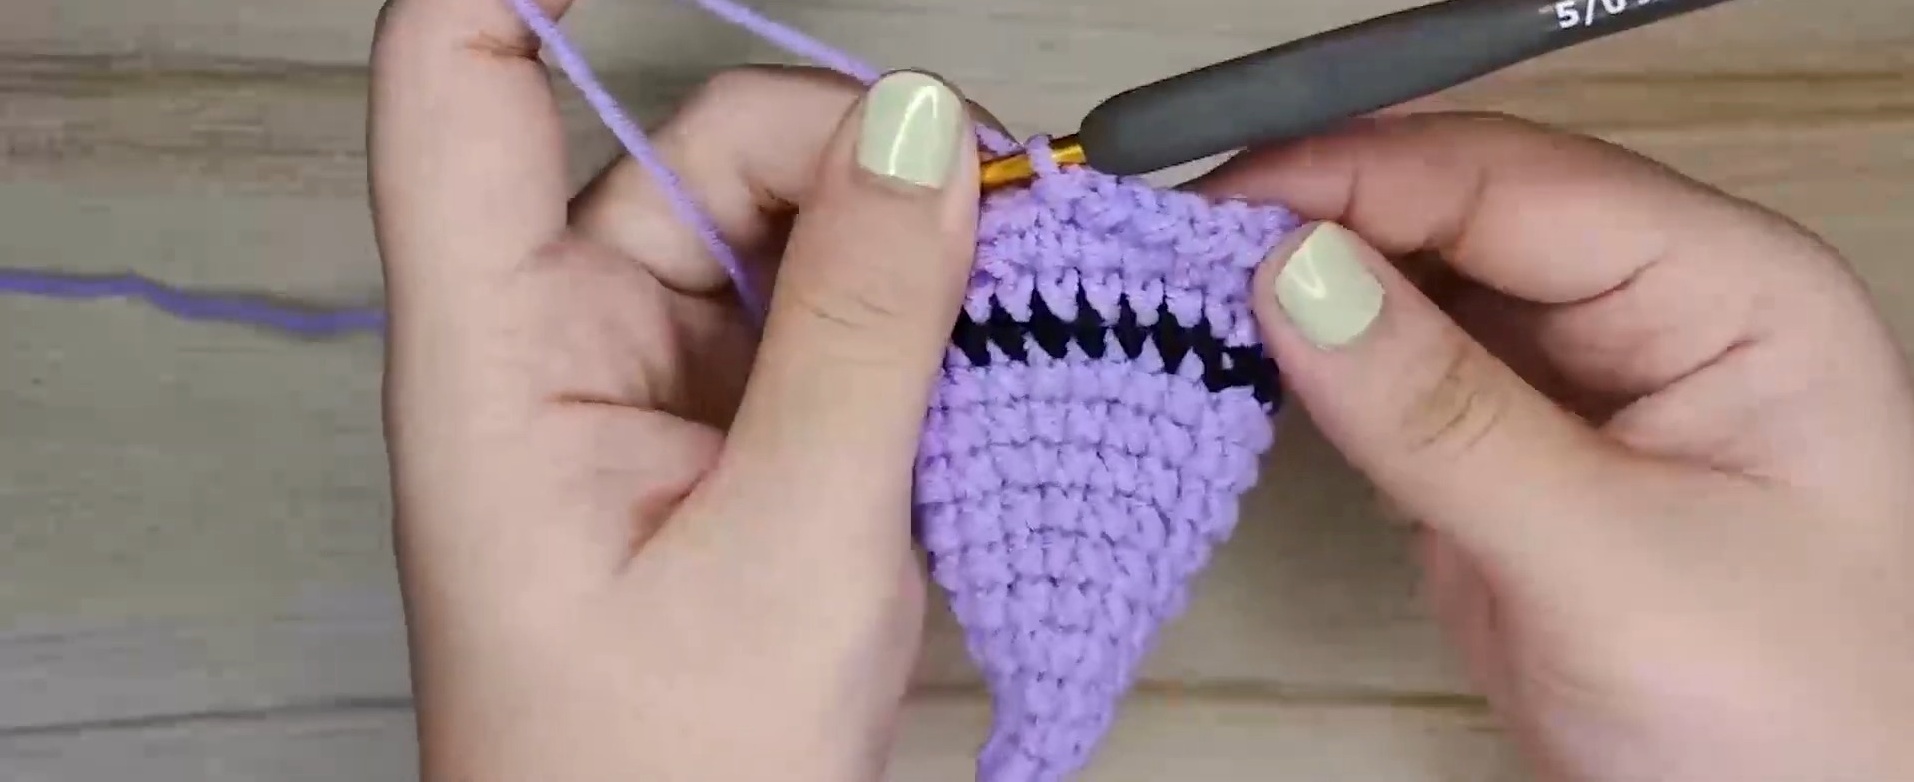
Cap (Top of the Mushroom)
- Round 1: Start with a MR. Work 6 SC into the ring. Pull tight and join with SL ST.
- Round 2: INC in each ST around (12 SC).
- Round 3: [1 SC, INC] around (18 SC).
- Round 4: [2 SC, INC] around (24 SC).
- Round 5: [3 SC, INC] around (30 SC).
- Round 6: SC evenly in each ST around (30 SC). Repeat for 3 more rounds.
- Round 7: [3 SC, DEC] around until you have reduced stitches enough to close the curve shaping. Leave a tail for sewing, if needed.
Stuff lightly with fiberfill.
Stem (Bottom of the Mushroom)
- Round 1: Start with a MR. Work 6 SC into the ring. Pull tight and join with SL ST.
- Round 2: INC in each ST around (12 SC).
- Round 3-6: SC evenly in each ST around (12 SC).
- Round 7: Reduce by performing 1 DEC after every 2 SC (9 SC).
Stuff firmly with fiberfill as you work. Adjust height based on your preference.
Spots (Optional)
- Use white yarn to work small circles (usually by making a MR and crocheting 6 SC into it).
- Sew or glue the spots onto the red mushroom cap. You can create some variety in spot sizes.
Assembly
- Sew the mushroom stem to the bottom of the cap.
- Secure firmly, ensuring a rounded and neat finish.
- Add spots, and weave in all loose ends.
Pattern Question
Question: Can the sizing of the baby mushroom be adjusted?
Answer: Yes! You can easily alter the size by using different yarn weights or hook sizes, allowing for small keychain designs or larger decorative accents.
Conclusion
The crochet baby mushroom is a charming project that blends creativity, practicality, and fun. Whether for decoration, gifting, or personal enjoyment, this delightful design is a must-try for any crochet enthusiast looking for a unique, satisfying project.


