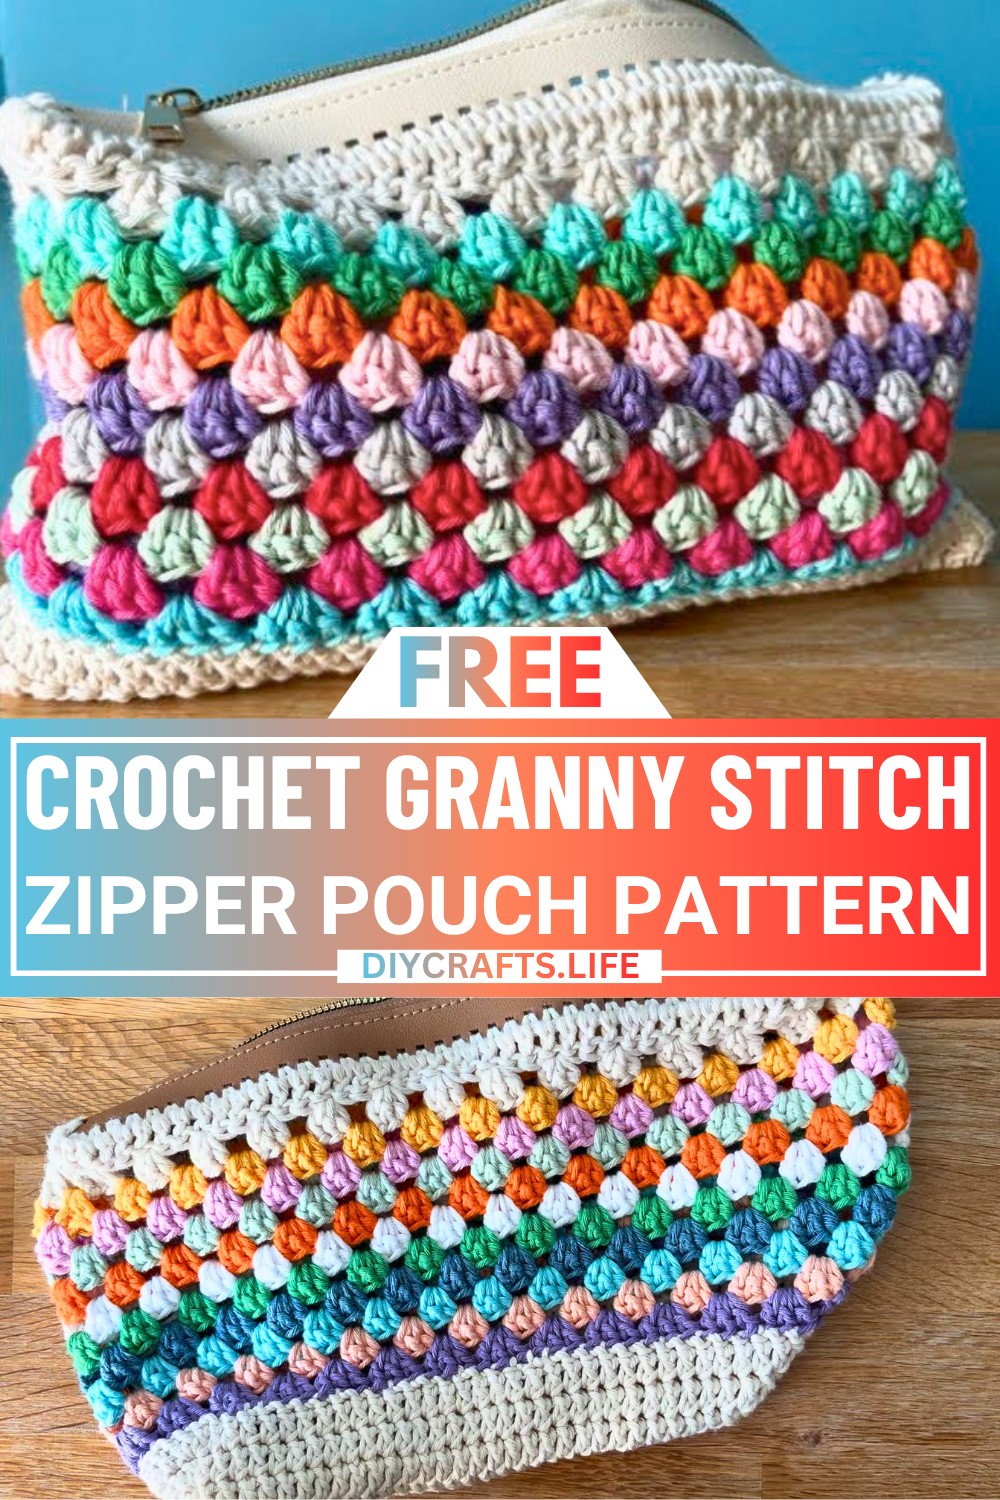
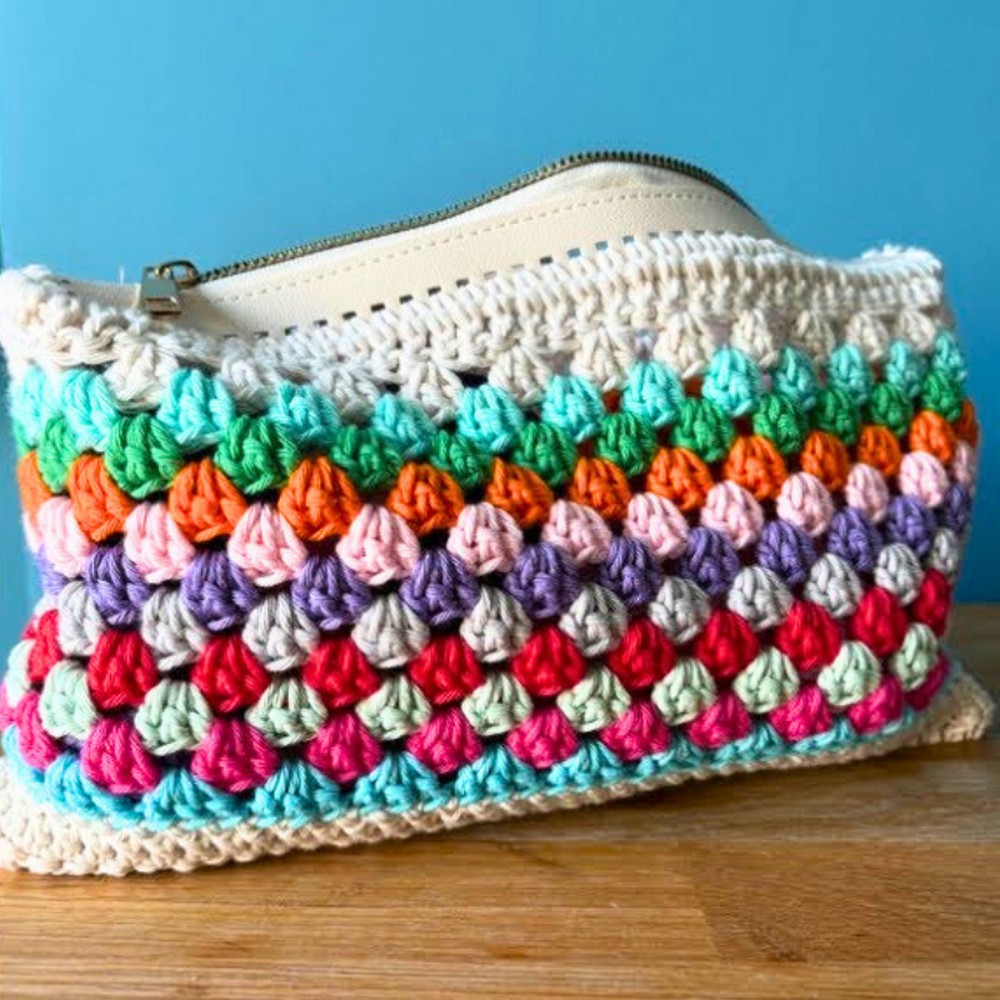
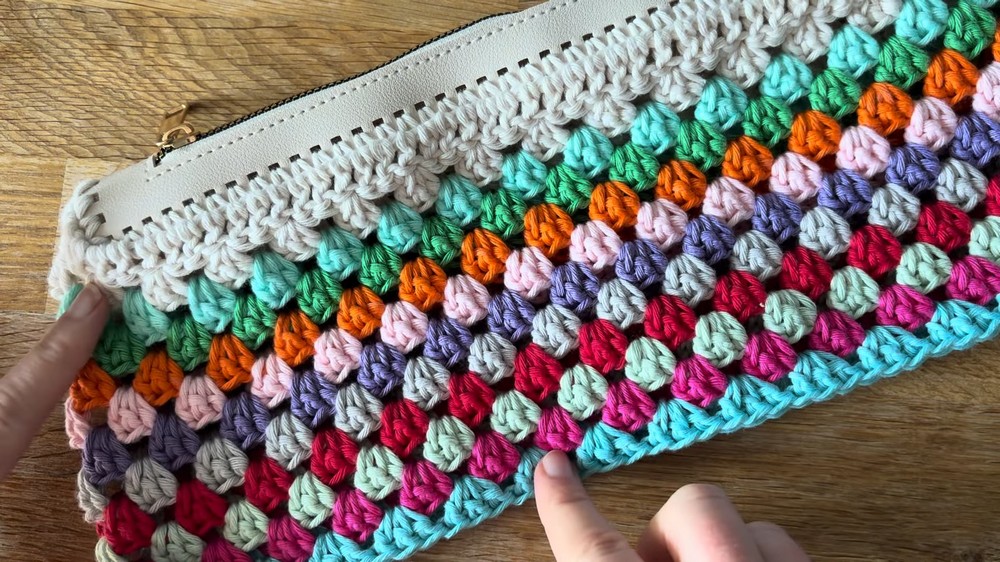
This crochet zipper pouch is a colorful and handy little bag that’s perfect for storing small items like yarn, stationery, makeup, or other essentials. Made with the classic granny stitch in bright, cheerful colors, it stands out for its unique design and charm. The addition of a faux leather zipper adds a modern twist, making it not only practical but also stylish.
This crochet pouch is lightweight and compact but has enough space to hold your essentials. It fits perfectly in your bag or looks great displayed on your desk. The granny stitch adds texture and character, while the ability to use different colors means you can make it as vibrant or subtle as you want. You can even adjust the size by choosing different weights of yarn––so it’s truly customizable!
Credit Crafted by Cat
Materials & Tools Needed
- Yarn:
- 10 different colors of aran-weight cotton yarn (approximately 5 grams of each).
- Cream-colored aran-weight cotton yarn for the main base (approximately 50 grams).
- Crochet Hook: 5 mm hook.
- Zipper: Faux leather zipper with holes (can be purchased online or through Craft by Cat’s shop).
- Additional Tools:
- Stitch markers.
- Darning needle.
Finished Size & Customization Ideas
- Finished Size: The pouch size will vary depending on your yarn and color choices, but the pattern uses about 50 grams of cream-colored yarn and 5 grams of each colored yarn for 10 granny stitch rounds.
- Customization Ideas:
- Add more or fewer granny stitch rounds to adjust the overall height of the pouch.
- Choose solid colors or gradient shades instead of multiple colors for a uniform or ombre effect.
- Embellish with beads or appliqué after completing the pouch.
Pattern Abbreviations & Terminology
Key abbreviations (US terminology):
- ch: Chain.
- sc: Single crochet.
- dc: Double crochet.
- sl st: Slip stitch.
- cluster: A group of stitches worked into the same space.
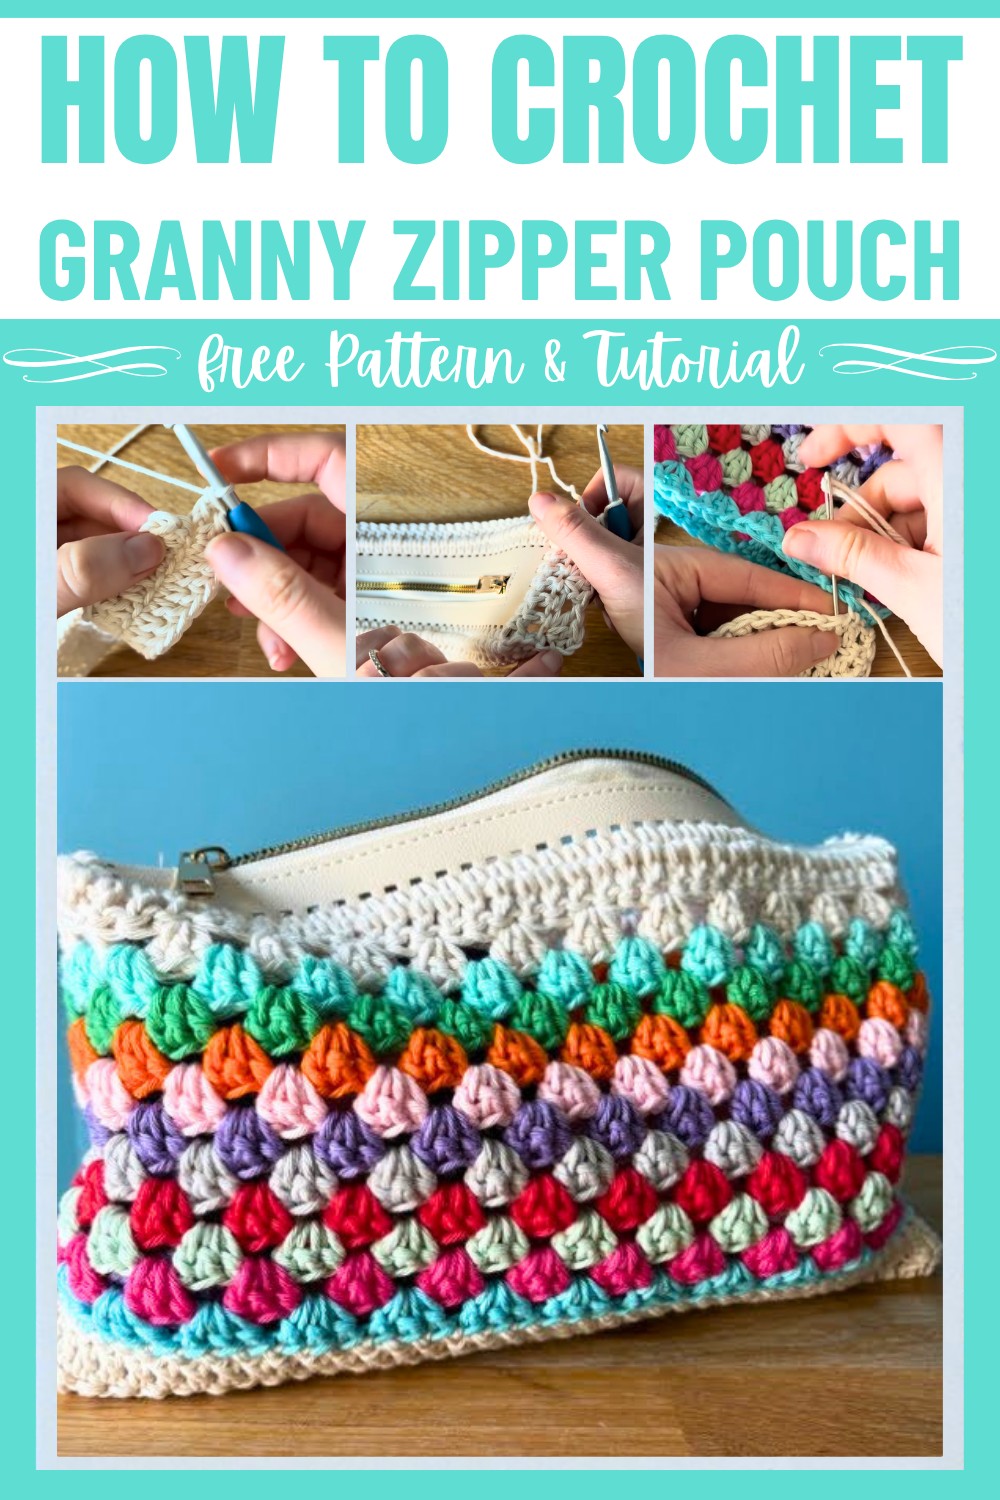
Step-by-Step Crochet Instructions
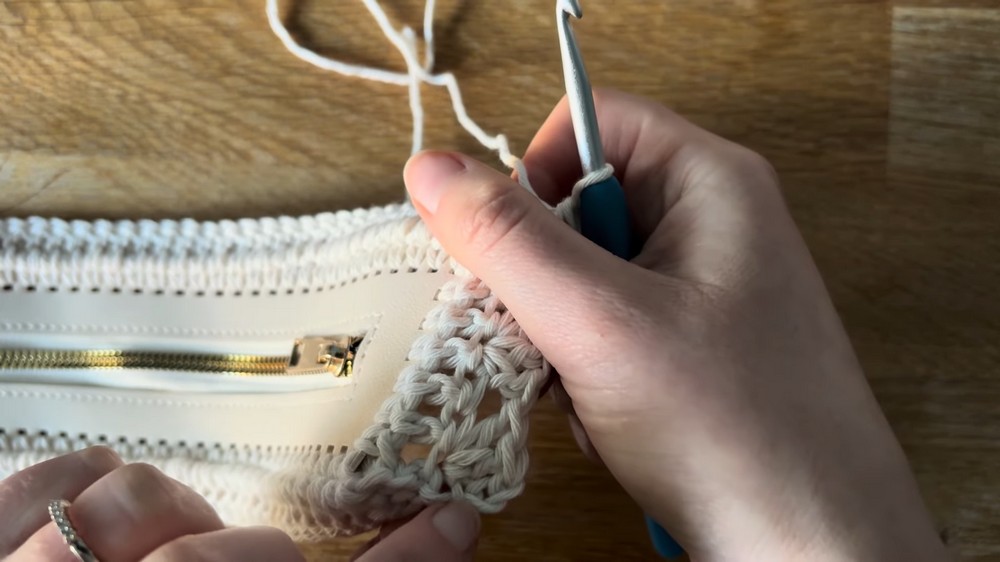
Part 1: Preparing the Zipper
- Attach Yarn to Zipper:
- Start with a slip knot on your hook.
- Insert your hook into one corner hole of the zipper.
- Yarn over and pull through the hole. Yarn over again and pull through both loops to make a single crochet.
- Repeat the single crochet into each hole along the zipper.
- At each corner, work 2 single crochets into the corner holes.
- Join the Round:
- After completing the single crochet stitches around the zipper, join with a sl st into the first stitch.
Part 2: Base Round
- Start with Double Crochets:
- Chain 3 (counts as a double crochet). Turn your work.
- Work 1 dc into each stitch until you reach the end of the round.
- End Round:
- At the end, join with a sl st to the top of the starting chain. Turn your work.
Part 3: Granny Stitch Rounds
- Setting Up the Granny Stitch:
- Chain 3 (counts as the first double crochet).
- Work 2 additional dc into the same stitch to form the first cluster.
- Create Granny Clusters:
- Skip the next 2 stitches; in the third stitch, work 3 dc.
- Repeat this sequence (skip 2 stitches, work 3 dc) across the round.
- End the Round:
- Finish by skipping the last 2 stitches and joining with a sl st into the top of the chain 3 from the start.
- Color Changes:
- Fasten off the current color and join a new yarn to one of the spaces between granny clusters.
- Repeat Granny Rounds:
- Work 3 dc clusters in every space between granny clusters from the previous round.
- Continue for a total of 10 rounds or until you reach your desired height.
Part 4: Crochet the Base Panel
- Start the Base:
- Using the cream-colored yarn, make a slip knot and chain 43.
- Work Double Crochets:
- Start in the third chain from your hook and work 1 dc in each chain.
- At the last chain, work 3 dc to create a rounded edge.
- Mark the Stitches:
- Place a stitch marker in the second dc of the 3 dc cluster to identify the rounded edge.
- Work along the Back of the Chain:
- Rotate your work and begin working down the backside of the foundation chain.
- Work 1 dc in each stitch across. At the last chain, work 3 dc (place a stitch marker in the second dc as before).
- Rounds for the Base:
- Continue working dc rounds for a total of 4 rounds.
- Increase 3 dc in the marked stitches at both rounded ends of the base.
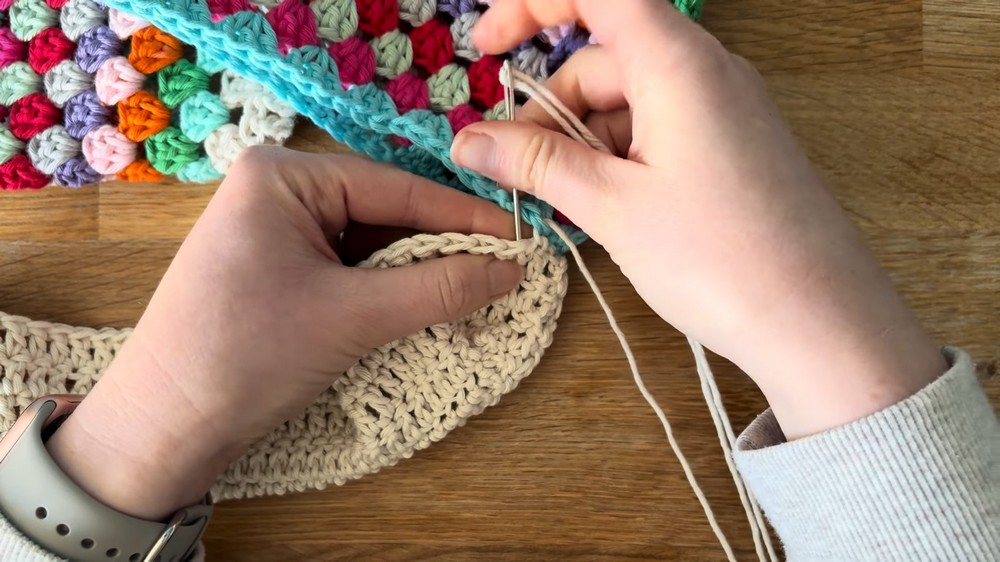
Part 5: Assemble the Pouch
- Joining the Base to the Pouch:
- Fasten off the base with a long tail. Thread the tail onto a darning needle.
- Align the base of the pouch to the granny stitch body.
- Use whip stitches, going under each stitch along the edges, sewing the base to the pouch evenly.
- Finishing Touches:
- Weave in all loose ends using your darning needle.
- Check for any gaps and secure the pouch by sewing over any missed edges.
Finishing & Usage
- Your granny stitch zipper pouch is now complete!
- It’s perfect for storing yarn, craft supplies, or small accessories. Enjoy your newly crafted pouch!