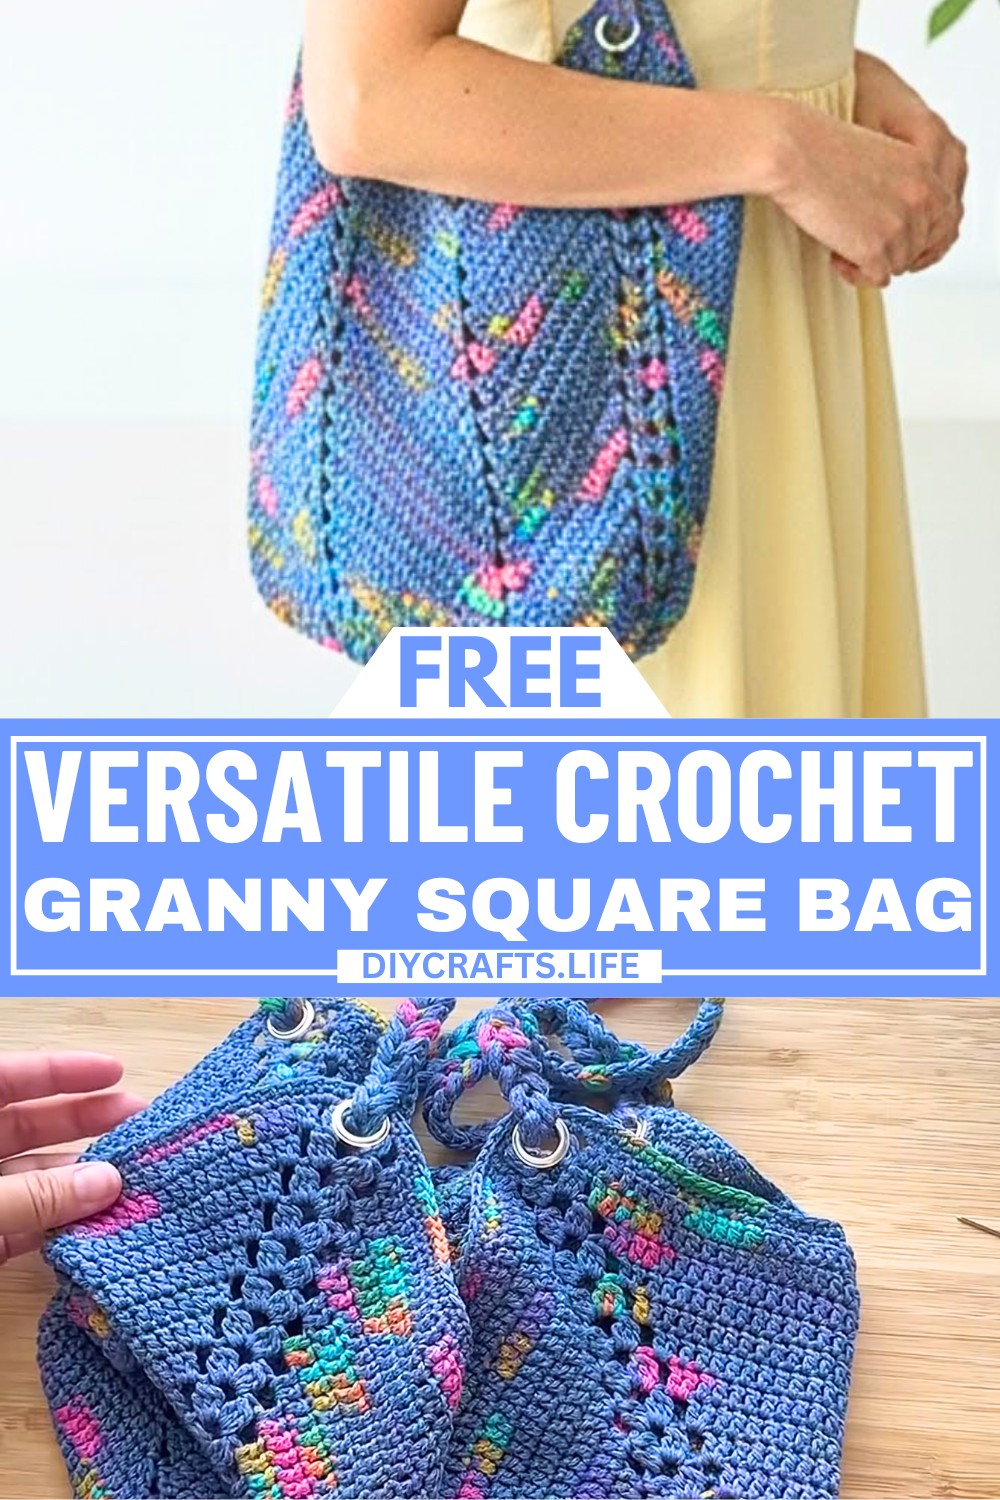
A granny square bag isn't just a bag—it's a beautiful, handmade piece you can carry every day. Made using one of the most popular and beginner-friendly crochet techniques, this Crochet bag is colorful, stylish, and practical. It’s perfect for carrying your essentials, whether you’re shopping, heading to school, or just going for a stroll. The braided strap and the optional chrome accents make it even more special, giving it a modern twist while keeping the classic charm of granny square crochet.
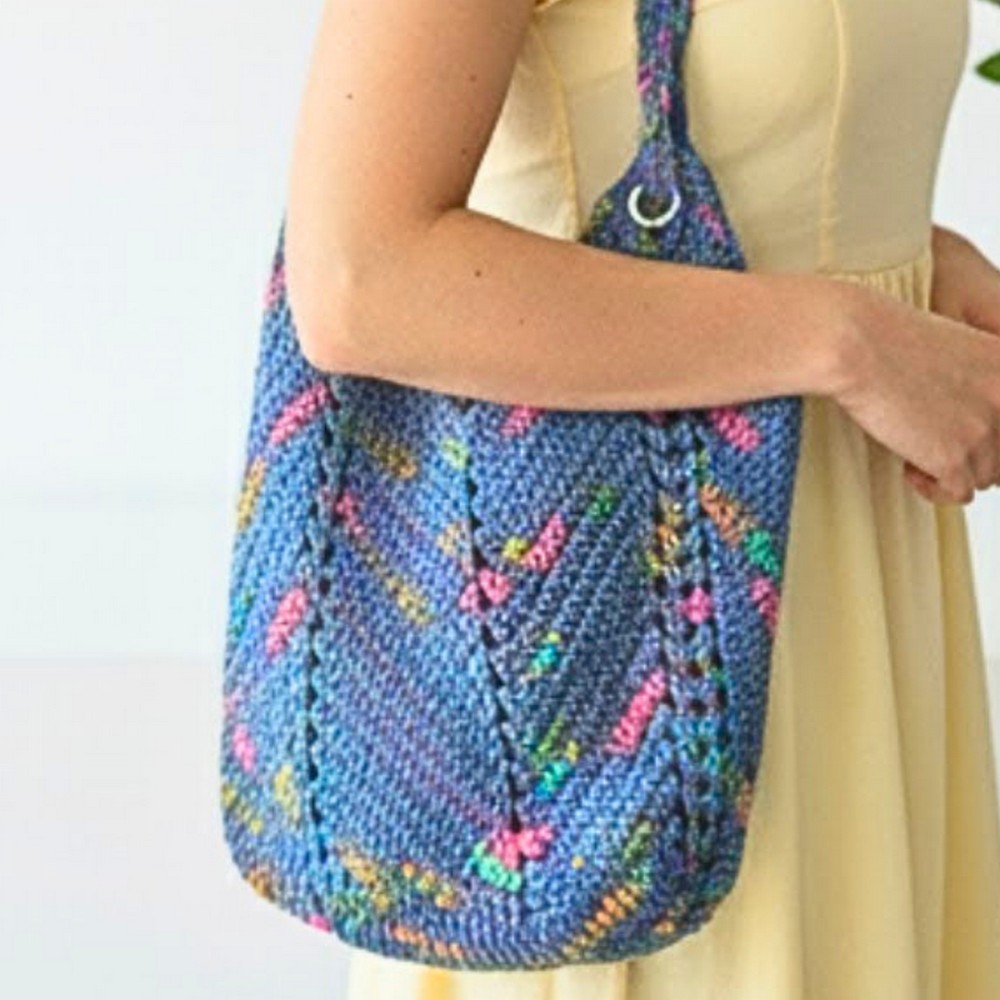
The base of the bag starts as a flat granny square with textures like puff stitches and double crochets. As you work, the square grows into a functional and attractive shape. What’s great about this design is its versatility—you can choose your favorite colors to match your wardrobe or make it a fun mix of shades. The crochet bag is topped off with braided straps, adding both support and a touch of elegance. Beginners especially will love how simple and enjoyable it is, with clear steps to follow.
Credit Tasty Dumpling Living
Materials & Tools Needed
- Yarn: Barocco Splash (Organic Cotton, made in Italy)
- Hook Size: 3mm crochet hook
- Other Tools:
- Stitch markers (to mark key points like corners and centers)
- Tapestry needle (for joining and weaving in ends)
- Grommet set (optional for strap attachment)
- Hammer (if using grommets)
- Scissors
Finished Size
- Base Size: Approximately 9 inches (23 cm) wide.
- Bag Height (Short Side): 8 inches (20 cm).
- Bag Height (Tall Side): 11 inches (28 cm).
- Strap Length: 20 inches (approx. 51 cm).
- The size can be adjusted by increasing or reducing the number of rounds in the base or altering the height during the decrease rounds.
Customization Ideas
- Change the yarn color for a unique look.
- Use metallic or contrasting straps for a modern twist.
- Add tassels, pom-poms, or crocheted embellishments for more personalization.
Pattern Abbreviations & Terminology
The pattern uses US crochet terms.
- PS: Puff Stitch
- CH: Chain
- DC: Double Crochet
- SC: Single Crochet
- HDC: Half Double Crochet
- YO: Yarn Over
- SL ST: Slip Stitch
- SK: Skip
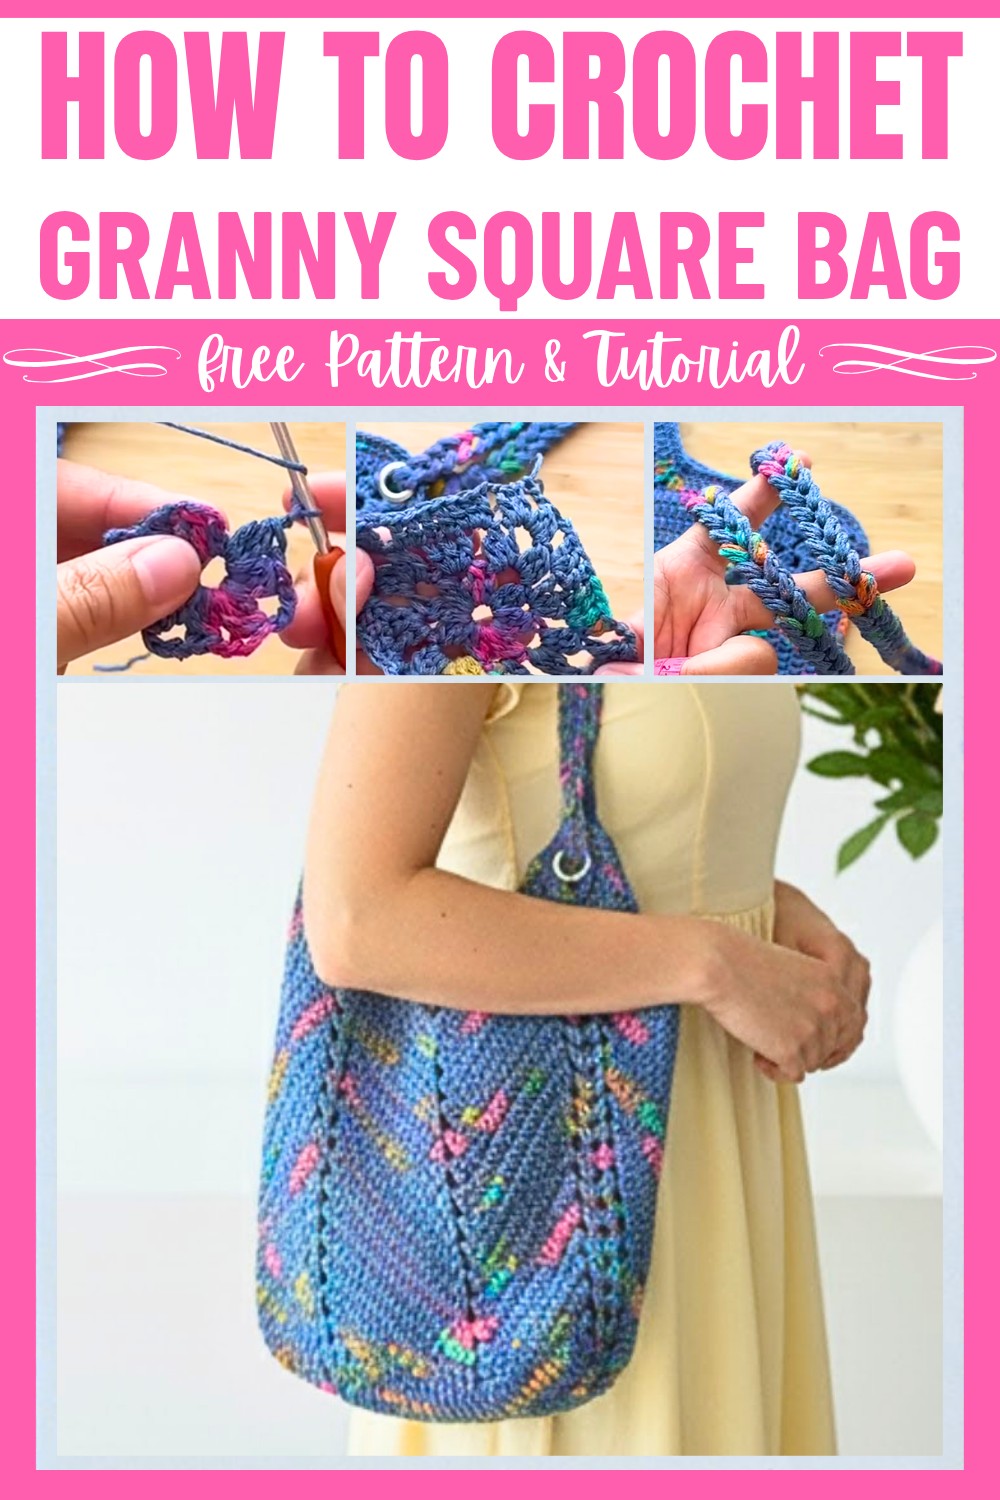
Step-by-Step Crochet Instructions
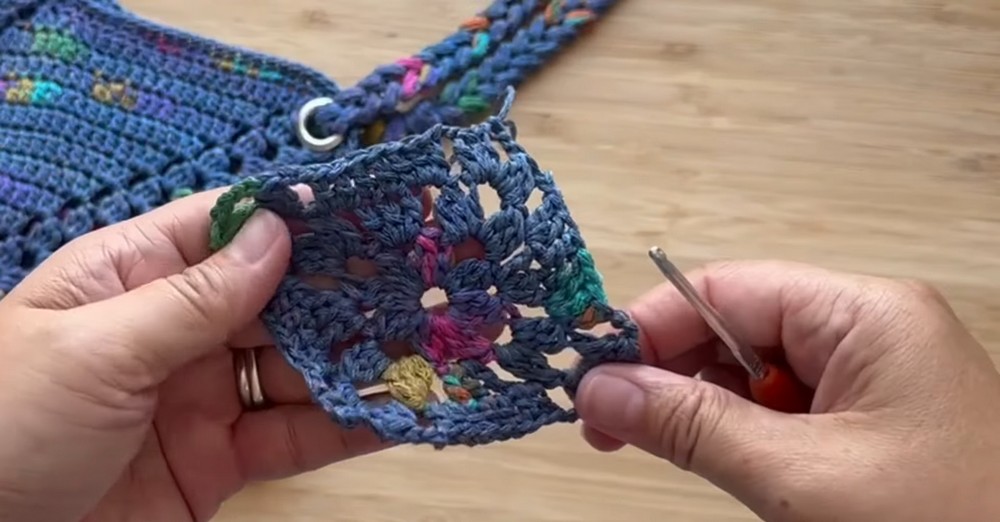
1. Create the Granny Square Base
The base is a square shape made using puff stitches for the corners and double crochets on the sides. Follow these steps:
Round 1:
- Create a magic ring.
- Chain 1 (CH 1). Begin the first puff stitch (PS):
- YO, insert hook into the magic ring, pull up a loop.
- YO, pull up another loop.
- Repeat until you have 3 loops on your hook.
- YO, pull through all loops, and secure with a chain (CH 1).
- First puff stitch created.
- Chain 1 (CH 1), then work 7 puff stitches separated by CH 1 in the magic ring.
- After the last PS, chain 3 (for the first corner).
- Close the round by joining with a modified SL ST. Instead of a regular SL ST, CH 1 and work an HDC into the top of the first puff stitch. This positions the yarn in the corner.
Round 2:
- Begin in the corner: Chain 1, work 1 PS, CH 3, then another PS in the same corner space.
- CH 2, DC 3 in the next chain space (between puff stitches on the sides).
- CH 2 and continue working the corners with 2 PS separated by CH 3.
- Repeat and join the round as before (HDC into the first puff stitch).
Round 3 onwards:
- Continue building the square by adding extra double crochets into the side chain spaces:
- Each side increases by 2 DCs per row (1 DC on each side of the existing group).
- Corners always have 2 PS separated by CH 3.
- Work until the base measures approximately 9 inches (23 cm) or desired width.
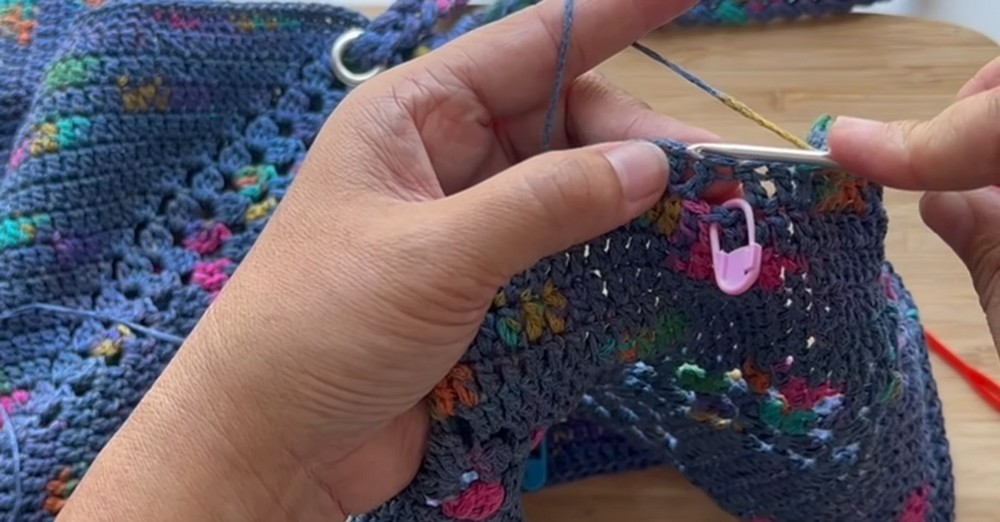
2. Start Decreasing for the Bag Body
After completing the square base, the bag body is worked by decreasing at each side.
First Decrease Row:
- Place stitch markers at the center of each side.
- If using 10 rounds for the base, you’ll find 19 DCs per side. Mark the center stitch.
- Work each corner as usual: 2 PS separated by CH 3.
- On the sides:
- Work double crochets as normal until 1 stitch before the marker.
- Skip 3 stitches (center 3 stitches, including the marked center stitch).
- Then continue with DCs on the other side.
- Repeat for all 4 sides, decreasing 3 stitches per side.
Subsequent Decrease Rows:
- Continue the same approach, but instead of skipping 3 stitches, decrease by 4 stitches:
- DC 2 together before the marker.
- Skip the marked stitch and the one after it.
- Then DC 2 together after the skipped stitches.
- As you work upwards, the sides of the bag will gradually narrow.
Stop Decreasing:
- Work until the bag body reaches approximately 8-11 inches tall, or your preferred height.
3. Add a Stabilizing Single Crochet Border
- After completing the decrease rounds, add 2 rounds of single crochet (SC) around the top edge of the bag to stabilize and strengthen the opening.
- In the valley of each "V" decrease, SC 2 together to maintain shape.
- At the corners, work 2 SC into the chain spaces.
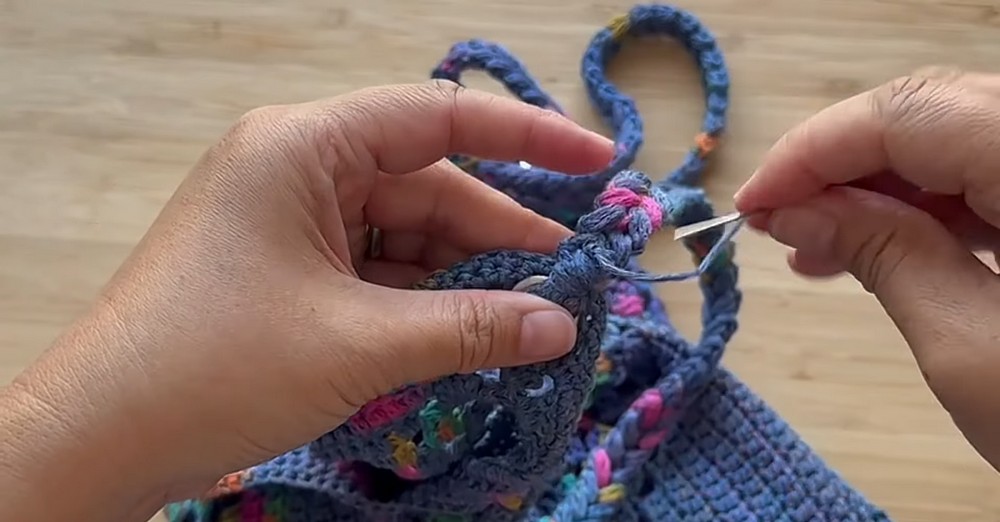
4. Make the Braided Straps
Instructions for One Strap:
- Leave a long starting tail for sewing later.
- Create a slip knot and chain 4 (CH 4).
- Work a puff stitch (PS) into the first chain:
- YO, pull up a loop (3 times), then YO and pull through all loops. CH 1 to secure.
- Turn your work. For the next row:
- YO, insert your hook between the chain and the first puff stitch, pull up 3 loops, YO, and pull through all loops.
- CH 1 to secure.
- Continue this method, always inserting your hook into the gap between the stitches to create a braided strap look.
- Make the strap 20 inches (51 cm) long or desired length.
5. Attach the Straps
- If using grommets:
- Insert the long end of the strap through the grommet and fold it over by about 1.5 cm.
- Sew securely using the yarn tail and tapestry needle. Use tight, consistent stitches.
- Without grommets:
- Attach the strap directly to the bag on the inside using the same method.
Finishing Touches
- Weave in all loose ends securely.
- Block your bag to give it a clean, finished look if desired.
- Add embellishments like tassels or lining for added functionality and beauty.