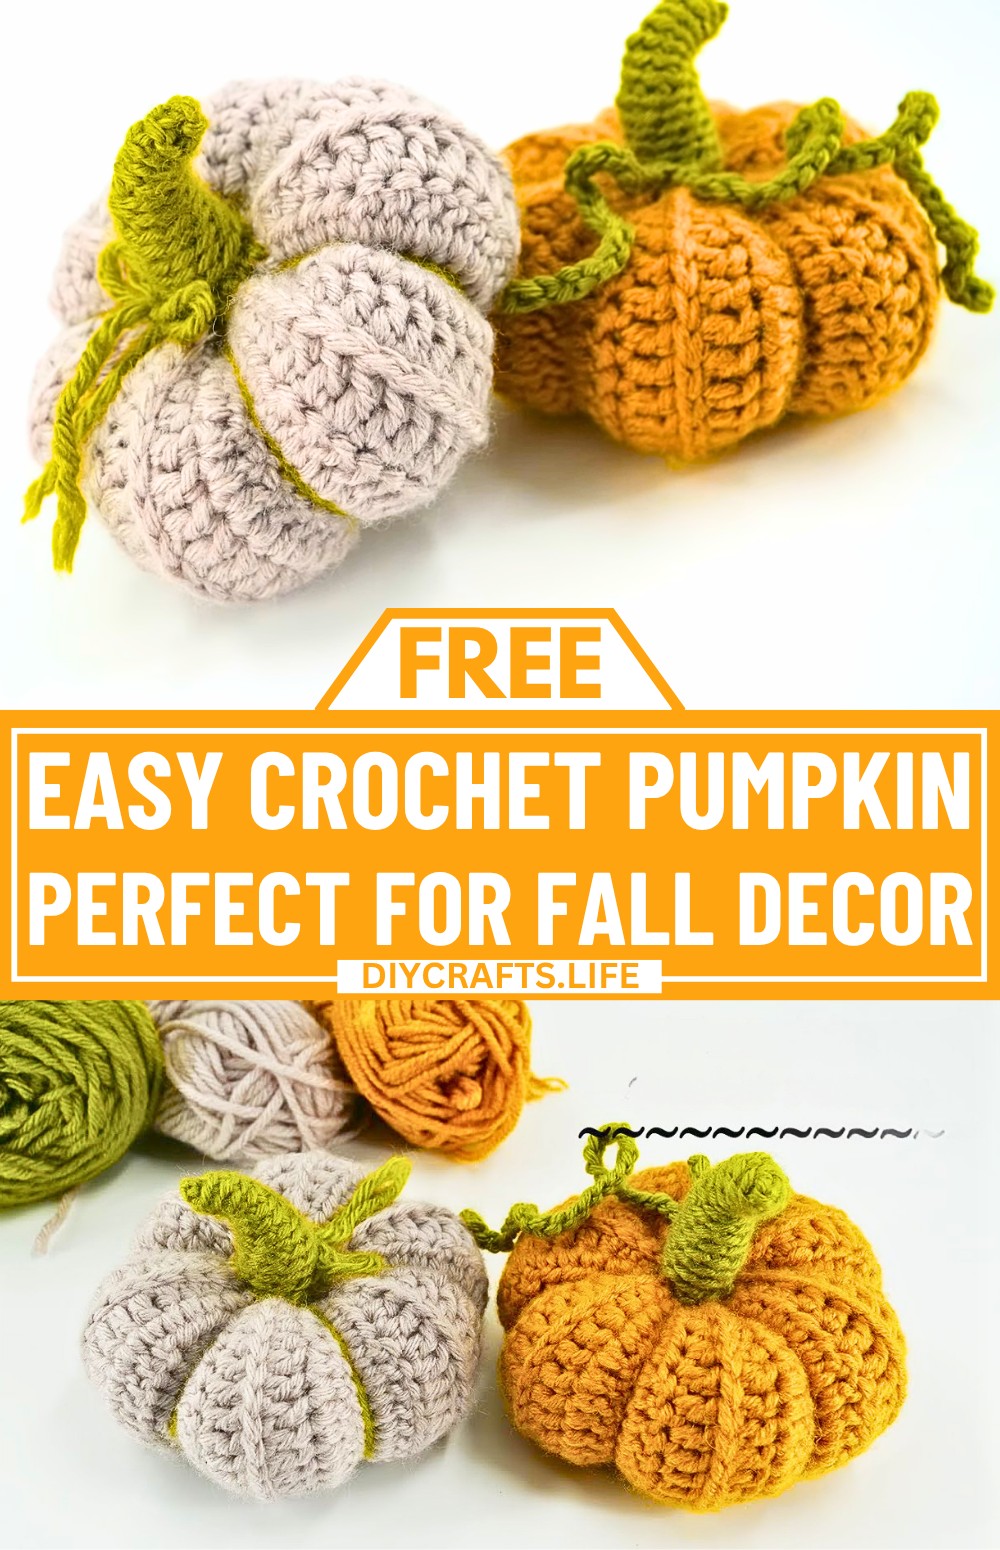
This crocheted pumpkin is a fun way to create something special for fall. These adorable little pumpkins are perfect for decorating your home or adding a handmade touch to Halloween and Thanksgiving celebrations. Their soft texture and colorful appearance make them stand out. You can make them as large or small as you like by choosing different yarns and hooks.
Easy Pumpkin Crochet Pattern
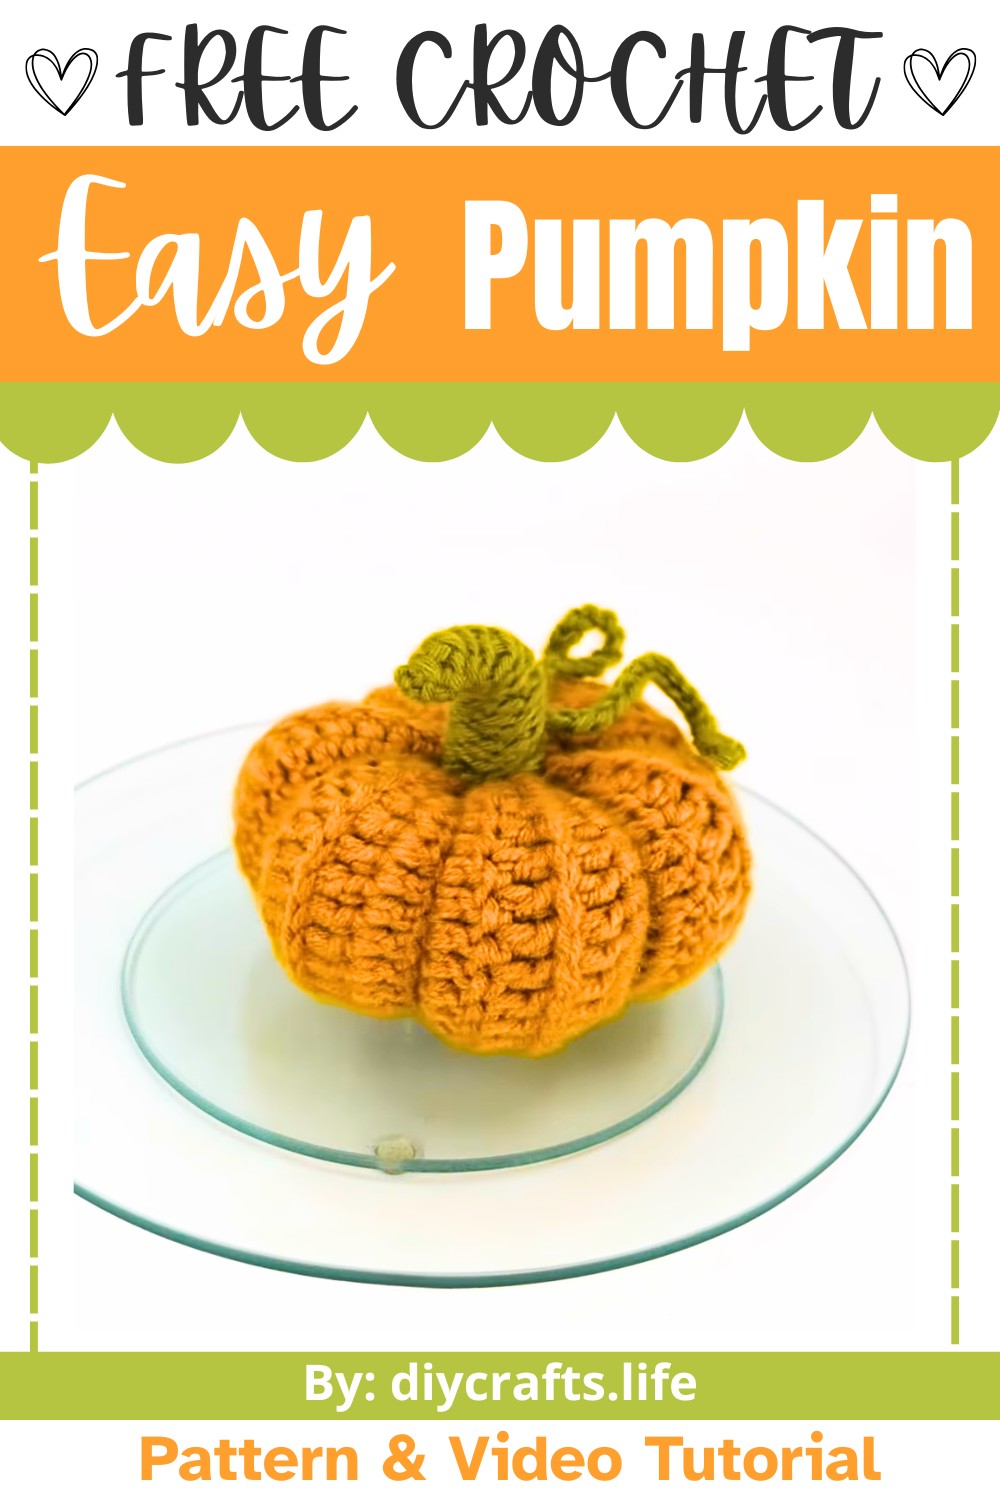
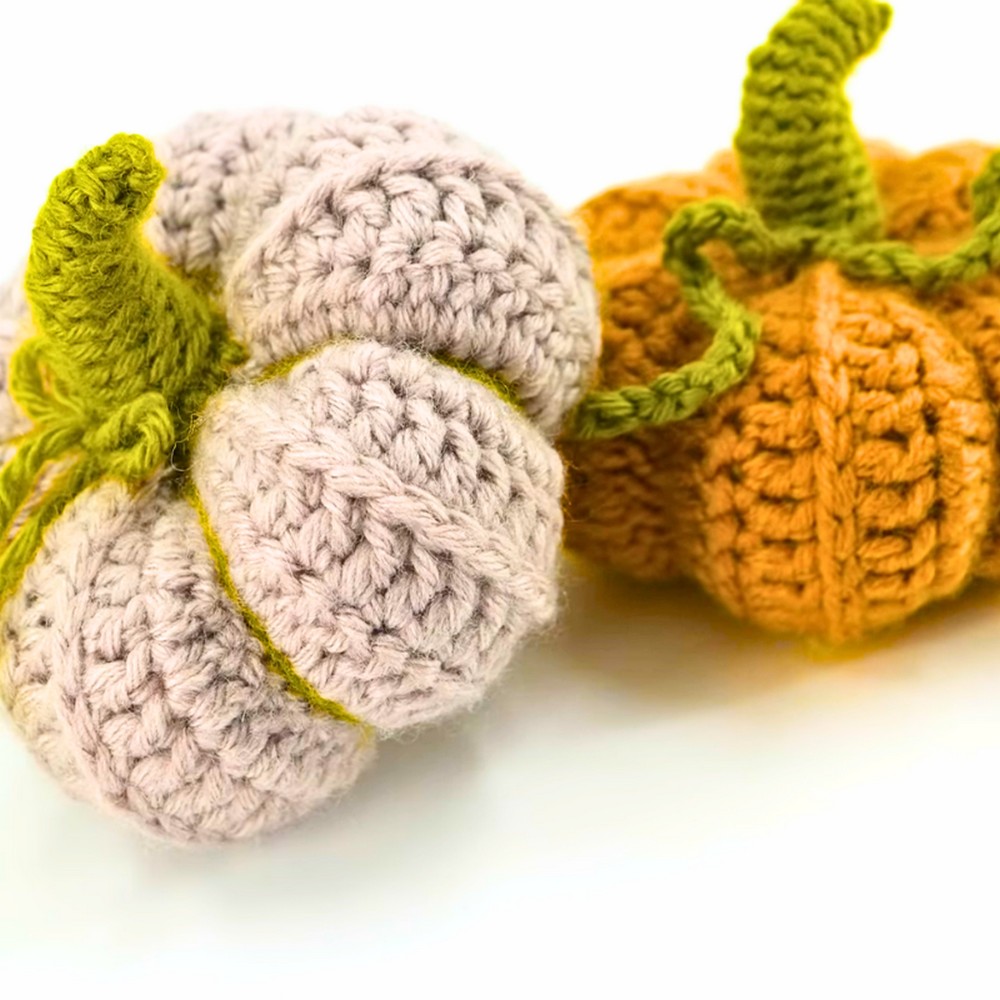
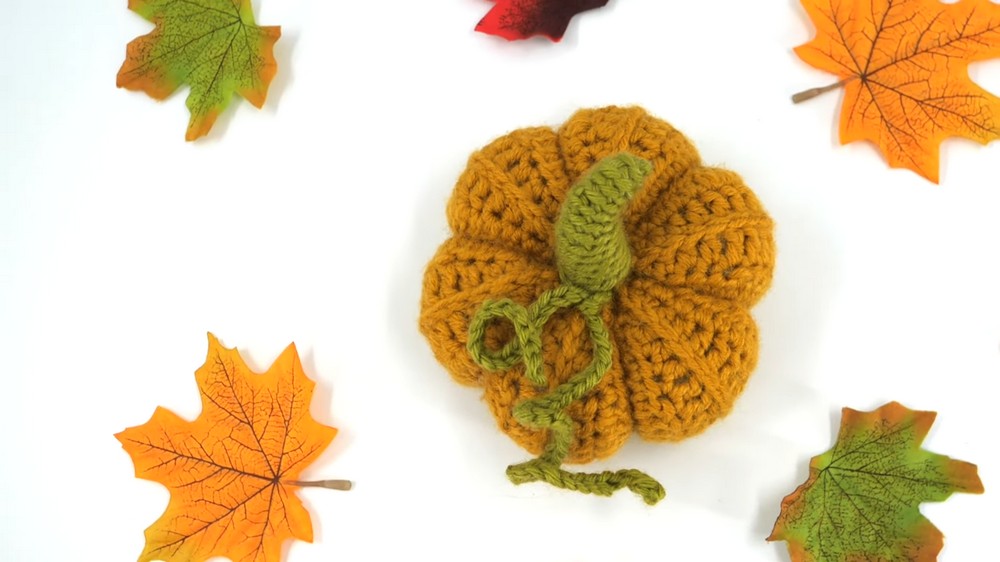
With this crochet pattern, you’ll create six distinct ridges on the pumpkin, giving it its classic shape. Adding a cute little stem and tendril brings it to life, ensuring it resembles a real crochet pumpkin. Whether you use bright orange, soft green, or even pink-gray yarn, each pumpkin you make will have its own personality and charm. It's a simple creation suitable for beginners and can be enjoyed as part of festive home décor, as a gift, or even as a cozy seasonal toy.
Credit «Knitting School by Kateryna Mushyn»
Materials and Tools Needed
- Yarn: Alize SuperLana Maxi (25% wool, 75% acrylic, 100 g/100 m [109 yds]).
- Pumpkin body: Orange, pink-gray, or green (50 g per pumpkin).
- Stem and tendril: Green yarn.
- Crochet Hook: 4.5 mm.
- Additional Items: Stitch marker, scissors, yarn needle, and toy stuffing.
Finished Size
- Diameter: Approx. 13 cm (when using Alize SuperLana Maxi yarn).
- Customization Tip: If using finer cotton yarn (e.g., YarnArt Creative), the pumpkin will have a smaller diameter.
Pattern Abbreviations & Terminology
This pattern uses US crochet terminology:
- ch: Chain
- sl st: Slip Stitch
- sc: Single Crochet
- hdc: Half Double Crochet
- dc: Double Crochet
- tbl: Through Back Loop
Step-by-Step Detailed Crochet Instructions
Pumpkin Body
- Foundation Chain:
- With the main color yarn, chain 21.
- Row 1:
- Slip stitch in the 2nd chain from the hook,
- Single crochet in the next 2 chains,
- Half double crochet in the next 3 chains,
- Double crochet in the next 8 chains,
- Half double crochet in the next 3 chains,
- Single crochet in the next 2 chains,
- Slip stitch in the last chain.
- (Total: 20 stitches)
- Row 2:
- Chain 1, turn.
- Slip stitch in the next stitch,
- Single crochet in the next 2 stitches,
- Half double crochet in the next 3 stitches,
- Double crochet in the next 8 stitches,
- Half double crochet in the next 3 stitches,
- Single crochet in the next 2 stitches,
- Slip stitch in the last stitch.
- Row 3:
- Chain 1, turn.
- Slip stitch across all 20 stitches.
- Row 4:
- Repeat Row 2.
- Repeat Rows 3–5 (alternating sequence) until Row 35.
- You'll have: 6 ridges on the right side and 5 ridges on the wrong side.
- The final ridge on the wrong side will be the seam.
- Fasten Off:
- Leave a long tail (approx. 1.5 m / 60 in) for seaming and gathering.
- Pull yarn through the last loop to secure.
Gather First Edge
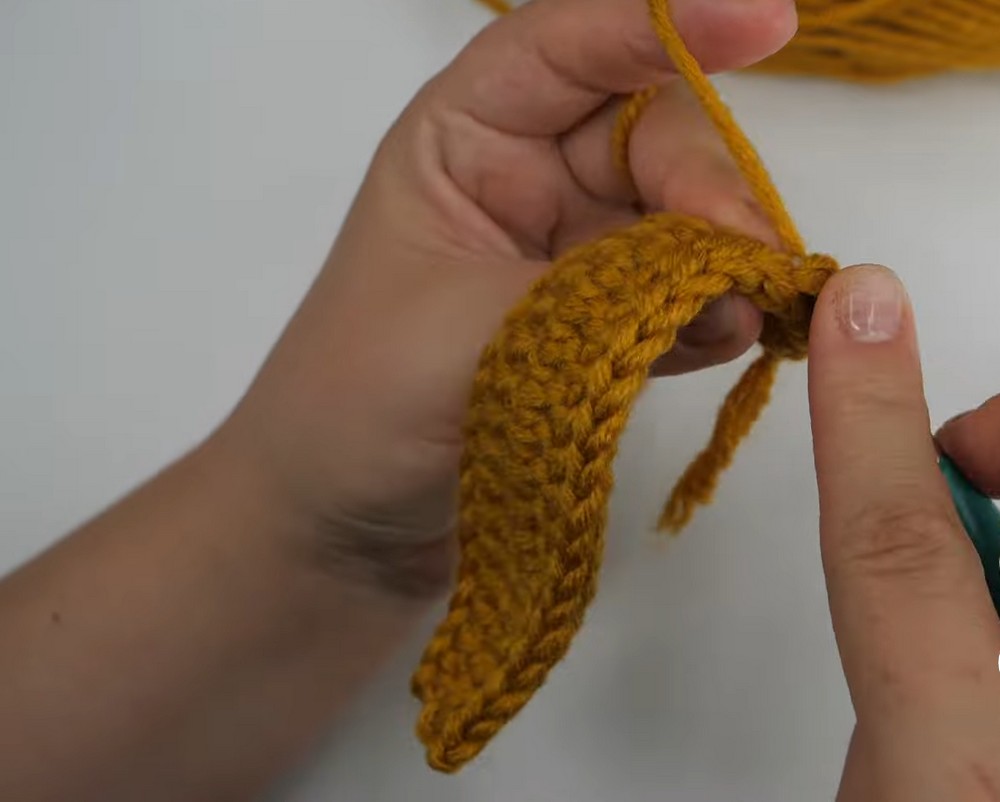
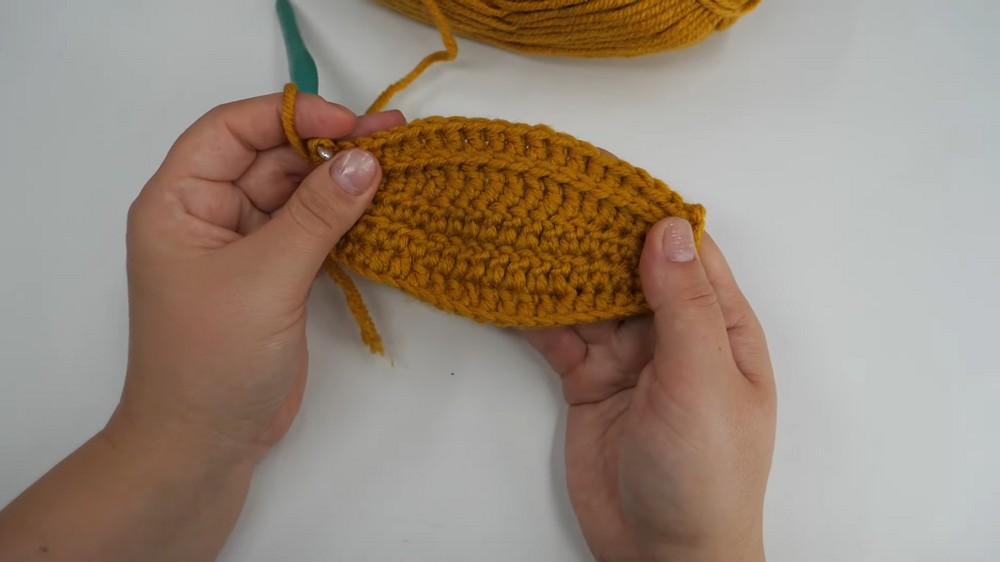
- Step 1: Using the long tail and a yarn needle, weave through the stitches on one short edge (side of the rows).
- Step 2: Pull the yarn tightly to gather the edge into a closed circle.
- Step 3: Repeat the weaving to reinforce and ensure the gathering is secure.
- Step 4: Turn the fabric inside out for seaming.
Seam the Body
- Align the final row with the starting chain.
- Use the mattress stitch:
- Insert the needle under both loops of each stitch on the final row.
- Then insert under one loop of each chain from the starting chain.
- Seam the edges together to form an invisible join.
- Turn the piece right side out.
Stuff the Pumpkin
- Firmly fill the body with toy stuffing, shaping it evenly as you go.
- Gather the second edge (using the same process as the first edge).
- Pull tightly to close the top, and repeat the weaving to reinforce.
Shape the Pumpkin
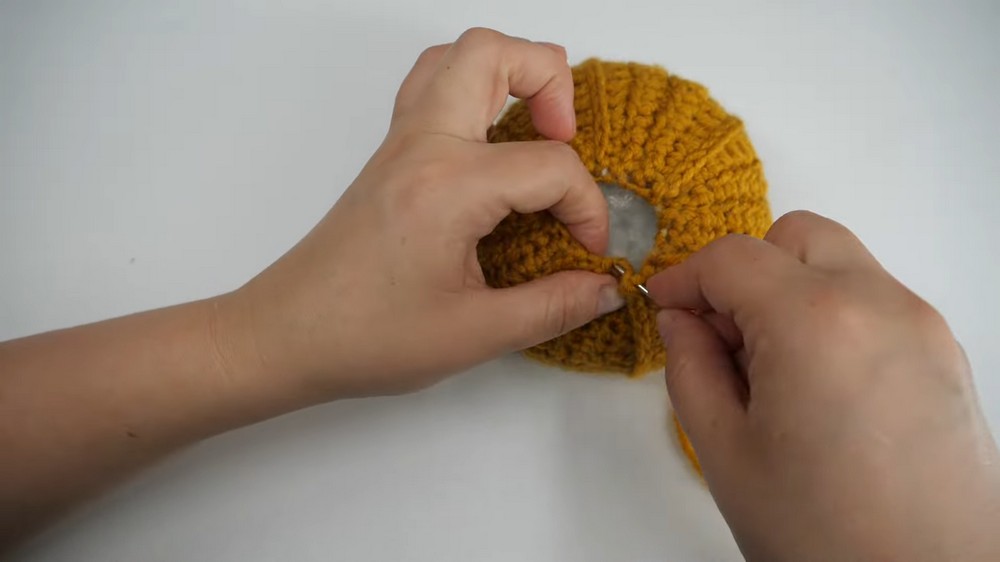
- Create Indentations:
- Insert your hook through the center of one side and bring it out the opposite center.
- Catch the yarn tail with the hook and pull it through.
- Position the yarn over a groove and pull tightly to define the indentation.
- Repeat 6 times across the pumpkin, evenly spacing indentations (forming 6 sections).
- Secure the yarn end and weave it into the pumpkin to hide it if desired.
Pumpkin Stem
- Foundation Chain:
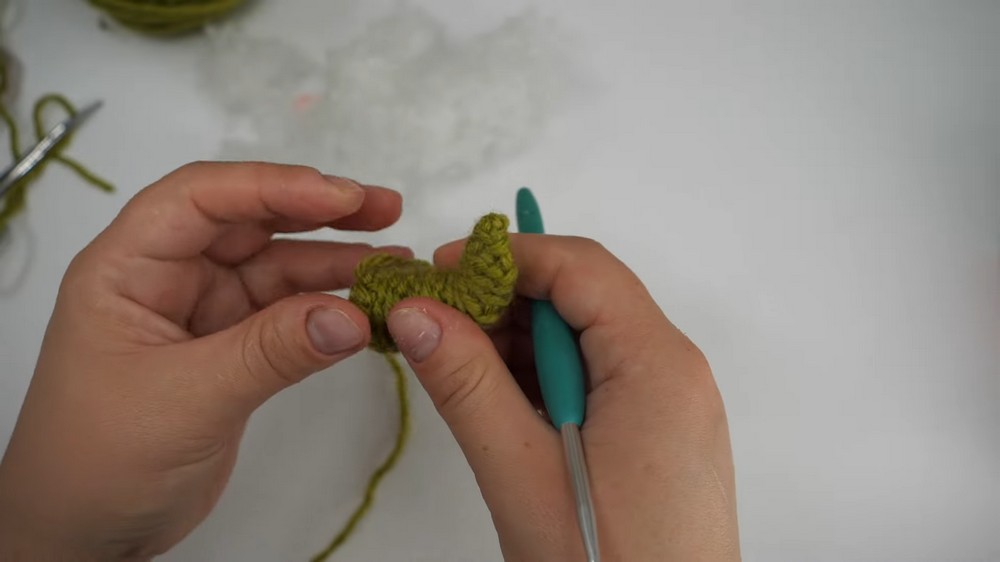
- With green yarn, leave a 40 cm (16 in) tail and chain 10.
- Round 1:
- Slip stitch into the first chain to form a ring,
- Slip stitch into each of the 9 chains around (10 sts total).
- Rounds 2–5:
- Slip stitch through back loop only (tbl) in each stitch.
- Round 6:
- Skip the first stitch,
- Slip stitch tbl in the next 8 stitches. (8 sts total)
- Rounds 7–14: Repeat as follows:
- Slip stitch tbl in all stitches.
- Skip 1 stitch periodically to taper the stem (reducing by 1 stitch every few rounds until there are 3 stitches).
- Round 15:
- Skip 1 stitch, slip stitch tbl 3 times (3 sts total).
- Fasten Off:
- Leave a short tail.
- Weave the yarn tail into the center of the stem.
Attach Stem and Tendril
- Stem:
- Sew the stem securely to the top-center of the pumpkin.
- Tendril:
- With green yarn, chain 60.
- Fasten off and weave in the ends.
- Attach the tendril securely to the pumpkin.
Customization Ideas
- Use different yarn types or colors for unique looks (e.g., cotton for smaller pumpkins).
- Add embroidery or embellishments, such as green leaves or decorative bows.