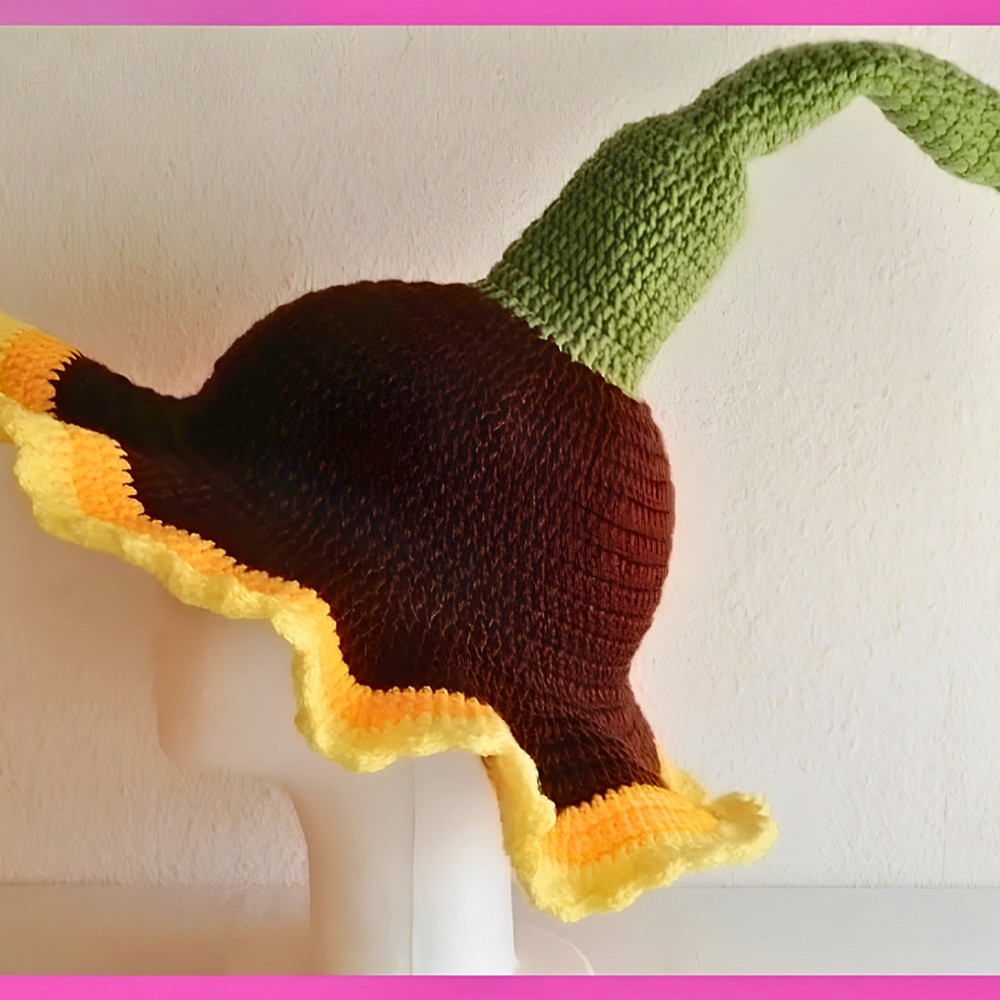
Bring some sunshine to your wardrobe with this bright crochet witch hat featuring a bold sunflower on the front. The tutorial shows how the classic pointed hat pairs with a large floral embellishment to create a playful design for seasonal wear, costume events, or festive displays. It begins with the hat before adding the sunflower as the finishing detail, giving the crochet piece its distinctive look.
Crochet Witch Hat with Sunflower Design
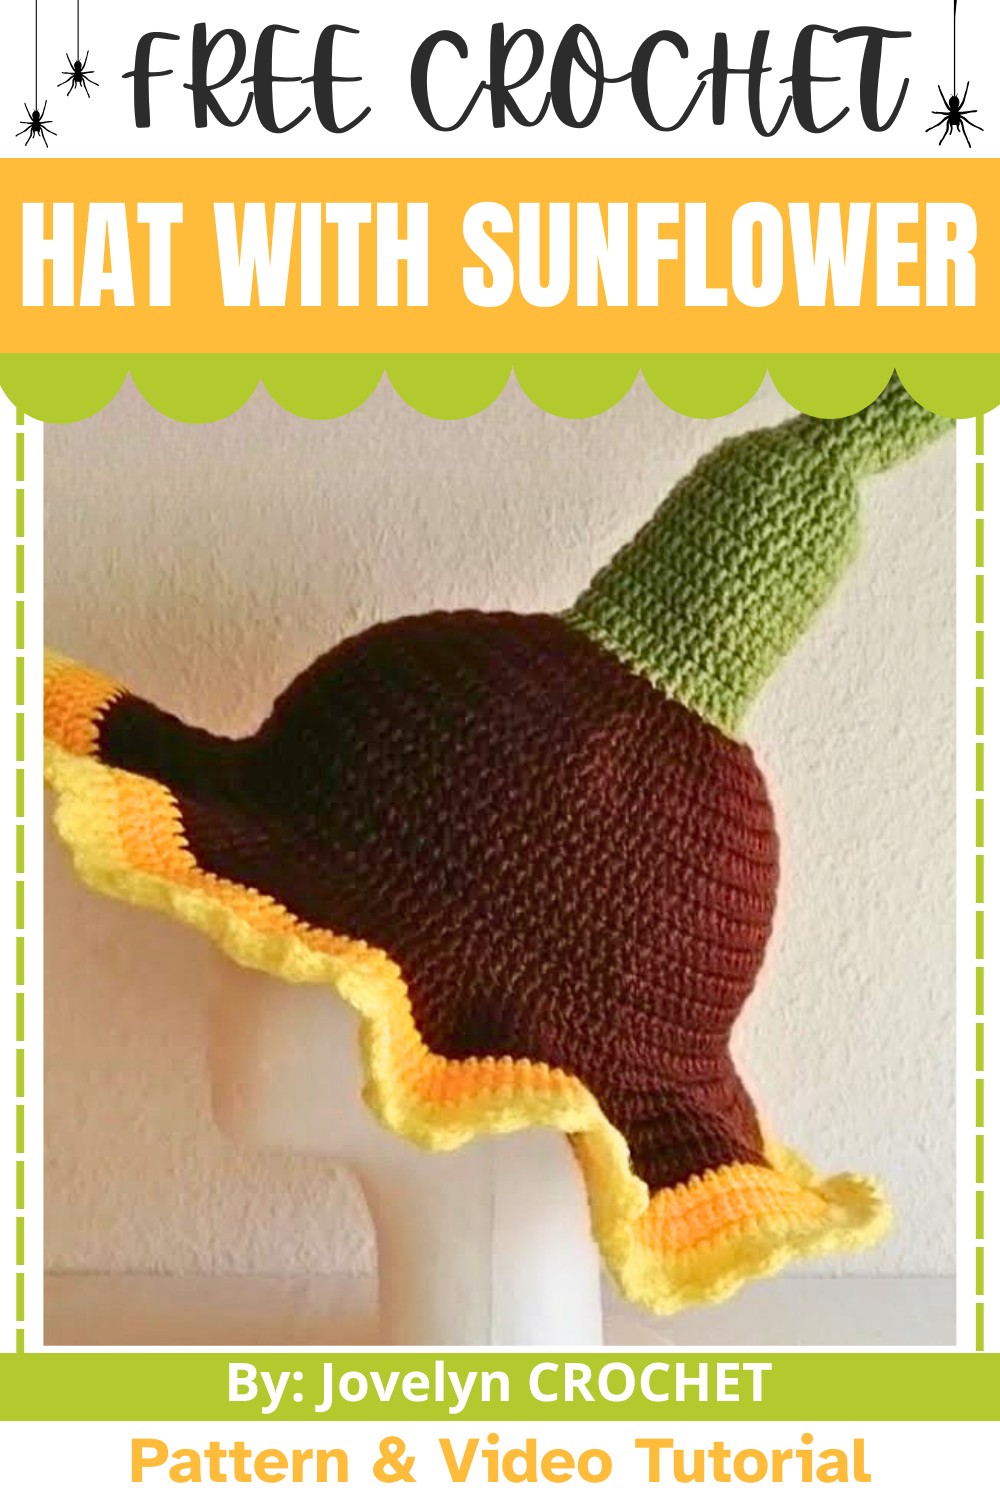
Once the hat and sunflower are complete, the tutorial shows how both pieces are assembled to achieve the finished design. Careful attention is given to positioning and securely attaching the sunflower to the crochet hat so it complements the pointed shape. The instructions follow the same sequence shown throughout the tutorial, making it easy to recreate the piece while preserving the balanced placement and bright visual appeal that make this crochet witch hat unique.
Credit Jovelyn CROCHET
Materials & Tools Needed
-
Yarn: Medium / Worsted weight yarn (Category 4)
-
Main Hat Base: Dark Green (approx. 300–350 yards)
-
Sunflowers: Dark Brown (centers), Golden Yellow (petals), and Light Yellow (accent petals)
-
-
Crochet Hook: 3.0 mm
-
Tools: Scissors, a tapestry/yarn needle, and optional craft wire (if you want an extra stiff, shapeable outer edge for the floppy brim).
Finished Size & Customization Ideas
-
Sizing: This design forms a standard teen/adult-sized novelty hat. Because it uses consistent, sequential increase rounds, you can easily customize the fit:
-
Smaller Hat / Kids Size: Stop the main body increases early when the cone matches the desired crown diameter, or switch to a smaller 2.5 mm hook.
-
Wider Brim: Add extra rows of plain double crochet to the final brim section to make it larger and floppier.
-
Stiffening: If your stitches run loose, run a line of craft wire along the final single crochet row of the brim to keep it from collapsing over your eyes.
-
Pattern Abbreviations & Terminology
-
ch: Chain
-
sl st: Slip stitch
-
sc: Single crochet
-
dc: Double crochet
-
tr: Treble crochet
-
st / sts: Stitch / Stitches
-
[ ]: Repeat instructions inside brackets the specified number of times.
Step-by-Step Detailed Crochet Instructions
Part 1: The Drooping Hat Tip
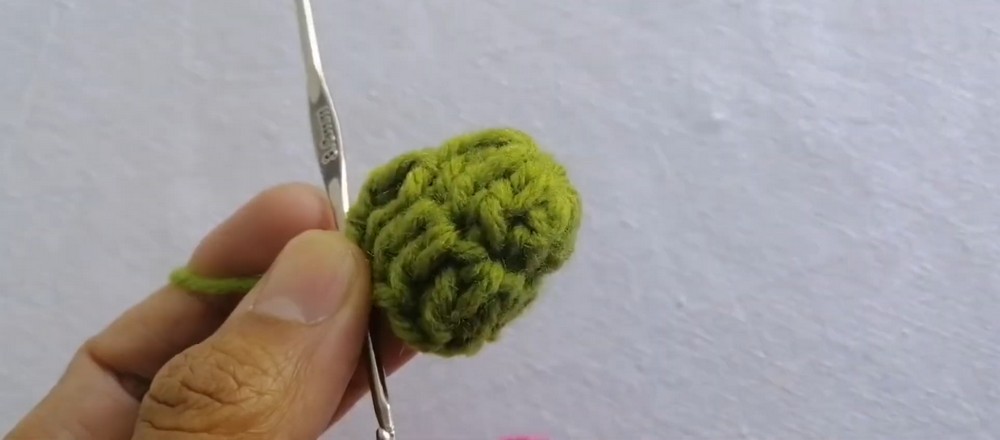
The hat is worked top-down, beginning with a long, thin tube that creates a whimsical, drooping witch point.
-
Setup: Ch 3, then sl st into the first chain to form a small ring. Ch 2 (does not count as a stitch here or throughout).
-
Rows 1 – 15: Work 12 dc directly into the center ring. Sl st to join the round. Ch 2. [Total: 12 sts per row]. Keep working evenly for 15 full rows to build the narrow upper tube.
Part 2: Upper Stem Expansion
Gradually expand the narrow tip into the middle section of the hat.
-
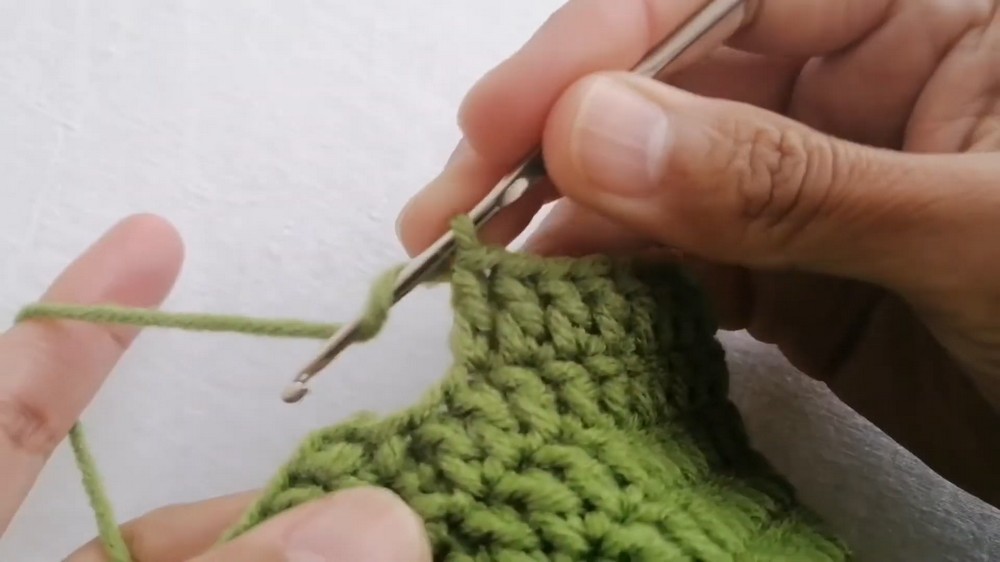
Row 16: Ch 2. *2 dc in the first st, 1 dc in the next st*. Repeat from * to * around. Sl st to join. [Total: 18 sts].
-
Rows 17 – 30: Ch 2. Work 18 dc evenly around (1 dc in each st). Sl st to join. [Total: 18 sts per row].
- Part 3: Cone & Main Crown Body
-
Row 31 (First Major Increase): Ch 2. Work 2 dc in each st around. Sl st to join. [Total: 36 sts].
-
Rows 32 – 41: Ch 2. Work 36 dc evenly around. Sl st to join. [Total: 36 sts].
-
Row 42 (Second Increase): Ch 2, dc in the same st as joining. *1 dc in the next 2 sts, 2 dc in the 3rd st*. Repeat from * to * around. Sl st to join. [Total: 48 sts].
-
Row 43: Ch 2, dc in the same st as joining. *1 dc in the next 3 sts, 2 dc in the 4th st*. Repeat from * to * around. Sl st to join. [Total: 60 sts].
-
Row 44: Ch 2, dc in the same st as joining. *1 dc in the next 4 sts, 2 dc in the 5th st*. Repeat from * to * around. Sl st to join. [Total: 72 sts].
-
Row 45: Ch 2, dc in the same st as joining. *1 dc in the next 5 sts, 2 dc in the 6th st*. Repeat from * to * around. Sl st to join. [Total: 84 sts].
-
Row 46: Ch 2, dc in the same st as joining. *1 dc in the next 6 sts, 2 dc in the 7th st*. Repeat from * to * around. Sl st to join. [Total: 96 sts].
-
Rows 47 – 54: Ch 2. Work 96 dc evenly around for 8 rows to build out the deep hat crown that sits on your head. Sl st to join. [Total: 96 sts].
Part 4: The Wide Sun-Brim
-
Row 55 (Brim Flare 1): Ch 2, dc in the same st as joining. *1 dc in the next 3 sts, 2 dc in the 4th st*. Repeat from * to * around. Sl st to join. [Total: 120 sts].
-
Row 56: Ch 2, dc in the same st as joining. *1 dc in the next 4 sts, 2 dc in the 5th st*. Repeat from * to * around. Sl st to join. [Total: 144 sts].
-
Row 57: Ch 2, dc in the same st as joining. *1 dc in the next 5 sts, 2 dc in the 6th st*. Repeat from * to * around. Sl st to join. [Total: 168 sts].
-
Row 58: Ch 2, dc in the same st as joining. *1 dc in the next 6 sts, 2 dc in the 7th st*. Repeat from * to * around. Sl st to join. [Total: 192 sts].
-
Row 59: Ch 2, dc in the same st as joining. *1 dc in the next 7 sts, 2 dc in the 8th st*. Repeat from * to * around. Sl st to join. [Total: 216 sts].
-
Row 60: Ch 2, dc in the same st as joining. *1 dc in the next 8 sts, 2 dc in the 9th st*. Repeat from * to * around. Sl st to join. [Total: 240 sts].
-
Row 61: Ch 2, dc in the same st as joining. *1 dc in the next 9 sts, 2 dc in the 10th st*. Repeat from * to * around. Sl st to join. [Total: 264 sts].
-
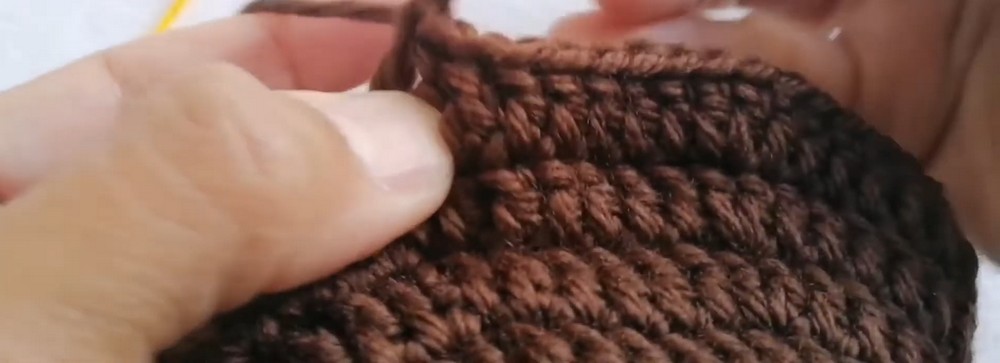
Row 62 (Finishing Edging): Ch 1. Sc evenly in each st around (if using craft wire, place it along the edge and sc right over it to trap it inside your stitches). Sl st to join. Fasten off and weave in your ends.
Part 5: Sunflower Appliques
Make 4 to 6 sunflowers depending on how dense you want your decorative band to look.
Flower Center:
-
Using Dark Brown yarn, create a magic ring (or ch 3 and sl st to form a ring). Ch 2.
-
Work 12 dc into the ring. Sl st to the first dc to close. Fasten off, leaving a short tail.
Flower Petals:
-
Attach Golden Yellow (or Light Yellow) yarn to any stitch on the outer edge of your brown circle.
-
*Ch 3, work 2 tr into that same stitch, ch 3, sl st back down into the same stitch. Sl st into the very next stitch.*
-
Repeat the step from * to * all the way around the 12 stitches of the circle until you have a full starburst of individual sunflower petals. Sl st to finish, fasten off, and leave a long tail for sewing.
Assembly & Finishing
-
-
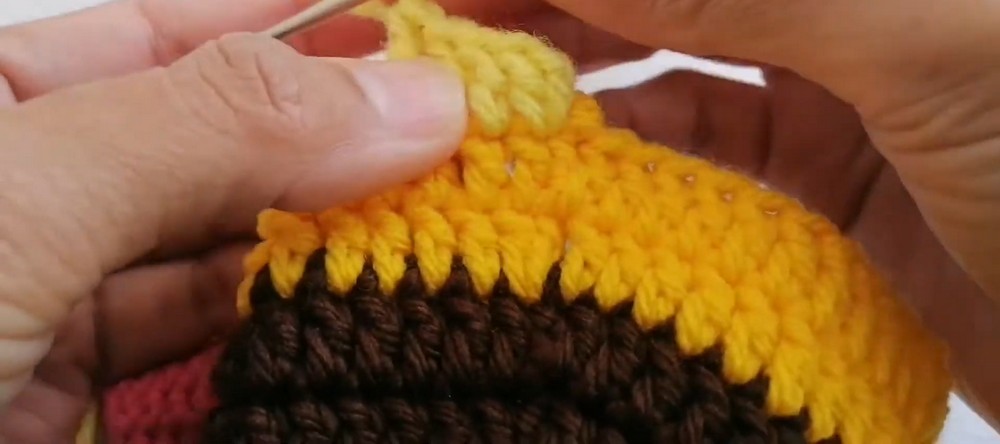
Arrange the sunflowers around the base of the hat crown (right where the main body transitions into the flared brim rows).
-
Use your yarn needle and the long yellow yarn tails to stitch each flower securely onto the green hat surface.
-
Clean up your work by pulling all remaining loose yarn tails to the inside of the hat, knotting securely, and trimming off the excess.
-