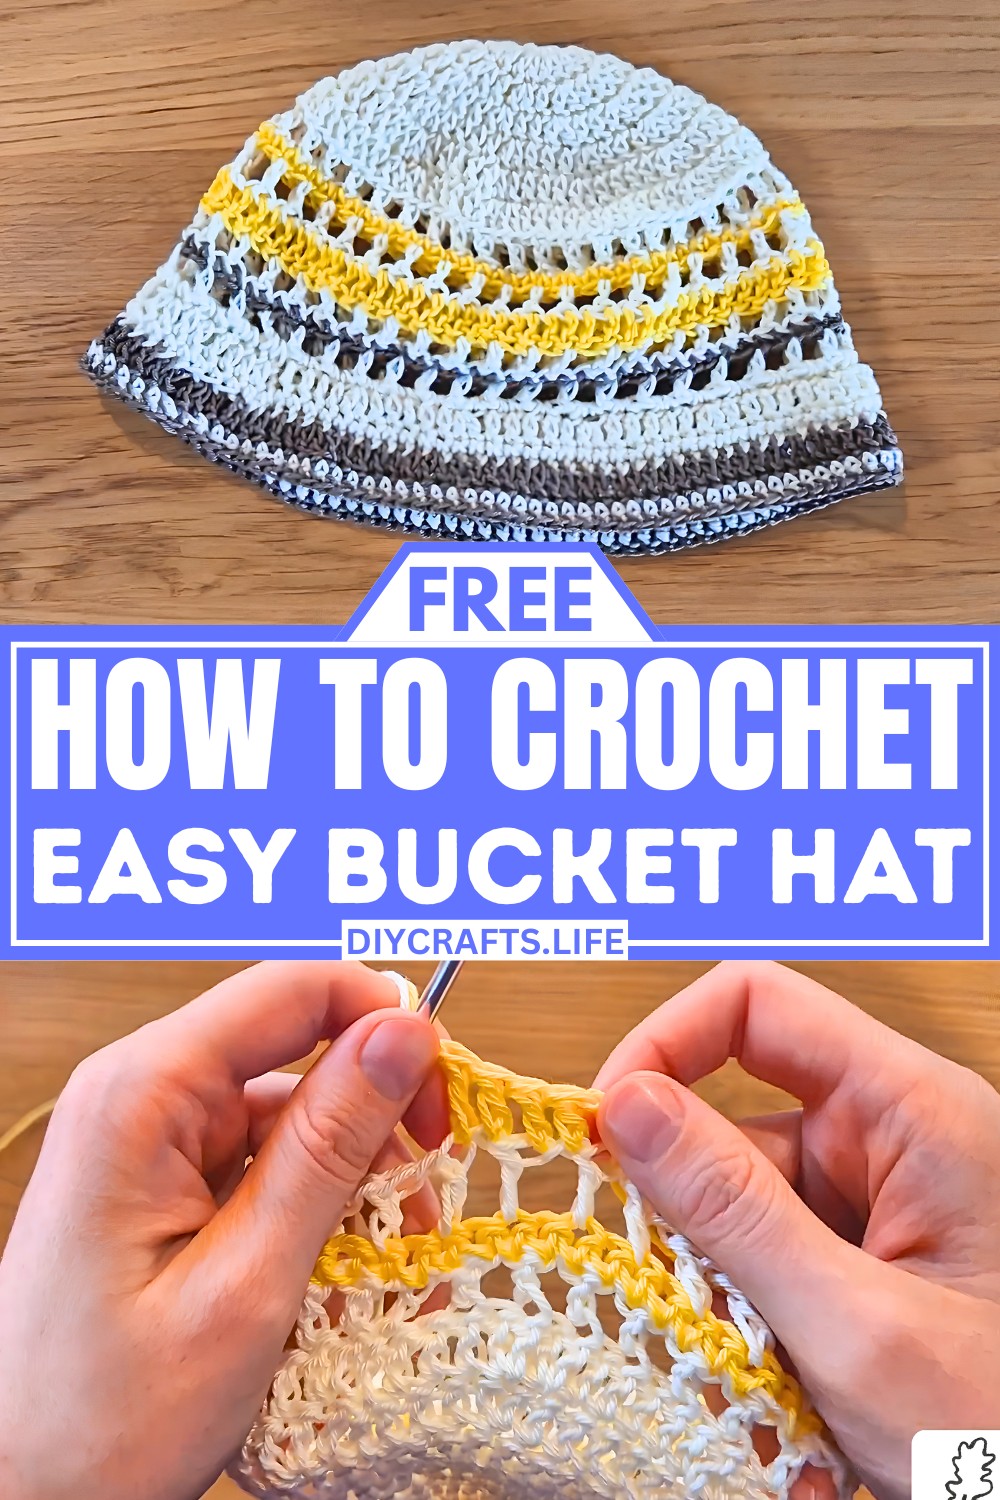
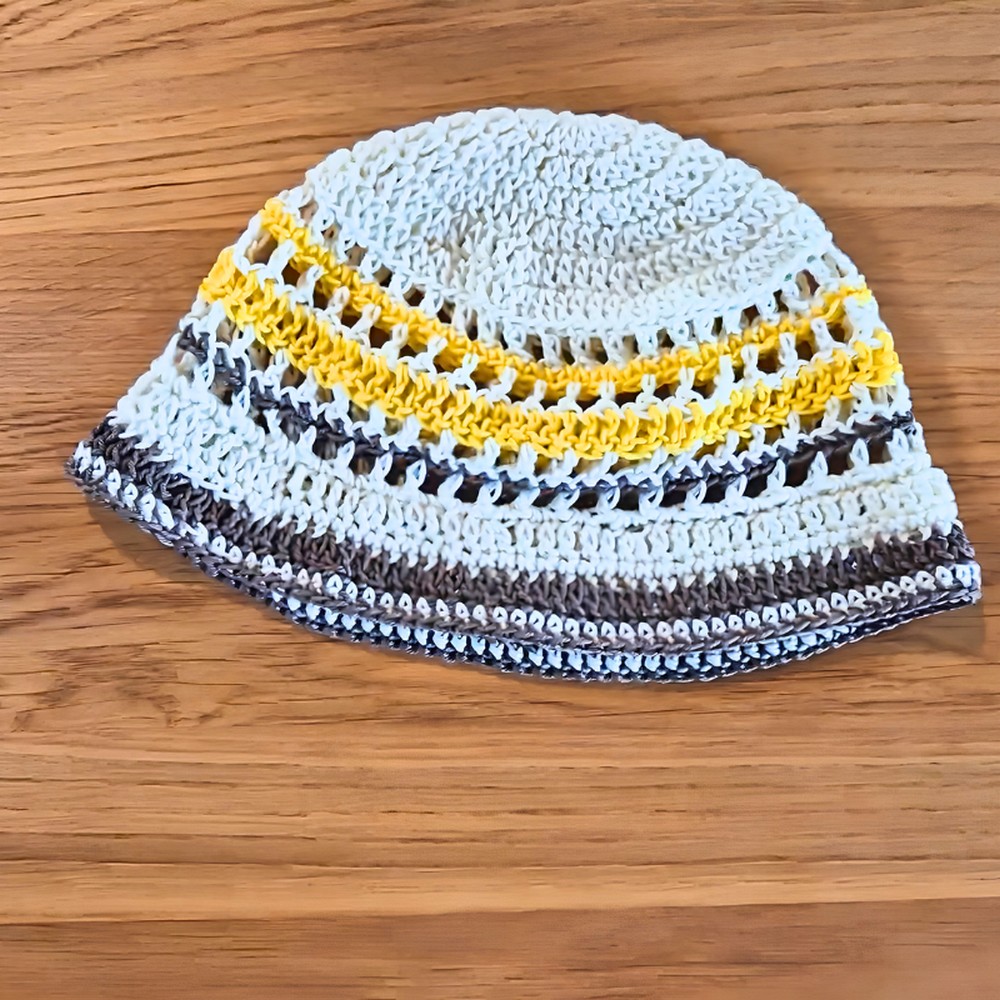
This crocheted bucket hat is not just a necessity; it's a delightful companion for sunny days. Its vibrant colours and cosy texture make it a standout piece that you will love wearing to the beach or during any outdoor adventure. More than simply providing shade from the sun, it adds a fun and stylish touch to any outfit. And the best part is that its cheerful crochet design comes together in a surprisingly enjoyable way.
Crochet Bucket Hat Pattern
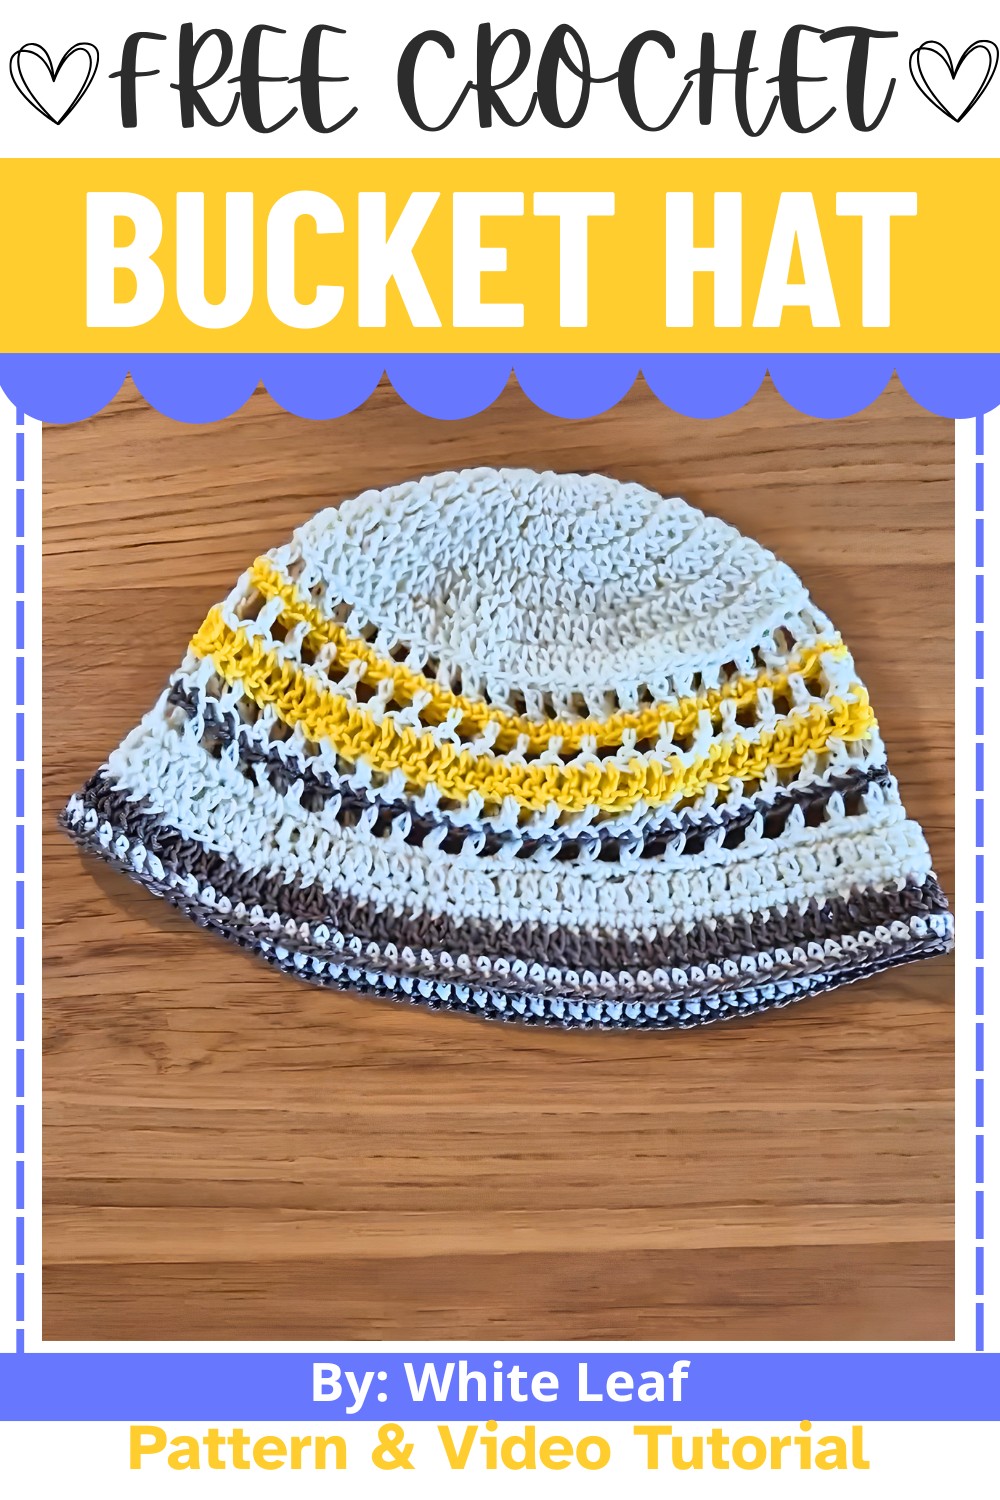
Making this crocheted bucket hat is like adding colors to a Canvas. You begin with the magical circle and gradually build the design using beautiful shades of blue, white, and yellow. With every round, the hat slowly takes shape, making the process both exciting and rewarding. Even beginners can enjoy the process, as each step feels simple and satisfying. Before long, you will have a colourful bucket crochet hat that's ready to brighten any sunny day.
Credit White Leaf
Materials & Tools Needed
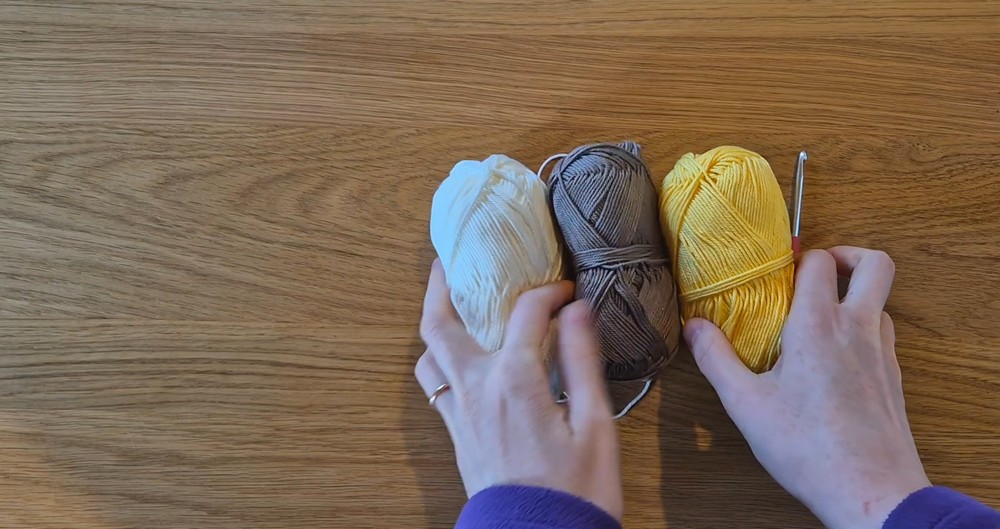
- Yarn: Multiple colors (as per the tutorial, you’ll need at least 3 colors)
- Cotton yarn is ideal for a breathable summer hat.
- Crochet Hook: Use the size recommended for your yarn (typically 3.5mm – 5.0mm, depending on the yarn weight).
- Scissors
- Yarn Needle: For weaving in ends.
- Stitch Marker (optional): To mark the start of rounds.
Finished Size
The hat is designed to fit an average adult-sized head.
If needed, you can customize by adding or removing rounds to match your desired head circumference and brim width.
Customization Ideas:
- Use a single yarn color for a minimalistic design.
- Alternate stripes in multiple colors to achieve a beachy look.
- Use a lighter-weight yarn for a more delicate texture or heavier yarn for durability.
Pattern Abbreviations & Terminology
(Note: U.S. Standard crochet terminology is used.)
- ch: Chain
- sc: Single Crochet
- dc: Double Crochet
- sl st: Slip Stitch
- inc: Increase (two stitches worked into the same stitch)
- magic circle: A technique for creating a tight, adjustable center.
Step-by-Step Crochet Instructions
Base/Top of the Hat
- Magic Circle Start:
- Make a magic circle and work 12 single crochets (sc) inside the ring.
- Join with a sl st to finish the round.
- Round 2:
- Ch 2 (counts as first dc), then work 1 dc inc in each stitch around (2 dc in each stitch).
- Join with a sl st at the end of the round.
- Round 3:
- Ch 2, then 1 dc in the first stitch, 1 dc in the second stitch, and 1 dc inc in the third stitch.
- Repeat this pattern all the way around.
- Join with a sl st.
- Round 4:
- Ch 2, then 1 dc in the first stitch, 1 dc in the second stitch, 1 dc in the third stitch, and 1 dc inc in the fourth stitch.
- Repeat this pattern all the way around.
- Join with a sl st.
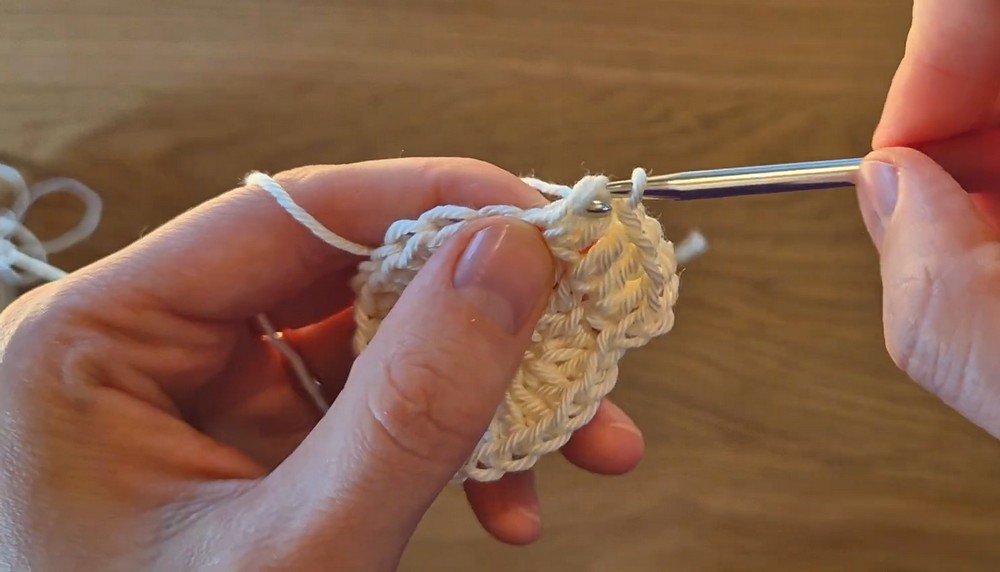
- Round 5:
- Ch 2, then work 4 dc in consecutive stitches followed by 2 dc in the next stitch (dc inc).
- Repeat the pattern all the way around.
- Join with a sl st.
At this stage, the top of the bucket hat (circular base) will be complete.
Body of the Hat
- Round 6:
- Ch 3, skip the next stitch, dc in the next stitch, ch 1, skip a stitch, dc in the next stitch.
- Repeat this pattern all the way around.
- Join with a sl st.
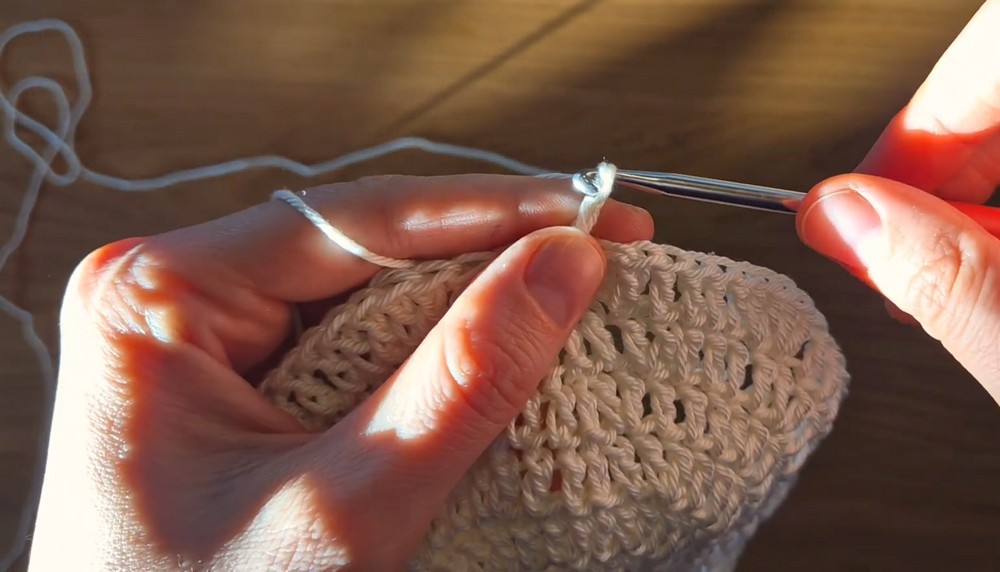
- Round 7 (Color Change):
- Introduce the second color. Make a slip knot and join to the first stitch with a sl st.
- Work 1 sc in each stitch around.
- Finish with a sl st and cut the yarn.
- Round 8:
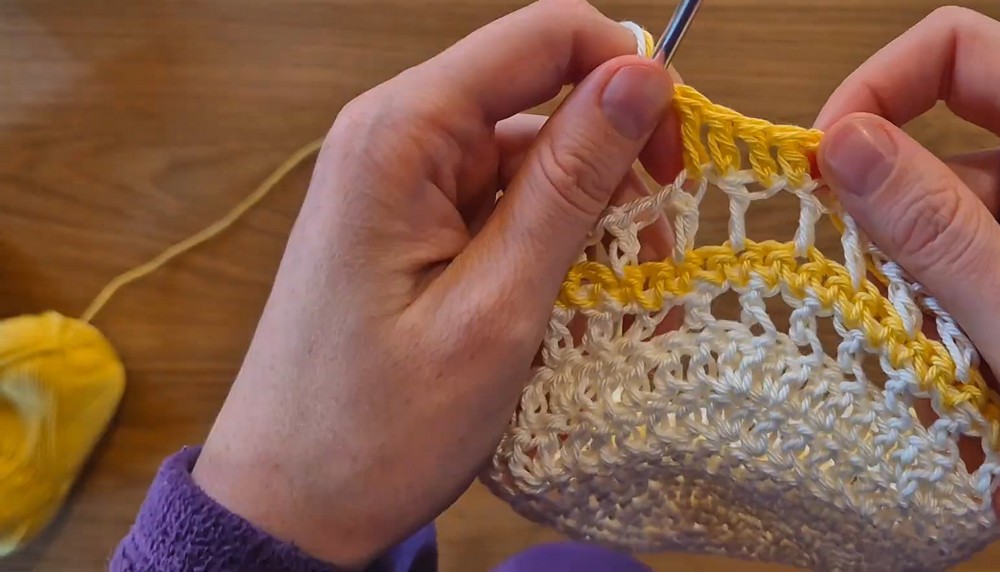
- Take the first yarn color and join with a sl st.
- Ch 3, skip the next stitch, dc in the next stitch, ch 1, skip a stitch, dc in the next stitch.
- Repeat the pattern all the way around.
- Join with a sl st.
- Round 9:
- Reintroduce the second color and repeat the same process as Round 7: sc all the way around.
- Finish the round with a sl st and cut the yarn.
- Round 10:
- Reintroduce the primary color and repeat the same process as Round 8: Ch 3, skip a stitch, dc, ch 1, skip a stitch, dc.
- Join with a sl st.
- Round 11 (New Color):
- Join the third color with a sl st and work sc all the way around.
- Finish the round with a sl st and cut the yarn.
- Round 12:
- Reintroduce the first color and repeat the same process as Round 10: Ch 3, skip a stitch, dc, ch 1, skip a stitch, dc.
- Join with a sl st.
- Round 13:
- Ch 1, then work 2 sc in each chain space.
- Finish the round with a sl st.
Brim of the Hat
- Round 14:
- Ch 2, then work 1 dc in every stitch around.
- Finish with a sl st.
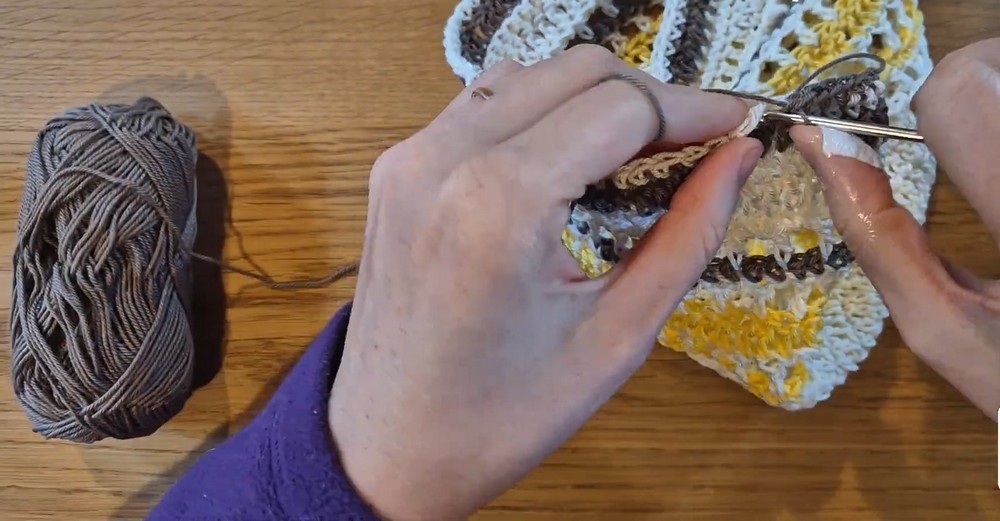
- Round 15:
- Ch 1 and work 1 sc in each stitch around.
- Make a slip knot to secure the thread at the end.
Finishing
- Weave in all loose ends with the yarn needle.
- Shape the hat as needed (e.g., slightly curve the brim outward to create a bucket hat structure).
- Steam block if necessary to make the stitches even and smooth.