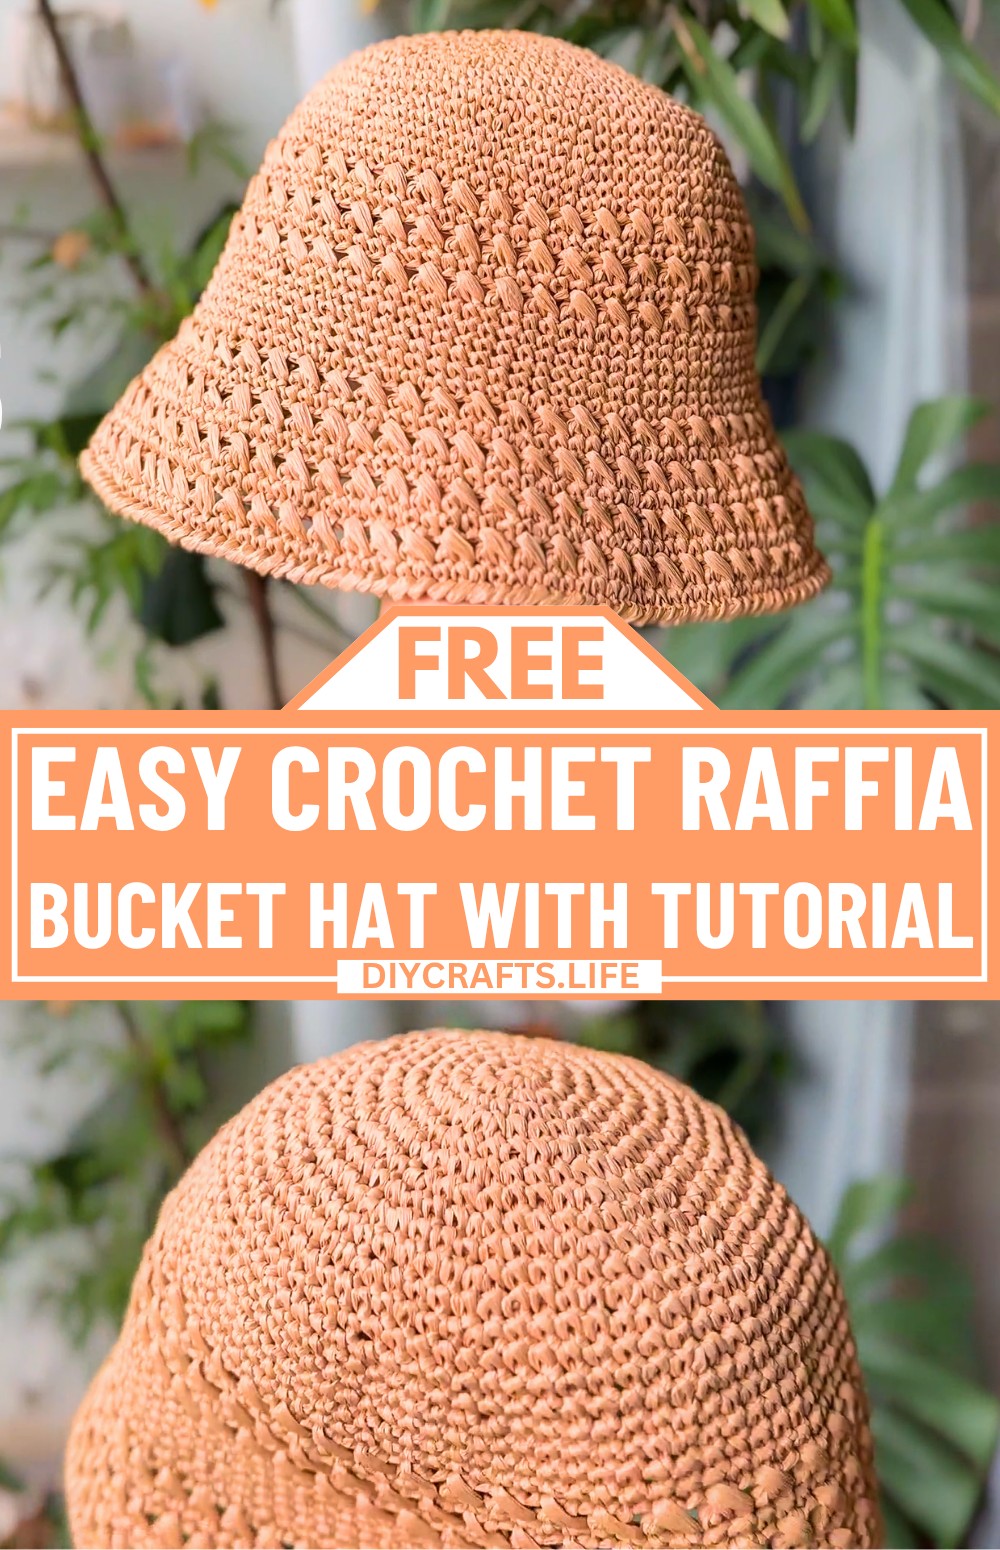
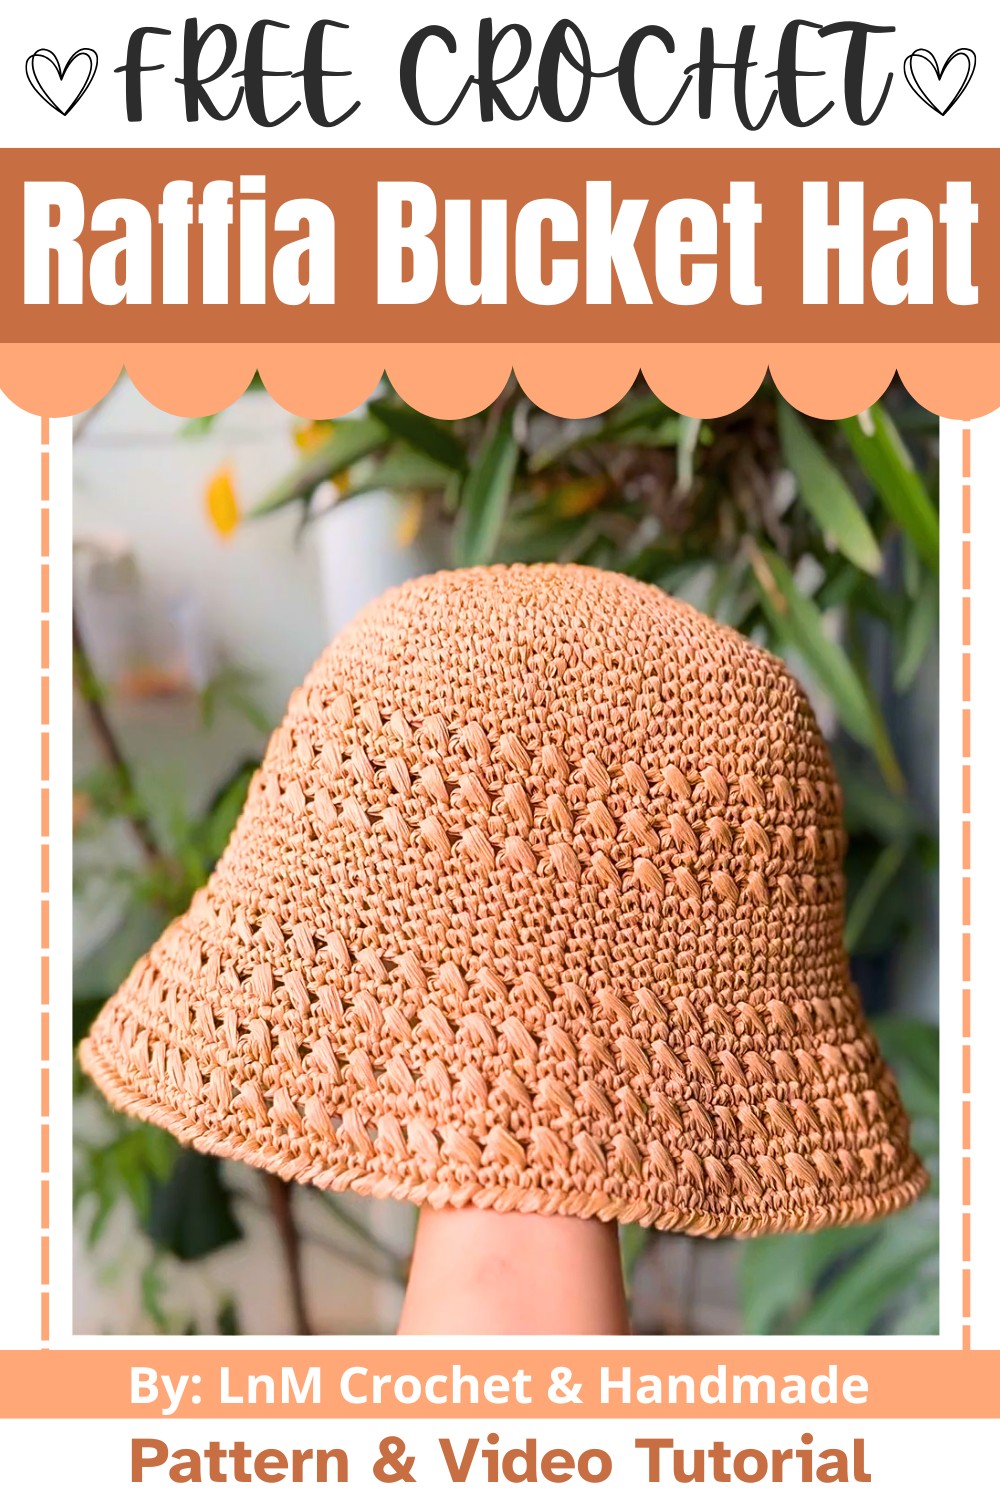
A raffia bucket hat is the perfect blend of style and function for sunny days. Its lightweight, breathable design makes it ideal for keeping cool while adding a touch of effortless charm to any outfit. Made with raffia yarn, it stands out because of its durability and ability to hold its shape, giving it a polished, store-bought look. Whether you're heading to the beach, gardening, or just running errands, this hat will keep the sun at bay while looking fashionable.
Crochet Raffia Bucket Hat Tutorial
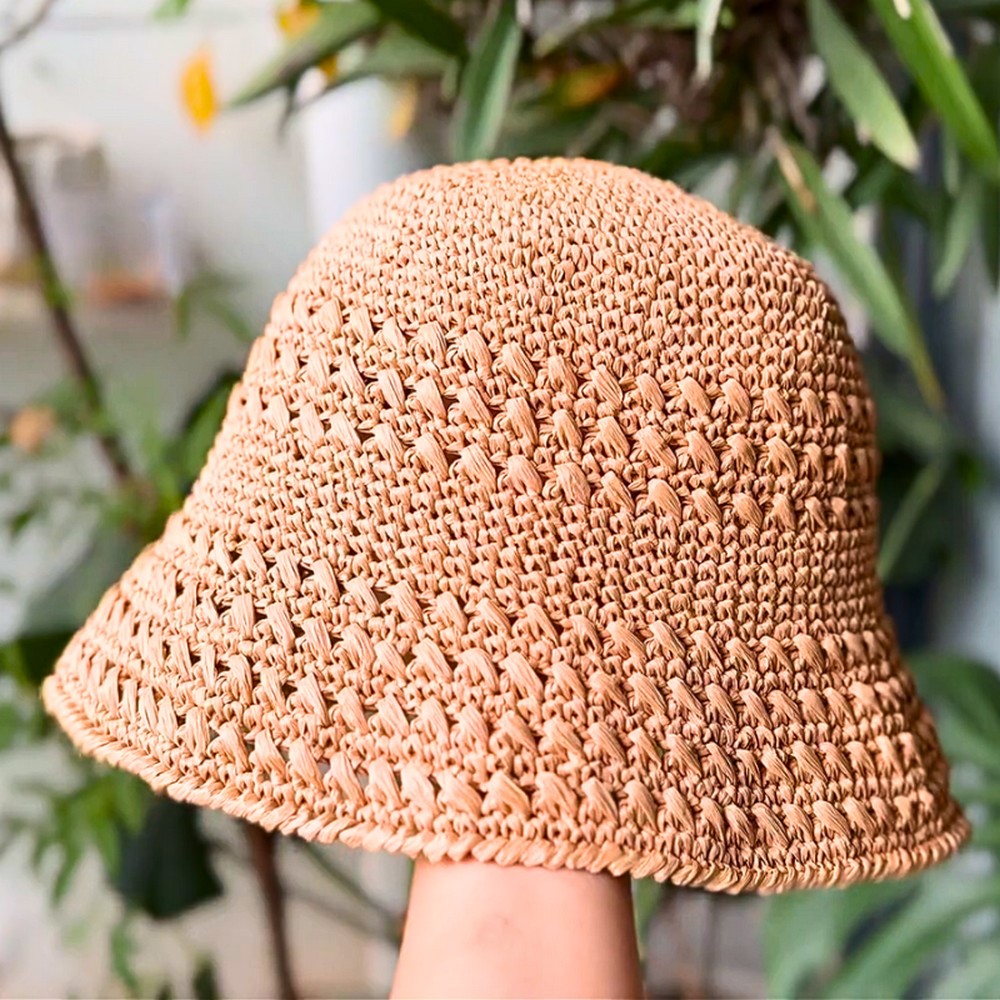
The crochet process for this crochet hat is simple and fun, even for beginners. Raffia yarn is soft and silky, which makes it easy to work with, though you might need to spread it occasionally for smooth stitches. The hat uses single crochet and a clever spiral technique to achieve a seamless round shape. A lace pattern adds a lovely touch to the body and brim, making the design unique. With some steam ironing, the finished hat gets a clean, professional finish.
Credit LnM Crochet & Handmade
Materials & Tools Needed
- Raffia Yarn: Ispie Raffia in Kraft color (approx. 3 cm wide when unraveled).
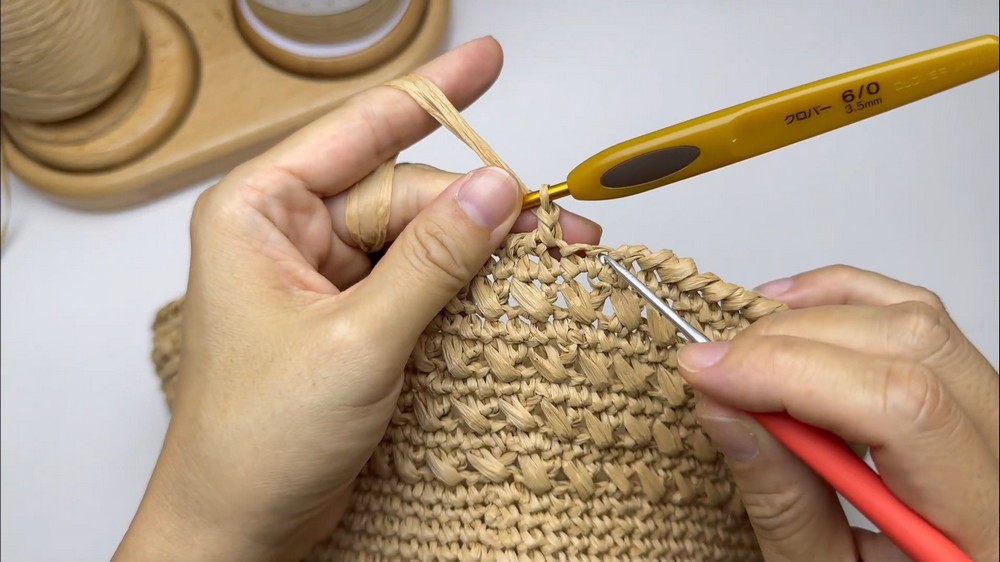
- Recommended Hook Size: 3.5 mm crochet hook.
- Tapestry Needle: For weaving in ends.
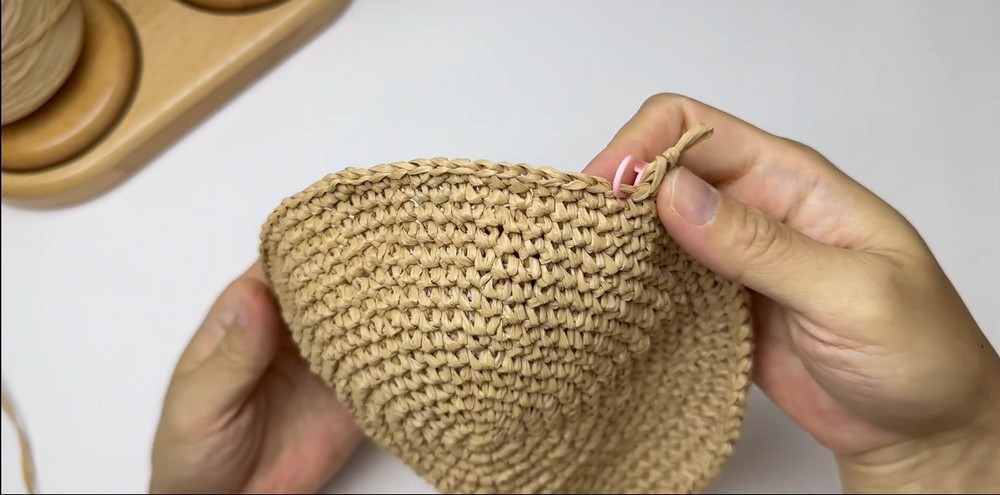
- Stitch Markers: Essential for marking the first stitch of each round.
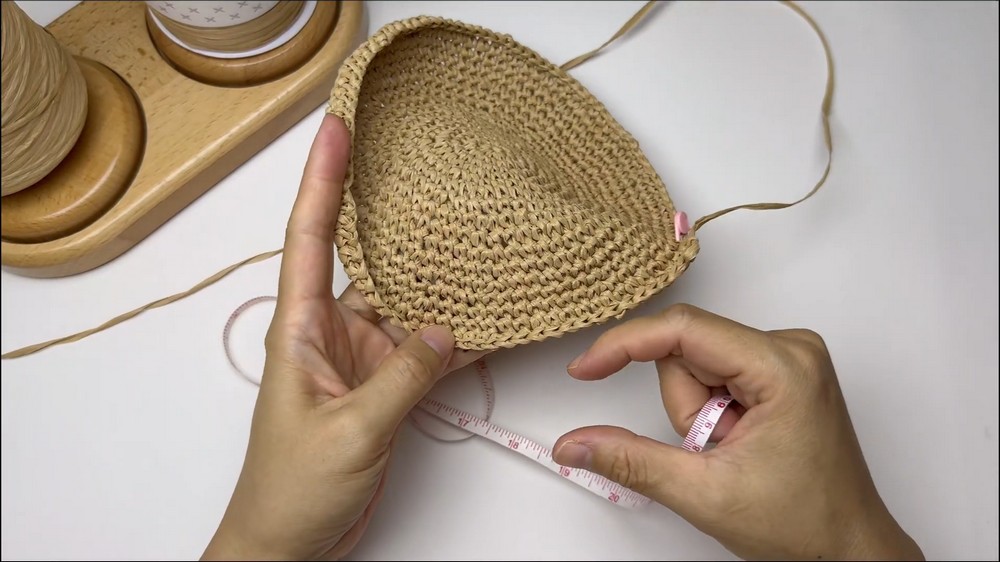
- Measuring Tape: To ensure proper fit.
- Steam Iron & Damp Towel: For finishing and shaping the hat.
Finished Size
- Circumference: Approx. 56 cm (fits most adults).
- Top Hat Diameter (after completion of Round 12): 15 cm.
- Height: Adjustable based on personal preference; approx. 18 cm from the crown to the base of the body (excluding the brim).
Customization Ideas:
- For a larger or smaller hat, adjust the number of increase rows and arrange tension to match your desired circumference.
- Add crochet patterns or use multiple colors of raffia to customize.
Pattern Abbreviations & Terminology
(All instructions use US Crochet Terms)
- ch: Chain
- sc: Single Crochet
- inc: Single Crochet Increase (2 sc in the same stitch)
- sl st: Slip Stitch
- dc: Double Crochet
- long sc: Long Single Crochet (worked into a lower row, creating elongated stitches)
- magic ring: Adjustable loop used to start crochet in a circle
- rep: Repeat
- st(s): Stitch(es)
Step-by-Step Crochet Instructions
We will break this project into its primary parts: Crown, Body, Brim, and Finishing.
Part 1: Crown of the Hat
The crown is worked in continuous spiral rounds using Single Crochet.
- Round 1: Start with a magic ring.
- Make 1 ch (does not count as a stitch).
- Work 8 sc into the magic ring. (8 sc)
- Place a stitch marker in the first sc to mark the start of the round.
- Pull the magic ring tight to close.
- Round 2: Work 2 sc into each stitch around. (16 sc)
- Mark the first stitch of the round.
- Round 3: Work the following pattern: 1 sc, 1 inc, repeat around. (24 sc)
- Round 4: Work the following pattern: 3 sc, 1 inc, repeat 6 times. (30 sc)
- Round 5: Adjust increases to create a more even shape.
- Begin with 2 sc, followed by an inc.
- Then, work 4 sc, 1 inc around.
- End with 2 sc before returning to the marker. (36 sc)
- Round 6: Continue with this pattern: 5 sc, 1 inc, repeat around. (42 sc)
- Round 7: Adjust increases:
- Start with 3 sc, followed by an inc.
- Then, work 6 sc, 1 inc around.
- End with 3 sc before returning to the marker. (48 sc)
- Round 8: Work the following pattern: 7 sc, 1 inc, repeat around. (54 sc)
- Repeat this general pattern, increasing the number of single crochets per segment by 1 in each round, until you reach Round 12.
- By Round 12, there should be 78 sc in total, and the diameter of the crown should measure approximately 15 cm.
Part 2: Body of the Hat
- Round 13: Work 78 sc evenly around without any increases. (78 sc)
- Use the stitch marker to track the beginning of the round.
- Remainder of the Body:
- Continue working even single crochet rows (no increases/decreases).
- Work until the hat reaches the desired height (approx. 3 more rounds, or as preferred).
- Row Transition:
- To prepare for the lace pattern, switch from working in a spiral to a standard "row finish" method with a sl st and chain stitch before starting the next row.
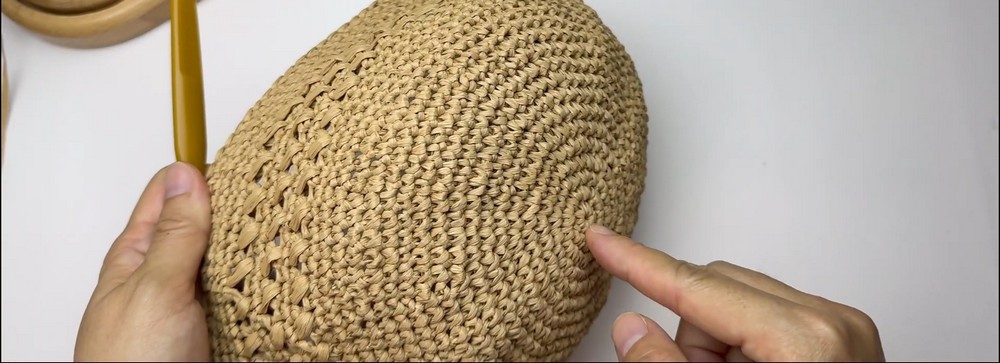
Part 3: Lace Pattern
The lace pattern alternates Double Crochet (dc) and Long Single Crochet (long sc) for a decorative look.
- Lace Row 1:
- Start with 3 ch (counts as 1 dc). Mark the 3rd ch.
- Skip 1 st, work 1 dc in the next stitch.
- Work 1 long sc into the skipped stitch from Row 1.
- Repeat across the round. (Ensuring stitch count remains 78.)
- Lace Row 2 (Filler Row):
- Work 1 sc into each st from the previous row. (78 sc)
- Repeat Lace Row 1 and Lace Row 2 until you have three lace rows total.
- After finishing the lace pattern, work 5 additional rows in sc to complete the body.
Part 4: Brim of the Hat
The brim is wider and includes decorative lace patterns as in the body.
- Increase Row for Brim:
- Begin with 4 sc, followed by 1 inc.
- Repeat this pattern around. (96 sc)
- Lace Pattern for Brim:
- Follow the same Lace Pattern instructions from the Body of the Hat.
- Alternate lace and filler rows as desired.
- Final Brim Row (Reverse Single Crochet):
- Work Reverse Single Crochet (Crab Stitch):
- Insert your hook from front to back into the previous stitch.
- Pull up a loop and yarn over to complete the stitch.
- Repeat for a decorative edge.
- Work Reverse Single Crochet (Crab Stitch):
Part 5: Finishing
- Secure the final stitch with a sl st and fasten off the yarn.
- Tidy up:
- Weave in all ends securely with a tapestry needle.
- Trim excess raffia.
- Shaping:
- Use steam ironing with a damp towel to set the hat's shape.
- Place a wet towel over the hat and use a low-temperature steam iron.
- Be gentle to avoid damaging the raffia.
Final Notes
- Fit Test: Use a measuring tape to check hat circumference after the increase rows. Adjust if needed.
- Durability: Raffia yarn is sturdy but can be delicate with too much tension. Keep your tension even throughout the project.