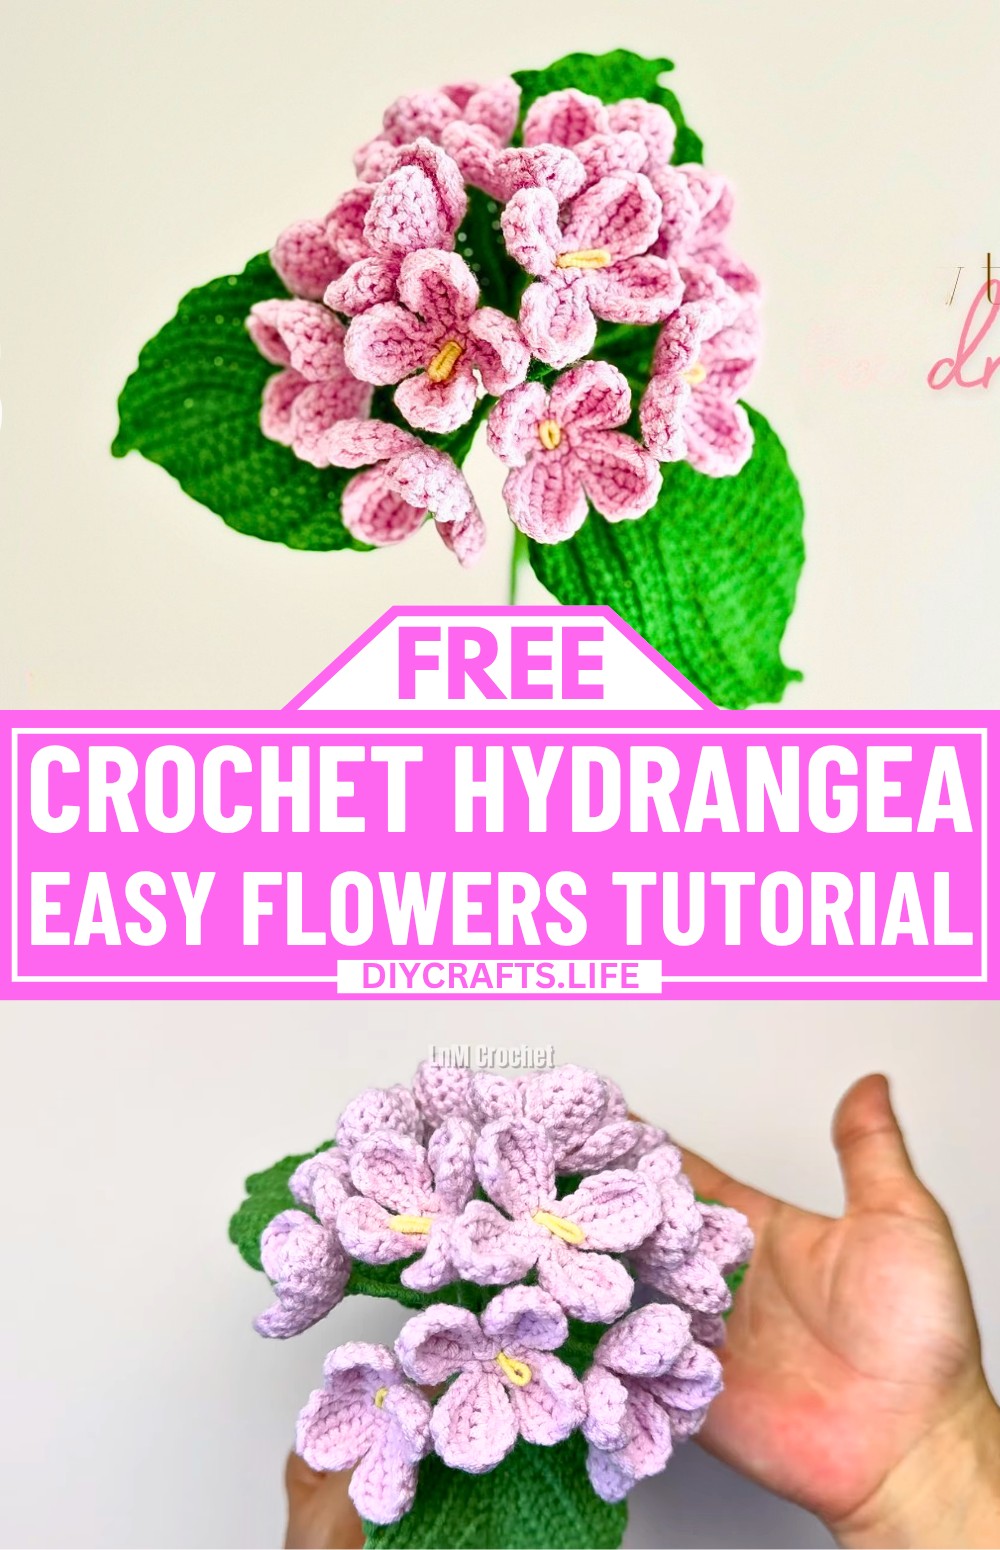
Hydrangea crochet flowers are small, soft, and delightful creations inspired by one of nature’s prettiest blooms. Their layered petals give them charm and depth, making them perfect for adding a pop of decorative beauty anywhere. You can use them for home decor, on bags, as gift embellishments, or even sew them to clothing for a unique touch. These flowers are versatile and never go out of style.
Crochet Hydrangea Flowers Tutorial
Making hydrangea crochet flowers is simple yet magical. You crochet each petal in delicate steps, and soon, you have a whole flower that’s bursting with life. These colorful flowers brighten any space, and you can mix and match yarn colors for endless possibilities. Even beginners will find it fun to follow along and create something beautiful with their own hands.
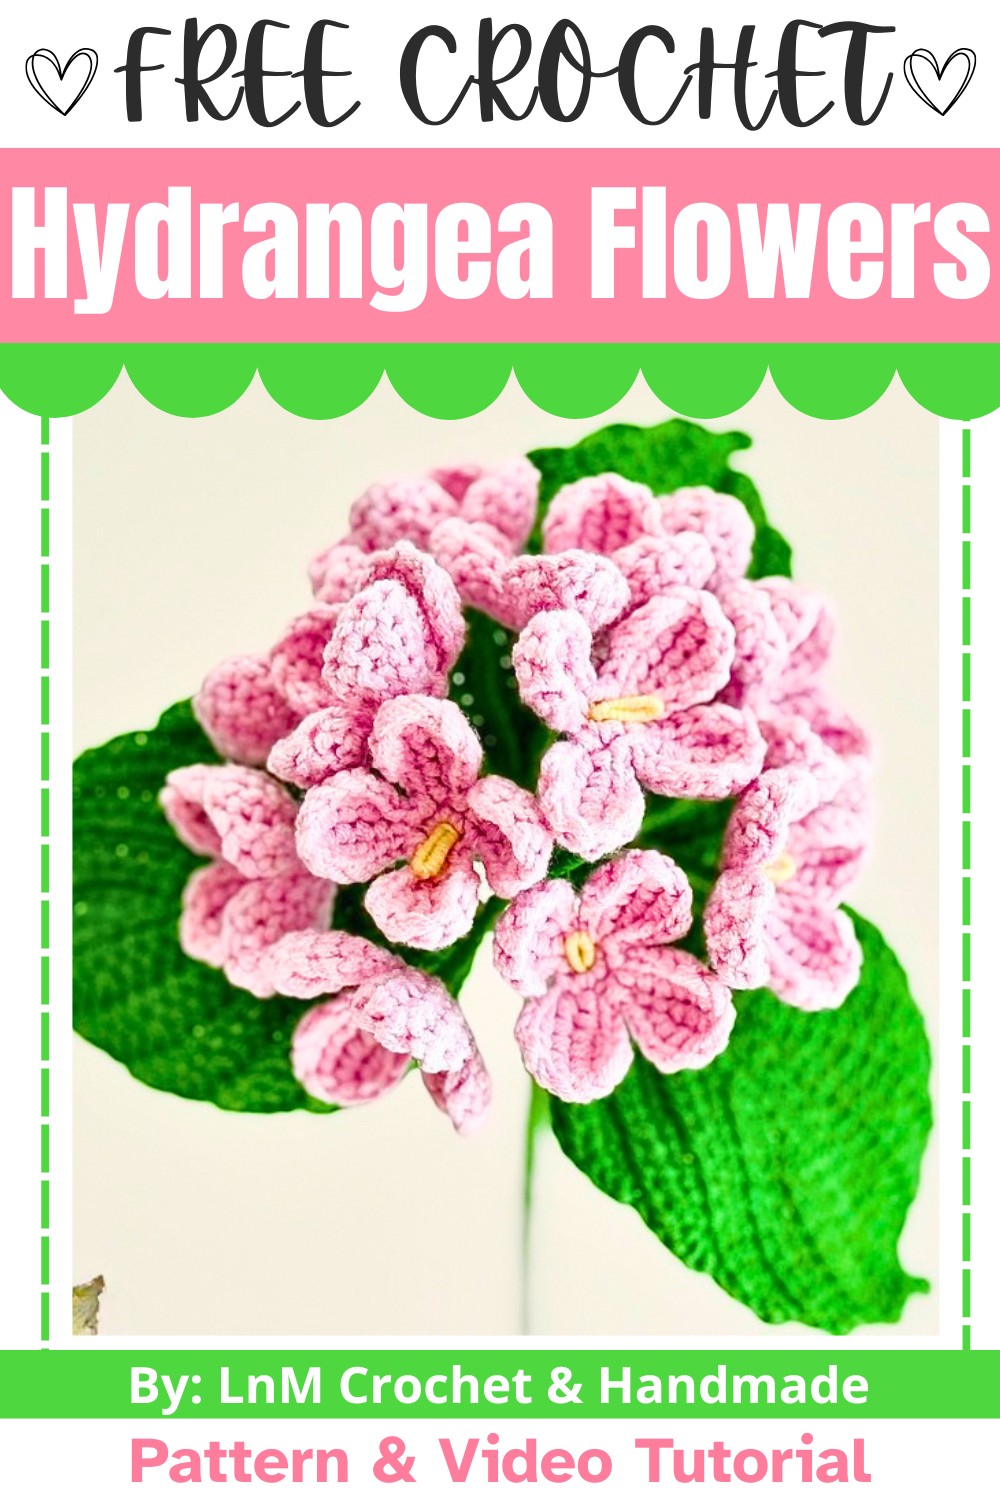
Credit LnM Crochet & Handmade
Materials & Tools Needed
- Yarn:
- 4-ply cotton yarn in desired colors:
- Flower petals: Color 94
- Leaves: Color 78
- Pistil (flower centers): Small amount of yellow yarn
- 4-ply cotton yarn in desired colors:
- Hook: 2.5 mm hook (or equivalent to hook size #4; a pointed Afghan hook is recommended for easier insertion into vertical bars)
- Markers: To mark stitch positions for accuracy
- Scissors
- Floral Wire:
- 0.4 mm gauge (recommended for flexibility)
- Lengths: Approx 20 cm per flower, 30 cm for leaves
- Floral Stem: For flower arrangement
- Glue: To secure pistil to the floral wire
Finished Size & Customization Ideas
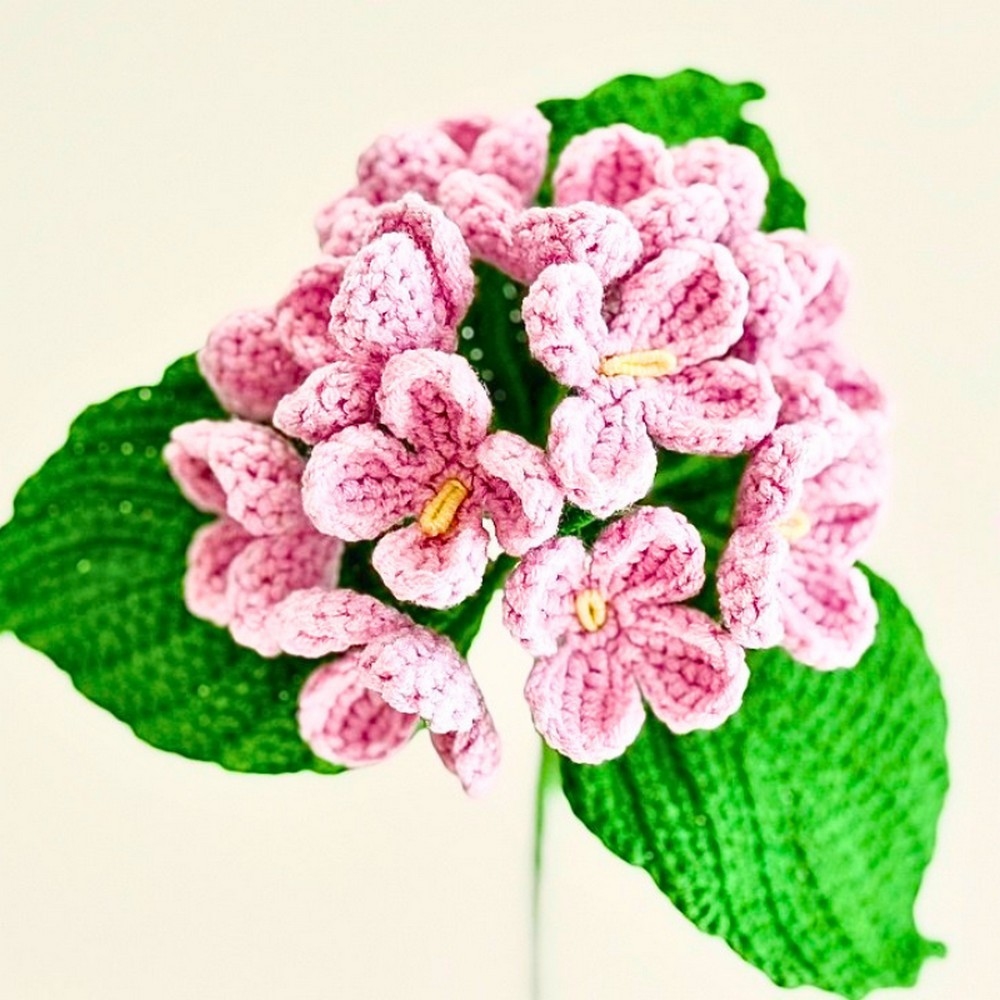
- Hydrangea Flower: Approximately 12–13 flowers are needed to form a complete, lush hydrangea bloom. You can customize the size by adding or subtracting flowers.
- Color Customization: Use multi-colored yarn for petals or create an ombre hydrangea by blending different shades.
Pattern Abbreviations & Terminology
- Ch: Chain
- SC: Single Crochet
- HDC: Half Double Crochet
- Sl St: Slip Stitch
- YO: Yarn Over
- Unfinished SC: Single crochet where the yarn is not pulled through the final loop.
This pattern uses US crochet terminology.
Step-by-Step Crochet Instructions
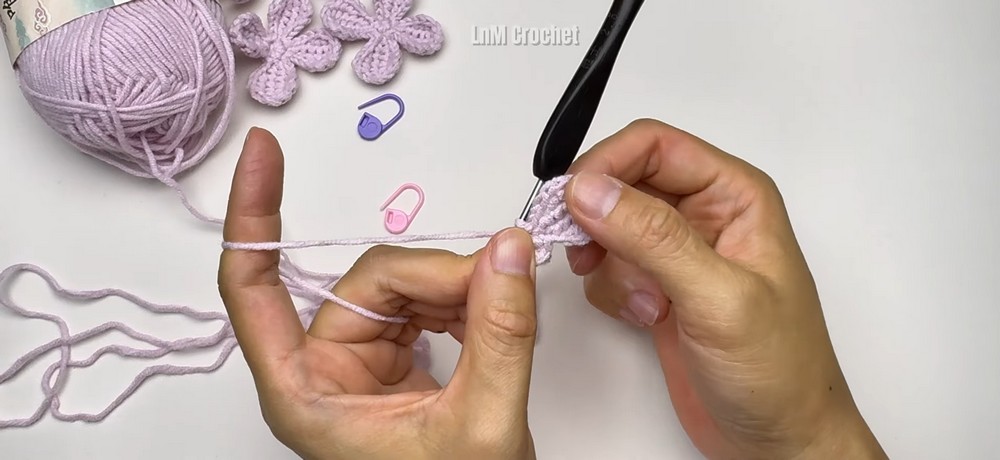
Flower Petals (1 Flower = 4 Petals)
- Base Ring:
- Start with a magic ring.
- Inside the ring, work 4 SCs.
- Pull the loop tightly to close the ring and secure with a slip stitch (Sl St) into the first SC.
- Prepare for the First Petal:
- Place a marker on the strand of yarn to help track the rows of unfinished stitches.
- Work 5 chains (Ch 5). Make the last chain a bit longer to make vertical bars easier to pick up.
- Row 1:
- Insert the hook into the first vertical bar of the chains (bump at the back) and create 3 unfinished SCs.
- Before pulling the yarn through the loops, place another marker on the yarn to track rows.
- Pull the yarn through 2 loops at a time to complete the row.
- Row 2:
- Ch 1.
- Work 3 unfinished SCs starting from the first vertical bar.
- Insert the hook into the strand with the marker for the fourth unfinished SC.
- Remove the marker, and for the fifth unfinished SC, insert the hook into the vertical bar. You should have 6 unfinished SCs in total.
- Pull through 2 loops at a time.
- Row 3:
- Repeat previous steps to work 6 unfinished SCs, starting from the first vertical bar.
- The 6th stitch goes in the marker strand.
- Slip Stitch (Sl St) into the first base SC of Row 1.
- Row 4:
- Skip the first vertical bar.
- Work 3 unfinished SCs into the next three vertical bars.
- Pull through all loops.
- Final Touches for Petal:
- Work 4 Sl Sts into:
- 2nd vertical bar
- Back loops of the third and fourth vertical bars
- First base stitch of Row 1.
- Sl St into the next SC of the base to prepare for the next petal.
- Work 4 Sl Sts into:
- Repeat Steps 2–7 for Remaining Petals:
- Create one petal per SC of the base, for a total of 4 petals.
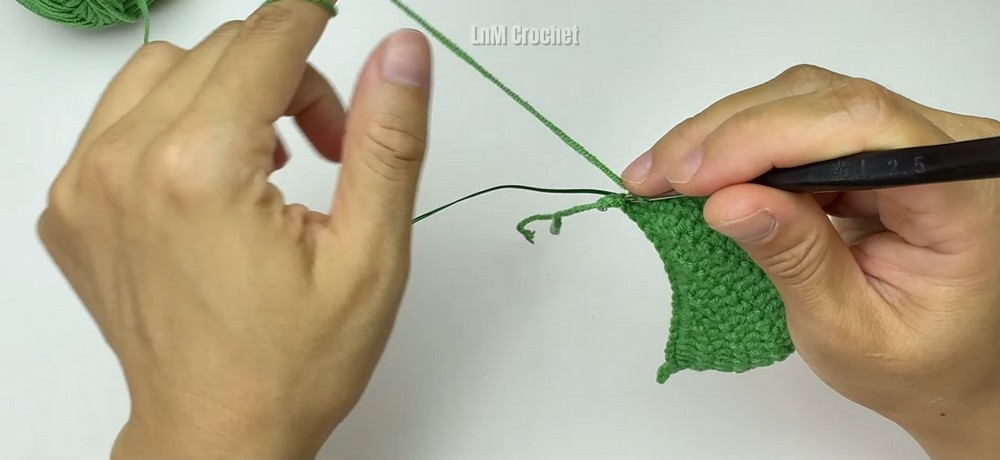
Leaves (Make 3 Leaves)
- Row 1:
- Begin with Ch 21.
- Insert the floral wire into the chain.
- Ch 3 more, then work 2 Slip Stitches (Sl St) into the second and third chains.
- Work along the chain, wrapping the wire:
- 2 SCs
- 5 HDCs
- 3 SCs
- Row 2:
- Turn work. Skip the first stitch, and starting from the second, work:
- 7 SCs
- Sl St, then Ch 2, turn.
- Turn work. Skip the first stitch, and starting from the second, work:
- Row 3–10:
- Continue following this pattern:
- Increasing SCs, HDCs, and SCs in specific quantities for shaping.
- Work evenly across the wire so it remains wrapped.
- Keep turning the work to finish both sides of the leaf evenly.
- Continue following this pattern:
- Final Assembly of Leaf:
- Work into the opposite side of the leaf for symmetry.
- Finish with the tail and wrap tightly to secure the wire.
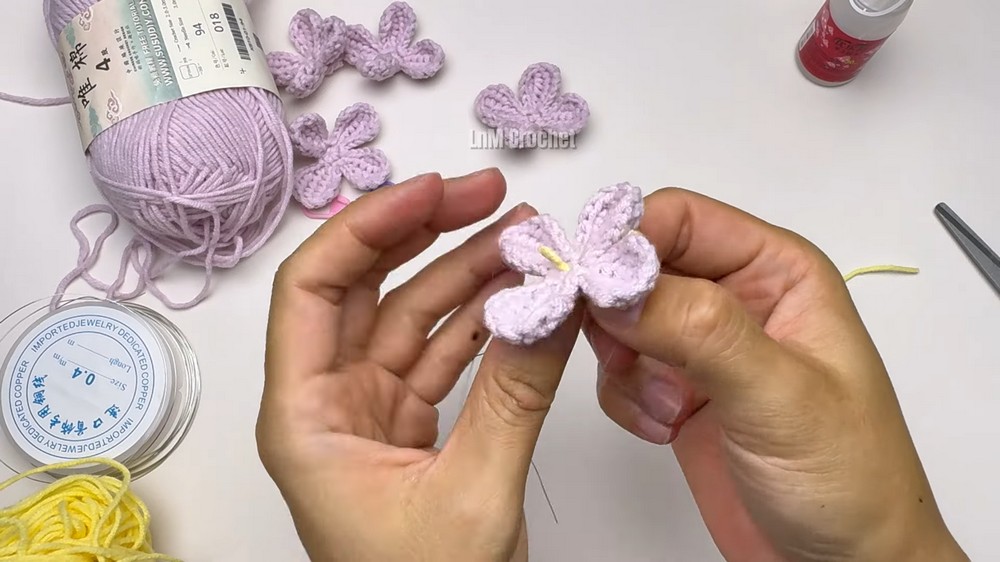
Assembly:
- Prepare Flowers:
- Use 20 cm floral wire per flower.
- Apply glue to the wire’s center and insert through the flower middle.
- Use yellow yarn to form pistils: wrap yarn and glue at the center.
- Arrange Flowers:
- Arrange flowers in a circular, even shape around a central floral stem.
- Use green yarn to wrap and secure the arrangement.
- Attach Leaves:
- Attach the 3 leaves evenly around the stem, securing with yarn.
- Final Wrap:
- Wrap the floral stem completely using green yarn, keeping it uniform and secure.
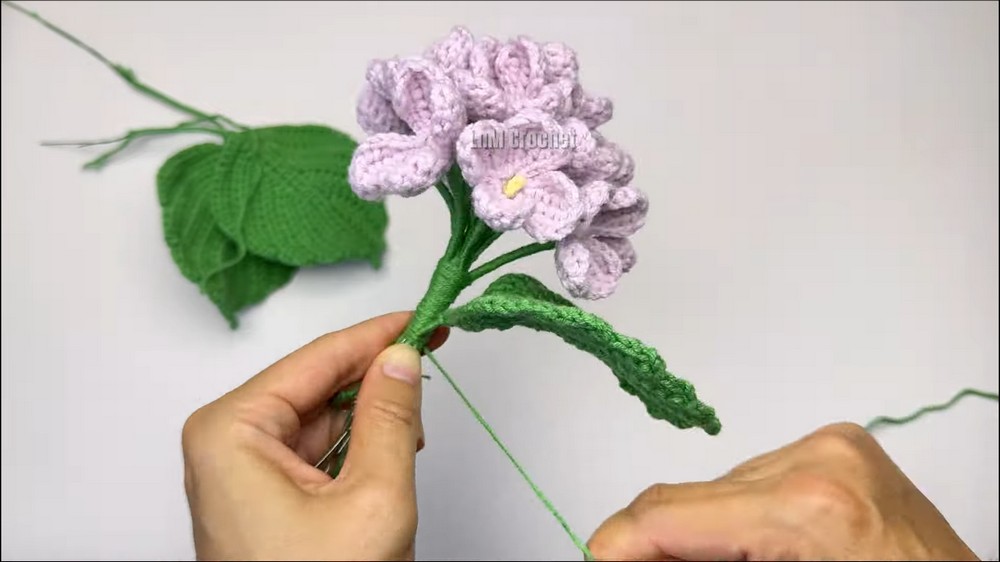
Finishing
- Trim excess wires and yarn ends neatly.
- Adjust the petals and leaves for the desired arrangement.
- Your crocheted hydrangea flower is complete!