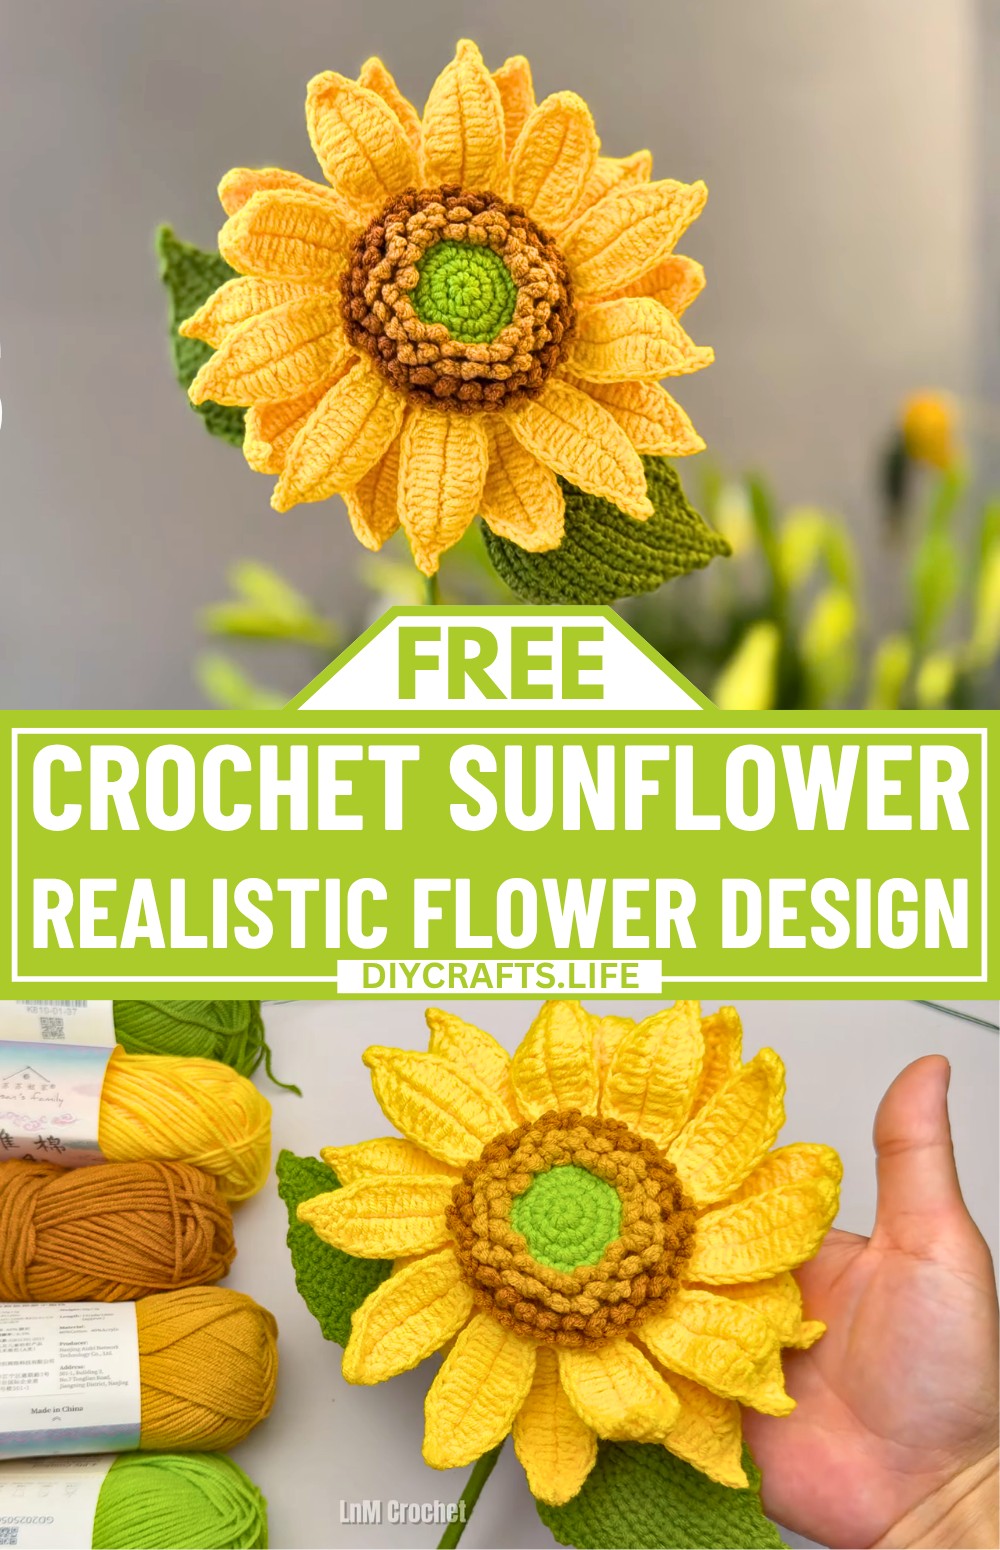
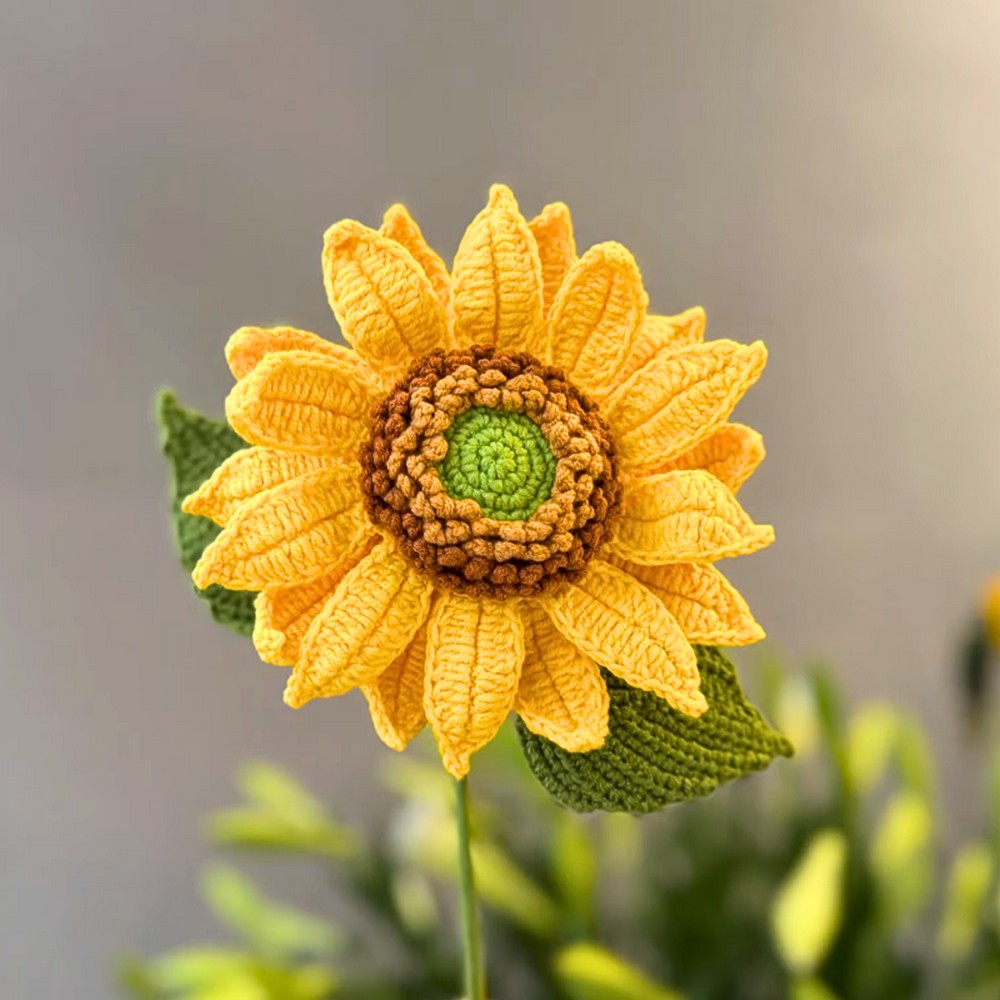
This crochet sunflower is a stunning piece of art! With its bright petals and natural shape, it’s perfect as home decor, a thoughtful handmade gift, or to brighten up any cozy corner. What makes it special? Unlike many crochet flowers, its vibrant petals keep their shape beautifully without needing wire, giving it a natural and sturdy look.
Crochet Sunflower Tutorial

The crochet sunflower is made in one piece, starting from the center, followed by layers of "seeds," vibrant petals, and a supportive green base. You’ll also create detailed features like realistic leaves and a supportive stem to complete the realistic touch. Basic crochet stitches bring everything to life, making it easy for anyone to try. Plus, it's great for anyone looking to practice combining colors or shaping floral designs. Whether you’re a beginner or just love crocheting delicate pieces, this sunflower is a simple yet creative way to enhance your skills.
Credit LnM Crochet & Handmade
Materials & Tools Needed
- Yarn:
- Green yarn (Susan 4 cotton yarn, 4-ply).
- Light brown yarn (Color 23).
- Dark brown yarn.
- Yellow yarn (Color 9 for petals).
- Hook:
- Crochet hook (2.5mm).
- Additional Supplies:
- Fiberfill (for stuffing the sunflower center).
- Floral stems (2–3 required, due to heaviness of the flower).
- Floral wire (for leaves; about 25–30 cm each).
- Scissors.
- Stitch markers or scrap yarn (optional, for marking stitches).
Finished Size & Customization Ideas
- Finished Size: The sunflower’s size depends on yarn and hook choice. Using 4-ply cotton yarn and a 2.5mm crochet hook, the flower achieves a realistic medium size.
- Customization Ideas:
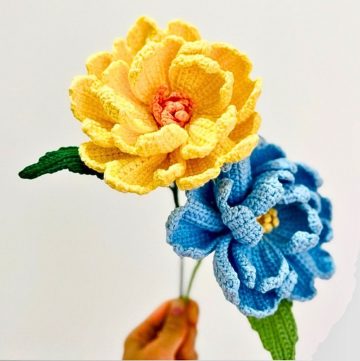
- Adjust petal colors for seasonal variations (white for daisies, red for a fantasy sunflower).
- Use thinner wire for delicate leaves, or none if you're crafting purely decorative flowers.
- Embellish with beads on the flower center for more texture.
Pattern Abbreviations & Terminology
- Ch: Chain
- SC: Single Crochet
- SL ST: Slip Stitch
- HDC: Half Double Crochet
- DC: Double Crochet
- Dec: Decrease (single crochet decrease)
- Cluster: Two unfinished DCs joined together
- Magic Ring: Adjustable circle used as a foundation.
This pattern uses US Crochet Terminology.
Step-by-Step Detailed Crochet Instructions
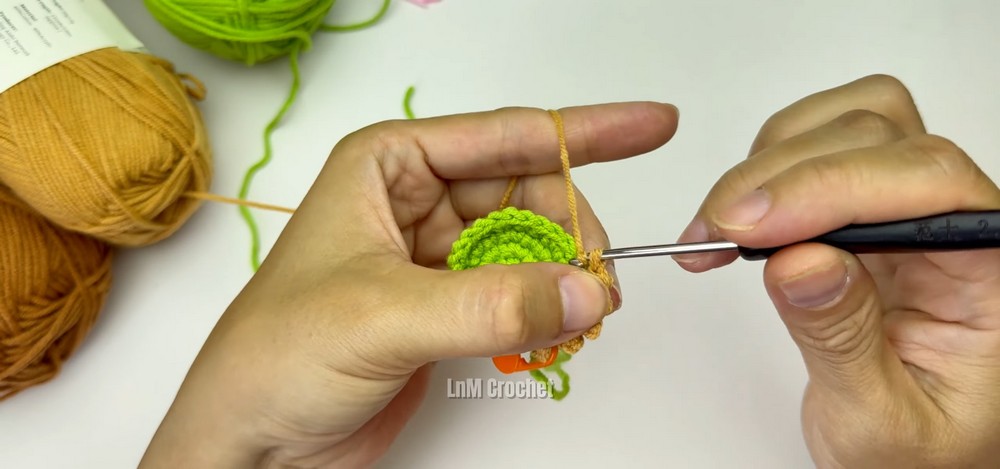
Component 1: Flower's Center
- Row 1 (Green Yarn):
- Start with a Magic Ring.
- Work 6 SC into the ring.
- Pull the ring tight and join with a SL ST to the first SC.
- Row 2:
- Ch 1 (do not count this as a stitch).
- Make 6 SC increases — 2 SC in each stitch around.
- Total: 12 stitches.
- Join with SL ST and pull tight.
- Row 3:
- Ch 1.
- Create a pattern of 1 SC followed by an SC increase.
- Repeat 6 times. Total: 18 stitches.
- Join with SL ST.
- Row 4:
- Ch 1.
- Create a pattern of 2 SC followed by an SC increase.
- Repeat 6 times. Total: 24 stitches.
- On the last SC, attach light brown yarn.
- Cut the green yarn and make SL ST into the first SC.
Component 2: Melon Seeds
- Row 5 (Light Brown Yarn):
- Work in front loops only.
- Ch 1 (tighten it, don’t count as a stitch).
- Create the seed sequence:
- 3 Ch, SL ST into the same front loop.
- SL ST into next front loop.
- Repeat 3 Ch, SL ST into the same front loop.
- Skip one front loop after groups of 5 seeds.
- Continue until the round ends.
- Bring yarn to the back.
- Row 6:
- Work in back loops of row 4.
- Ch 1 and mark the back loop.
- Increase stitches using a pattern of 3 SC followed by an SC increase.
- Total = 30 stitches.
- Row 7:
- Work in front loops only.
- Ch 1 (do not count as a stitch).
- Start the second row of seeds:
- Create groups of 4 Ch per seed (similar to Row 5).
- Skip one front loop after groups of 5 seeds.
- Cut yarn and attach dark brown yarn.

Component 3: Petals
- Base for Petals (Dark Brown Yarn):
- Ch 1 (tighten it, do not count as a stitch).
- Work 42 SC along back loops from row 6. Join with SL ST.
- Chain Stitch Base:
- Work 40 chain stitches evenly, skipping 2 stitches on base.
- Create SL STs into the spaces between the brown and green rows.
Layer 1 of Petals
- Petals:
- Each petal occupies 4 chain stitch spaces.
- Start with 11 Ch.
- Work back into the chain (refer to tutorial for picking loops):
- Skip the first vertical bar, SL ST into the second vertical bar.
- Work 9 slip stitches down.
- Attach to base row with SL ST into the next chain space.
- Repeat for all 10 petals.
- Outer Petal Tips:
- Follow a pattern on the petal top:
- Single crochet -> Ch 2 -> SL ST.
- Follow a pattern on the petal top:

Layer 2 of Petals
- Second Layer:
- Work on back loops created earlier (between petals of Layer 1).
- Start the petal with 12 Ch.
- Work back down as with Layer 1, but insert clusters into staggered spaces for fullness.
- Outer Petal Tips:
- Work top of petal as above but use Ch 3 for SL ST sequence.
Component 4: Calyx
- Green Yarn Base:
- Attach yarn.
- Make a row of 36 SC decreases (decrease 6 evenly).
- Calyx Petals:
- Work triangular petals opposite the flower petals (turn work).
- Each petal consists of chaining, slip stitches, SCs, HDCs, and decreases.
- Form six petals in total, spaced evenly.

Component 5: Assembly
- Stuff the Center:
- Use fiberfill to stuff the sunflower before closing.
- Insert Floral Stems:
- Attach two floral stems for strength. Bend the tops at 90 degrees to secure inside.
- Wrap Yarn:
- Wrap green yarn tightly around the stem base, concealing the floral stems.
- Attach leaves securely using floral wire tucked into stems.