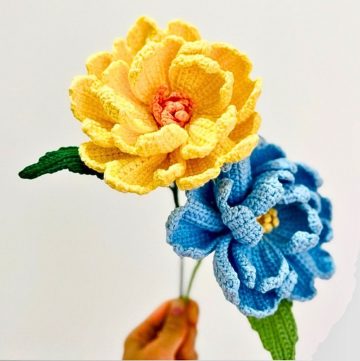
A crochet peony flower is a beautiful and elegant creation that looks just like a real blooming flower. With its multiple petals, soft edges, and lifelike leaves, it’s perfect for adding a touch of nature to your home or office. You can place it in a vase, use it as a decorative gift, or even turn it into a bouquet for special occasions. It’s a lasting flower that never wilts.
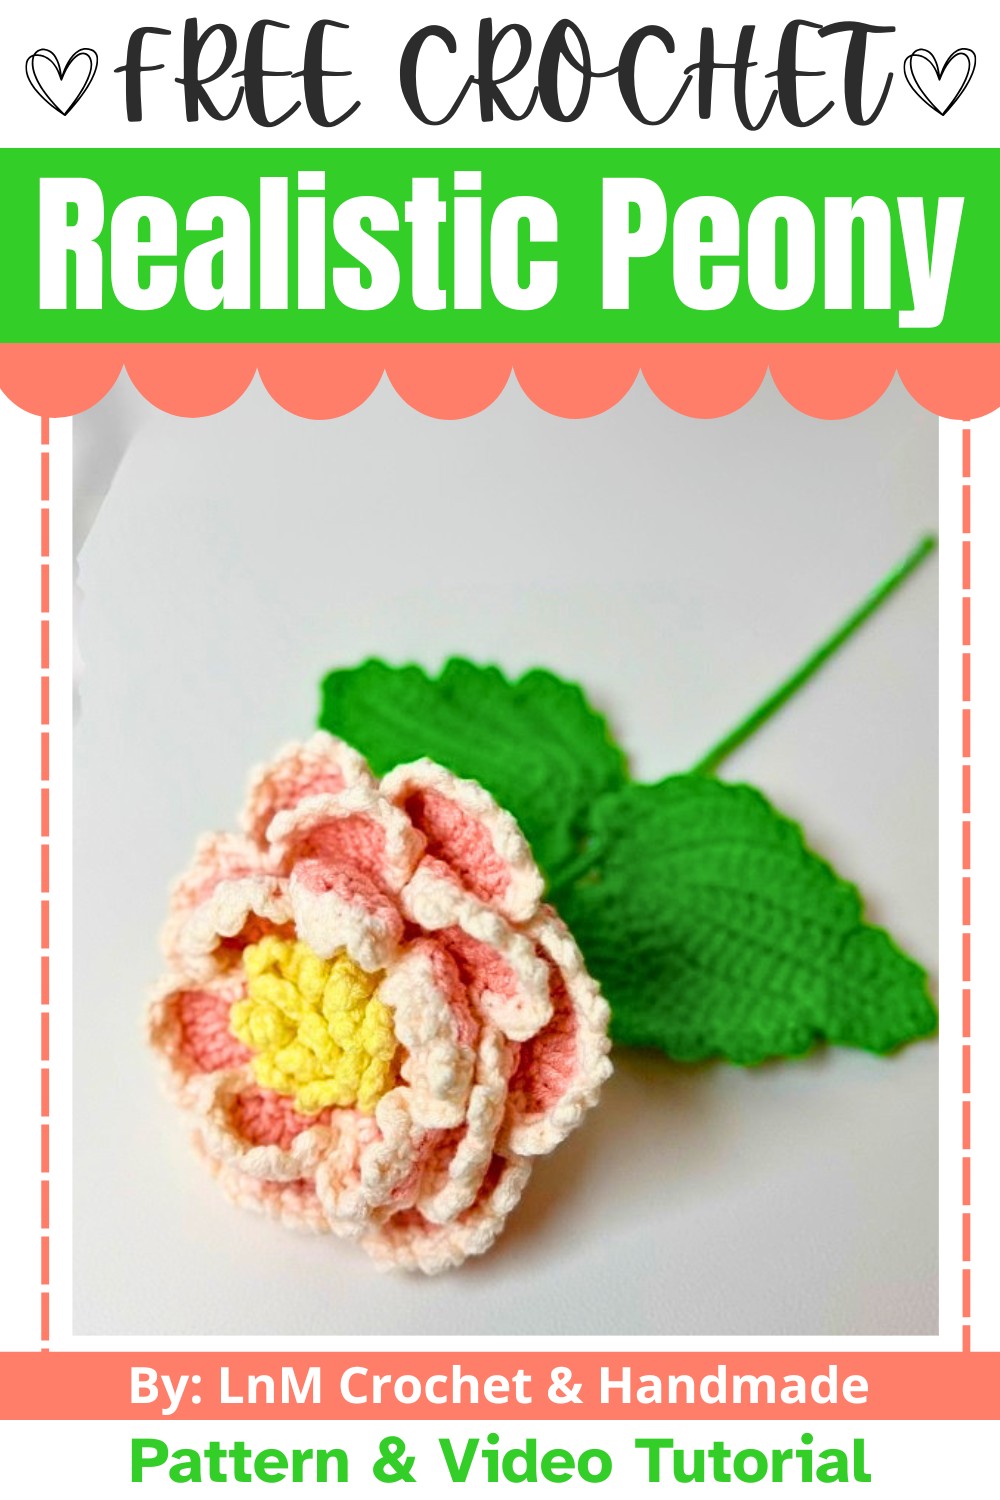
Crochet a Realistic Peony Flower with Gradient Petals
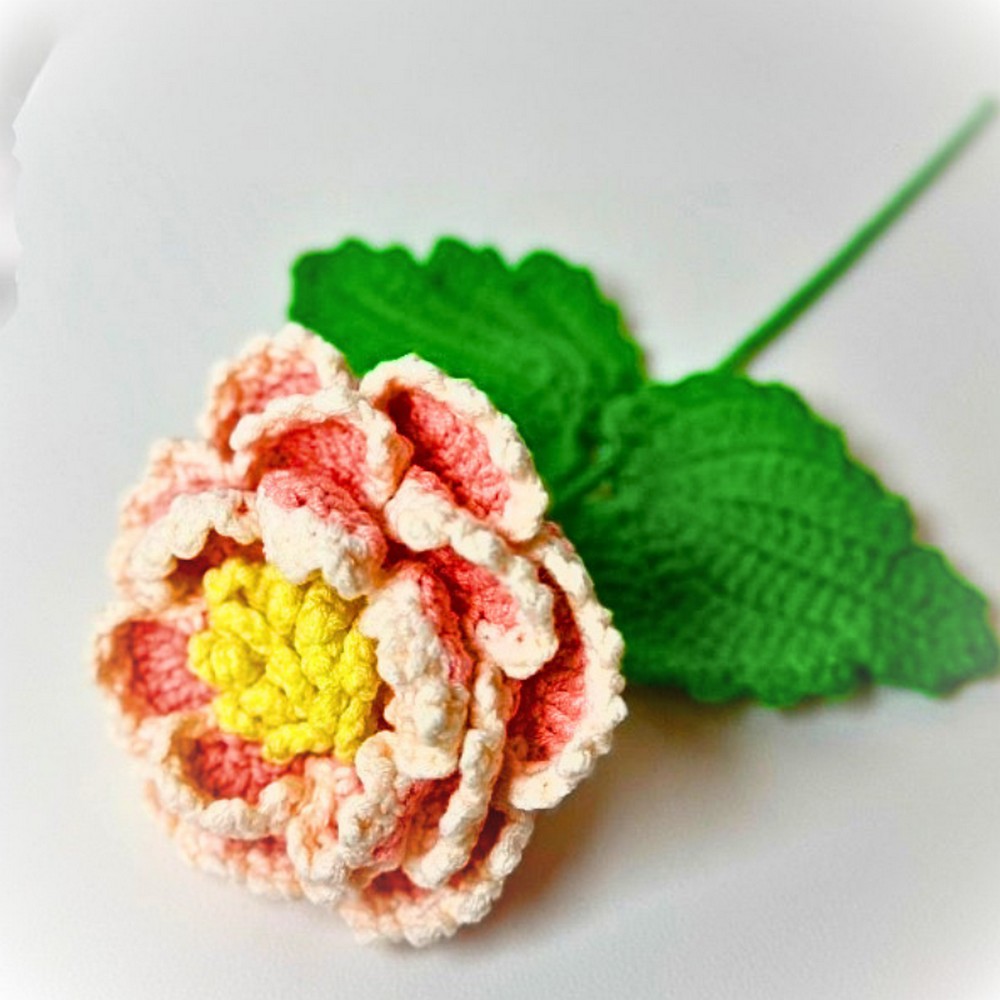
This flower uses simple crochet techniques, making it easy to follow even for beginners. You’ll start with the bright pistil in the center, layer the colorful petals, and finish with the delicate leaves and stem. You can use solid colors or a gradient effect for the petals, depending on your style. Add some floral wire for a sturdy structure, and voilà, you have a stunning peony that’s sure to impress.
Credit LnM Crochet & Handmade
Materials & Tools Needed
- Yarn:
- Yellow for the pistil.
- Pink for the main petal color.
- Lighter pink or gradient color for lace edges of petals (optional).
- Green for the sepals and leaves.
- Crochet Hook: Size 5.
- Additional Supplies:
- Floral wire (2 pieces, approximately 30–40 cm each).
- Hot glue (optional, for attaching the wire to the flower and leaves).
- Scissors.
- Tapestry needle for weaving in ends.
- Stitch markers (to help track your stitches).
Finished Size & Customization Ideas
- Approximate Size: The finished flower size will depend on the size of your yarn and hook.
- Customization Ideas:
- For a gradient-effect flower, alternate between slightly lighter yarn tones for the petal edges.
- Use different yarn weights or blanket yarn for a larger bloom.
- Add additional layers of petals for a fuller peony.
- Mix-and-match colors to create a variegated or unique design.
Pattern Abbreviations & Terminology
- US Terminology is used throughout this pattern.
- Stitches:
- Ch: Chain
- Sl st: Slip stitch
- Sc: Single crochet
- Hdc: Half double crochet
- Dc: Double crochet
- Inc: Increase (2 sc, hdc, or dc worked into the same stitch)
- Dec: Invisible decrease (insert hook into front loops of next 2 stitches, yarn over and pull through all loops on hook)
- Loops:
- Front Loop Only (FLO): Work into the front-facing loop of the indicated stitch.
- Back Loop Only (BLO): Work into the back-facing loop of the indicated stitch.
Step-by-Step Crochet Instructions
Below is the exact step-by-step guide for making the crochet peony flower, including the pistil (center), petals (3 layers), and sepals, with details on stitch counts, joining methods, and finishing techniques.
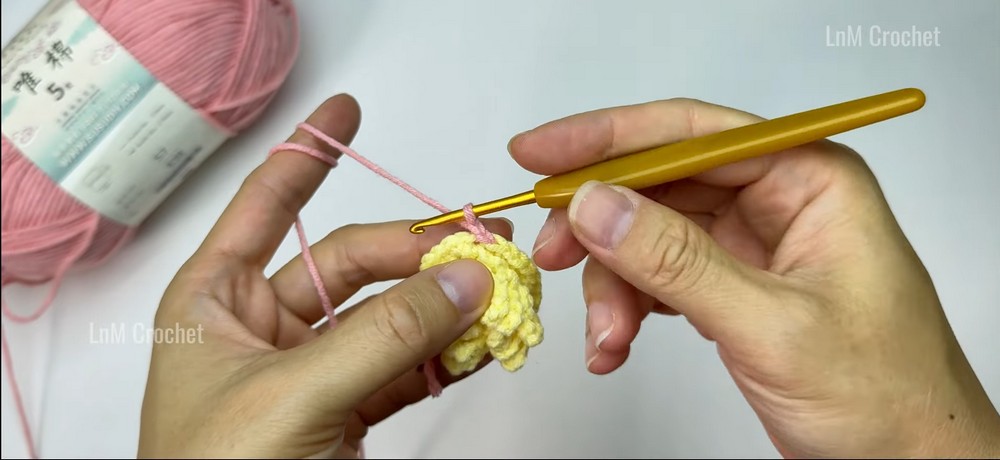
Pistil (Flower Center)
- Start with Yellow Yarn:
- Make a magic ring (wrap yarn to form a loop, with the tail behind the working yarn).
- Row 1: Ch 1 (does not count as a stitch), 8 sc in the magic ring. Pull the tail to close the ring.
- Join with a sl st to the first sc. (8 sts)
- Row 2 (FLO of Row 1):
- In FLO of each stitch: [Ch 8, sl st] into the same FLO. Repeat 8 times around.
- At the end, you will have 8 chain loops (like small spikes).
- Row 2 (BLO of Row 1):
- Switch back to BLO of Row 1. Start working pistil increases:
- Work 2 sc into each BLO. (16 sts)
- Join with a sl st to the first sc, ensuring only the BLO stitches are worked here.
- Switch back to BLO of Row 1. Start working pistil increases:
- Set aside and switch to petal construction.
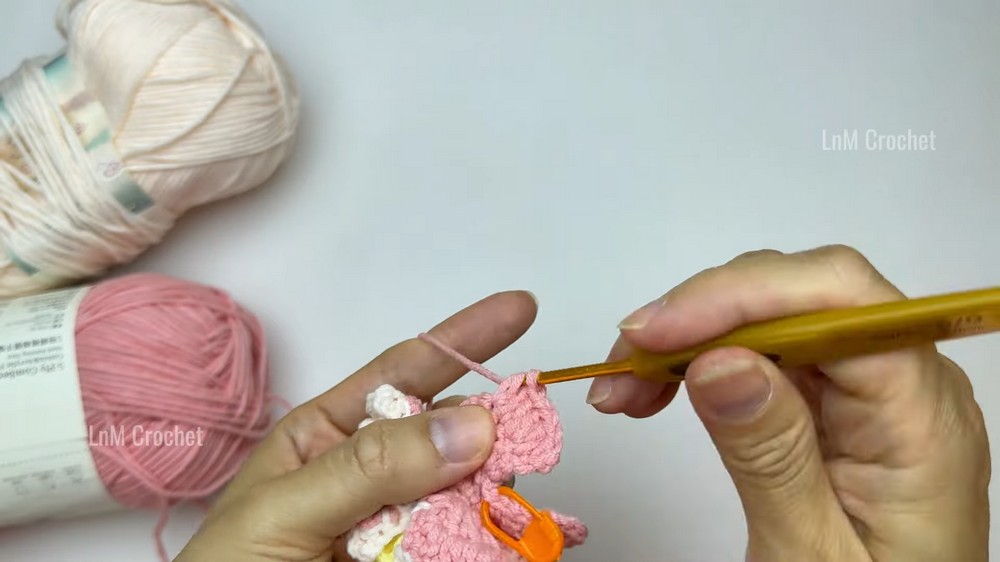
First Layer of Petals (Pink Yarn)
- Attach pink yarn:
- Insert hook into the BLO from the last pistil row. Secure yarn with a slip stitch.
- Ch 1, mark the first stitch’s BLO for later.
- Layer Setup (Row 1):
- Work 4 sc across the next 4 BLOs.
- Ch 2, turn.
- Complete a row of 4 dc across these stitches.
- Layer Growth (Rows 2–3, back-and-forth increasing):
- Row 2: (Dc, inc) across. End with 6 dc. Ch 1, turn.
- Row 3: (Dc, inc) across. End with 8 dc.
- Joining Petals: After forming each petal, sl st into the base's next BLO.
- Continue making all petals, each using 4 BLOs of the base. You will have 6 petals for this layer.
- (Optional) Lace Edge:
- Attach light pink yarn.
- Work a lace pattern: (Sc, ch 3, sc) into every second stitch of the top of each petal, skipping one stitch in between.
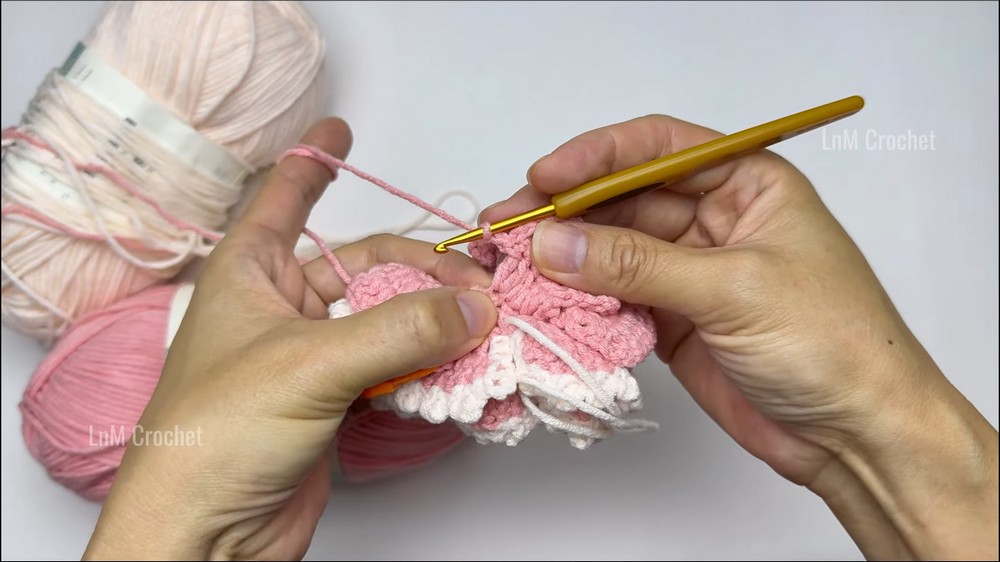
Second Layer of Petals
- Base for Second Layer:
- Using the next row of BLOs, ch 1, and sc evenly into 24 BLOs. (24 sts)
- Join with sl st into the first stitch.
- Petals:
- This layer is staggered, so sl st 2 times to offset the petal positions.
- Follow the petal construction method for 6 petals. Each petal occupies 4 stitches.
- Increase rows for petals as follows:
- Row 1: (Dc, inc). End with 5 dc.
- Row 2: (Dc, inc). End with 7 dc
- Row 3: (Dc, inc). End with 10 dc.
- Work lace edge if using.
Third Layer of Petals
- Base for Third Layer:
- Attach pink yarn to the remaining BLOs.
- Sc evenly into 24 BLOs. (24 sts)
- Petals:
- Construct 6 staggered petals with the following stitch counts:
- Row 1: (Dc, dc, inc) across. End with 7 dc.
- Row 2: (2 dc, inc) across. End with 10 dc.
- Row 3: (Dc, inc) for a total of 12 stitches.
- Finish with lace edge (optional).
- Construct 6 staggered petals with the following stitch counts:
Sepals & Stem (Green Yarn)
- Base of Sepals:
- Attach green yarn to the last row of BLOs.
- Work sc evenly into 24 BLOs. (24 sts)
- Sepals:
- Ch 3, work 4 dc into the next 4 sts, and complete each sepal as follows:
- Row 1: (Dc, dec) across. Ch 1, turn.
- Row 2: (Dec) twice. Ch 1, turn.
- Repeat for 6 sepals.
- Ch 3, work 4 dc into the next 4 sts, and complete each sepal as follows:
- Stem:
- Secure the floral wire bent at the top into the flower's center.
- Wrap green yarn over the wire until completely covered, adding glue where needed.
- Secure the floral wire bent at the top into the flower's center.
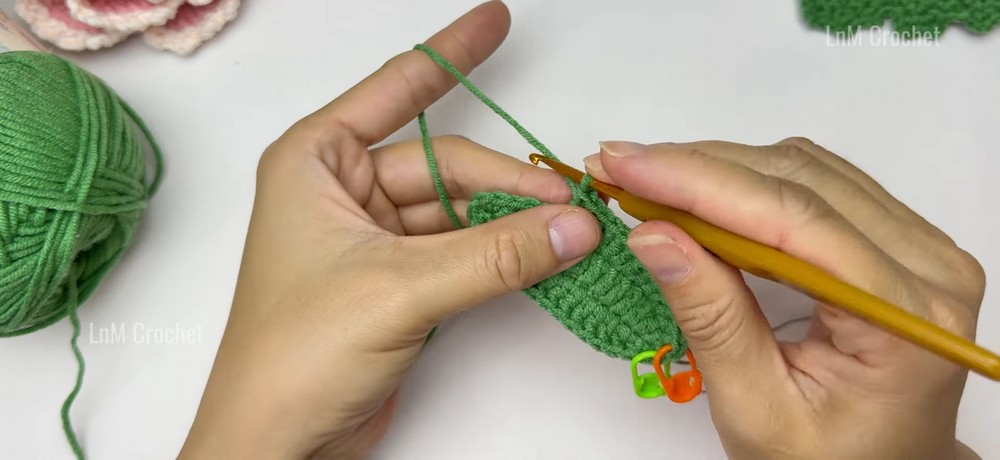
Leaves
- Chain Base with Wire:
- Make 16 chains. On the 16th chain, lay the wire alongside your work.
- Work around the chain and wire:
- (Sc, hdc, dc, dc-inc) on one side.
- 3 sc into the end and mirror the stitches on the opposite side.
- Shaping Rows:
- Continue with dc rows, increasing in the middle and tapering to the edges.
- Optional Lace Edge:
- (Sc, ch 3, sc) around the leaf's border.
- Wrap green yarn around floral wire to secure.
Final Assembly
- Attach the leaves to the stem using wire and green yarn.
- Shape petals, leaves, and sepals as needed.
- Your completed crochet peony is now ready for display!