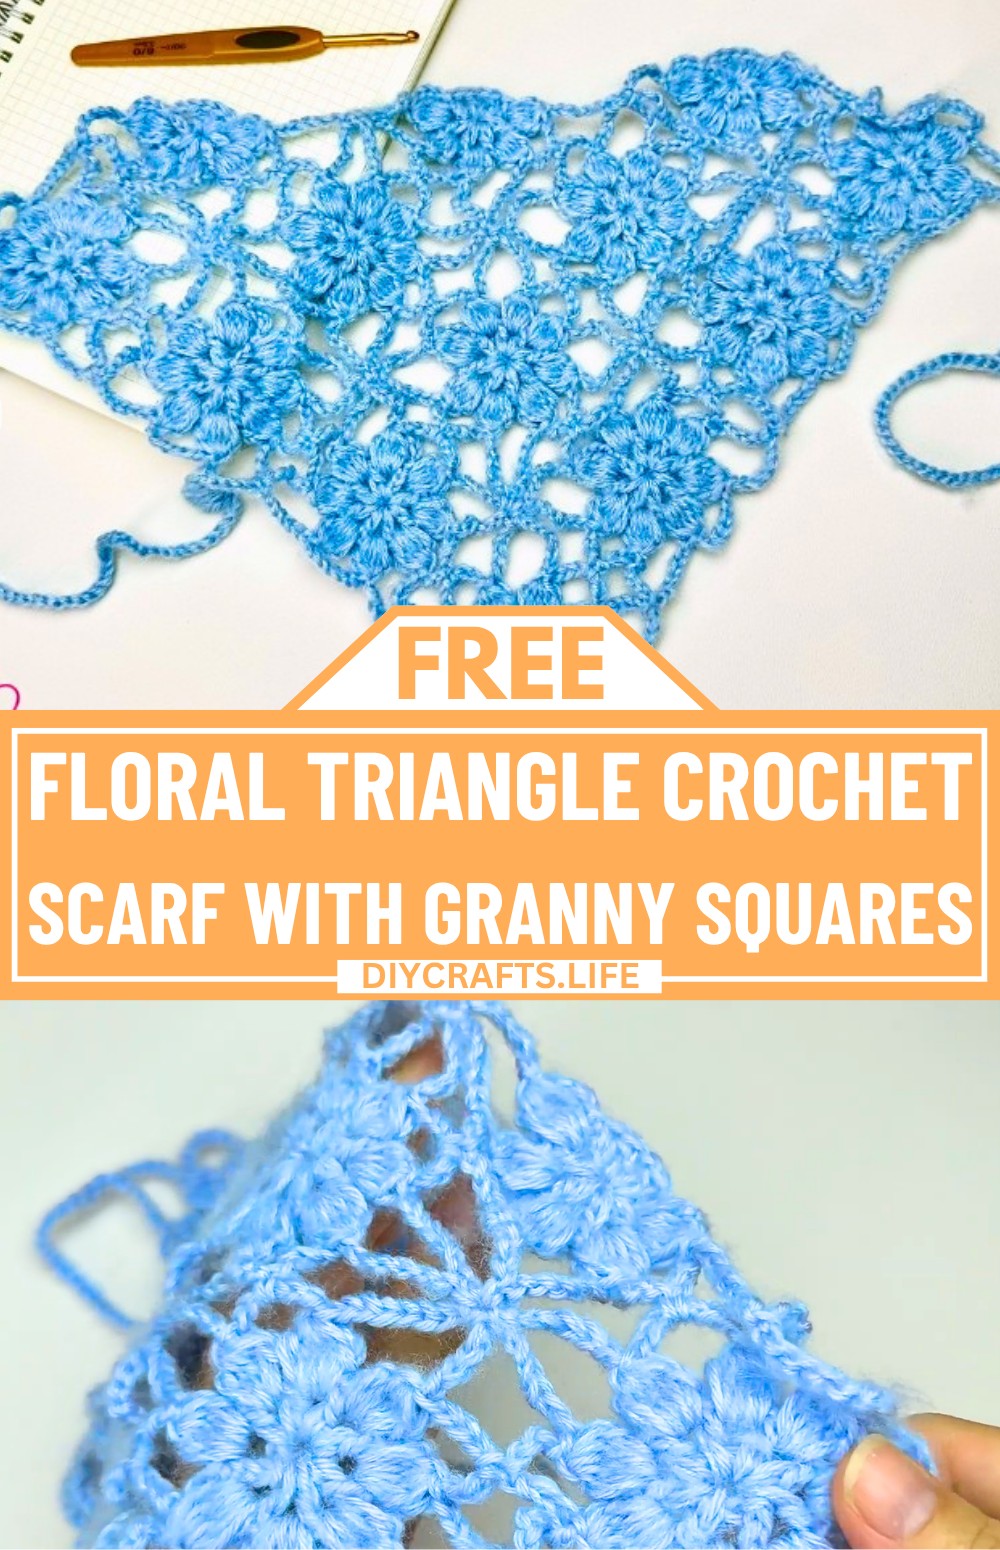
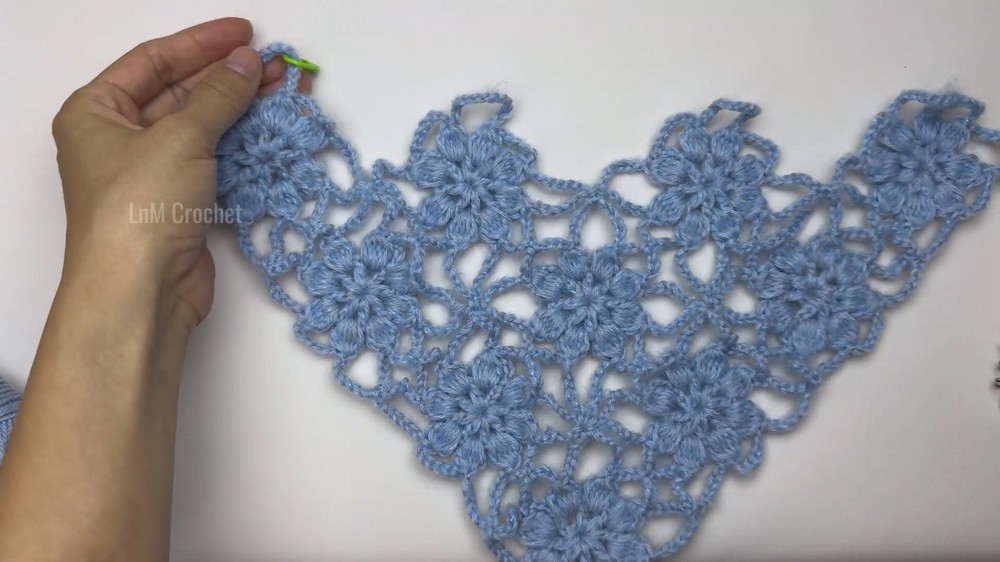
A Crochet Floral Triangle Head Scarf is more than just an accessory, it's a delicate and airy addition to your wardrobe that adds charm to any outfit. Made with floral granny squares, this lightweight scarf is designed to look elegant and feel comfortable. Its triangle shape makes it easy to wear as a scarf, wrap, or head covering, offering endless styling possibilities.
Floral Triangle Crochet Scarf Made with Granny Squares
This Crochet Scarf Pattern stands out for its beauty and simplicity. By using thinner yarns like merino or mohair and a slightly larger hook, the scarf achieves a soft, floaty look. If you're new to crochet, the pattern is straightforward and involves joining granny squares as you go, no complicated steps required. You’ll need basic tools like scissors, a needle, and yarn markers to guide you. For a personal touch, you can experiment with colors to create something uniquely yours.
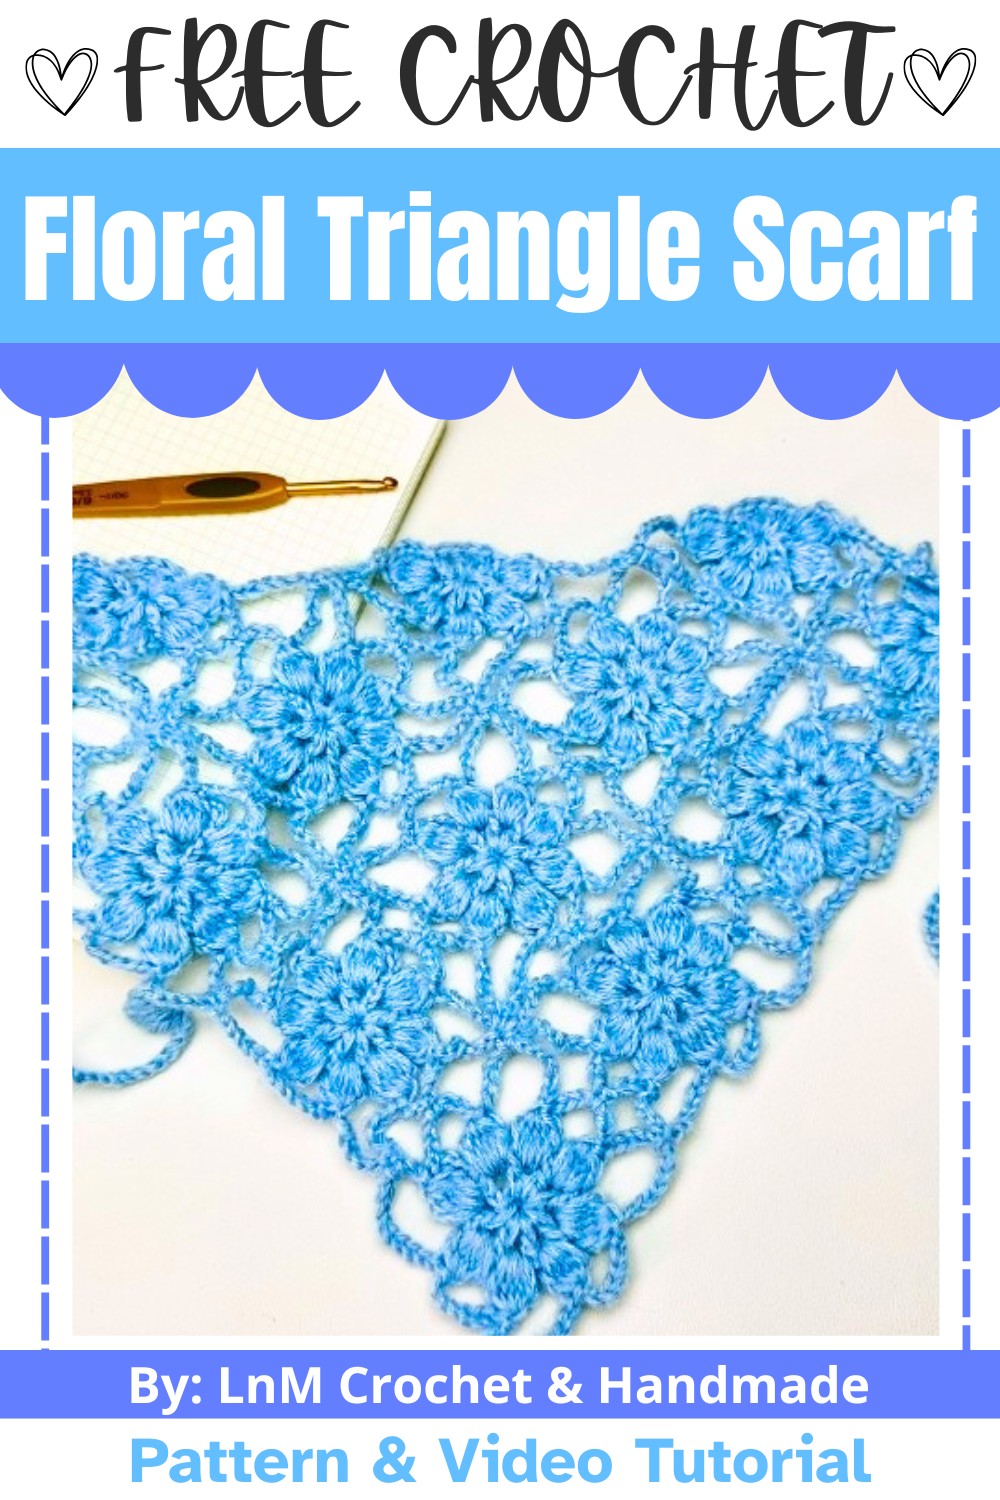
Credit LnM Crochet & Handmade
Materials & Tools Needed
- Yarn:
- Mix of lightweight yarns such as:
- 4-ply merino (e.g., Baby Dreamtime merino).
- Optional: one or two strands of mohair for a soft and airy look.
- Lightweight cotton yarn can also be used for a summery finish.
- Mix of lightweight yarns such as:
- Crochet Hook: Size 3.5 mm (an oversized hook for an airy effect).
- Scissors
- Yarn Needle: For weaving in ends and finishing.
- Stitch Markers: To mark connection points for the granny squares.
Finished Size & Customization Ideas
- Size: Consists of 10 floral granny square motifs and 3 half-square motifs, arranged into a triangular shape.
- Customization Ideas:
- Adjust yarn types for different seasons (mohair for winter, cotton for summer).
- Change the number of motifs to create a larger or smaller scarf.
- Use bold color changes to add playful contrast or keep it monochromatic for an elegant look.
Pattern Abbreviations & Terminology (US terms)
- ch: Chain
- sl st: Slip Stitch
- dc: Double Crochet
- sc: Single Crochet
- cluster: A group of multiple stitches worked together, usually unfinished double crochets (5 in this pattern).
- sp: Space
Step-by-Step Detailed Crochet Instructions
Each square consists of 3 rows.
Row 1: Center Ring
- Start with a slip knot. (Do not count this as a stitch.)
- Chain 5, then join into a ring with a sl st in the first chain.
- Pull the yarn tight.
Row 2: Creating the Base of Petals
- Ch 4 (counts as 1 dc and 1 ch space).
- Into the center ring:
- Work 1 dc, then ch 1.
- Repeat: 1 dc, ch 1 7 more times.
- At the end of this row, you should have 8 dc stitches and 8 ch spaces. The starting ch 4 counts as 1 dc + 1 ch.
- Finish with 1 ch, then join with a sl st into the third chain from the initial ch 4.
- Ensure you insert the hook through the V-shape of the stitch for a clean join.
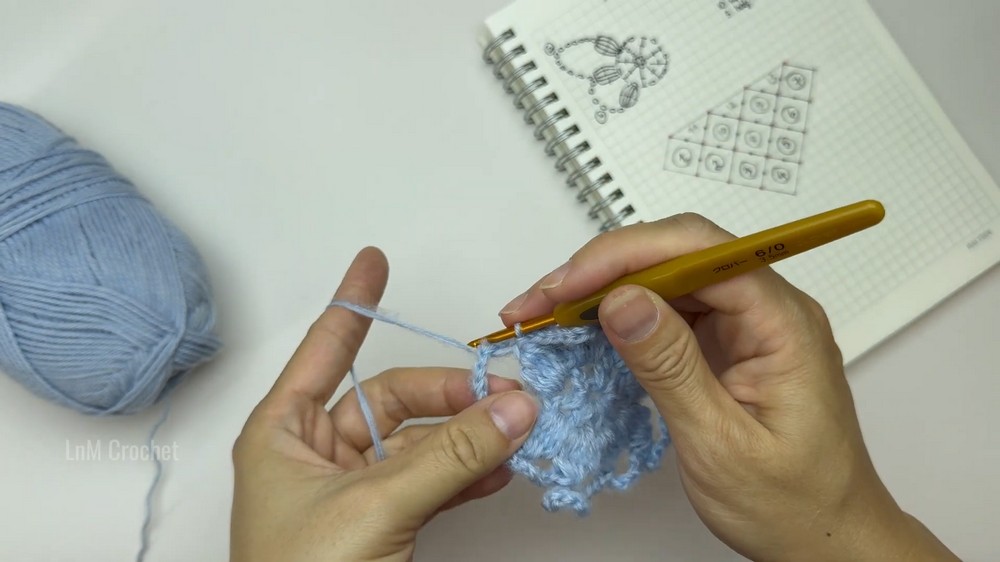
Row 3: Petals (Clusters and Chains)
- Start with ch 3 (does not count as a stitch).
- Into the first ch sp from the previous row:
- Work 5 unfinished dc stitches, leaving the final loop of each dc on the hook.
- Once you have 6 loops on your hook, yarn over and pull through all loops, then ch 1 to lock. This forms the first 5-dc cluster.
- Chain 12 (long chain for corners).
- In the next ch sp:
- Work another 5-dc cluster, lock with ch 1, then ch 6 (short chains for edges).
- Repeat the alternating pattern (12-ch for corners, 6-ch for edges) around the square until you have 4 corners and 4 sides.
- Finish with a sl st and secure the yarn with 1 ch, then cut and weave the end.
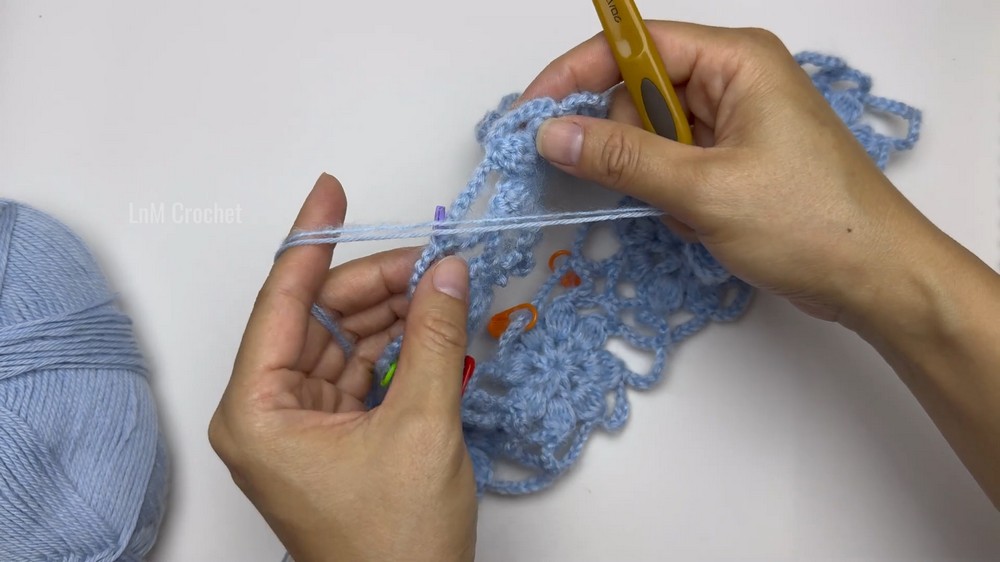
Joining Squares Together
- Begin working Row 3 on the second square motif (repeat steps above).
- For the first corner join:
- After the first cluster, ch 6.
- Pick up the completed first square and working from the back, insert your hook into its corner ch sp and make 1 sc.
- Ch 6, return to the second square, and work another cluster in the next ch sp.
- For side joins:
- Work 3 ch, then join with 1 sc to the side chain of the first square.
- Ch 3 and continue the cluster on your current square.
- Repeat this joining method:
- First join at the corner, then side, then at the final corner.
- This will connect each square at 3 points (corner-side-corner).
Assembling the Triangle Layout
- Repeat the joining process as you create additional squares.
- In the first “row,” complete 4 granny squares joined at their corners and sides, forming a horizontal line.
- For rows 2 and 3:
- Add squares so each is joined to 3 points of the previous motif (corner-side-corner).
- Once all 10 squares are connected, you will have a triangular-shaped motif layout.
Half Squares (for Top Row)
Each half square uses 5 clusters instead of 8.
- Begin the same way as the full squares (slip knot, ring, and first 2 rows).
- In Row 3, work only 5 clusters, following the same pattern for corners and sides.
- Join the half squares to the top edges of the triangle at the marked connection points.
Finishing: Edging and Ties
- Attach the yarn at the top corners.
- Work chain stitches to form ties:
- Suggested length: 60–80 chains depending on desired tie length.
- Add decoration at the tie ends:
- After completing the chain, work a 4-dc cluster in the third chain from the hook, secure with 1 ch, and finish with a sl st.
- Cut the yarn and weave the ends.
- Repeat for both corners.
Final Touches
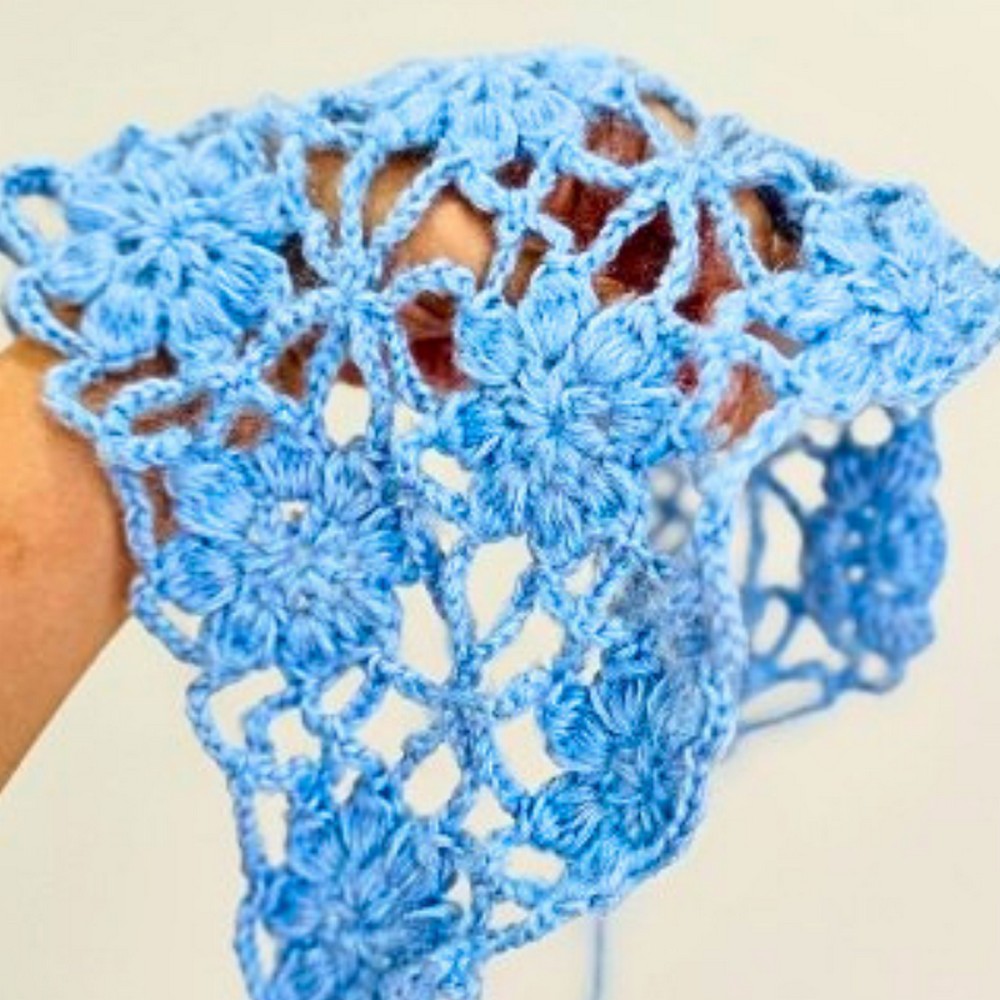
- Block the scarf to shape it evenly.
- Stretch gently to enhance its airy and lightweight texture.