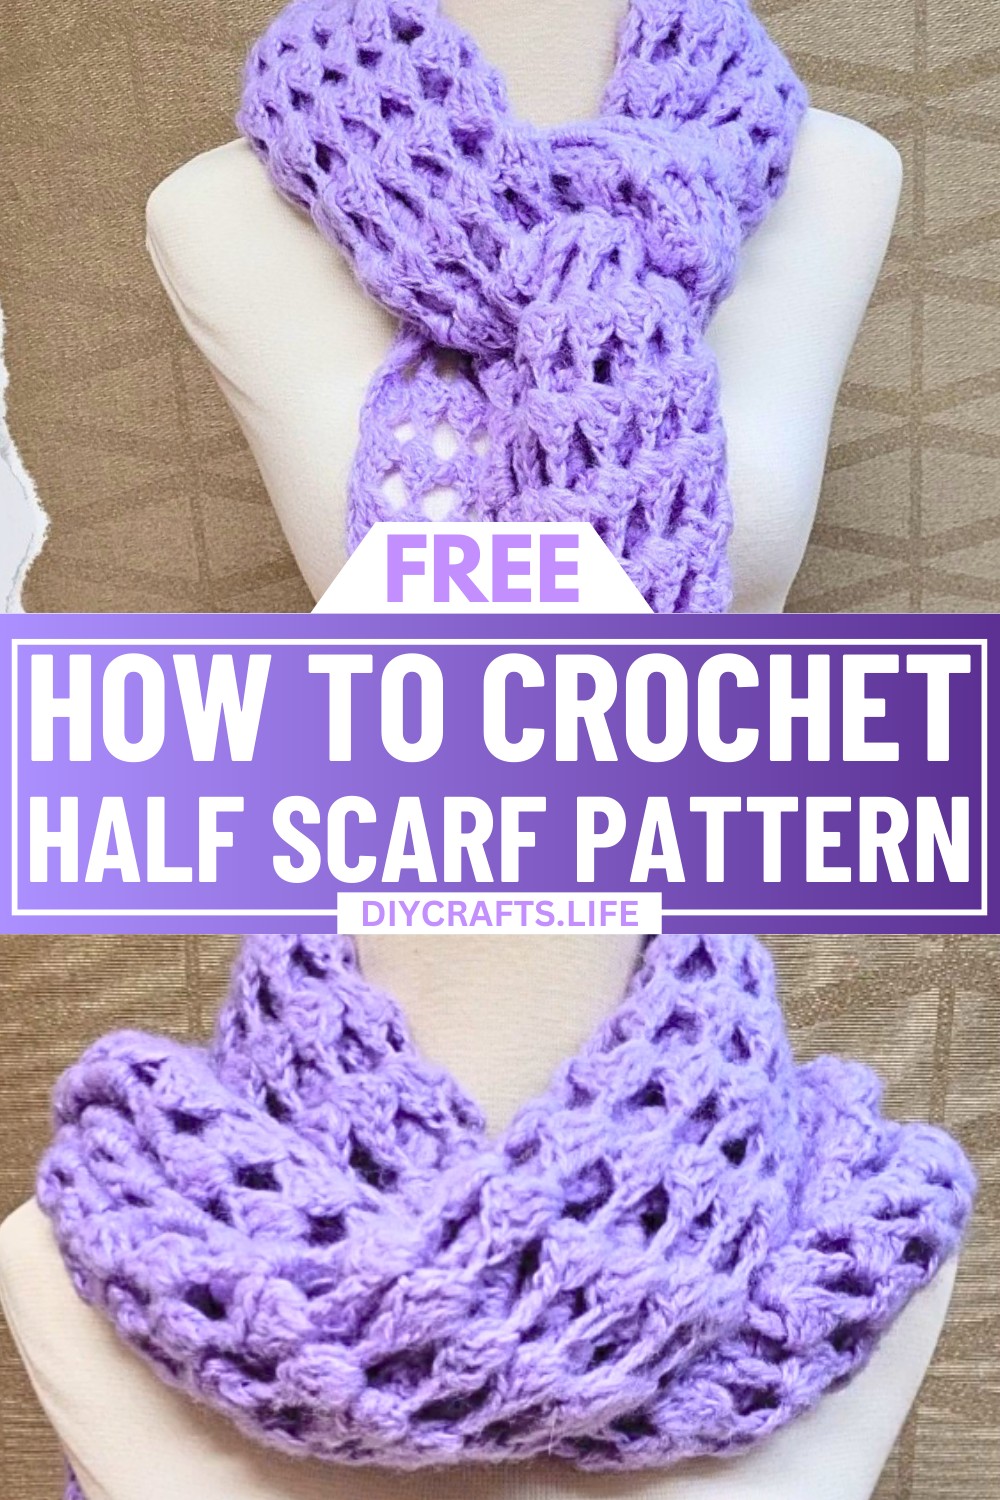
Create a timeless accessory with simplicity and elegance. This easy-to-make crochet scarf is designed to suit any season—from cozy winter wear to a light and breezy spring look. Whether you’re a beginner or a seasoned pro, the straightforward stitches and adaptable pattern will make crafting this scarf an exciting yet stress-free experience.
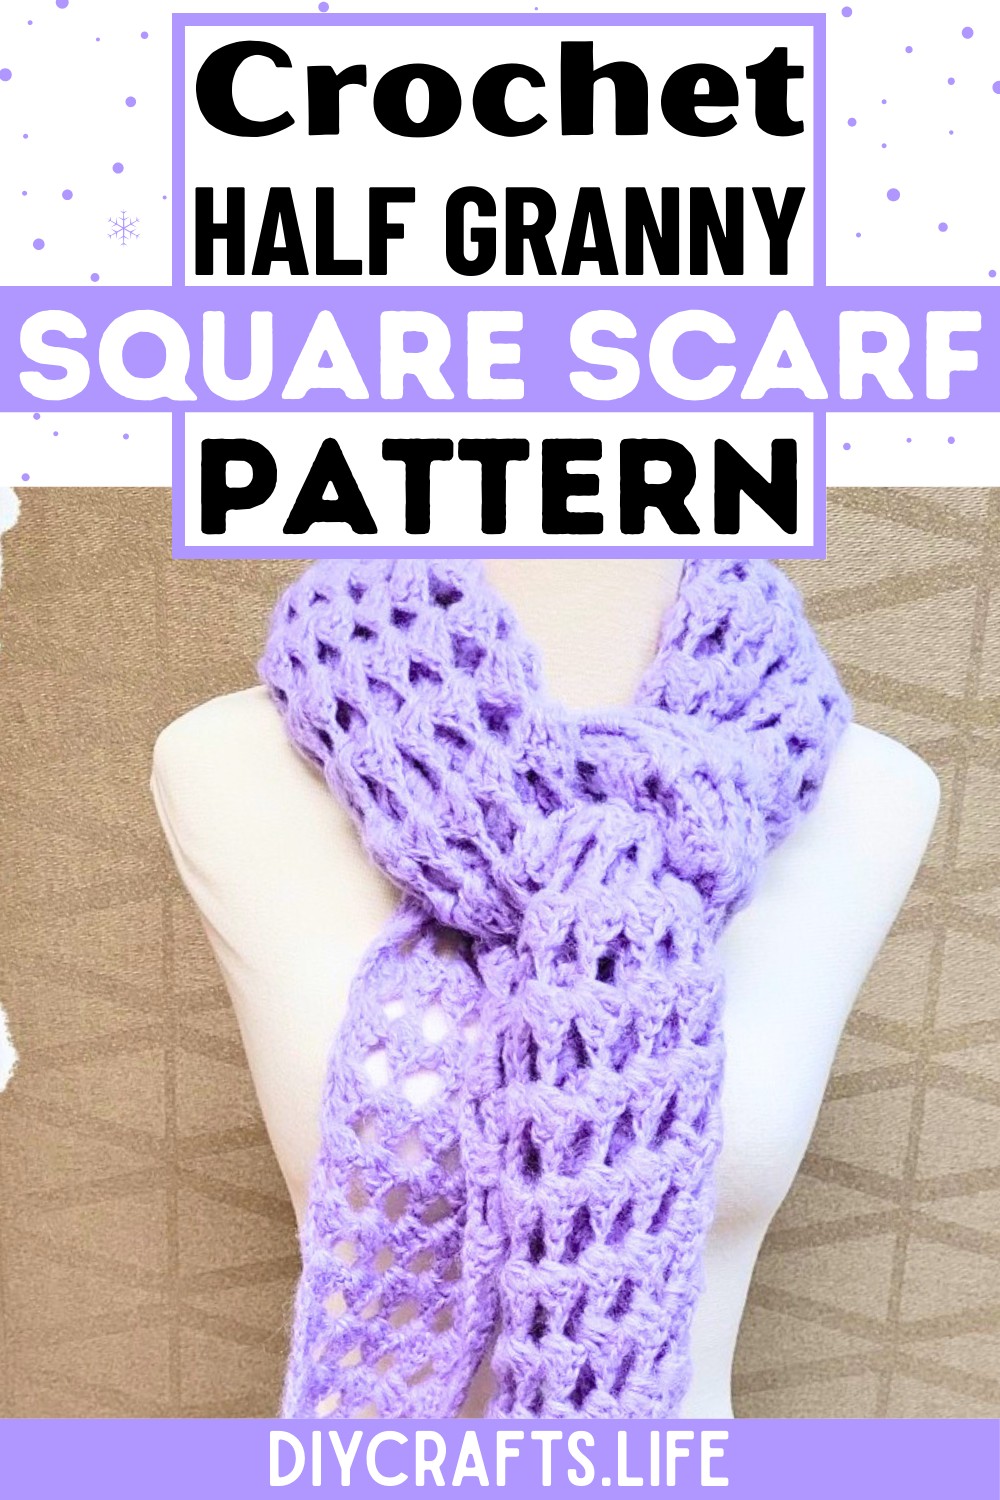
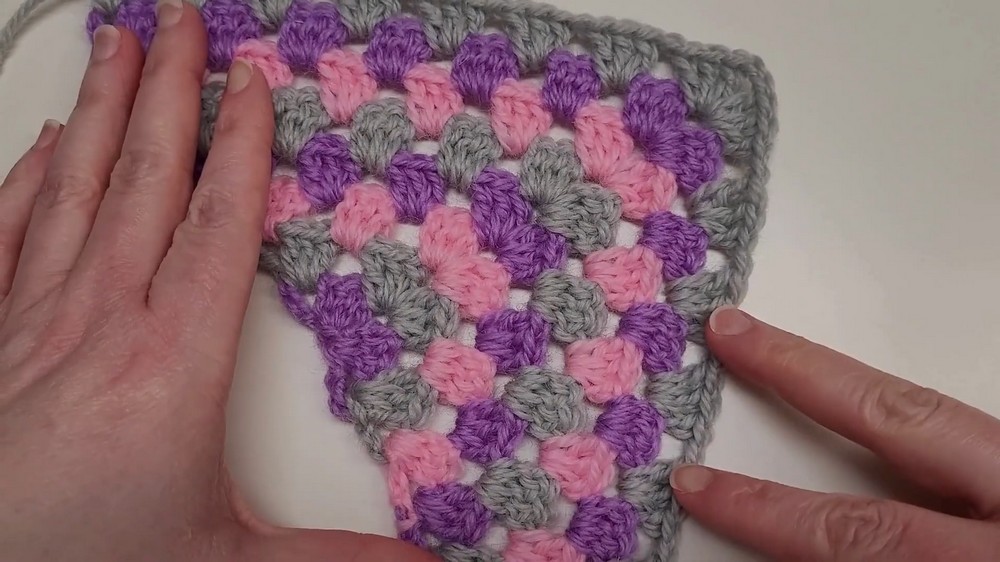
Using the "half granny square" technique, the scarf combines a triangular structure with layered clusters of double crochets. What sets this design apart is its flexibility—adjust the size, color combinations, or even yarn type to match the occasion or the outfit. Add intricate borders for a stunning finish, or keep it minimal for effortless styling. This beginner-friendly approach allows for endless personalization, offering something unique every time you make one.
Credit CrochetandCoffee
Materials & Tools Needed
- Yarn:
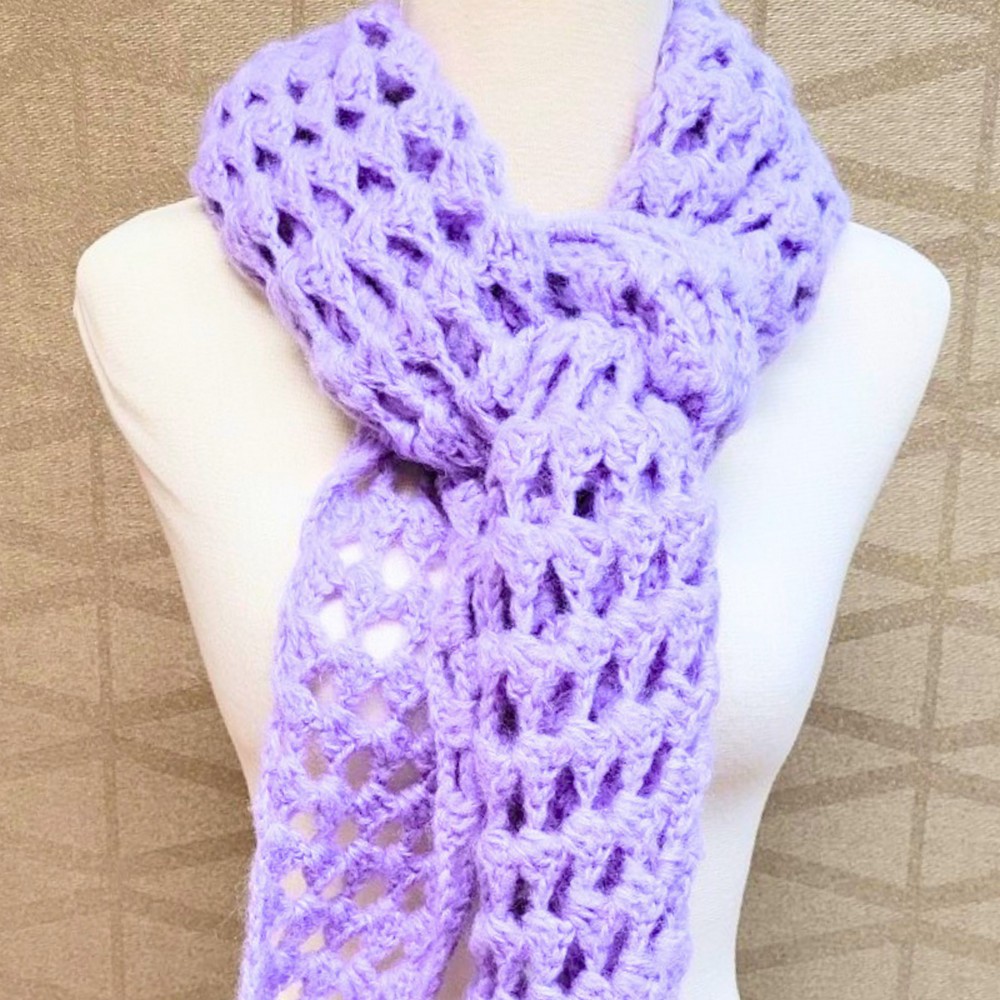
- Wool, mohair, or lightweight cotton recommended for this project. Wool/mohair works well for warm scarves, while cotton is ideal for spring or summer.
- Choose yarn that feels soft and comfortable on your skin, as this scarf sits around the neck.
- You can use lightweight, medium-weight, or heavier yarn depending on the desired outcome of your scarf.
- Crochet hook:
- Suggested size: 4.0mm (can also consider 4.5mm, 5.0mm, or larger if you want a looser and more flowing scarf).
- Optional Tools:
- Stitch Markers: Highly recommended to mark the top/center of the triangle to avoid losing track as the rows increase.
- Tapestry Needle: To weave in ends.
- Scissors: For cutting yarn.
Finished Size & Customization Ideas
- Approximate Finished Size:
- This project is customizable. You can make your scarf/shawl as large as you like by simply adding more rows.
- A typical triangular scarf/shawl could measure 50–65 inches wide across the top edge and 24–30 inches tall at the deepest point (the tip).
- Customization Ideas:
- Adjusting Yarn Weight:
- Using thicker yarn and a larger crochet hook will create a chunkier, cozier scarf that works well for fall/winter.
- Using thinner yarn (e.g., fingering weight) and a smaller hook will result in a lightweight, delicate design, perfect for spring or decorative layering.
- Tension Adjustments:
- If your work feels too tight, use a larger crochet hook (e.g., 4.5mm or 5mm).
- If it feels too loose, switch to a smaller hook.
- Changing Color:
- Change colors every row or every few rows to create a striped or gradient effect.
- Secure your color changes tightly with a knot because scarves are subject to heavy use.
- Adding Borders:
- For a clean look, add a border of single crochets around the scarf.
- Try decorative edges such as scallops or shell stitches for a unique finish.
- Adding Chains Between Clusters:
- Increase to 2 chains between clusters for an airier design, or remove the chain spaces to make the scarf denser.
- Adjusting Yarn Weight:
Pattern Abbreviations & Terminology
(All terms use US crochet terminology.)
- ch: Chain
- dc: Double Crochet
- sl st: Slip Stitch
- sp: Space
- st(s): Stitch(es)
- magic ring: A circular foundation made from yarn (alternative to chaining 4 and creating a loop).
Step-by-Step Detailed Crochet Instructions
Overview of the Pattern:
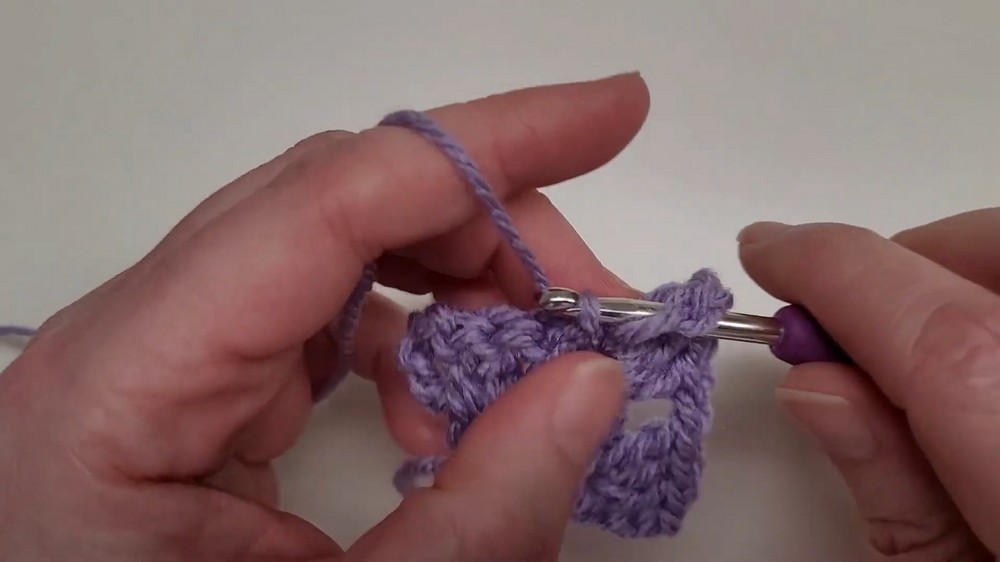
This pattern uses a "half-granny square" technique to create the triangular shawl or scarf. Each row begins with a turning chain and alternates adding clusters and chain spaces to build the triangular shape.
1. Setting Up the Foundation
- Begin with a slip knot on your hook (or you can use a magic ring if preferred).
- Ch 4 (this forms the ring; you can also chain 3 for a less noticeable hole).
- Insert your hook into the first chain, yarn over, and pull through to create a sl st, forming a small circle.
2. Round 1 (Creating the First Triangle)
- Ch 4 (this counts as a dc + ch 1).
- Work 3 dc into the ring. This creates your first cluster.
- Ch 2 (this will be the tip of the triangle).
- Work another 3 dc into the ring.
- Ch 1, then dc into the ring.
- You should now have a triangle with 2 clusters (3 dc in each cluster), a ch-2 at the tip, and symmetry at the edges (a beginning ch-4 on one side and a ch-1 + dc on the other).
3. Round 2 (Building the Shape)
- Ch 4, turn your work.
- Work 3 dc into the first ch-1 sp from the previous row.
- Ch 1, then work a 3 dc cluster into the ch-2 sp at the tip.
- Ch 2, then work another 3 dc cluster into the same ch-2 sp (this accentuates the triangular point).
- Ch 1, work 3 dc into the next ch-1 sp.
- Ch 1, and finish the round with dc at the edge (symmetrical to the turning chain at the start of the row).
4. Repeat Rounds to Desired Size
- Repeat the process for each row:
- Chain 4 at the start of each row (this shapes the straight edge).
- Work 3 dc clusters into each chain space between clusters from the previous row.
- At the tip (center chain space), always work:
- 3 dc, ch 2, 3 dc, ch 1.
- Finish the row with a ch 1 + dc.
- Continue until your scarf reaches the desired size or length.
Tips and Variations
1. Visual Markers for the Triangle Tip:
- Once the triangle shape grows, it can be tricky to find the tip. Use a stitch marker to mark the ch-2 tip of your triangle for easy identification.
2. Adjusting Tension:
- If your scarf feels too tight:
- Switch to a larger hook size.
- Add an additional ch between clusters for an airier design.
- If your scarf is too loose:
- Use a smaller hook or eliminate the ch-1 spaces between clusters.
3. Color Changes:
- Add visual interest by changing colors at the start of a new row. This works well for using up leftover yarn or creating striped patterns.

Optional Finishing Touches
Adding Borders:
- To finish the edges, add a single crochet border:
- Work 1 single crochet into each space and stitch along all edges of the scarf.
- At the tip where there is a ch-2, work 3 single crochets to prevent puckering.
- This border can serve as a foundation for a decorative edging.
- For a decorative border, try:
- Shell edging: Work [1 sc, 3 dc, 1 sc] into every other stitch to create a scalloped effect.
- Picot edging: Work 3 sc, followed by a ch-3 picot (slip stitch into the first chain).

Key Takeaways
- The pattern described here is very beginner-friendly and based on simple granny-square techniques.
- Use this scarf design as a blank canvas for creativity: experiment with color changes, yarn types, and decorative borders.
- Always test your tension and hook size to ensure that the scarf works up in your desired style and density.
- Properly secure color changes and weave in ends to ensure durability for a long-lasting project.
Enjoy making your elegant crochet scarf or shawl! Happy Crocheting! 😊