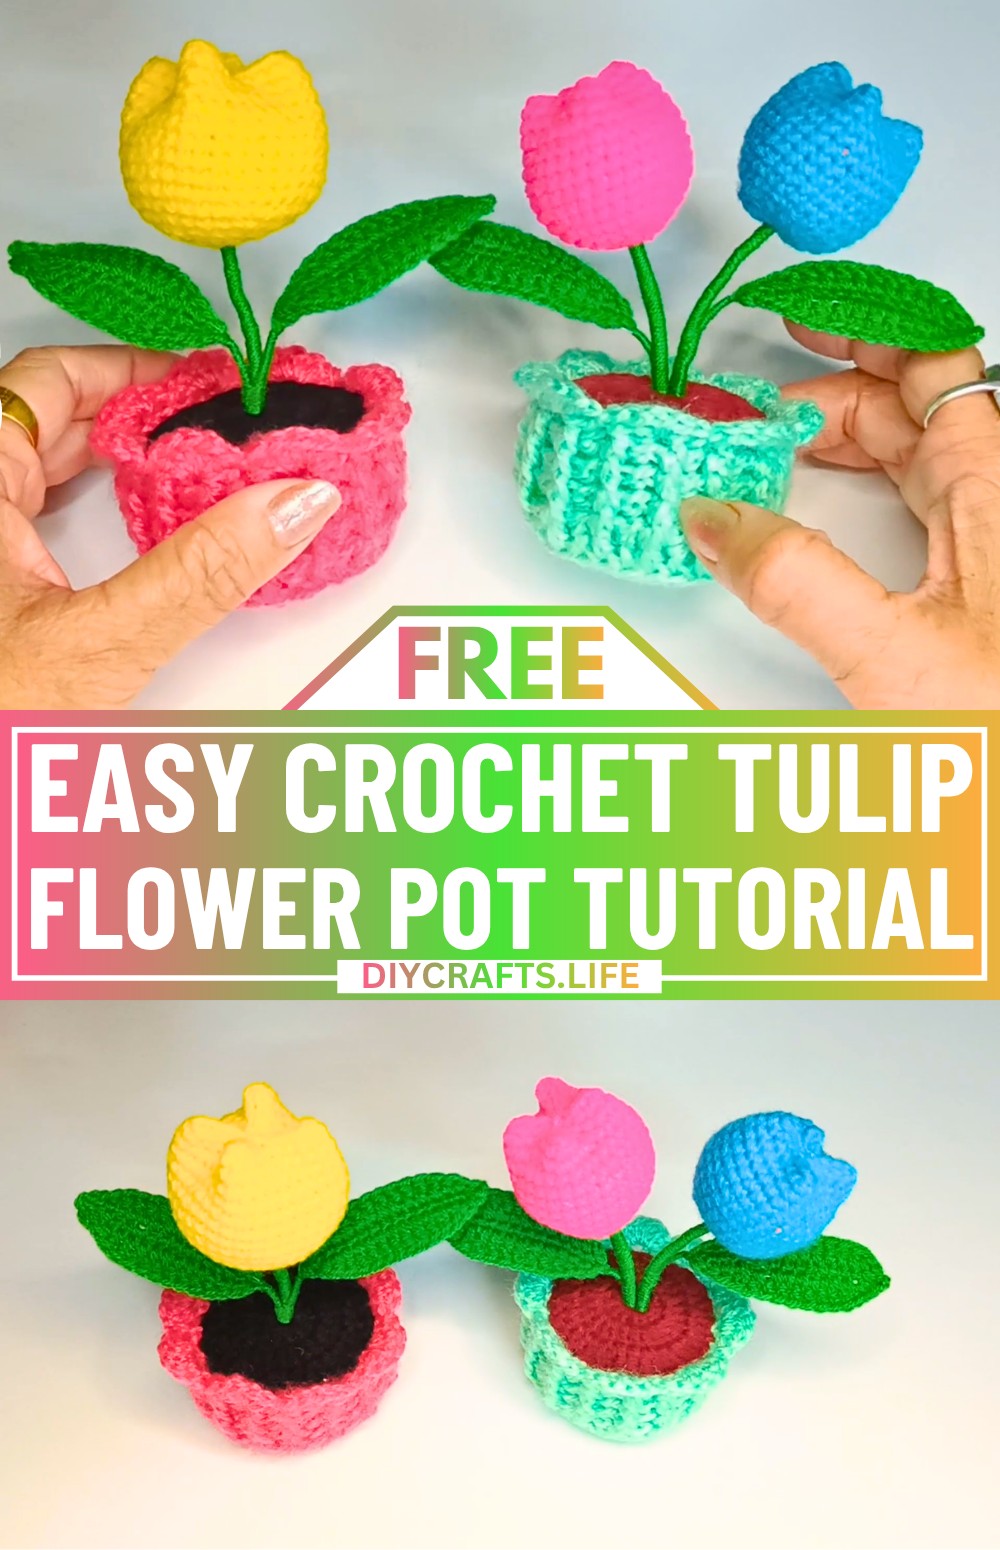
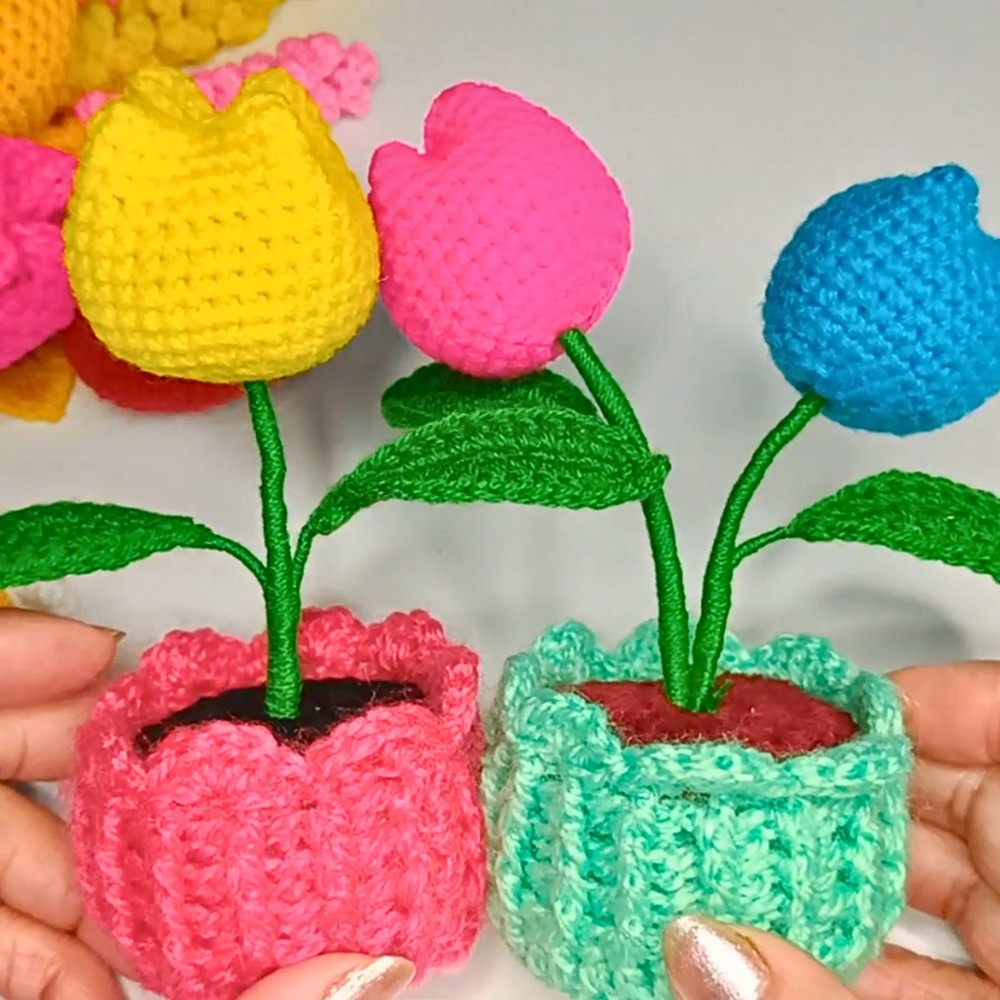
A crochet tulip flower pot is a beautiful decoration you can make with your own hands. These soft, colorful tulips look like real flowers and are perfect for brightening up your table, shelf, or workspace. This design allows you to create a single flower or a whole bouquet, letting you mix and match colors to your liking. It’s not just decoration, it’s a handmade piece of art that can also be a thoughtful gift.
Crochet Tulip Flower Pot Tutorial
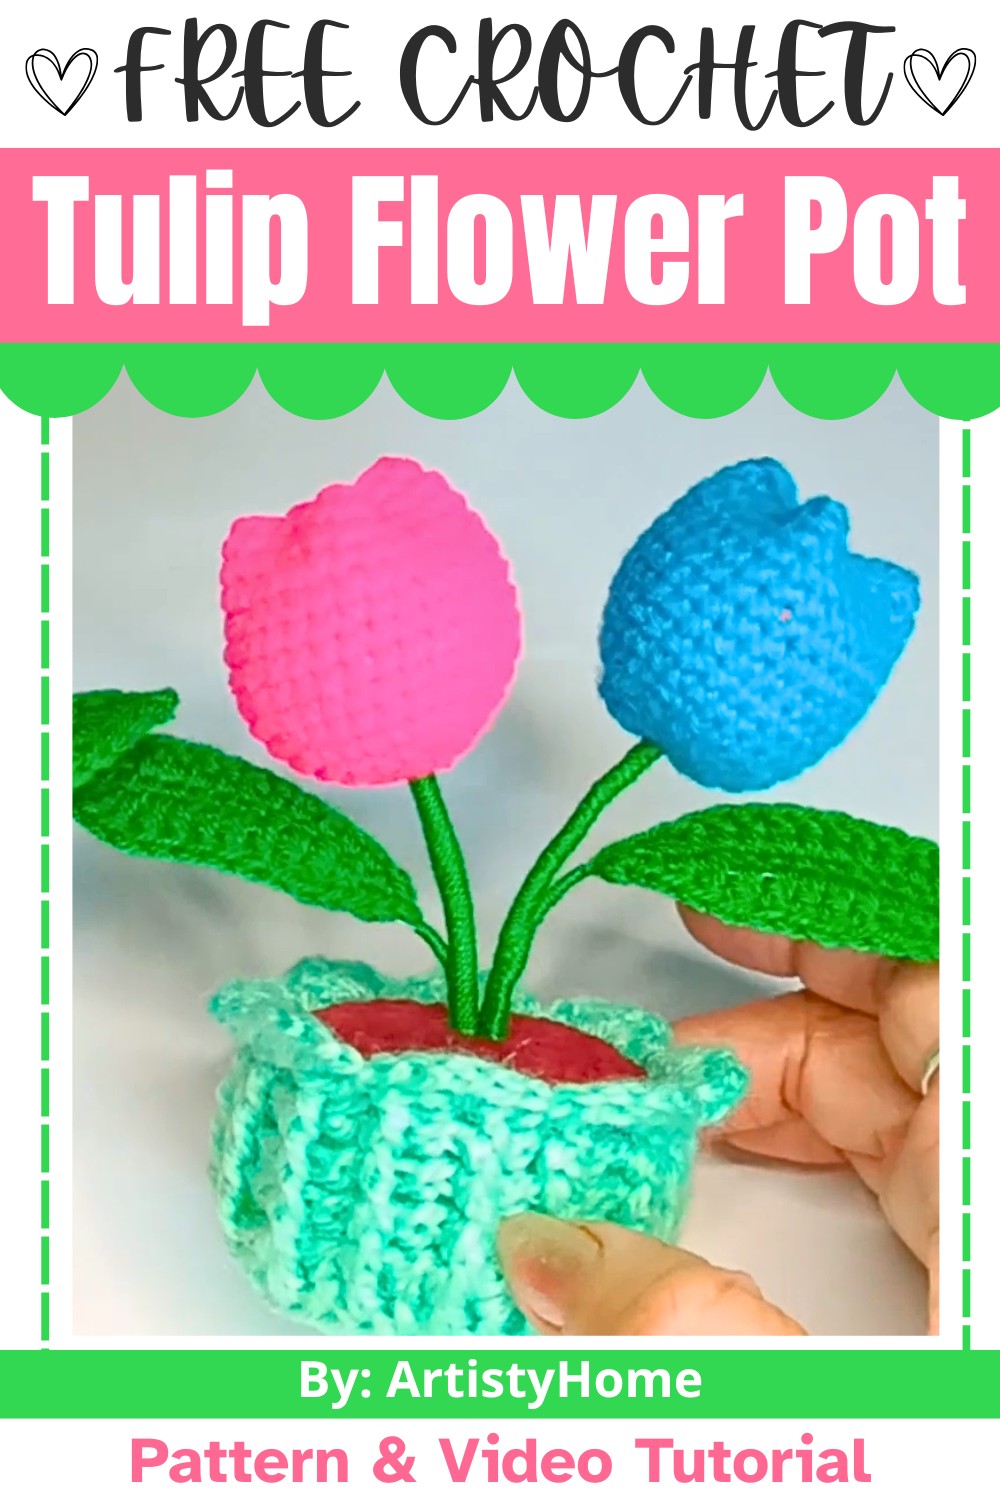
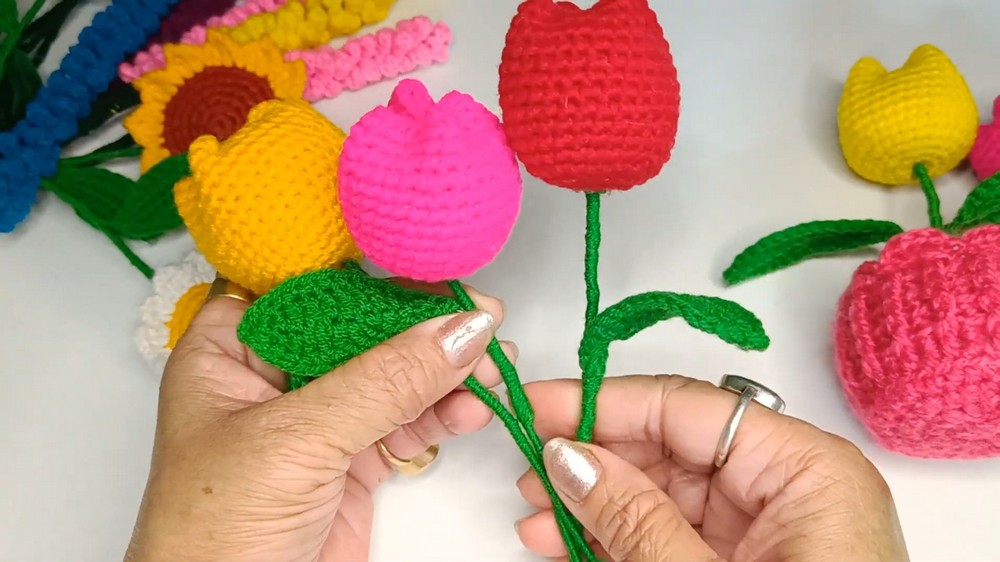
Making this crochet tulip is fun and simple. You can crochet the tulip flower and leaves, and attach them to a stem for a realistic look. Cotton or fiber filling gives the flower its shape, and wire inside the leaves allows you to bend them for lifelike effects. Once the flowers are finished, you can place them in a small crochet pot or use them to make a bouquet without pots. These little flowers can even be paired with other crochet flowers, like sunflowers or lavender, making them versatile and easy to customize.
Credit ArtistyHome
Materials & Tools Needed
- Yarn: Lemon yellow yarn (for the tulip flower) and green yarn (for the leaves and stem).
- Crochet Hook: 2.5 mm hook.
- Wire: Thin craft wire to shape the leaves.
- Stuffing: Cotton or fiberfill for the tulip.
- Glue: Optional, for securing parts together.
- Scissors: To cut yarn and wire.
- Markers: Contrasting color threads to mark rounds.
Optional: A small flower pot for final assembly.
Finished Size & Customization Ideas
- Expected size: The finished tulip stem and flower height will depend on the pot you use, but it’s generally around 6-8 inches tall.
- Customization Ideas:
- Try different colors for tulip petals (e.g., red, pink, purple, or white).
- Add more leaves or create larger bouquets by mixing different flower types.
- Use decorative pots to enhance the look of the arrangement.
Pattern Abbreviations & Terminology
- MR: Magic Ring
- ch: Chain
- sc: Single Crochet
- sl st: Slip Stitch
- hdc: Half Double Crochet
- dc: Double Crochet
- INC: Increase (2 stitches in the same stitch)
- st(s): Stitch(es)
- FO: Fasten Off
Skill Level
- Beginner-friendly, with step-by-step instructions provided for each element.
Step-by-Step Detailed Crochet Instructions
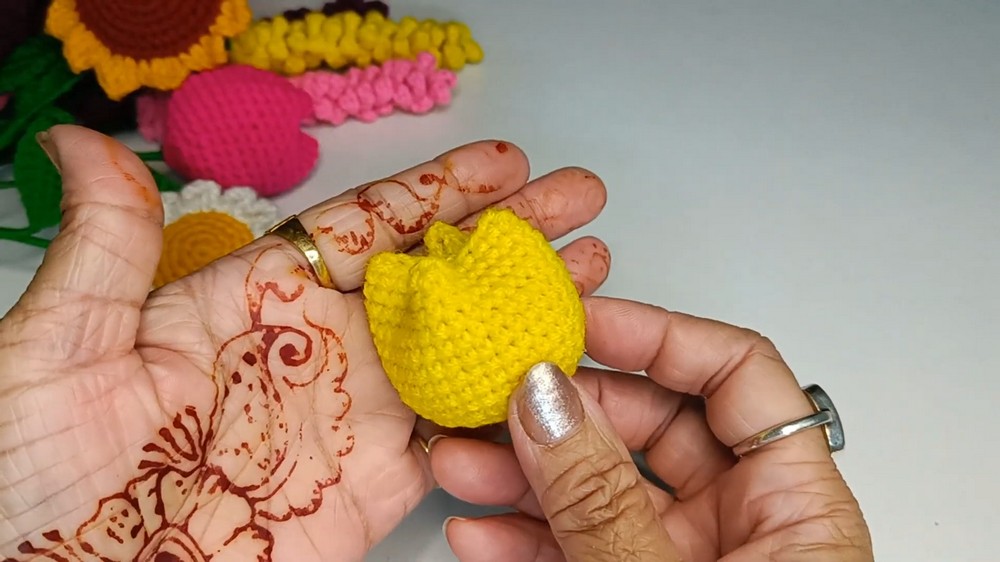
A. Tulip Flower
- Create the Base Shape (Tulip Head):
- Round 1: Create a magic ring and make 6 sc into the ring. Pull the short thread to tighten the circle. Sl st into the first sc to close the round. [6 sts]
- Round 2: Ch 1, mark the beginning of the round. Make 2 sc in each st around (INC in all stitches). [12 sts]
- Round 3: (1 sc, INC) repeat around. [18 sts]
- Round 4: (2 sc, INC) repeat around. [24 sts]
- Round 5: (3 sc, INC) repeat around. [30 sts]
- Round 6: (4 sc, INC) repeat around. [36 sts]
- Rounds 7-15: Sc in each st around, maintaining 36 sts per round. [36 sts]
- Finish Tulip Head:
- FO with a long tail after Round 15 and pull yarn through.
- Insert fiberfill to give it shape. Format the tulip by bending the stitches down and tying the yarn around to create "two lips."
- Secure the yarn end and fully tuck it inside the flower.
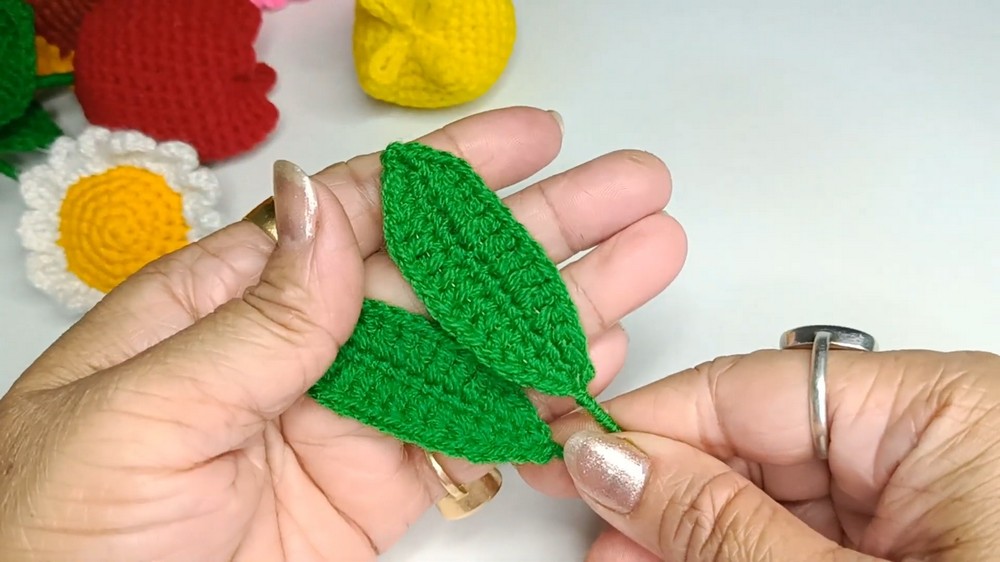
B. Tulip Leaf
- First Side of Leaf:
- Start with green yarn:
- Create a slip knot and ch 16.
- Skip 1 chain, beginning in the second chain from the hook: sc across. [15 sts]
- Add craft wire:
- Attach craft wire along the side of your leaf.
- In reverse:
- Begin with a sl st in the first sc.
- Sc into the second.
- Hdc into the third.
- Make 9 dc across the middle section.
- End the last three stitches with hdc, sc, and sl st.
- Start with green yarn:
- Second Side of Leaf:
- Fold the wire evenly and repeat the process on the other side:
- Sl st into the first st.
- Sc into the next.
- Hdc into the following stitch.
- Make 9 dc down the middle.
- End with hdc, sc, and sl st.
- FO with a long tail, wrap the wire ends securely, and reinforce with some yarn if needed.
- Fold the wire evenly and repeat the process on the other side:
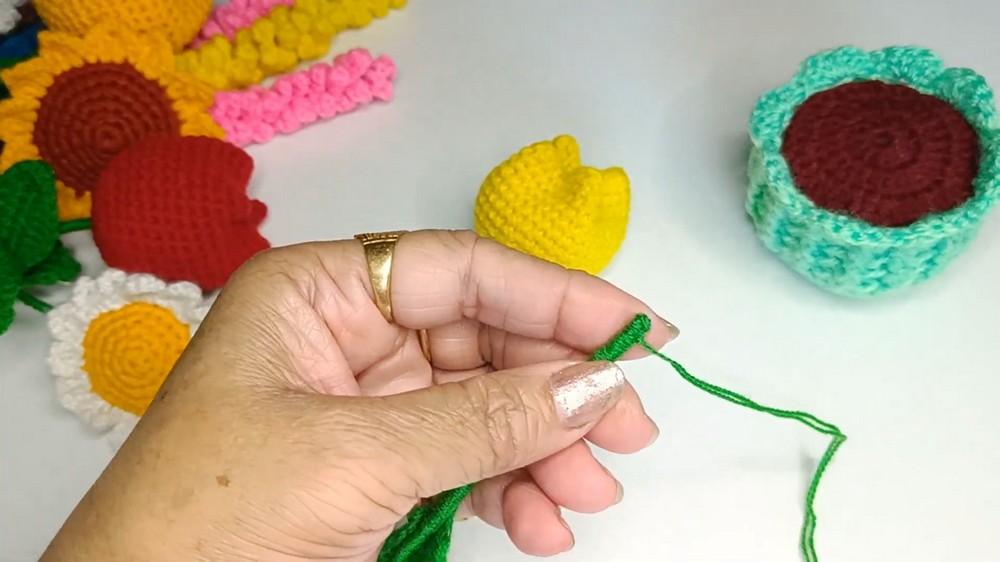
C. Stem
- Cover a stick with green yarn:
- Use green yarn and glue to wrap the stick tightly and create a uniform "stem."
- Combine leaves:
- Position the leaf near the wrapped stick and secure it by wrapping yarn or thread around it tightly.
- Apply glue for additional security.
D. Assembly
- Insert the stem into the tulip head:
- Make a small hole in the tulip base and insert the wrapped stem into it.
- Secure the stem inside the hole with glue.
- Place the flower into the pot:
- Adjust the stick length so it fits well in the pot.
- Add a foam or filler inside the pot to hold it in place.
- Repeat for additional flowers:
- You can make multiple tulips in various colors and assemble them in a bouquet or pot.
Finishing Techniques
- Shape Adjustment: Bend craft wires to adjust the position of the tulip leaves.
- Thread Tucking: Hide excess threads inside the flower or pot.
- Glue Use: Use a glue gun to secure flower stems and leaves as needed.