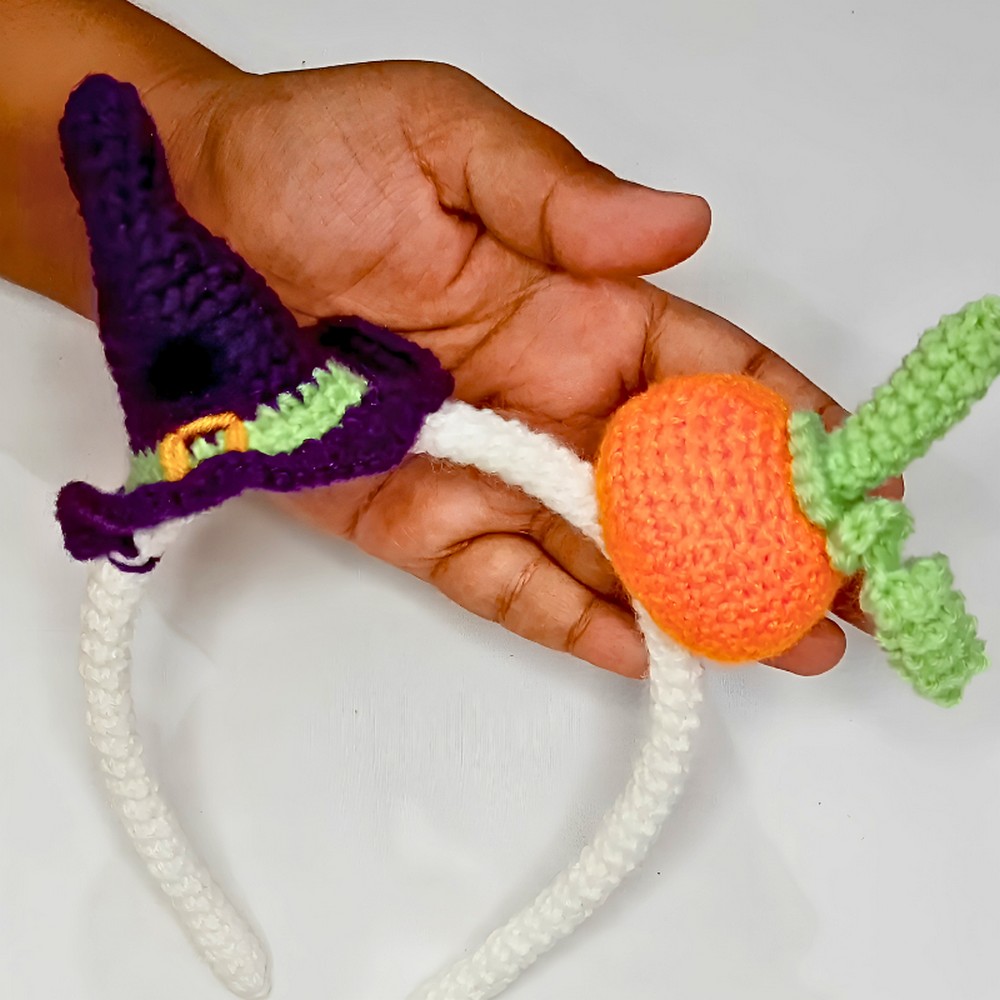
What makes a simple crocheted witch hairband such a charming part of Halloween celebrations? Featuring a tiny pumpkin on one side and a miniature witch hat on the other, this handmade accessory adds a playful seasonal touch to any festive outfit. It works beautifully for costume parties, autumn gatherings, or anyone who enjoys adding creative details to their look. The whimsical design feels eye-catching without becoming overwhelming, giving it a distinctive character of its own. Even more delightful is discovering how this crocheted creation comes together with just a few thoughtful steps.
Crochet Witch Hairband Free Pattern
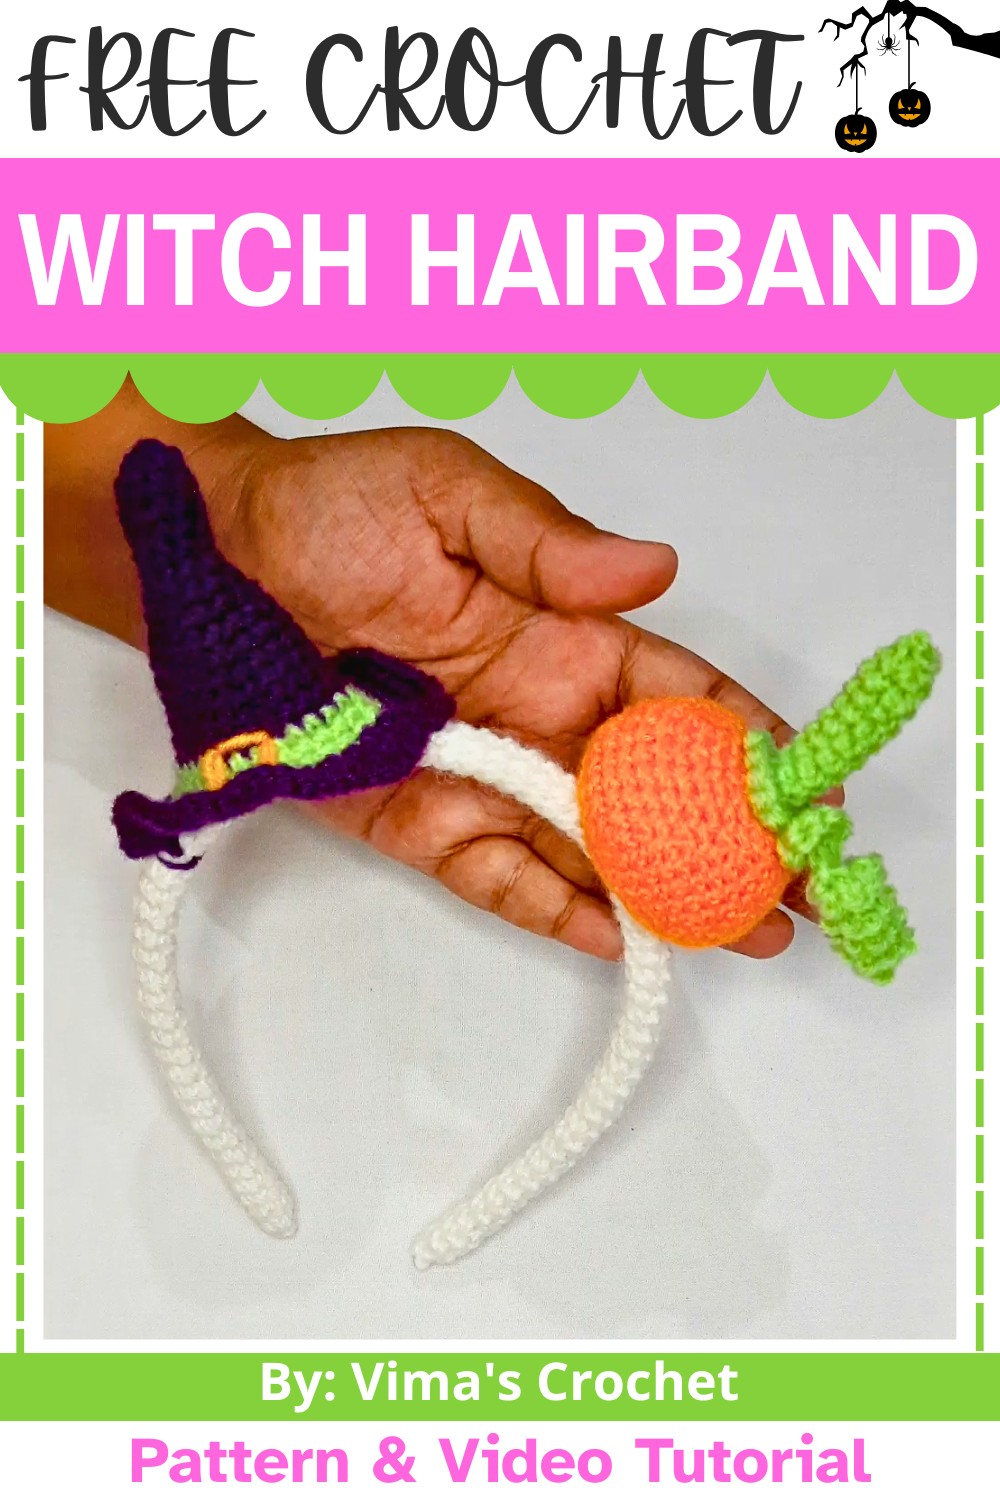
Creating this hair band is a relaxing piece that offers rewarding results from the very beginning. The process starts with crocheting a neat cover that fits smoothly around the band and provides a polished foundation. Then, the miniature pumpkin and tiny witch hat are carefully attached to complete the arrangement. Small amounts of leftover yarn can be used to explore personal colour choices and decorative touches. Once finished, the accessory pairs wonderfully with the Halloween outfits and often attracts plenty of compliments. The crocheted pattern itself includes several charming details that make each stage even more enjoyable to explore.
Credit Vima's Crochet
Materials and Tools Needed
- Yarn:
- Main yarn color (e.g., white or black for the tube). Any thin acrylic yarn will work.
- Small amounts of orange yarn for the mini pumpkin.
- Purple yarn for the witch hat.
- Crochet Hook: 3.5 mm hook (used throughout the project).
- Store-bought Hairband: Any size or thickness in a color of your choice.
- Tapestry Needle: For sewing on the pumpkin and witch hat.
- Scissors: For trimming yarn ends.
Optional: Use matching or complementary yarn colors to ensure the design pops.
Finished Size & Customization Ideas
- Default Size: This pattern will fit a standard adult hairband size, but the tube length can be adjusted based on the size of your headband.
- Customization Ideas:
- Adjust yarn colors to match your Halloween costume.
- Add beads or sequins for extra flair.
- Create multiple pumpkins or witch hats for extra embellishments.
Abbreviations & Terminology
(US Terminology is used)
- ch: Chain
- sc: Single Crochet
- sl st: Slip Stitch
- rnd(s): Round(s)
- st(s): Stitch(es)
- FO: Fasten Off
Step-by-Step Detailed Crochet Instructions
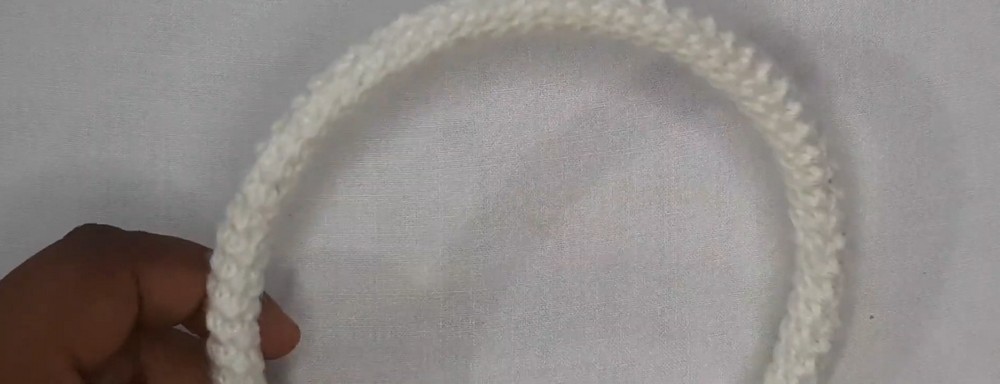
1. Crochet the Tube for the Hairband
The tube is crocheted in continuous rounds until it covers the entire length of the hairband.
- Create a Magic Circle:
- Use your main yarn color (e.g., white or black).
- Work 6 sc into the magic circle. (6 sts)
- Pull the Magic Circle Closed:
- After working the 6 sc, pull the tail of the magic circle to close it.
- Don’t pull it too tight yet; keep a small gap so you can work later.
- Round 2:
- Work 6 sc, one in each stitch from Round 1. Do not join, you’ll work in continuous rounds. (6 sts)
- Shape the Tube:
- Push your work inward gently to form the tube as you continue.
- Continue working sc in each st around without increasing until the tube reaches the length of your hairband.
- Measure and Adjust:
- Lay the crochet tube next to your hairband periodically and adjust its length.
- If the tube is too long, simply unravel excess rounds before fastening off.
- Finish the Tube:
- Once the desired length is achieved, fasten off, leaving a long tail for sewing.
- Gently slide the tube onto the hairband, stretching it evenly across the surface.
- Adjust and twist the stitches for a neat and uniform look.
2. Assemble the Mini Pumpkin
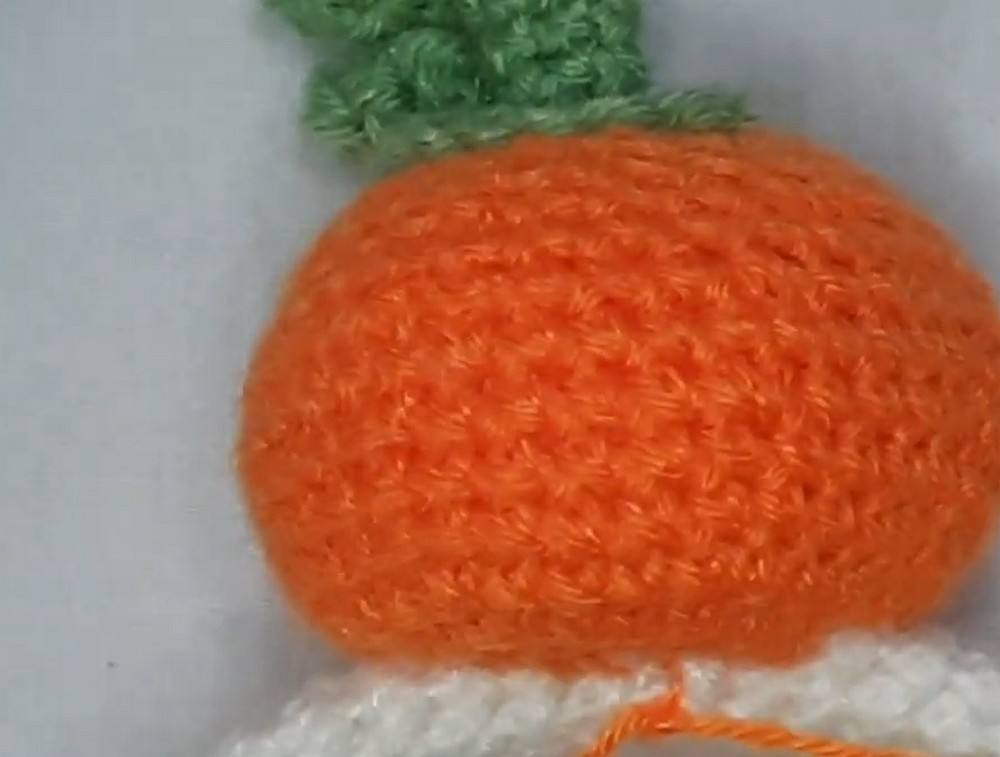
The pumpkin is made separately, following instructions from the linked pumpkin tutorial in the description.
- Attach the Pumpkin:
- Thread your tapestry needle with orange yarn.
- Position the pumpkin on one end of the hairband and sew it securely in place.
- Work back and forth through stitches on the pumpkin and the tube until it feels firm.
- Tie off securely and weave in any loose ends.
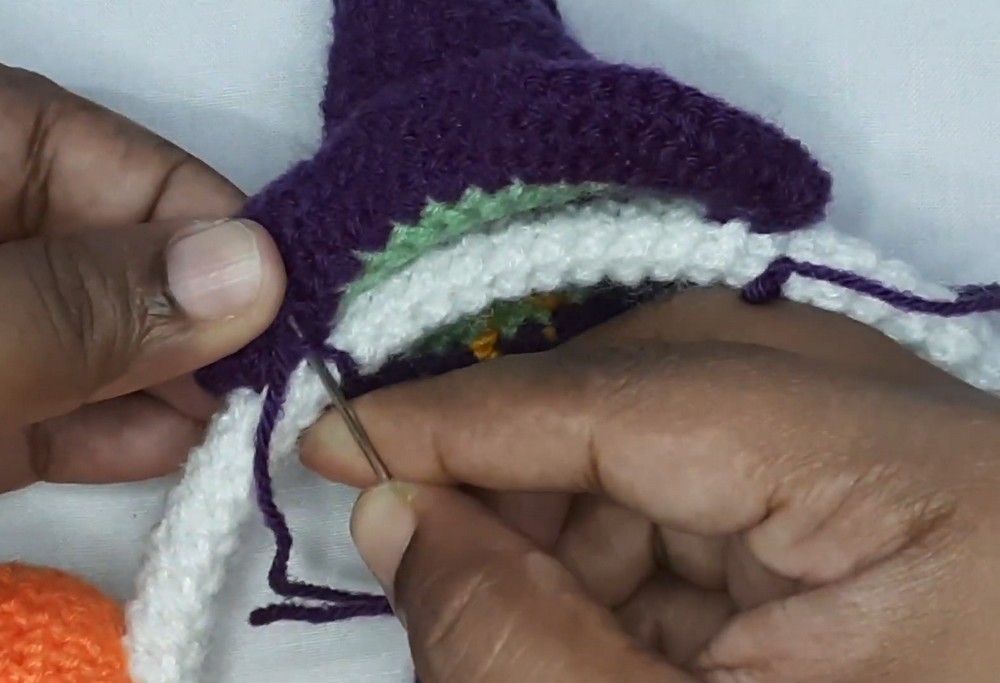
3. Assemble the Witch Hat
The witch hat is also crafted separately (refer to the witch hat tutorial in the description).
- Position the Witch Hat:
- Place the hat on the opposite side of the pumpkin, with the brim aligned to the tube.
- Sew the Brim and Hat in Place:
- Use purple yarn to sew the hat onto the hairband.
- Focus on securing the brim to the tube for stability.
- The hat is lightweight, so minimal sewing is needed compared to the pumpkin.
- Tie off and weave in the ends to finish.
4. Finishing Touches
- Double-Check Stability:
- Ensure both the pumpkin and hat are securely attached.
- Make any additional adjustments as needed.
- Neaten Loose Ends:
- Weave in all remaining yarn tails, trimming any excess.
- Optional Decoration:
- You can further decorate the pumpkin or witch hat with details like embroidered vines, sequins, or tiny beads.
Enjoy Your Halloween Hairband
Congratulations! Your crochet witch hairband is now complete.
Video Tutorial