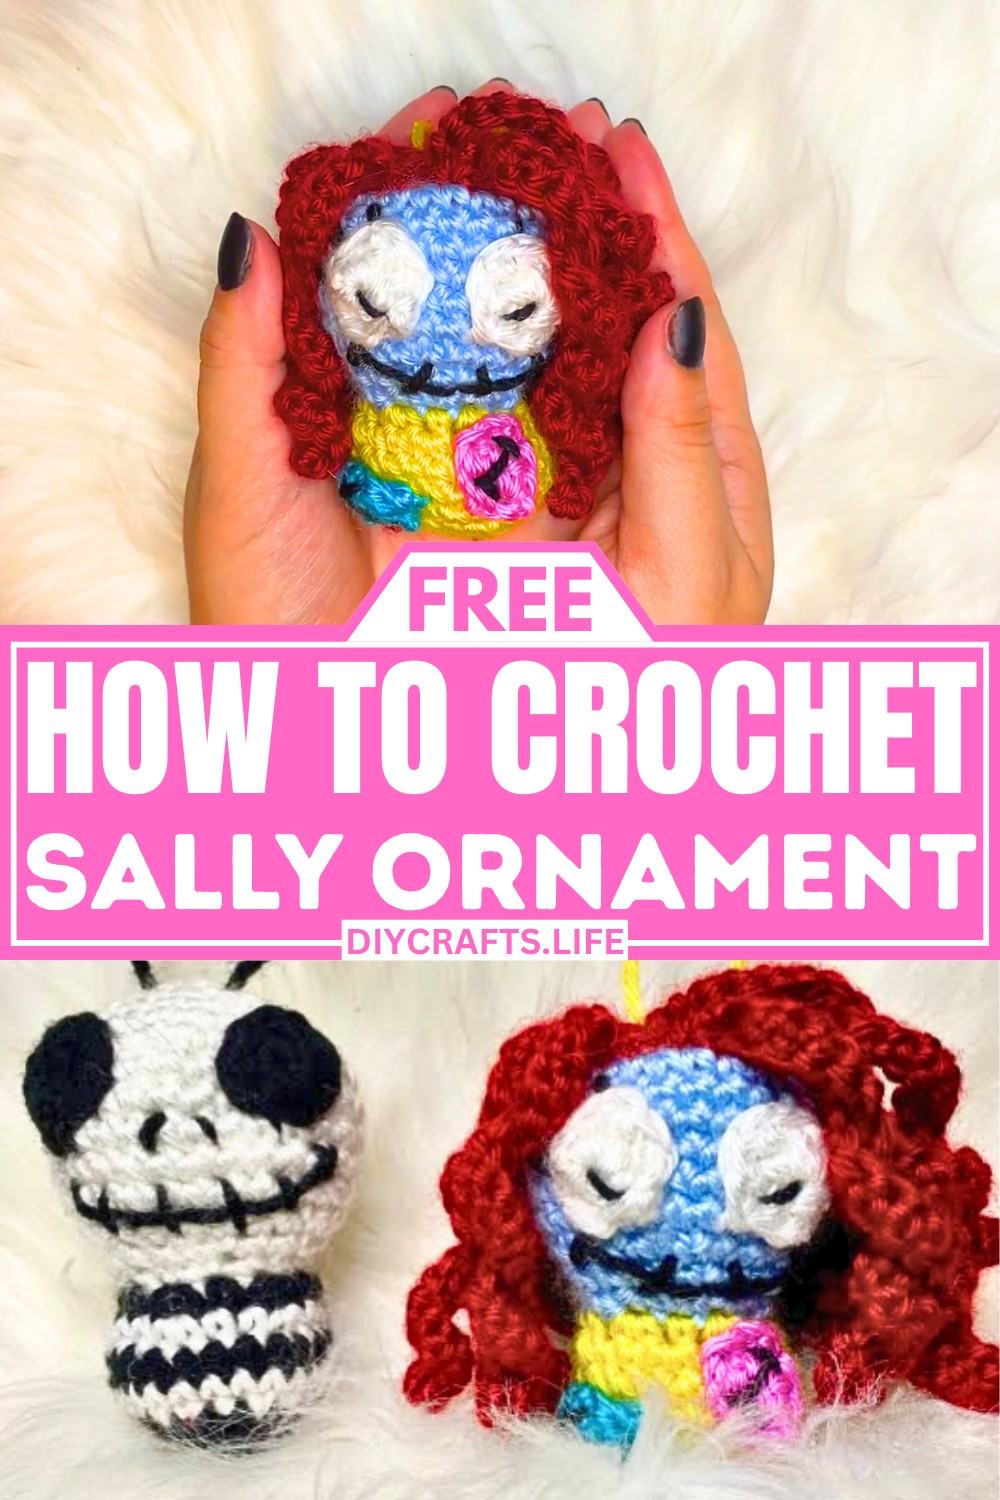
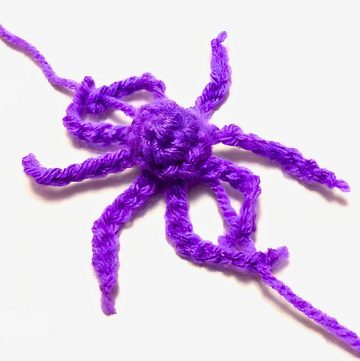
This crochet Sally ornament does not reveal its full shape at first glance. It has a slightly strange, doll-like structure that feels unfinished at first. The threads look scattered and unclear until they start to make sense. But as the crochet stitches continue, the hidden form slowly starts to appear. This slow transformation creates a strong curiosity that holds attention step by step.
Crochet Sally Ornament Pattern
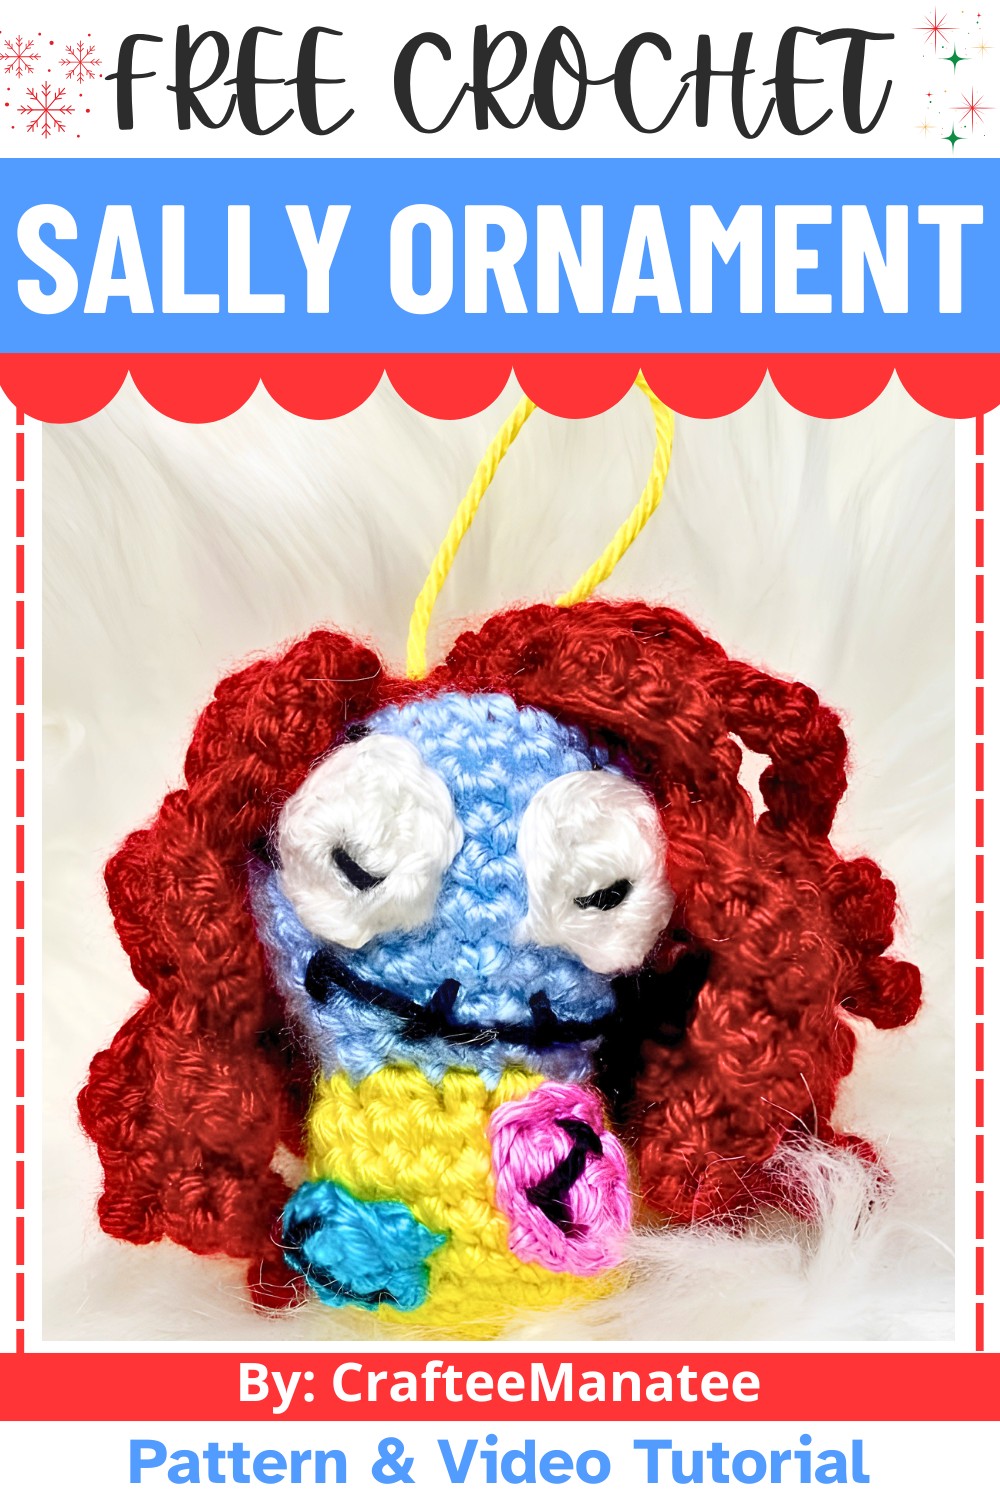
As the work continues, the crochet design becomes clearer and more properly shaped. Every stitch adds a small part that slowly builds the final figure. Even the confusing parts in the middle later become important for the complete look. The whole piece gradually turns into a finished crochet ornament with a unique doll-like character. In the end, it clearly shows how patience and small steps can turn simple thread into a detailed creative design.
Credit CrafteeManatee
Materials & Tools Needed
-
Worsted Weight Yarn (4-ply):
-
Red: ~23g (for hair and top of head)
-
Blue (Light/Main): ~5g (for head/skin color)
-
Yellow: ~4g (for body/dress and optional hanger)
-
White: ~2g (for eyes)
-
Bright Blue: ~1g (for patch)
-
Bright Pink: ~1g (for patch)
-
Black: Small amount (for embroidering pupils, smile, eyelashes, and patchwork details)
-
-
Crochet Hook: 4.0 mm (Size G)
-
Other Tools: Polyester fiberfill stuffing, tapestry needle, and scissors.
Finished Size & Customization Ideas
-
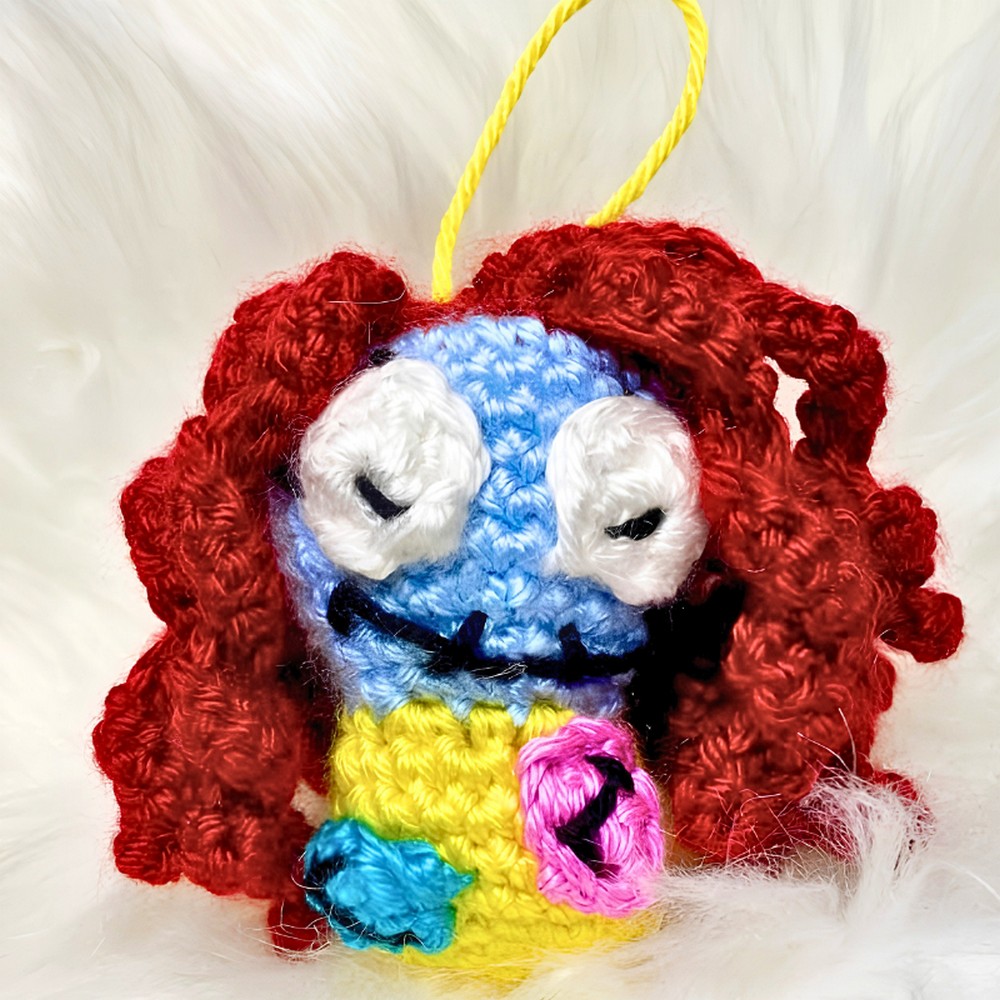
Finished Size: Pocket-sized / palm-sized, perfectly proportioned to hang as a standard holiday tree ornament.
-
Customization Ideas:
-
Hanger Color: Change the loop color to black or green to match your tree hooks or decor theme.
-
Patch Placement: You can shift the squares or add a third patch on the back to make it uniquely yours.
-
Expressions: Vary the thickness of the black yarn or the slant of the eyelashes to give her a different facial expression.
-
Pattern Abbreviations & Terminology
-
MR: Magic Ring
-
ch: Chain
-
sc: Single crochet
-
inc: Increase (2 single crochet stitches worked into the same stitch)
-
dec: Decrease (Invisible or standard single crochet decrease across 2 stitches)
-
st(s): Stitch(es)
-
sl st: Slip stitch
-
[ ] x 6: Repeat the sequence inside the brackets the specified number of times.
Step-by-Step Detailed Crochet Instructions
1. Head & Body (Worked as one continuous piece from top down)
Start with Red yarn to seamlessly blend the top of the head with her hair.
-
Round 1: Make an MR, work 6 sc into the ring. Pull tail tight to close. Sl st into the first sc to join. (6 sts)
-
Round 2: [1 inc in every stitch] x 6. (12 sts)
-
Round 3: [1 sc, 1 inc] x 6. (18 sts)
-
Round 4: [2 sc, 1 inc] x 6. (24 sts)
-
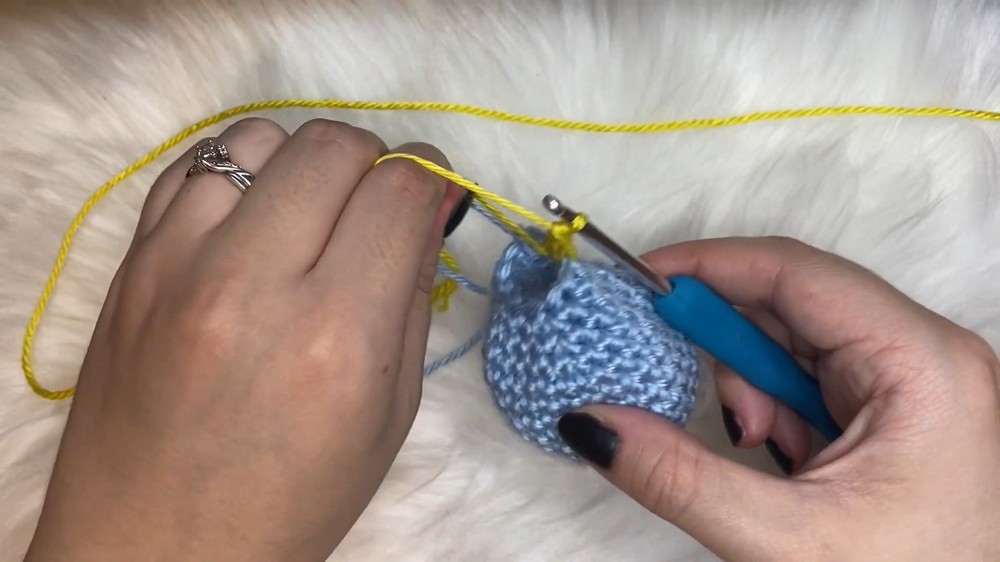
Change color to Light Blue yarn for the skin.
-
Round 5: [3 sc, 1 inc] x 6. (30 sts)
-
Rounds 6–10: Work 1 sc in every stitch around. (30 sts per round for 5 rounds total)
-
Round 11: [3 sc, 1 dec] x 6. (24 sts)
-
Round 12: [2 sc, 1 dec] x 6. (18 sts)
-
Pause to lightly add stuffing to the head to hold its shape.
-
Round 13: [1 sc, 1 dec] x 6. (12 sts)
-
Change color to Yellow yarn for the dress transition.
-
Round 14: [1 sc, 1 inc] x 6. (18 sts)
-
Cut the blue yarn tail and tuck all raw loose ends inside the head.
-
Round 15: [2 sc, 1 inc] x 6. (24 sts)
-
Rounds 16–18: Work 1 sc in every stitch around. (24 sts per round for 3 rounds total)
-
Round 16: [2 sc, 1 dec] x 6. (18 sts)
-
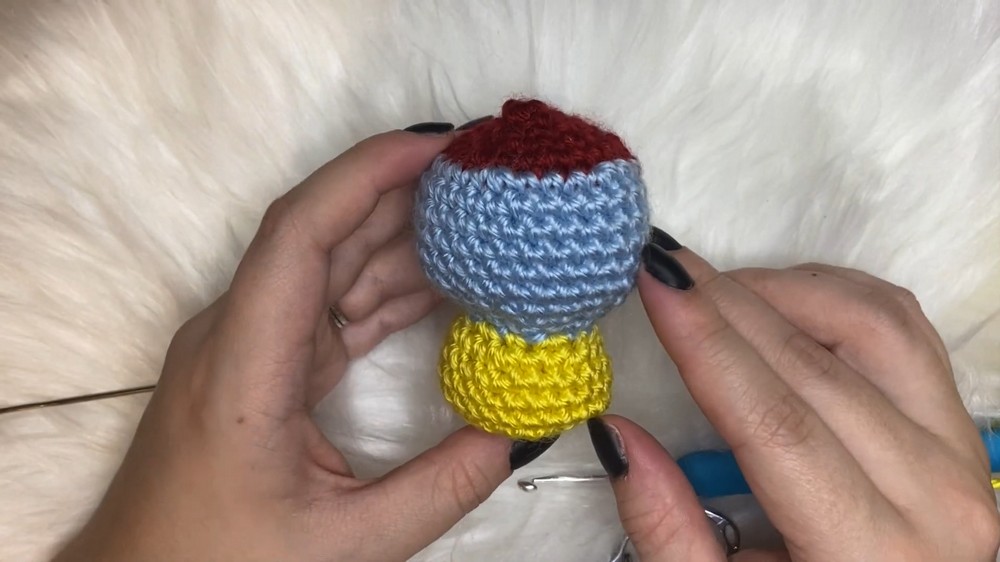
Pause here to finish stuffing the head firmly and add initial stuffing to the body.
-
Round 20: [1 sc, 1 dec] x 6. (12 sts)
-
Add any final necessary stuffing before the opening narrows completely.
-
Round 21: [1 dec] x 6. (6 sts)
-
Finishing: Cut the yarn leaving a short tail. Pull the tail through the last loop to fasten off. Thread onto a tapestry needle, loop through the front loops of all 6 remaining stitches, pull tight to cinch the bottom closed, pull through the body, and trim.
2. Eyes (Make 2)
Using White yarn.
-
Round 1: Make an MR, work 6 sc into the ring. Pull the tail tight and flatten the circle. Sl st to the first sc to join. (6 sts)
-
Round 2: 1 inc, 2 sc, 1 inc, 2 sc. (8 sts total — this elongates the circle into an oval).
-
Finishing: Fasten off, leaving a long tail for sewing. Skip one stitch when pulling the final loop to round out the edge cleanly.

3. Patches (Make 1 Bright Blue & 1 Bright Pink)
Worked in flat rows.
-
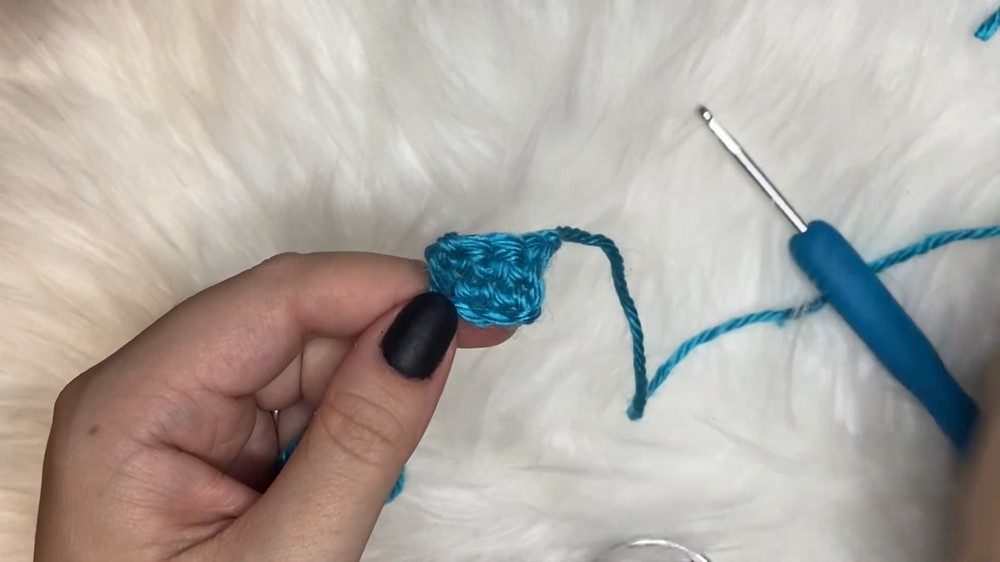
Row 1: Ch 4. Starting in the 2nd chain from your hook, work 3 sc across. (3 sts)
-
Row 2: Ch 1, turn. Work 3 sc across. (3 sts)
-
Finishing: Fasten off, leaving a long tail for sewing.
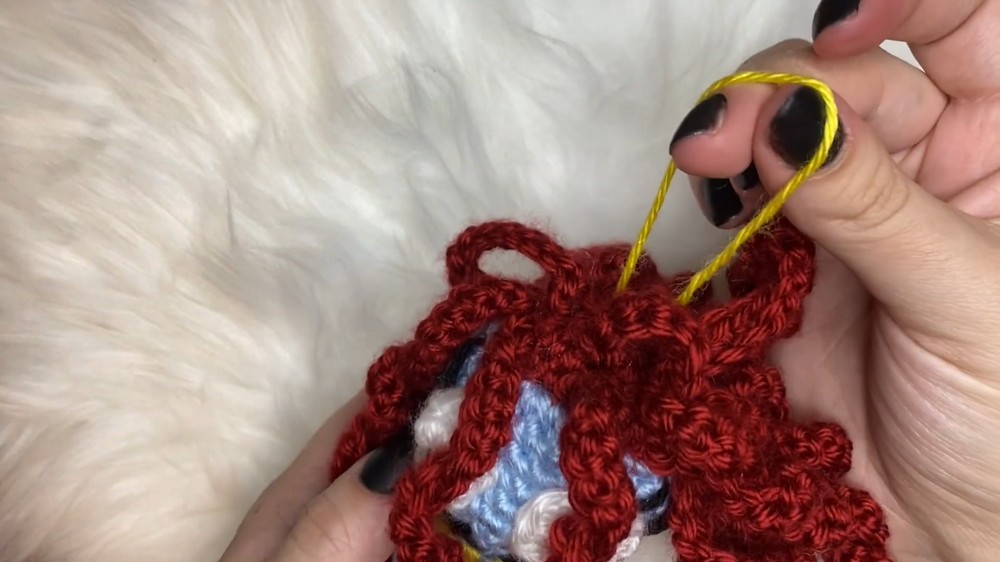
4. Attaching the Hair
The hair strands are attached directly to the red scalp section without any assembly sewing.
-
Orient the doll to locate the cleanest face side as the front. Look down at the red crown area.
-
First Row (Right Side): Insert your hook into a stitch just to the right of the center line near the front hairline, popping it out one stitch above. Attach Red yarn with a ch 1.
-
Strand Construction: Ch 25. Skip the first ch from the hook, and work 1 sc into every remaining chain back down to the scalp. Sl st back into the same base scalp stitch.
-
Repeat this process to create 4 strands in a row, working from the front hairline toward the back along the right side of the part line. Fasten off each strand.
-
Under Layer (Right Side): Lift those 4 strands. Directly underneath them along the boundary line between the red scalp and blue skin, work 3 strands (using the same Ch 25, sc down method) evenly spaced.
-
Left Side Rows: Repeat the same configuration on the left side of the part line: 4 strands along the top part and 3 strands directly underneath them.
-
Back Filling: Work 2 additional strands at the very back center of the head to close any gaps and fill out the hair.
- Finishing: Thread all raw hair yarn tails onto a tapestry needle, pull them directly into the head/body to bury them securely, pull tight, and clip off.

5. Assembly & Face Embroidery
Positioning the Eyes & Patches
-
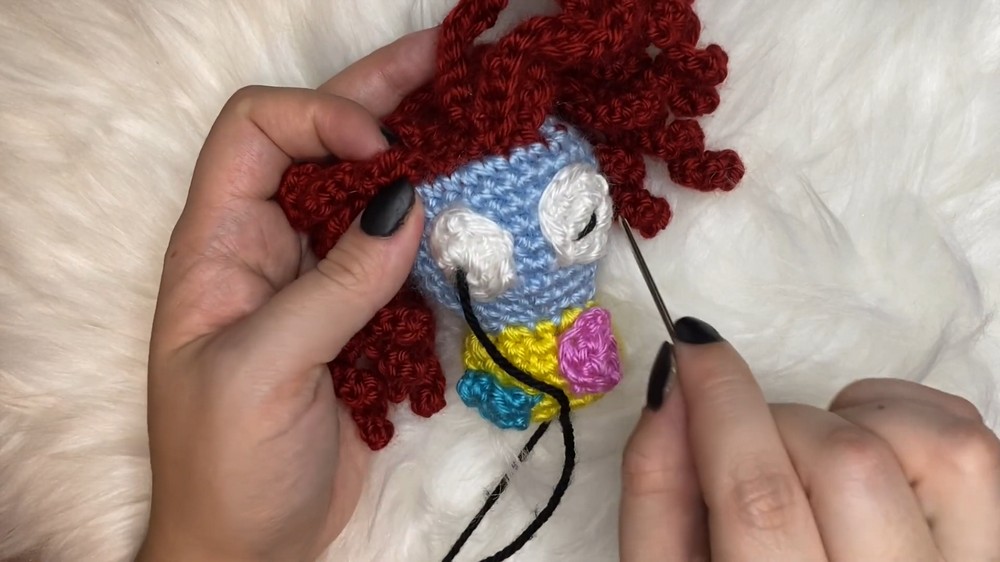
Eyes: Position both white ovals on the front of the face, angled slightly diagonally outward. Sew around the perimeters with the white yarn tails, then push the tails into the head to hide them.
-
Pink Patch: Position vertically (taller than it is wide) on the upper right side of the yellow dress body, just below the right eye. Sew down.
-
Bright Blue Patch: Position horizontally (wider than it is tall) on the lower left side of the dress. Sew down.
Black Embroidery Details
-
Pupils: Insert a long piece of Black yarn through the bottom base of the doll up through the center of the left eye. Make a diagonal stitch from the lower-left outward toward the center magic ring of the eye. Pass the needle internally directly through to the right eye and create a matching mirrored pupil stitch.
-
Smile: Bring the needle out on the left side of the face below the eye. Insert it down 2 rows into the center space between the eyes, then bring it back out on the right side to create a wide "V" shape. Secure it back down in the center. Stitch small vertical lines across the smile line to create a stitched patchwork look.
-
Eyelashes: Bring the needle up to the outside corner of the eye. Loop outward and upward 3 times per eye to form delicate eyelashes.
-
Patch Details: Bring the needle down to the patches. Draw a single long diagonal stitch across each patch (top-right to bottom-left on pink; bottom-right to top-left on blue). Add tiny cross-stitches on the corners to mimic a patchwork dress. Secure the black yarn inside the body and clip.
6. Adding the Hanger (Optional)
-
Thread a length of Yellow yarn onto your needle.
-
Pass it horizontally right through the original Round 1 magic ring stitches at the very top center of Sally's head.
-
Tie a secure knot at your desired hanging loop length.
-
Pull the loop until the knot pops down into the head/hair to hide it completely, then weave and cut the excess tails inside the head.