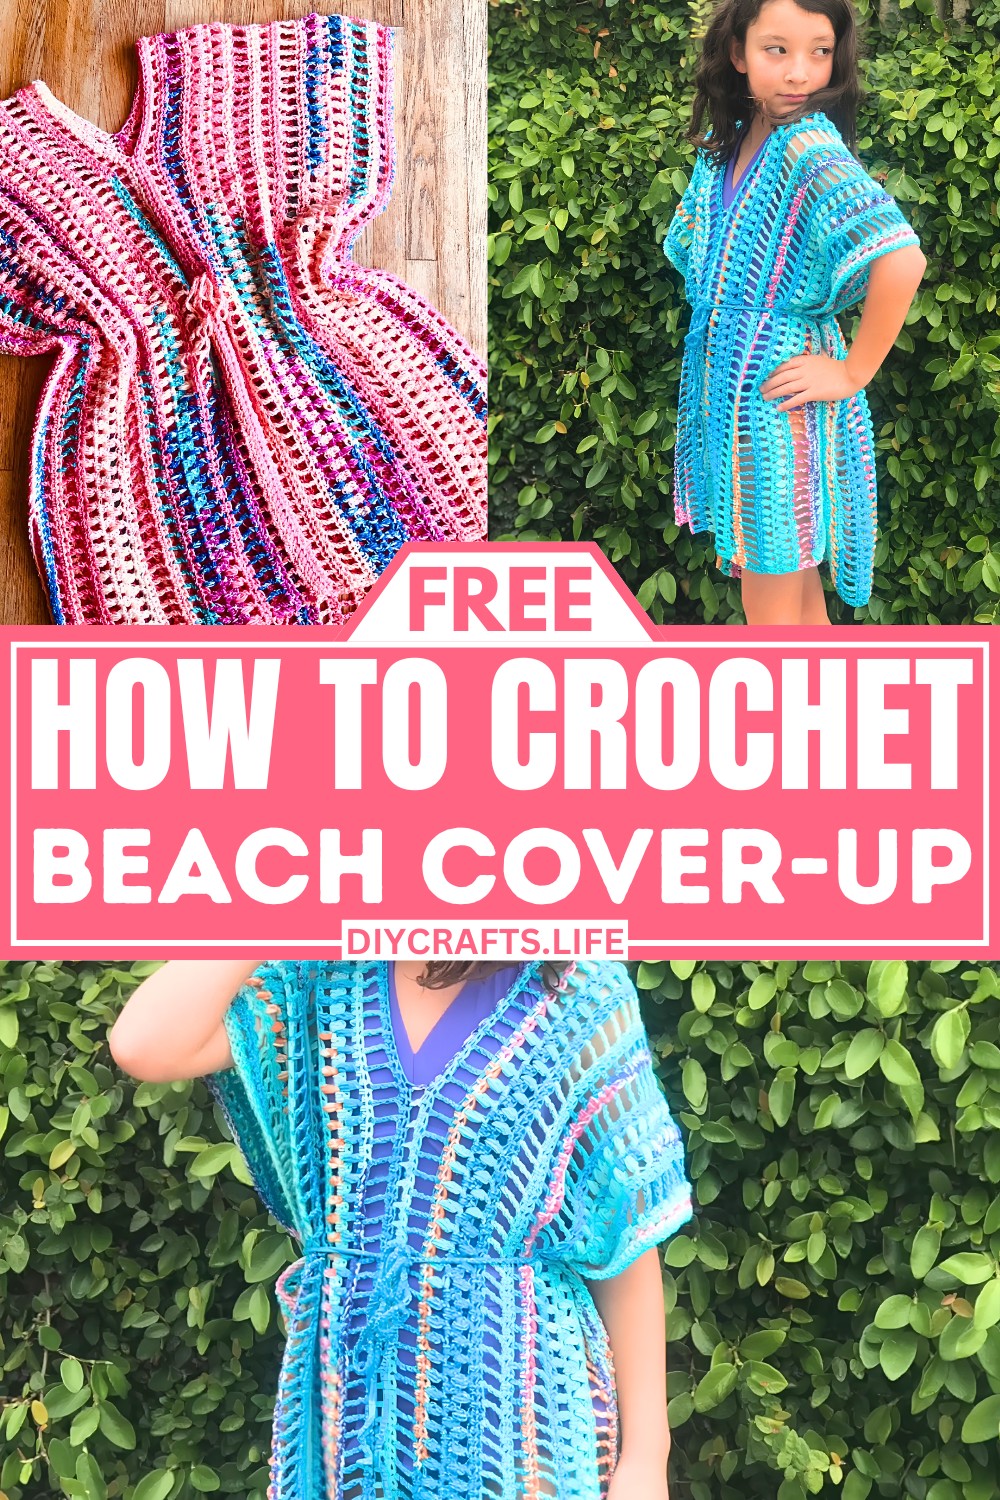
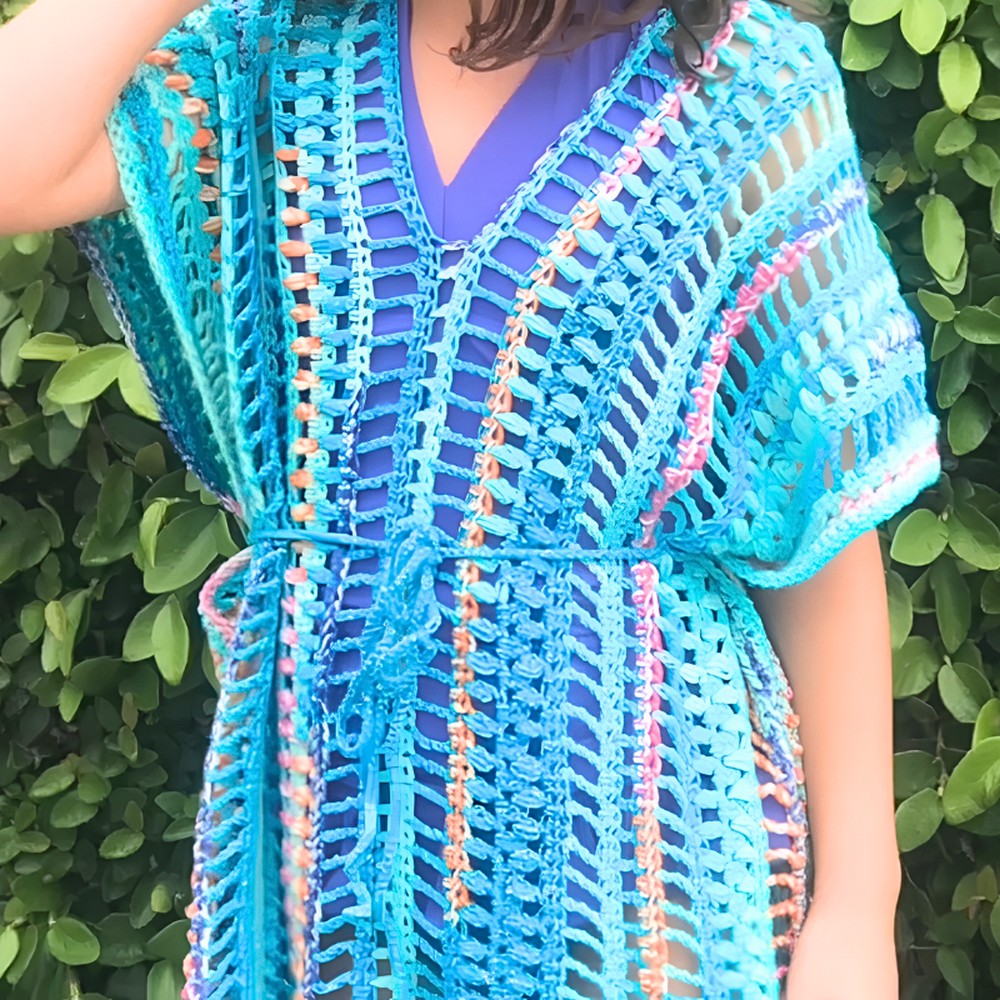
This Boho-inspired plus-size crochet beach cover-up is perfect for sunny days! Light, airy, and oversized, it offers both style and comfort. Designed to fit all body types, it doubles as the perfect beachwear or a stylish tunic to layer over a tank top and leggings. With its flattering fit, it’s a must-have for relaxed outings or casual beach trips.
Crochet Beach Cover-Up Pattern
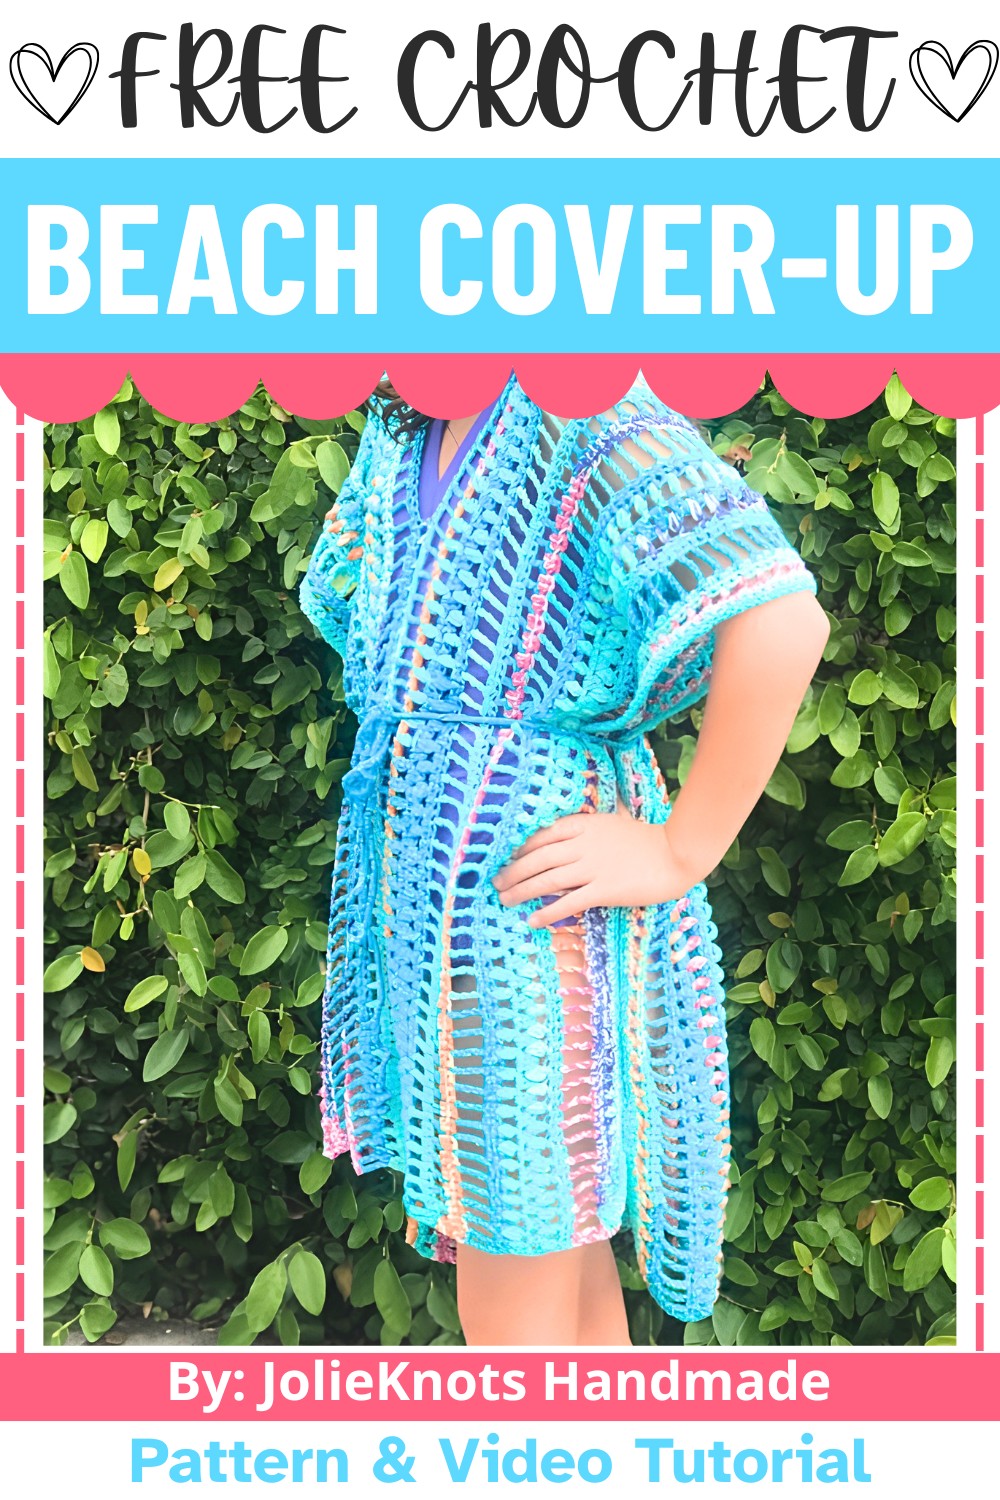
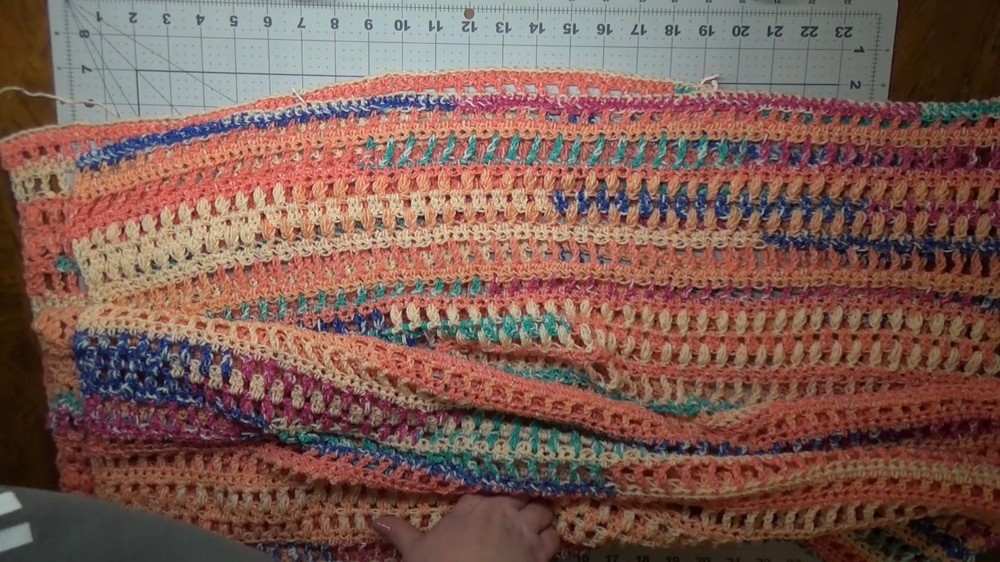
The crochet cover-up is created by making two long panels and stitching them together, leaving spaces for the neck, arms, and legs. The breathable crochet design allows air to flow freely, keeping you cool and comfortable, whether you’re lounging by the water or out for a casual stroll. Use soft, lightweight cotton or a cotton blend yarn for easy wear and quick drying if you’re near water.
You can even add a simple tie around the waist for a snug fit, with a chain that’s woven through the fabric. The overall look is effortlessly chic while providing flexibility in how and where you wear it.
Credit JolieKnots Handmade
Materials & Tools Needed
- Yarn Options:
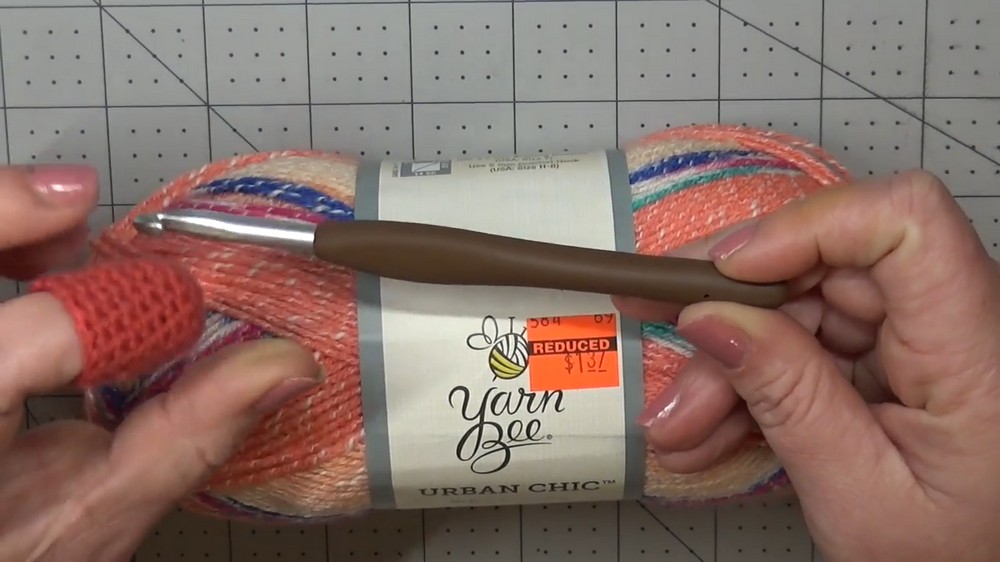
- Lightweight (3) yarn, preferably cotton or a cotton blend (ideal for breathability and quick drying).
- Example used: Yarn Bee Urban Chic (color: Coral).
- Yardage requirements: Scrolled in video per size.
- Crochet Hook:
- Use a 6mm crochet hook for the panels.
- For the chain tie, use a smaller hook (3.5mm or 4mm) for tighter chains to prevent stretching.
- Other Tools:
- Tapestry needle for seaming.
- Stitch markers for marking seam allowances and necklines.
Finished Size & Customization Ideas
The cover-up is provided in four sizes:
- Toddler: One size fits all.
- Child: One size fits all.
- Adult: One size fits all.
- Plus Size Adult: Designed to be oversized for broad size ranges.
Customization Ideas:
- To adjust panel length, modify the chain foundation in multiples of 2 (ensuring Row 1 ends with an odd number of stitches).
- Change hole dimensions for arms, sides, and neckline based on personal preferences.
- Optionally add decorative edging (not featured in the video).
Pattern Abbreviations & Terminology
- CH: Chain
- HDC: Half Double Crochet
- DC: Double Crochet
- TR: Treble Crochet
- SC: Single Crochet
- Stacked SC: Two stacked single crochets used as an alternative to chaining for a cleaner edge.
- Puff Stitch: Yarn over and pull up loops as instructed (usually 3), yarn over and pull through all but one loop; yarn over and pull through the remaining 2 loops.
- Whip Stitch: Seaming technique used for joining panels.
Step-by-Step Crochet Instructions
Below is a detailed breakdown of the crochet pattern:
1) Starting the Panel
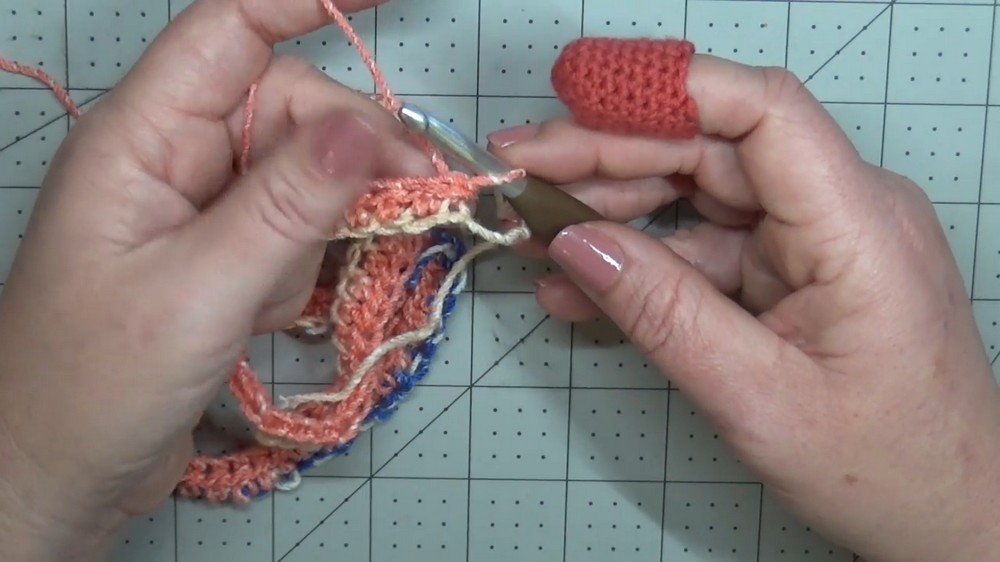
- For each panel, begin by chaining a foundation row:
- Toddler: 140 chains.
- Child: 200 chains (example in the video).
- Adult/Plus size: 250 chains.
2) Row Instructions
Follow all rows sequentially for panel creation:
Row 1:
- HDC in the 2nd chain from hook and every chain across. Ensure you have an odd stitch count.
- Turn your work.
Row 2:
- Begin with Stacked SC to make the first DC (or chain 3 if preferred).
- DC into the next stitch.
- Repeat: CH 1, skip 1 stitch, DC into the next stitch.
- Finish: End the row with DC into the last stitch. Total: A pair of DC stitches at the start/end.
- Turn your work.
Row 3:
- CH 1, HDC in every stitch and chain space across.
- Total stitch count will match Row 1.
- Turn your work.
Row 4 (Treble Crochet Row):
- Begin with Stacked SC (2 stacked SC to form the first TR).
- TR into the next stitch.
- Repeat: CH 1, skip 1 stitch, TR into the next stitch.
- End: Row ends with two TR at the start/end.
- Turn your work.
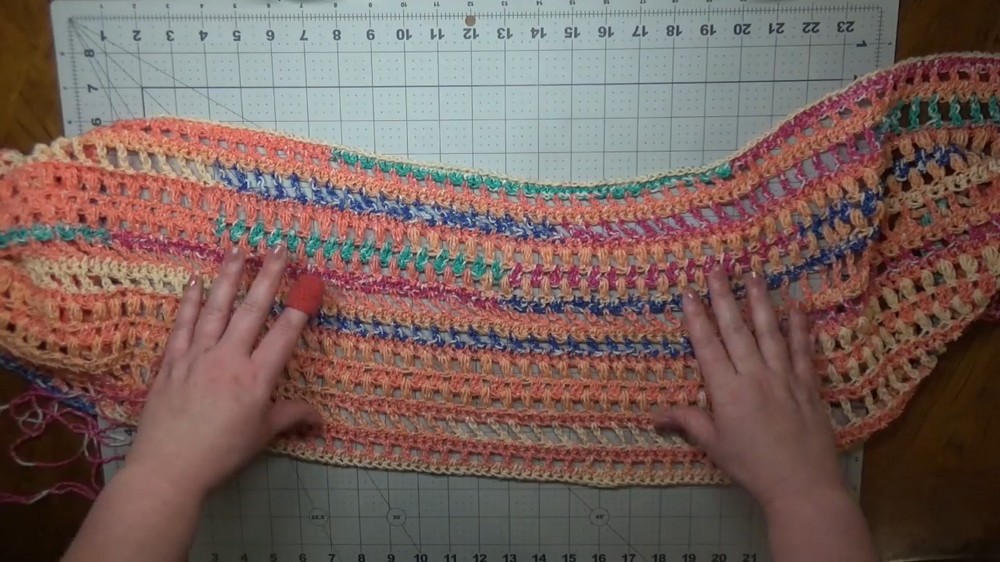
Row 5:
- Repeat Row 3 (HDC into every stitch and chain space across).
Row 6 (Puff Stitch Row):
- Begin with Stacked SC (for the first DC).
- Work 1 puff stitch into the next stitch (yarn over, pull up loop three times; yarn over, pull through all loops except the last one; yarn over, pull through remaining loops).
- CH 1, skip 1 stitch, puff stitch into the next stitch.
- Repeat: CH 1, skip 1 stitch, puff stitch.
- End: Row ends with a DC into the last stitch.
Row 7:
- Start with Stacked SC (first DC).
- Skip the puff stitch and work 2 DC into the chain space. Repeat this pattern:
- Skip puff, work 2 DC into CH space.
- End: Finish with DC into the last stitch.
- Turn your work.
Row 8:
- Begin with Stacked SC.
- Puff stitch between the first DC and the next pair of DC stitches.
- CH 1, skip 2 DC; puff stitch between the next group of DC stitches.
- Repeat: CH 1, skip 2 DC; puff into the next space.
- End: Puff in the last space, DC as the last stitch.
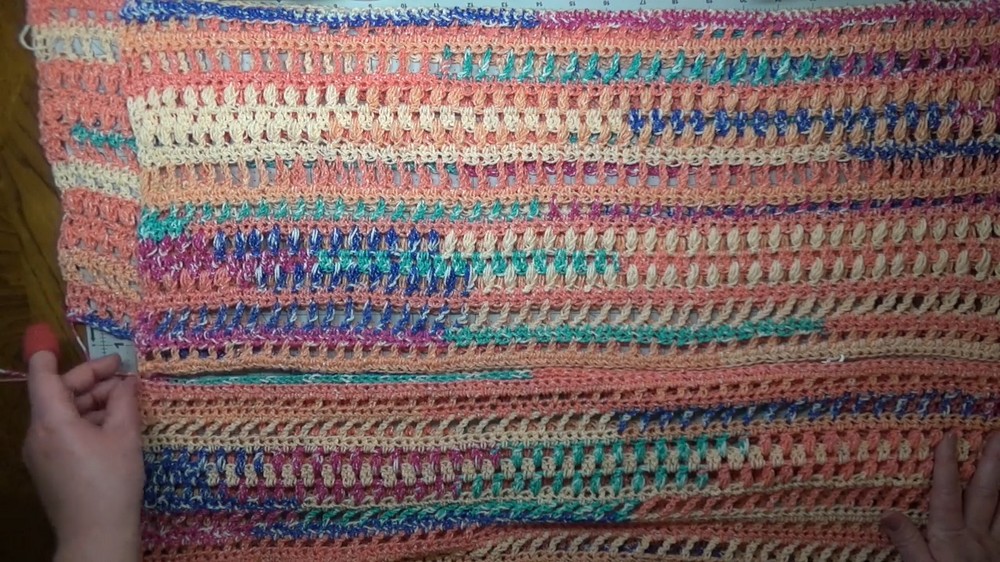
Rows 9 to 11:
Repeat Rows 3 (HDC), 4 (TR), and 3 (HDC) in sequence.
3) Repeating Pattern
For panel length:
- Toddler Size: Follow Rows 2-11 once. Then finish with Rows 2 and 3 to complete the panel. Create two identical panels.
- Child Size: Repeat Rows 2-11 twice. End with Rows 2 and 3. Make two panels.
- Adult Size: Repeat Rows 2-11 three times. End with Rows 2 and 3. Create two panels.
- Plus Size: Repeat Rows 2-11 four times. Finish with Rows 2 and 3. Make two panels.
4) Assembly & Seaming
- Mark Neck Opening:
- Fold one panel in half lengthwise. Leave 10 stitches longer on the back (to create a longer back).
- Follow these approximate measurements for neck openings:
- Toddler: Front 5", Back 3".
- Child: Front 7", Back 4".
- Adult: Front 12", Back 7".
- Plus Size Adult: Front 13", Back 8".
- Use stitch markers to mark the openings.
- Seam Panels:
- Use a tapestry needle and the whip stitch method.
- Match stitches carefully along the panels as you sew.
- Seam top panels together at lined-up upper stitch markers. Seam about ⅓ of the side lengths from bottom up on both sides, leaving side slits for movement and airflow.
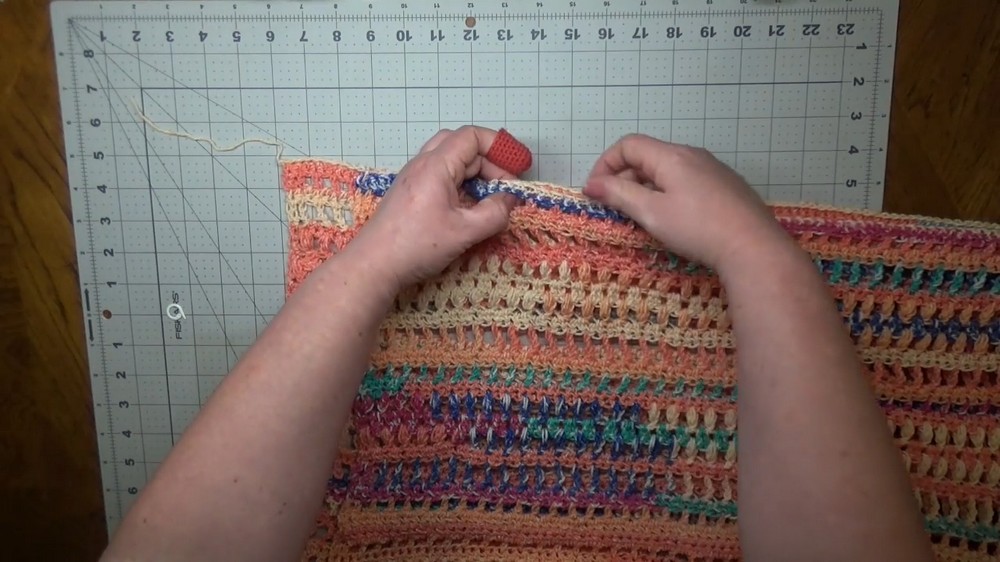
3. Chain Tie:
- Use smaller hook and chain 200–300 chains (depending on your preference).
- Weave tie through the body of the cover-up, ensuring it lines up around the waist area.
Finishing Touches:
- Weave in all loose ends using a tapestry needle.
- Optionally, add decorative elements (e.g., tassels to chain tie or hem trimming).
Additional Notes:
- Be sure to align panels to maintain symmetry for necklines, sides, and openings.
- The cover-up works well beyond the beach! Pair with leggings or shorts for a cozy, boho chic look.