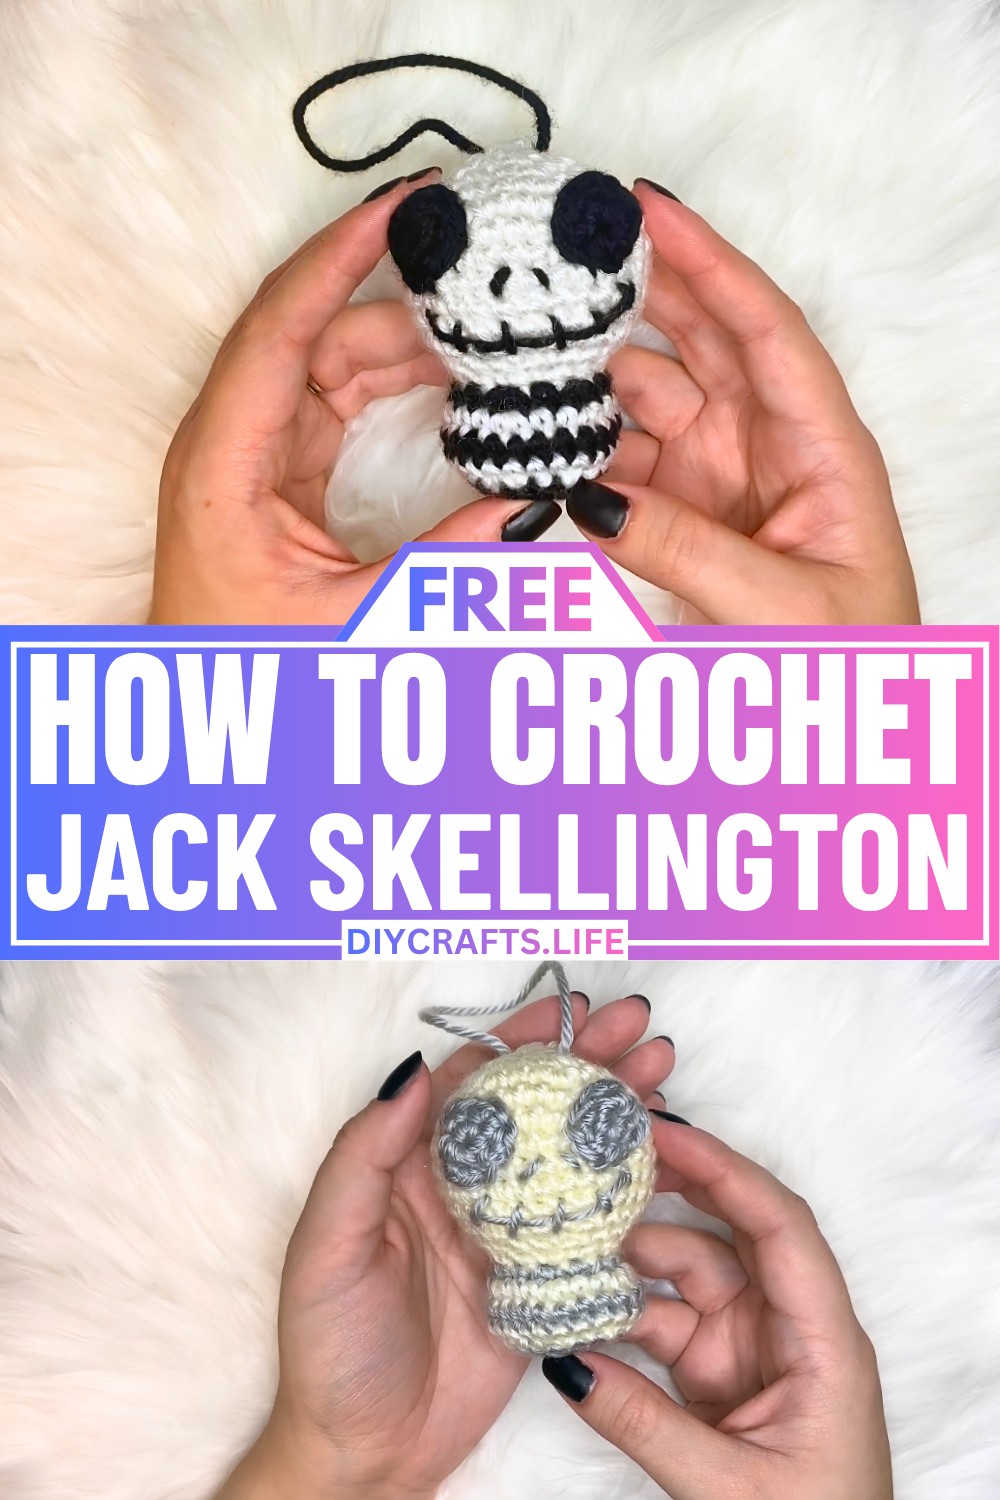
A Jack Skellington crochet ornament changes little by little as each part of the face is added. At first it looks very simple, but after a few small pieces are in place, the character becomes easy to recognize. Each new part gives the face a different look and makes you want to see what comes next. That is why this crochet ornament is more interesting to make than it first appears.
Easy Crochet Jack Skellington Ornament Pattern
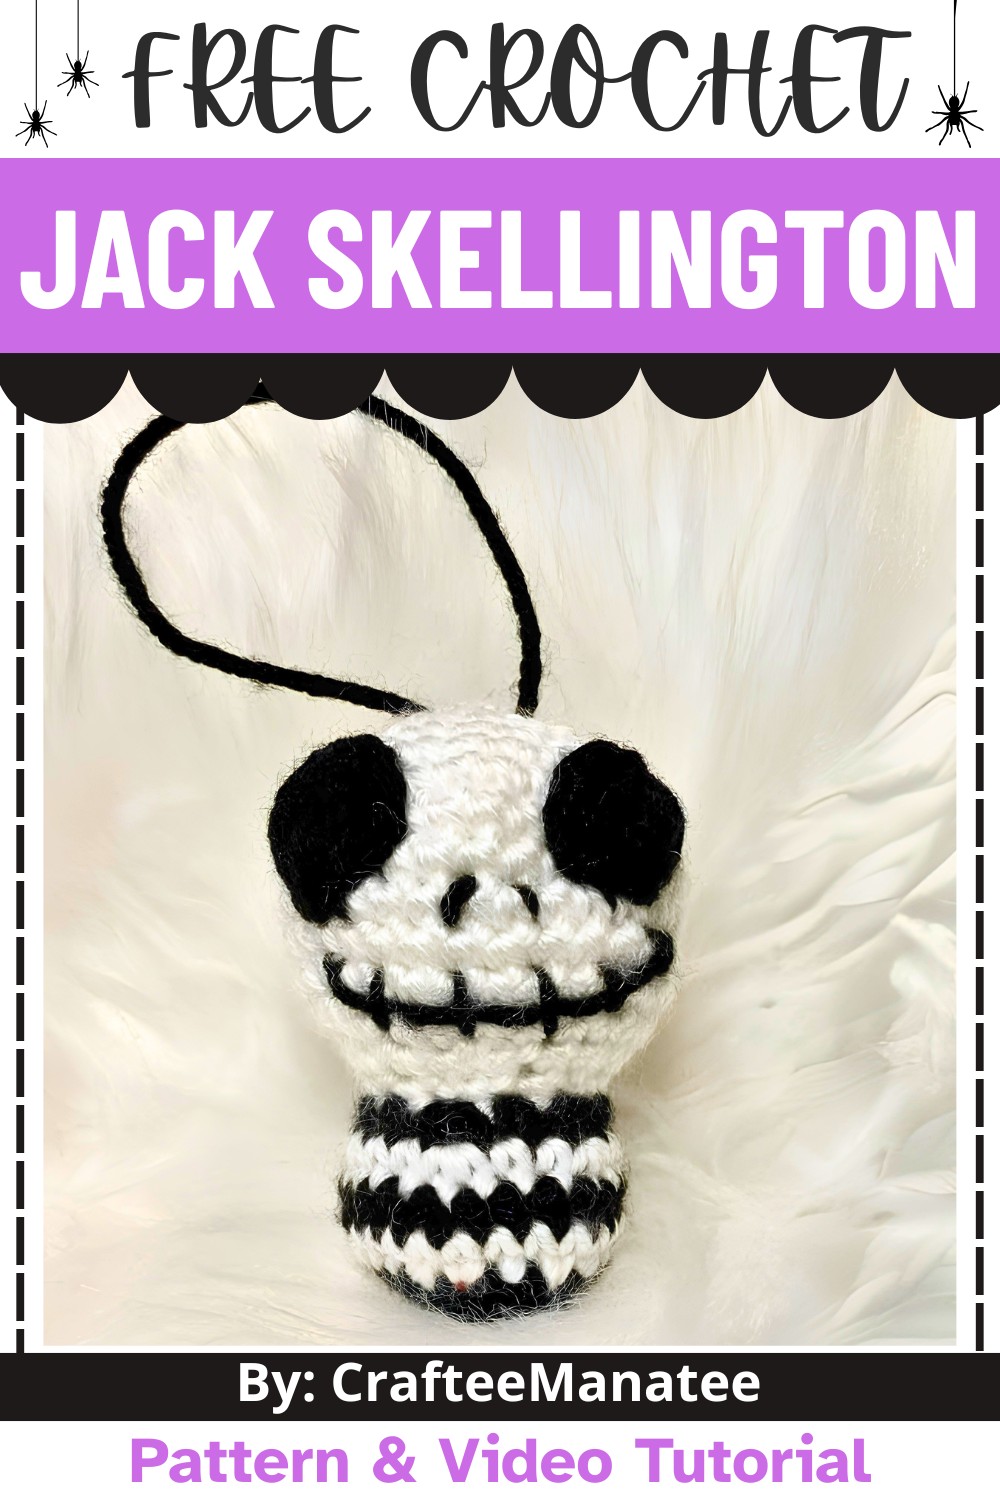
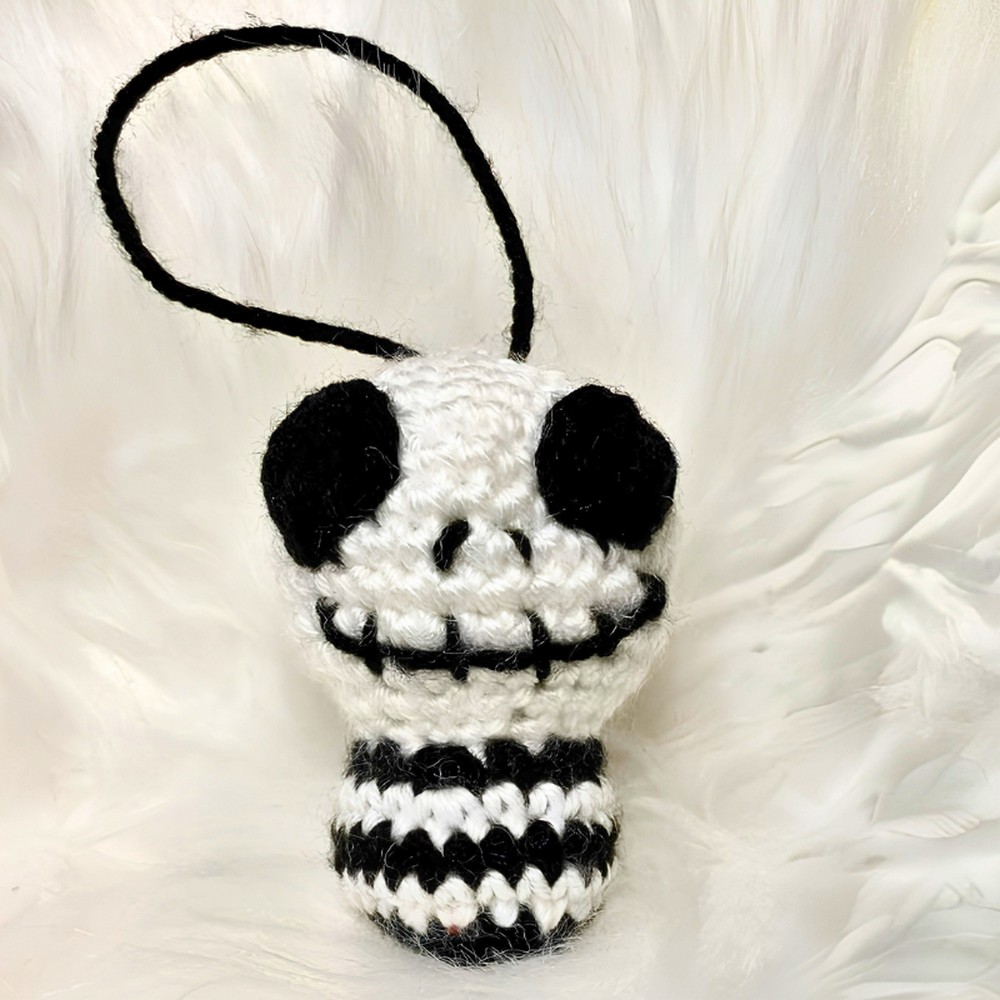
The shape of the eyes and the smile make the biggest difference in the final look. Even a small change can make the face look different, so many people like to check the crochet pattern and tutorial before finishing those parts. Keep going, and you will see how a few simple pieces come together to create Jack Skellington's well-known face with crochet.
Credit CrafteeManatee
Materials & Tools Needed
-
Yarn: Worsted weight yarn (Size 4)
-
White (approx. 11 grams)
-
Black (approx. 5 grams)
-
-
Crochet Hook: 4.0 mm (Size G)
-
Other Tools: Polyester fiberfill stuffing, a tapestry needle, and scissors.
Finished Size & Customization Ideas
-
Size: Small, palm-sized amigurumi ornament perfect for hanging.
-
Customization: Add a small piece of black felt for a bat bow-tie, or match it alongside a custom Sally ornament to complete the The Nightmare Before Christmas set.
Pattern Abbreviations & Terminology
This pattern is worked in continuous rounds without joining unless specified.
-
MR: Magic Ring
-
sc: Single crochet
-
inc: Increase (2 single crochet stitches in the same stitch)
-
dec: Decrease (Invisible or standard single crochet decrease)
-
st(s): Stitch(es)
- Sl st: Slip stitch
Step-by-Step Detailed Crochet Instructions
The Head
Using White yarn
-
Round 1: Make a MR, work 6 sc into the ring. Pull tail tight to close, sl st into the first sc to join. (6 sts)
-
Round 2: inc in every stitch around. (12 sts)
-
Round 3: [1 sc, inc] repeat 6 times around. (18 sts)
-
Round 4: [2 sc, inc] repeat 6 times around. (24 sts)
-
Round 5: [3 sc, inc] repeat 6 times around. (30 sts)
-
Rounds 6–10 (5 Rounds): sc in each stitch around. (30 sts per round)
-
Round 11: [3 sc, dec] repeat 6 times around. (24 sts)
-
Round 12: [2 sc, dec] repeat 6 times around. (18 sts)
-
Pause here and begin adding stuffing to fill out the head layout.
-
Round 13: [1 sc, dec] repeat 6 times around. (12 sts)
The Body
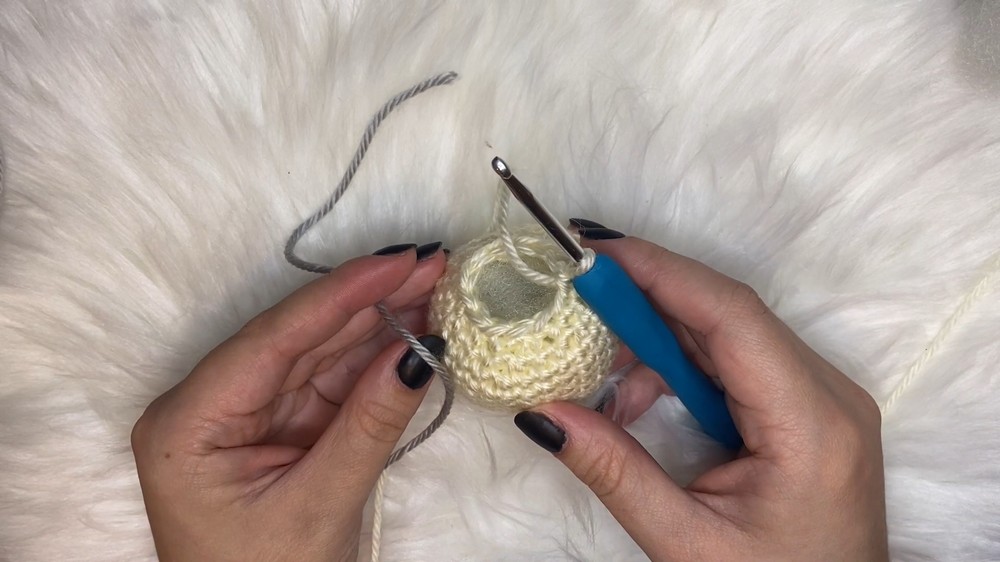
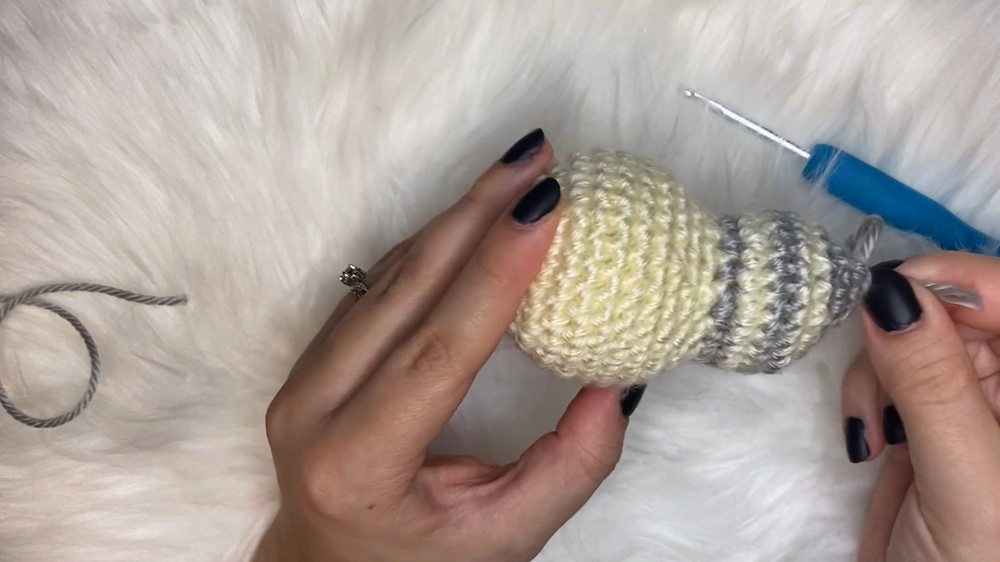
The body is seamlessly crocheted directly onto the head using an invisible color change technique to create crisp stripes.
-
Round 14: Switch to Black yarn on the final pull-through of the first stitch. [1 sc, inc] repeat 6 times around. Do not cut the White yarn tail; leave it inside the piece. (18 sts)
-
Round 15: Switch to White yarn on the final pull-through of the first stitch. [2 sc, inc] repeat 6 times around. (24 sts)
-
Round 16: Switch to Black yarn. sc in each stitch around. (24 sts)
-
Round 17: Switch to White yarn. sc in each stitch around. (24 sts)
-
Cut the White yarn and tuck the tails inside. Firmly fill the head and start stuffing the body.
-
Round 18: Using Black yarn for the remainder. [2 sc, dec] repeat 6 times around. (18 sts)
-
Round 19: [1 sc, dec] repeat 6 times around. (12 sts)
-
Top off with stuffing. This is your last chance to fill the body.
-
Round 20: Work 6 dec stitches around. (6 sts)
-
Finishing: Fasten off, leaving a tail. Thread the tail through your tapestry needle, weave through the remaining 6 stitches, pull tightly to secure the bottom hole, and hide the yarn tail inside the body.
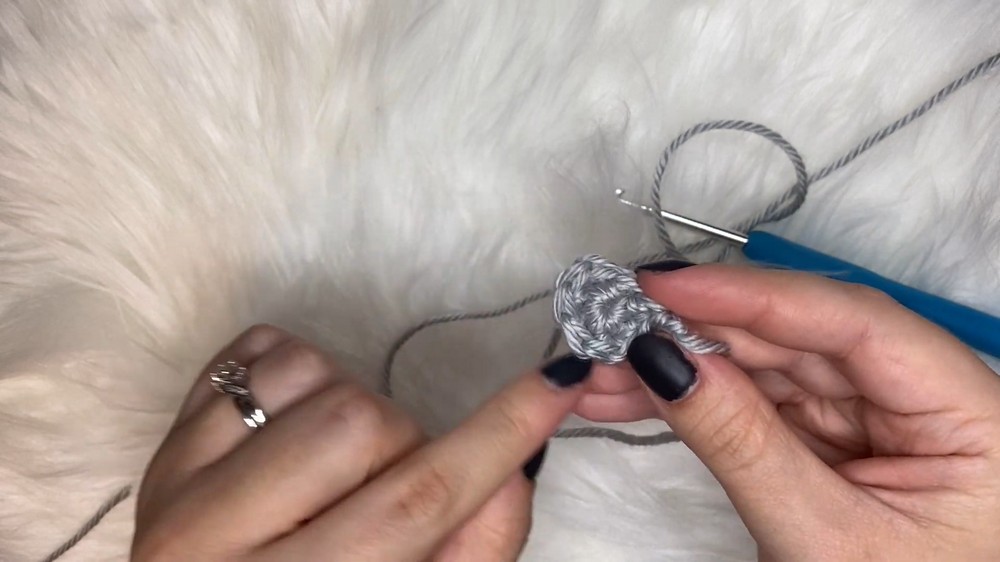
The Eyes (Make 2)
Using Black yarn
-
Round 1: Make an MR, work 6 sc into the ring. Pull tail tight, sl st into the first sc to join. (6 sts)
-
Round 2: inc in the next stitch, 2 sc, inc in the next stitch, 2 sc. (8 sts)
-
Finishing: Fasten off, leaving a long yarn tail for sewing. The eyes will form a distinct oval shape rather than a pure circle.
Assembly & Face Details
1. Eye Placement
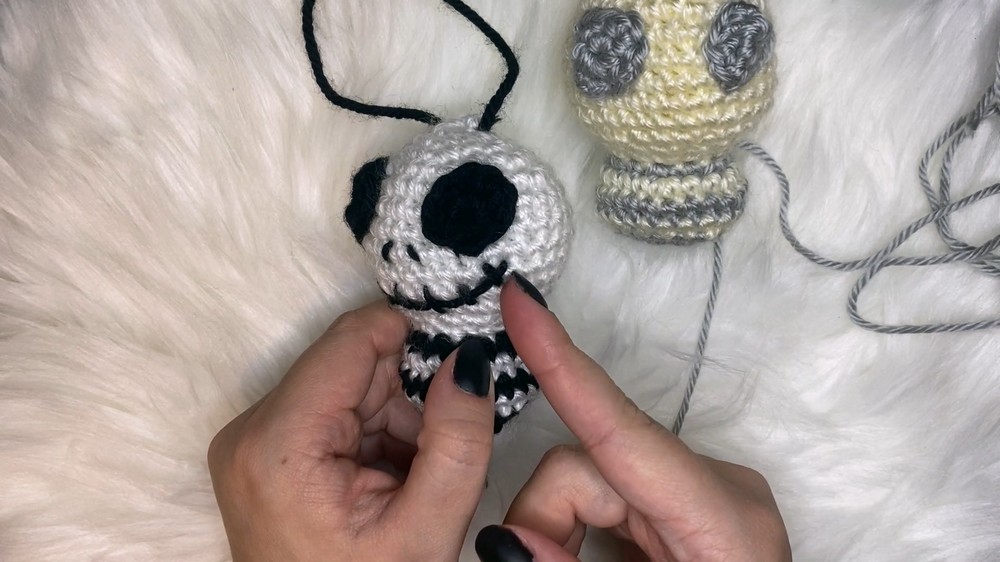
Identify the front of your piece opposite from where the stripes join at the back. Place the oval eyes across the head, leaving roughly 3 stitches of space between them. Angle the top parts of the ovals slightly outward to capture Jack's classic expression. Sew flatly into place using the long yarn tails, then bury the remaining yarn inside the head.
2. Stitching the Smile & Nose
Thread a long strand of Black yarn onto your tapestry needle and push it into the back of the head, popping it out 1 stitch down and 1 stitch outward from the corner of the left eye.
-
The Main Smile Outline: Trace a wide curved line sweeping down across the face (about two rows down from where you exited) and attach it symmetrically near the right eye corner.
-
Mouth Stitches: Bring your needle down and up perpendicularly across the main smile line to create tiny, spaced-out vertical seam stitches across his grin.
-
The Nose: Pop your needle out near the center of the face right above the smile. Make two tiny angled slash marks side-by-side to replicate his nostrils, then pass the needle back to secure and hide your thread.
3. Optional Ornament Hanger Loop
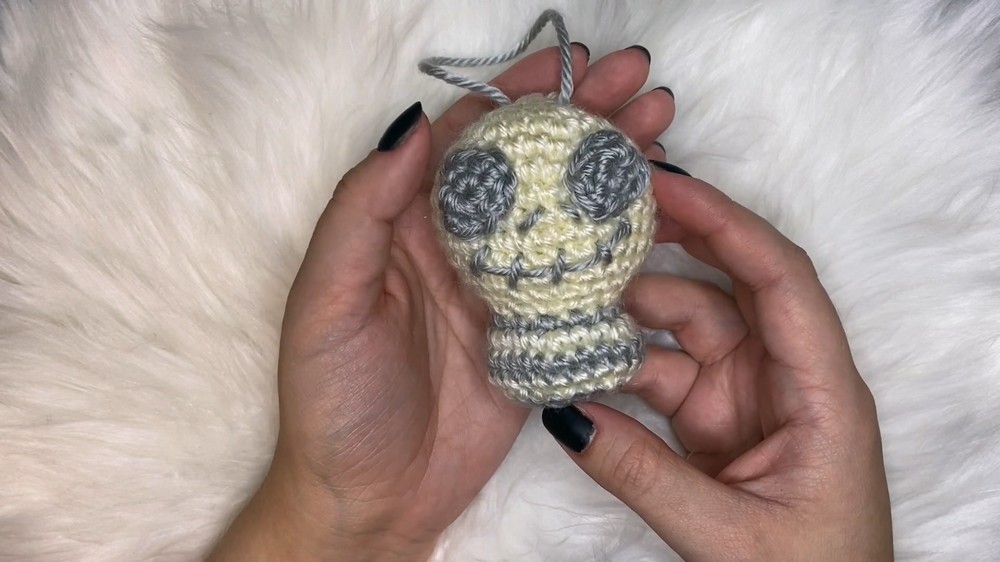
Thread a small loop of yarn through the very top stitches of the head's original Magic Ring. Tie a knot at your desired hanging length. Pull both yarn tails down through the top hole using your tapestry needle until the knot disappears completely inside the skull, then anchor the strands down through the neck and trim.