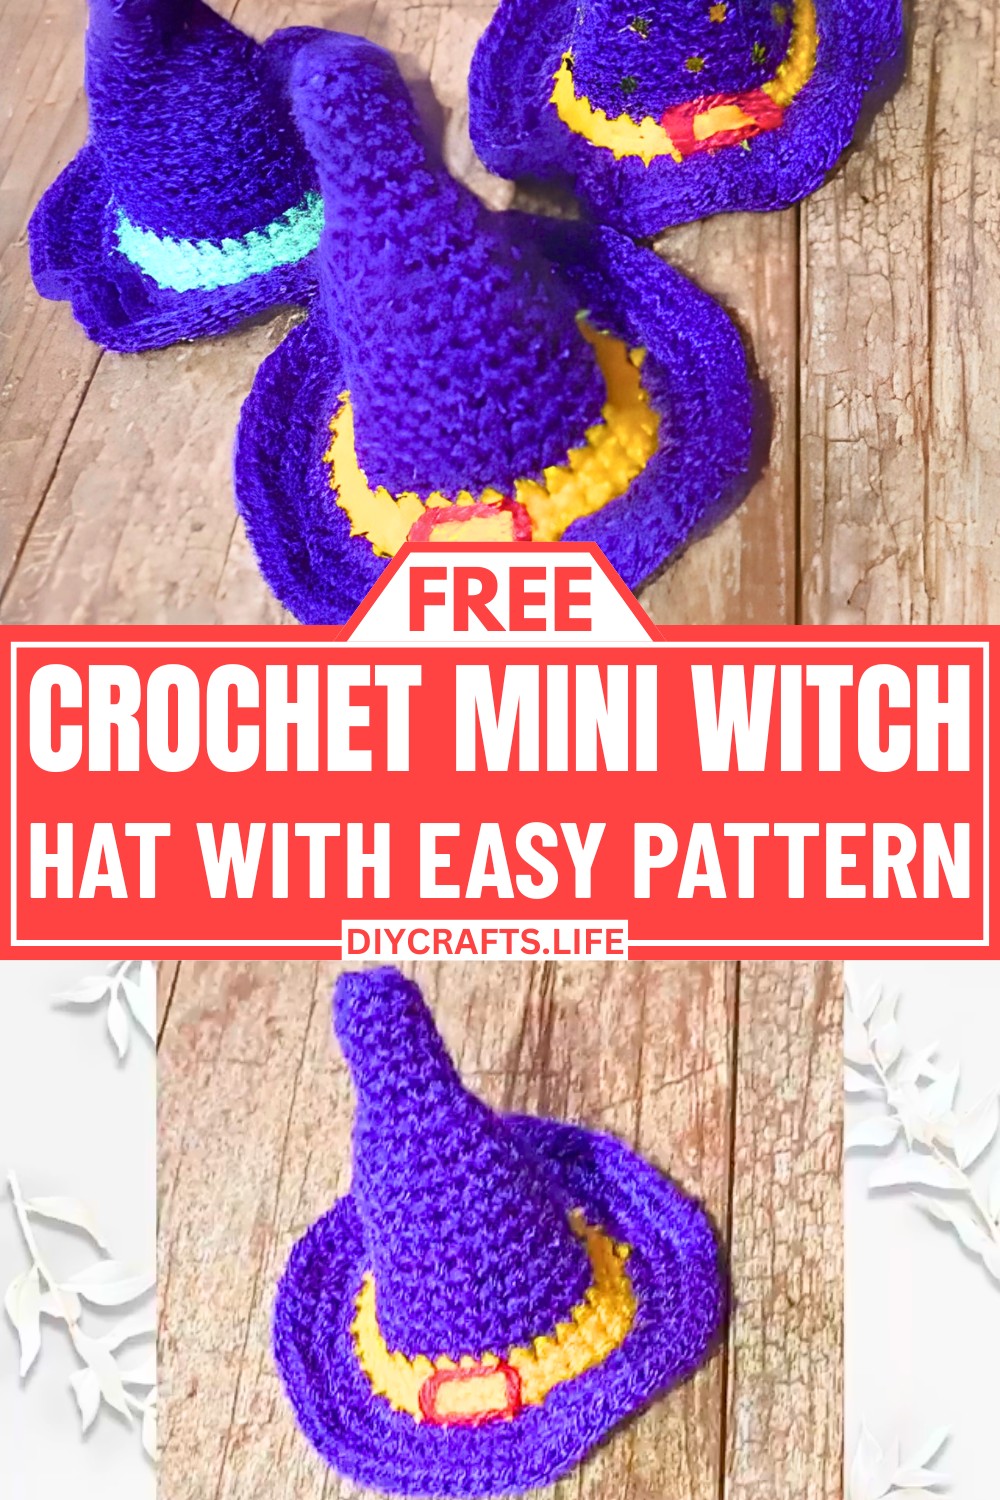
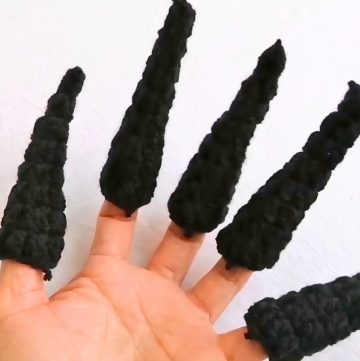
Sometimes, the smallest handmade details are the ones that capture the spirit of Halloween in the most memorable way. This mini crocheted witch hat is a delightful piece that adds a playful seasonal touch without requiring much space. Its compact size makes it ideal for keychains, doll accessories, festive garlands, or adding a handcrafted accent to gift wrapping and holiday displays. Whether kept as a decoration or shared with someone special, it brings a cheerful charm to any Halloween setting. What makes this little creation especially appealing is the thoughtful way a few simple crochet pieces combine to form something so distinctive.
Crochet Witch Hat Pattern
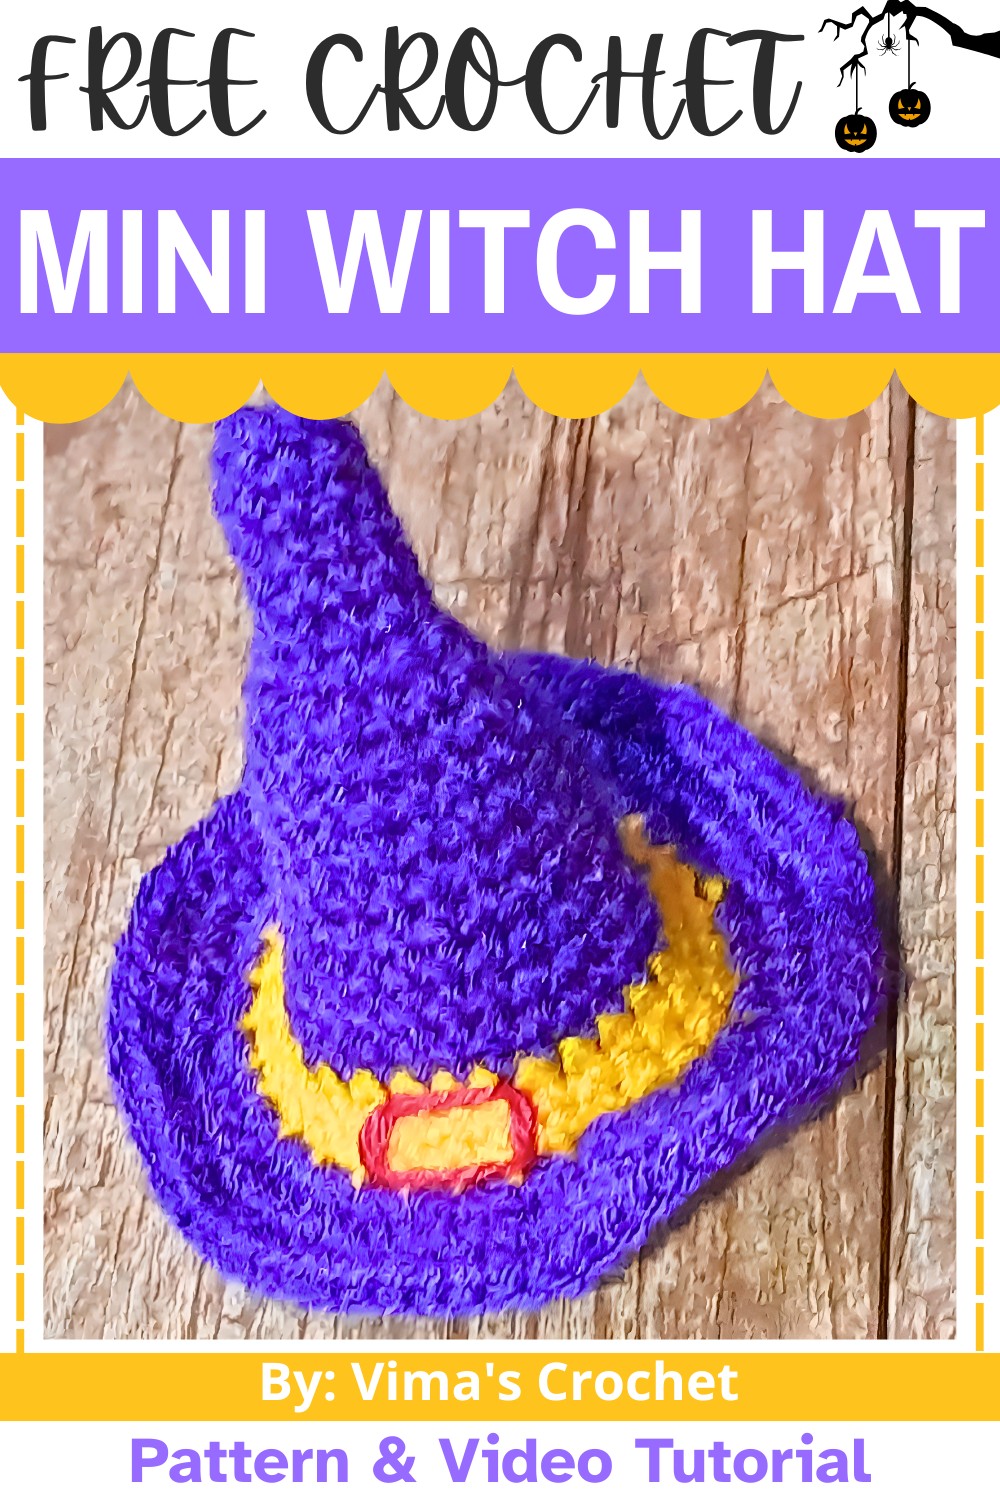
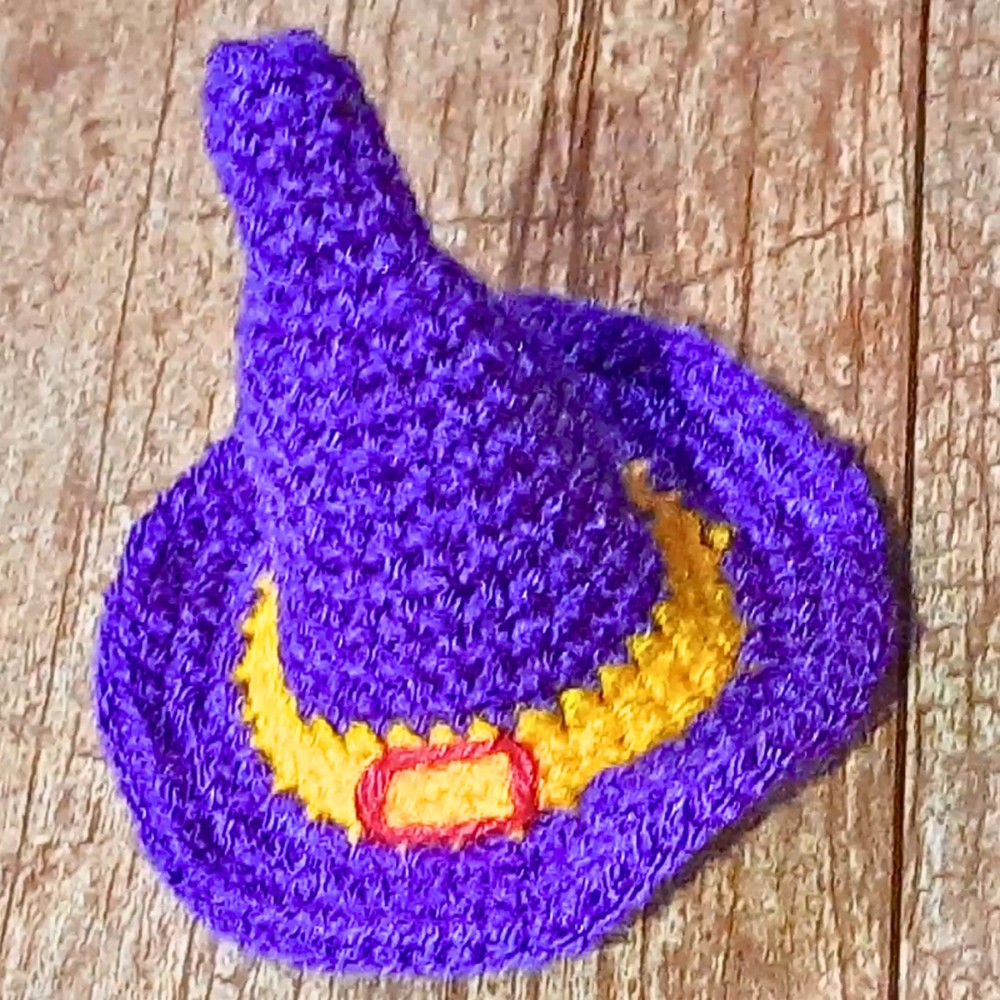
Creating this miniature hat relies on familiar crochet techniques and an easy-to-follow construction process. The crown, brim, and contrasting accent band come together gradually, allowing each section to contribute to the hat's reorganizable shape. Personal touches such as a tiny yarn buckle, subtle embellishments, or festive trims can make every finished piece feel unique. The piece remains approachable while still offering plenty of room for creativity and seasonal expression. Watching each element take its place reveals why this tiny crochet design leaves such a lasting impression long after it is finished.
Credit Vima's Crochet
Materials & Tools Needed
- Yarn:
- Main Color (MC): Lightweight 2-ply yarn. A thin yarn, such as baby yarn, is used in the video.
- Accent Color (AC): A small amount of contrasting yarn for the decorative band.
- Crochet Hooks:
- 3 mm hook (for the hat body)
- 3.5 mm hook (for the brim)
- Other supplies:
- Yarn needle (to weave in ends)
- Stitch marker (important for marking rounds)
- Scissors
- Measuring tape (optional, for customizations)
Finished Size & Customization Ideas
- Finished Size: This crochet mini witch hat is designed as a cute, small decorative piece and is suitable for use as a keychain, table décor, or as a Halloween accessory.
- Customization Ideas:
- Use glittery yarn for a sparkling witch hat.
- Customize the brim's edge with an additional decorative border (scallops, picots, etc.).
- Add embellishments like beads, small stars, or embroidery.
- Use various contrast colors for the band to match seasonal themes or preferences.
Pattern Abbreviations & Terminology
The pattern is written in US Terminology.
- sc: Single crochet
- ch: Chain
- st(s): Stitch(es)
- sl st: Slip stitch
- inc: Increase (work 2 single crochets into 1 stitch)
- rnd: Round
Step-by-Step Crochet Instructions
Hat Cone
Note: Use a 3 mm crochet hook for this section.
- Rnd 1:
- Start with a magic ring.
- Chain 1 to secure the ring.
- Work 8 single crochets (sc) into the magic ring.
- Pull the tail to close the ring tightly.
- Do not join with a slip stitch; instead, work in continuous rounds.
- (8 sts)
- Rnd 2-5:
- Begin working in continuous rounds, placing a stitch marker in the first stitch of each round to keep track.
- Work 1 sc in each stitch around for a total of 4 rounds.
- After completing 5 rounds (including Rnd 1), ensure the shape is slightly pushed inward so the hat curves downward as you stitch.
- Rnd 6: Using a 3.5 mm hook, begin increasing:
- Work 2 sc in the first stitch (increase), place the stitch marker on the first stitch.
- Alternate 1 sc in the next stitch, and 2 sc in the following stitch around.
- (Total: 12 sts)
- Rnd 7: Work 1 sc in each stitch around.
- No increases.
- (12 sts)
- Rnd 8:
- Start with 2 sc in the first st, place a stitch marker.
- Alternate 2 sc, 1 sc in next two sts around.
- (Total: 16 sts)
- Rnd 9: Work 1 sc in each st around (no increases).
- (16 sts)
- Rnd 10:
- Start with 2 sc in the first stitch (increase), place stitch marker.
- Alternate 2 sc, 1 sc in next three sts around.
- (Total: 20 sts)
- Rnd 11: Work 1 sc in each stitch around.
- (20 sts)
- Rnd 12:
- Start with 2 sc in the first st, place stitch marker.
- Alternate 2 sc, 1 sc in next four sts around.
- (Total: 24 sts)
- Rnd 13: Work 1 sc in each stitch around.
- (24 sts)
- Rnd 14 (Final Increase):
- Start with 2 sc in the first st, place stitch marker.
- Alternate 2 sc, 1 sc in next five sts around.
- (Total: 28 sts)
- Rnd 15: Work 1 sc in each stitch around.
- (28 sts)
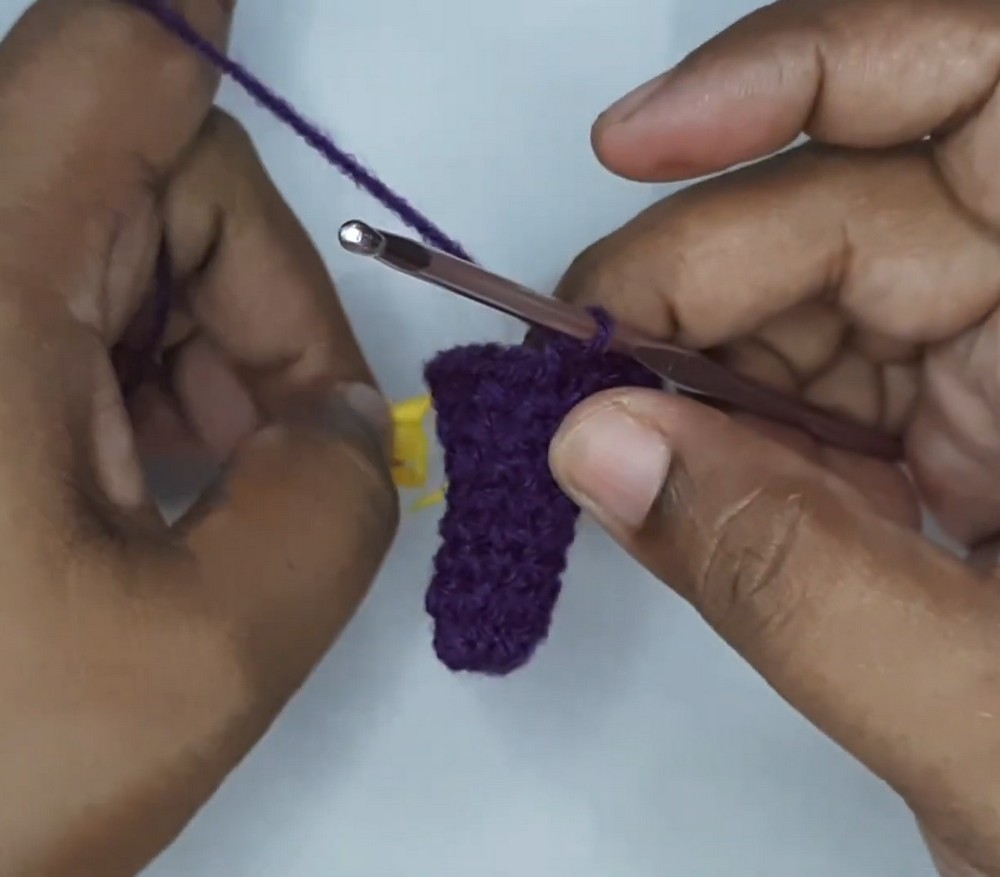
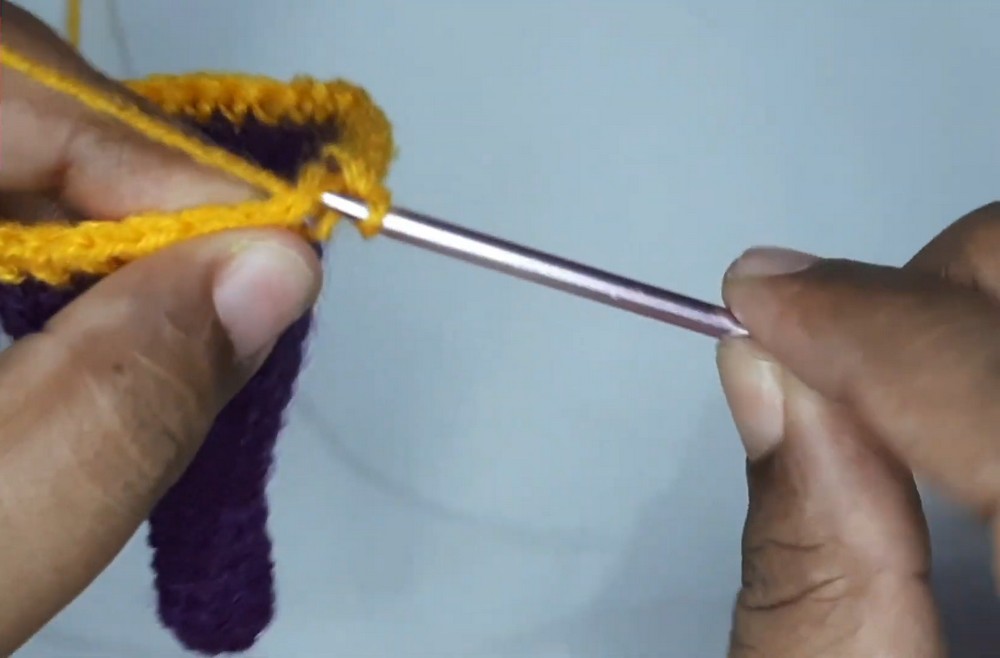
Changing to Contrast Color (Band)
Switch to the contrast yarn for decoration.
- Join the contrast color:
- Insert your hook into the next stitch, place the new yarn on the hook, and pull it through.
- Pull the tail to tighten.
- Chain 1 to secure and start the new round.
- Work 1 sc into the same stitch and across all stitches. Slip stitch to join the round.
- Work 3 rounds in the contrast color, joining the rounds with a slip stitch at the end of each one.
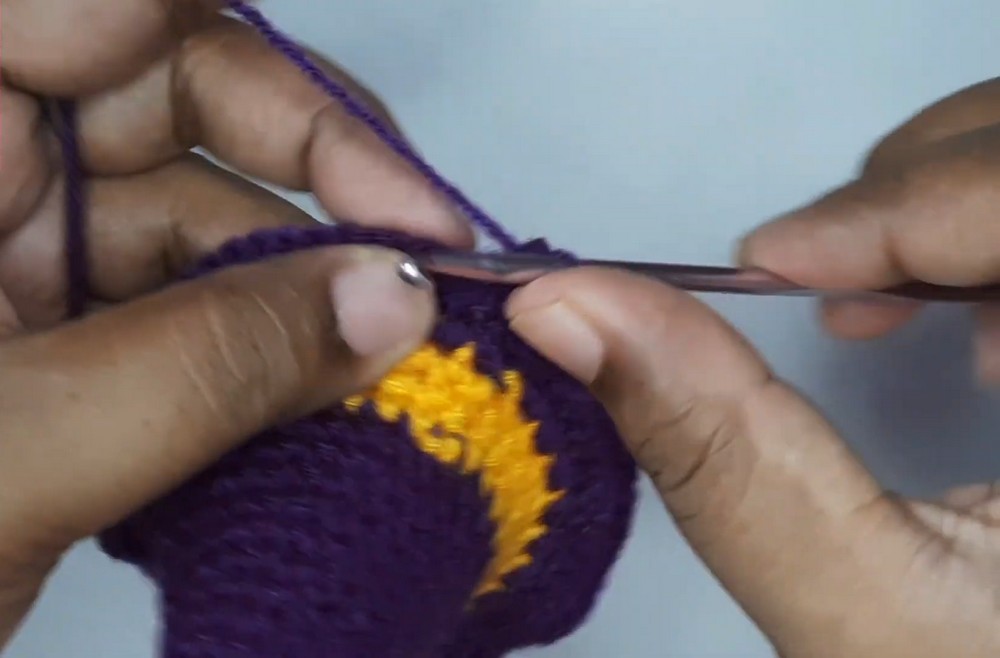
- Switch back to the main color. Join it using the same method as described above.
Hat Brim
Note: Return to using the 3.5 mm crochet hook.
- Rnd 1:
- Work an increase round: 2 sc in each stitch around. Slip stitch to join.
- (56 sts)
- Rnd 2:
- Work 1 sc in the first 4 stitches, then make an increase (2 sc in one stitch).
- Repeat this pattern (4 sc, 1 inc) around.
- Slip stitch to join the round.
- (70 sts)
- Rnd 3:
- Work 1 sc in each stitch around (no increases).
- Slip stitch to join the round.
- (70 sts)
- Fasten off and weave in all ends.
Adding Decorative Band Detail (Optional):
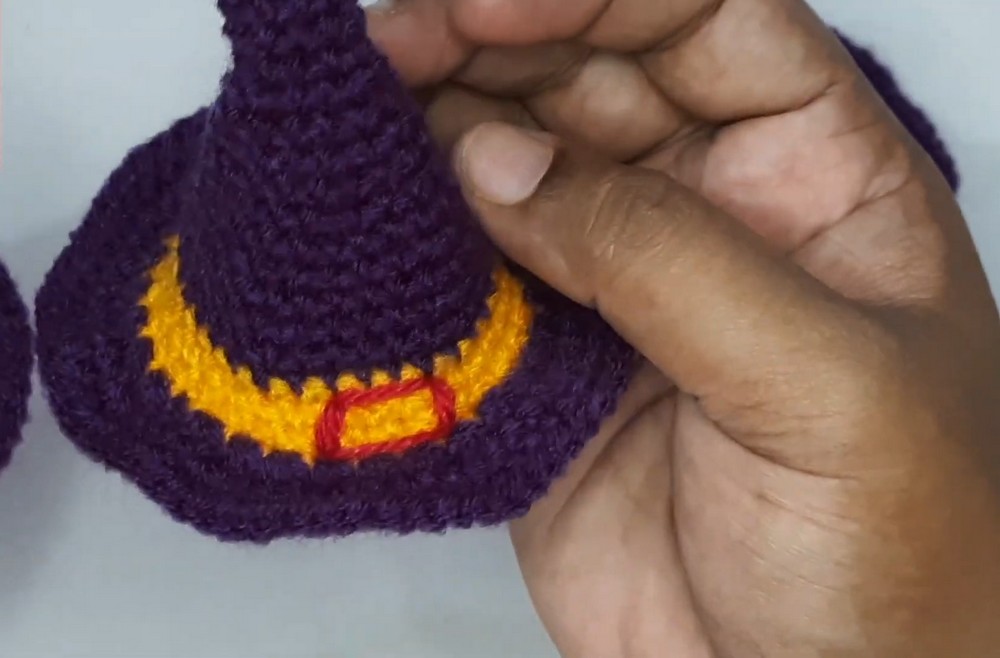
- Take a small amount of yarn in a contrasting color and stitch a band or buckle. Follow these steps:
- Use a yarn needle and pass the yarn through the band area (just above the brim).
- Create a small rectangular box around 3-4 stitches. Secure and weave the ends.
Finishing Touches
- Bend the top of the cone for a "classic witch hat" look.
- Add glitter glue, sequins, or other embellishments if desired.
- Your Mini Witch Hat is now ready.