Crochet shorts are a fun and stylish addition to your wardrobe. Perfect for lounging at home or wearing on a sunny day, their soft and cozy texture makes them extra special. You can customize them with your favorite colors or patterns, making them unique to your personal style. Plus, they are comfortable and lightweight—a great choice for warm weather.
How to Crochet Shorts Pattern
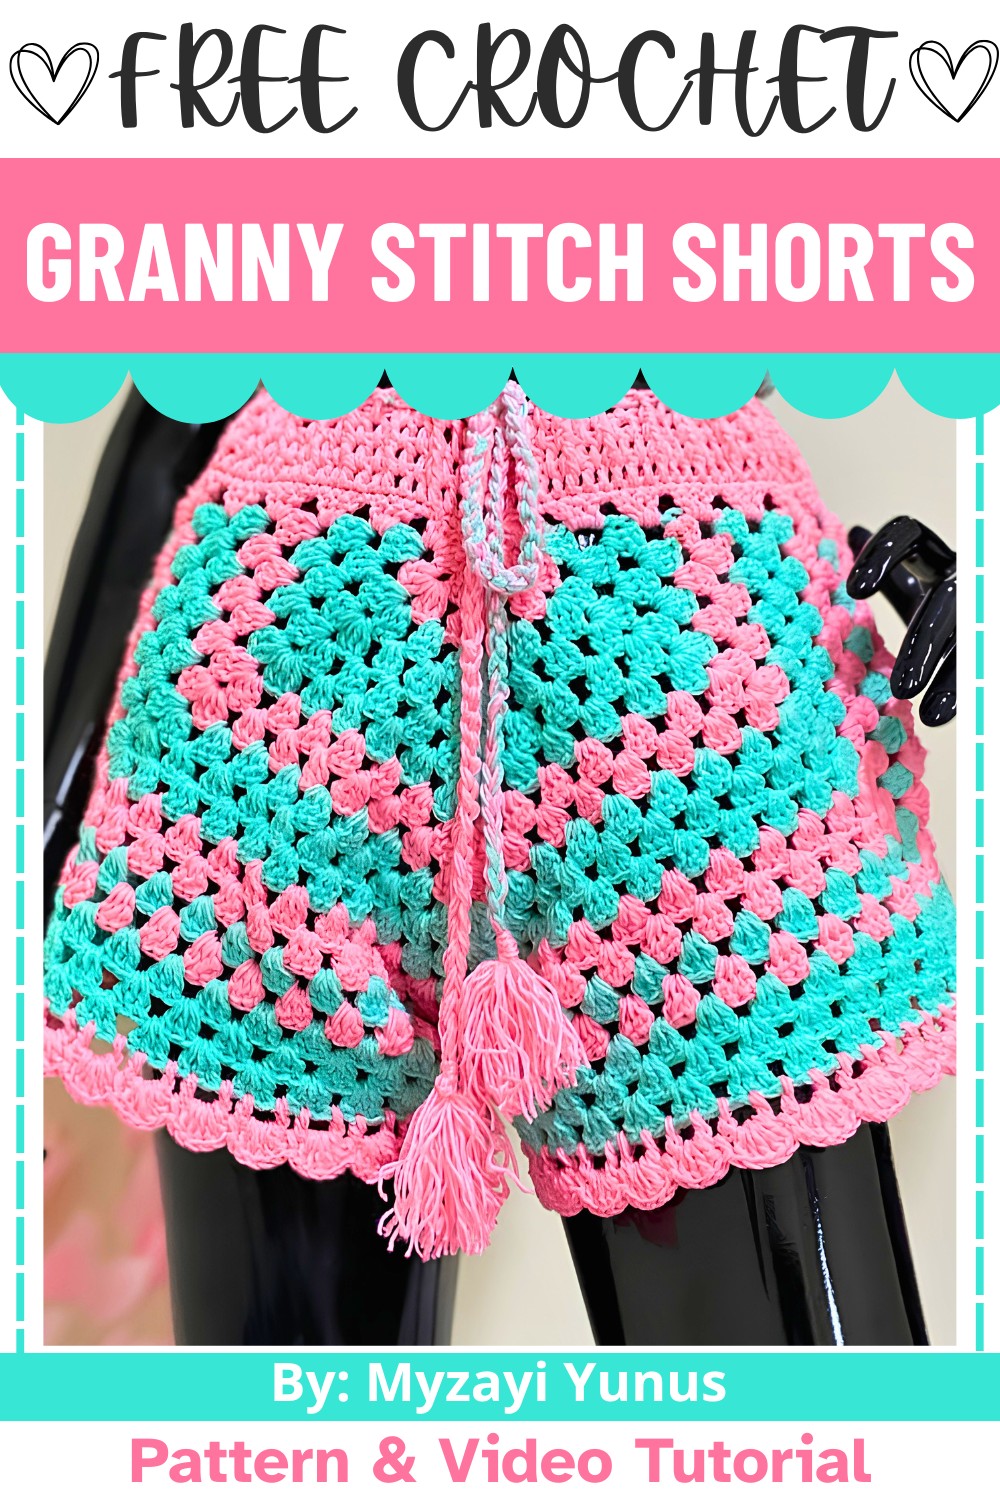
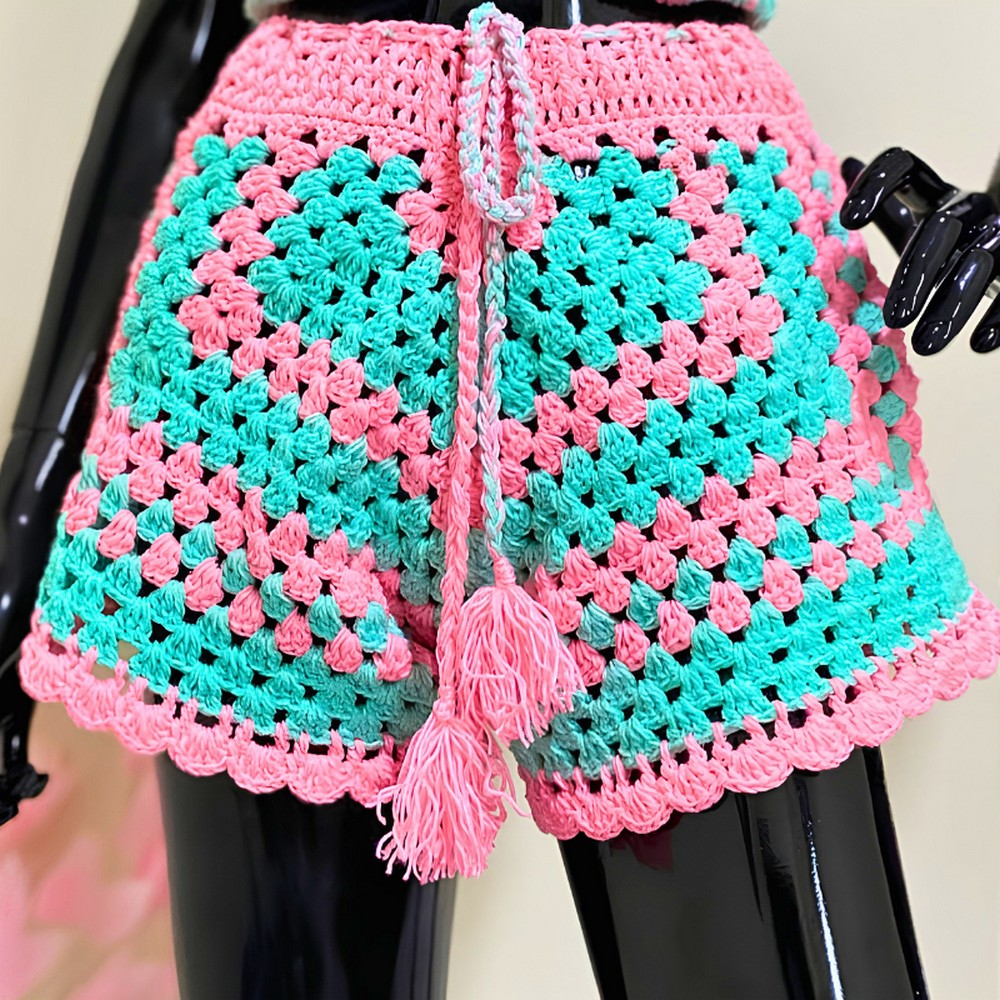
To make these crochet shorts, you’ll start by creating simple stitched panels using a basic granny stitch pattern. Stitching the panels together forms the shorts. The design allows you to pick different colors for added flair or keep it minimal with one solid shade. After joining the panels, the waistband and hems are shaped carefully to ensure a snug yet comfy fit. You can even add a decorative rope belt for an extra touch! If you’re new to crochet, this design is beginner-friendly and is a wonderful way to practice foundation stitches.
These crochet shorts are not only stylish but versatile—perfect for relaxing, wearing as loungewear, or even pairing with a casual top for a cute everyday look. They are also a wonderful handmade gift for friends or family. Try it, and bring your creativity to life stitch by stitch!
Credit Myzayi Yunus
Materials & Tools Needed
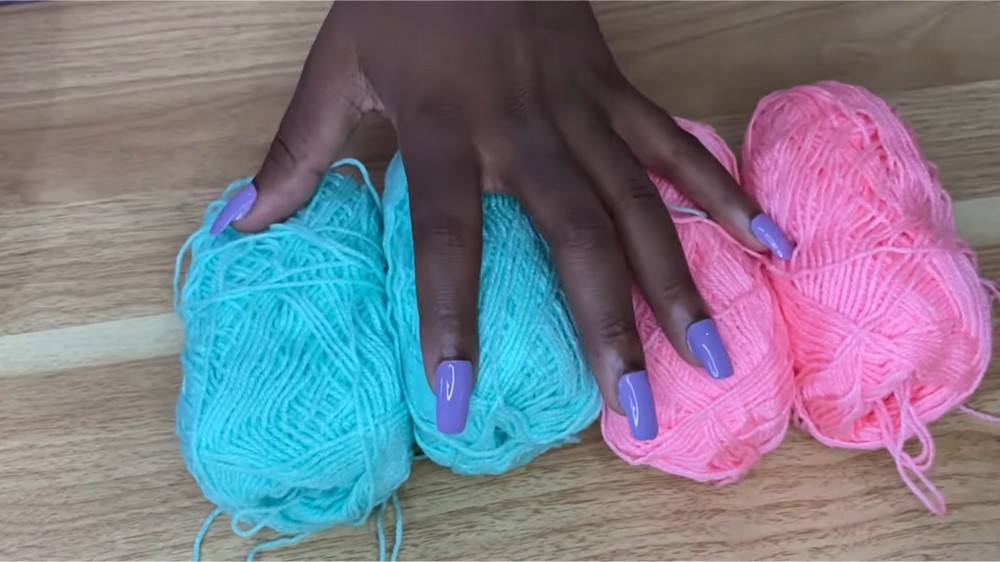
- Yarn: Pink and mint-colored "Yarn and Colors" (or you can choose your preferred colors).
- For the video, the creator used YarnArt Jeans (or a similar medium-weight 4 yarn).
- Crochet Hook: 4mm (G/6) crochet hook.
- Scissors
- Tapestry Needle: To weave in ends.
- Optional: Measuring tape (for size adjustments).
Finished Size & Customization Ideas
- Size in Tutorial: Medium-sized shorts, with 14 rows per leg.
- Customization Tips:
- Sizing: Add or subtract rows to fit your desired size.
- Colors: Use one solid color, alternate two colors as shown (pink and mint), or get creative by using multiple yarn colors.
- Length: Adjust the number of rows in the leg panels to make the shorts longer or shorter.
- Waistband Height: Repeat the waistband rows for a higher-rise look.
Pattern Abbreviations & Terminology
These terms use US crochet terminology:
- ch: Chain
- dc: Double Crochet
- sc: Single Crochet
- sl st: Slip Stitch
- FPDC: Front Post Double Crochet
- sp: Space
- rep: Repeat
- beg: Beginning
- yo: Yarn Over
- rnd: Round
Step-by-Step Crochet Instructions
Part 1: Create Two Granny Stitch Panels
The shorts are made by crocheting two identical panels using granny stitch clusters.
Panel Instructions:
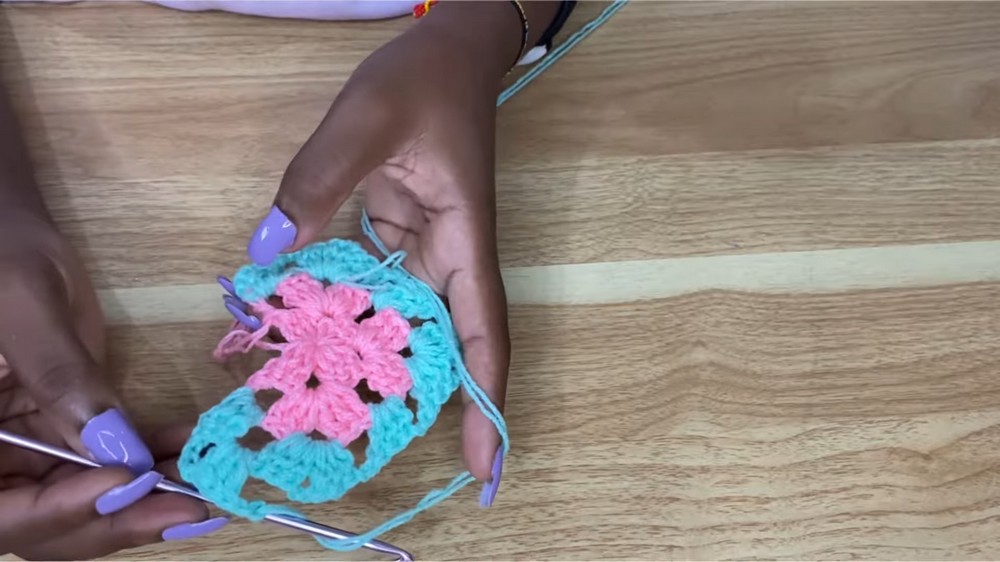
- Start with a Magic Circle:
- Create a magic circle. Insert your hook, yo, draw through, and ch 2 (counts as the first dc).
- Row 1: Form a Granny Square Center:
- Make (3 dc, ch 2) four times into the magic circle, creating 4 clusters of 3 dc.
- Pull the tail to tighten the circle. Sl st into the top of the starting ch 2 to close the round.
- Ch 2 and turn.
- Row 2: Expand the Granny Pattern:
- In each ch-2 sp from the previous row, make:
- (3 dc, ch 2, 3 dc) – a cluster.
- Continue this pattern in each ch-2 space around.
- At the end, sl st into the beg chain to close the round. Ch 2, turn.
- In each ch-2 sp from the previous row, make:
- Rows 3–14: Continue the Granny Stitch Pattern:
- Rep the granny stitch pattern, adding clusters in chain spaces as they appear.
- Alternate colors as desired. (In the video, the mint yarn was introduced after the 2nd row.)
- To change colors: Fasten off the current color and join the new yarn with a sl st.
- Repeat to Make a Second Panel:
- Follow the same steps to create an identical second panel.
Part 2: Join the Two Panels
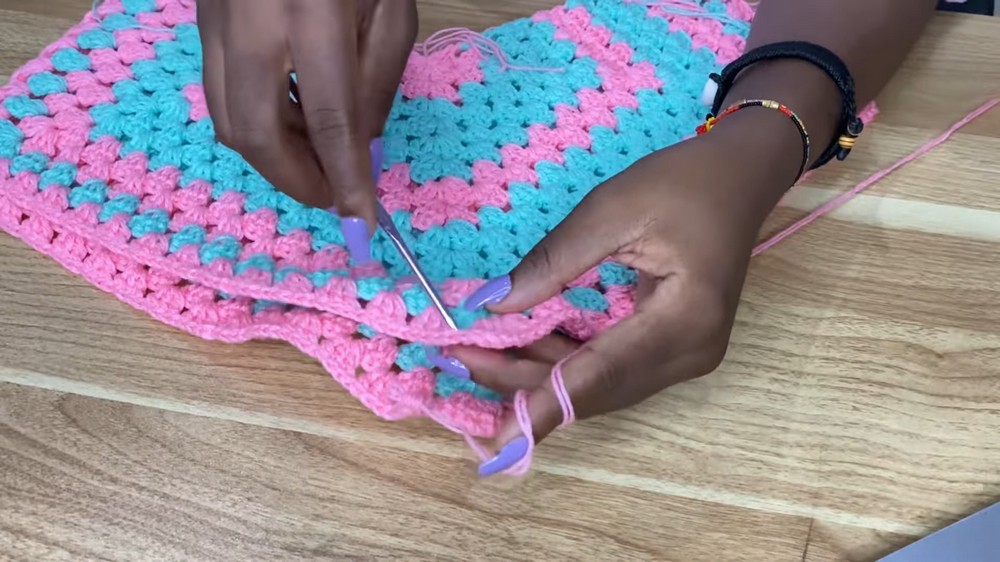
- Starting the Join:
- With the panels facing up, align them side by side.
- Join pink yarn at the top edge of the panels near the corner.
- Joining Process:
- Ch 1 and sl st into the first st of the opposite panel to join the two sides.
- Make 3 dc in the next available space of the current panel; pull out the hook, insert it into the corresponding space of the opposite panel, yo, and sl st to join the clusters together.
- Repeat this joining process for the sides until you reach the bottom edge.
- First Leg Opening:
- After joining the sides, work in the round along one edge to form the leg hole.
Part 3: Crochet the Legs
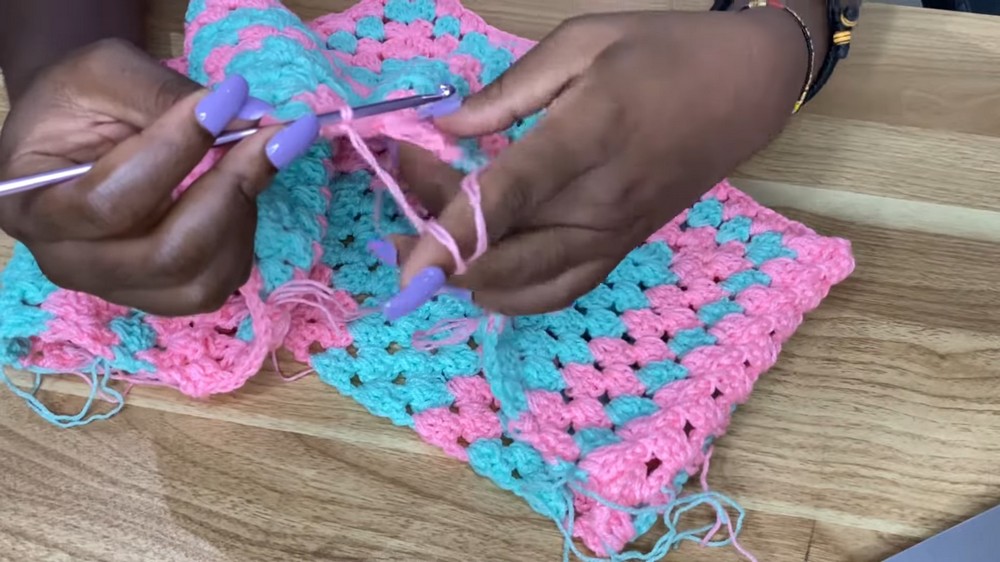
For Leg 1:
- Granny Stitch Rounds for Leg Length:
- Attach pink yarn to the bottom edge of the joined panels.
- Ch 3 (counts as the first dc), then work (3 dc, ch 1, 3 dc) in each cluster space.
- Continue around the leg opening. End with a sl st into the starting ch 3.
- Rep two more rounds of granny stitch if needed. You can adjust the leg length.
- Fasten off and weave in the ends.
- Repeat for the Second Leg:
- Attach yarn to the second leg opening and repeat the same steps as for the first leg.
Part 4: Waistband
- Round 1: Create Base for the Waistband:
- Attach pink yarn at the top edge of the shorts.
- Ch 3 and make 1 dc in each st around.
- End with a sl st into the top of the starting ch 3.
- Round 2: Begin Ribbing (Front Post Double Crochet):
- Ch 3. For this round:
- Make 2 dc, followed by 1 FPDC (Front Post Double Crochet).
- Continue alternating 2 regular dc and 1 FPDC around.
- Sl st to the top of the starting ch 3.
- Ch 3. For this round:
- Round 3–4: Continue Ribbing:
- Rep Round 2, maintaining the FPDC above the previous FPDC and regular dc above regular dc.
- If you want a higher-waisted band, continue adding additional rounds of ribbing.
- Optional: Add a drawstring belt using a long chain.
Part 5: Edging the Legs
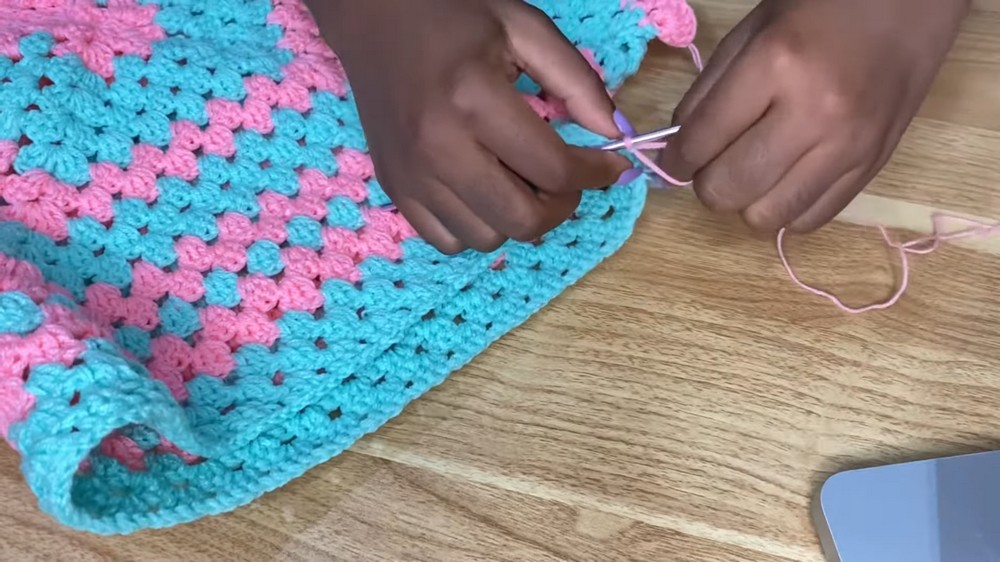
- Create Shell Edging:
- Attach pink yarn at the bottom of a leg.
- Work 5 dc in the first chain space, then sc in the next space.
- Make 5 dc in the next space, then sc in the next space.
- Repeat this pattern around the leg opening and sl st to close the round.
- Fasten off and weave in the ends.
- Repeat for the Second Leg:
- Follow the same steps for the other leg.
Part 6: Finishing
- Weave in all loose ends with a tapestry needle.
- Trim excess yarn carefully to avoid unraveling.
- Optionally, sew on a crochet belt or add embellishments.
Final Notes
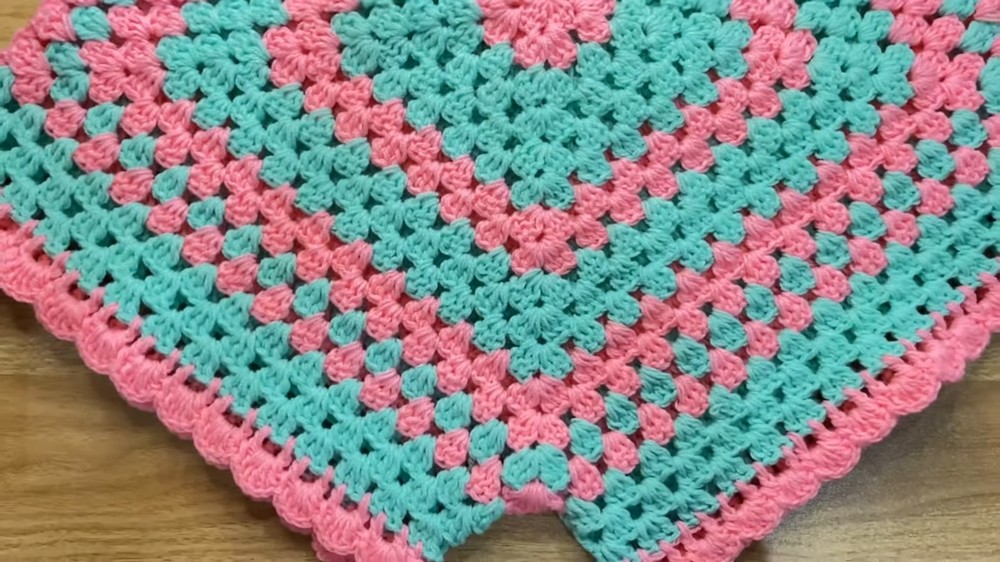
- Your crochet shorts are now complete! Customize further by adding pockets, contrast color accents, or decorative edging.
- Don't forget to block the finished project for a professional look.