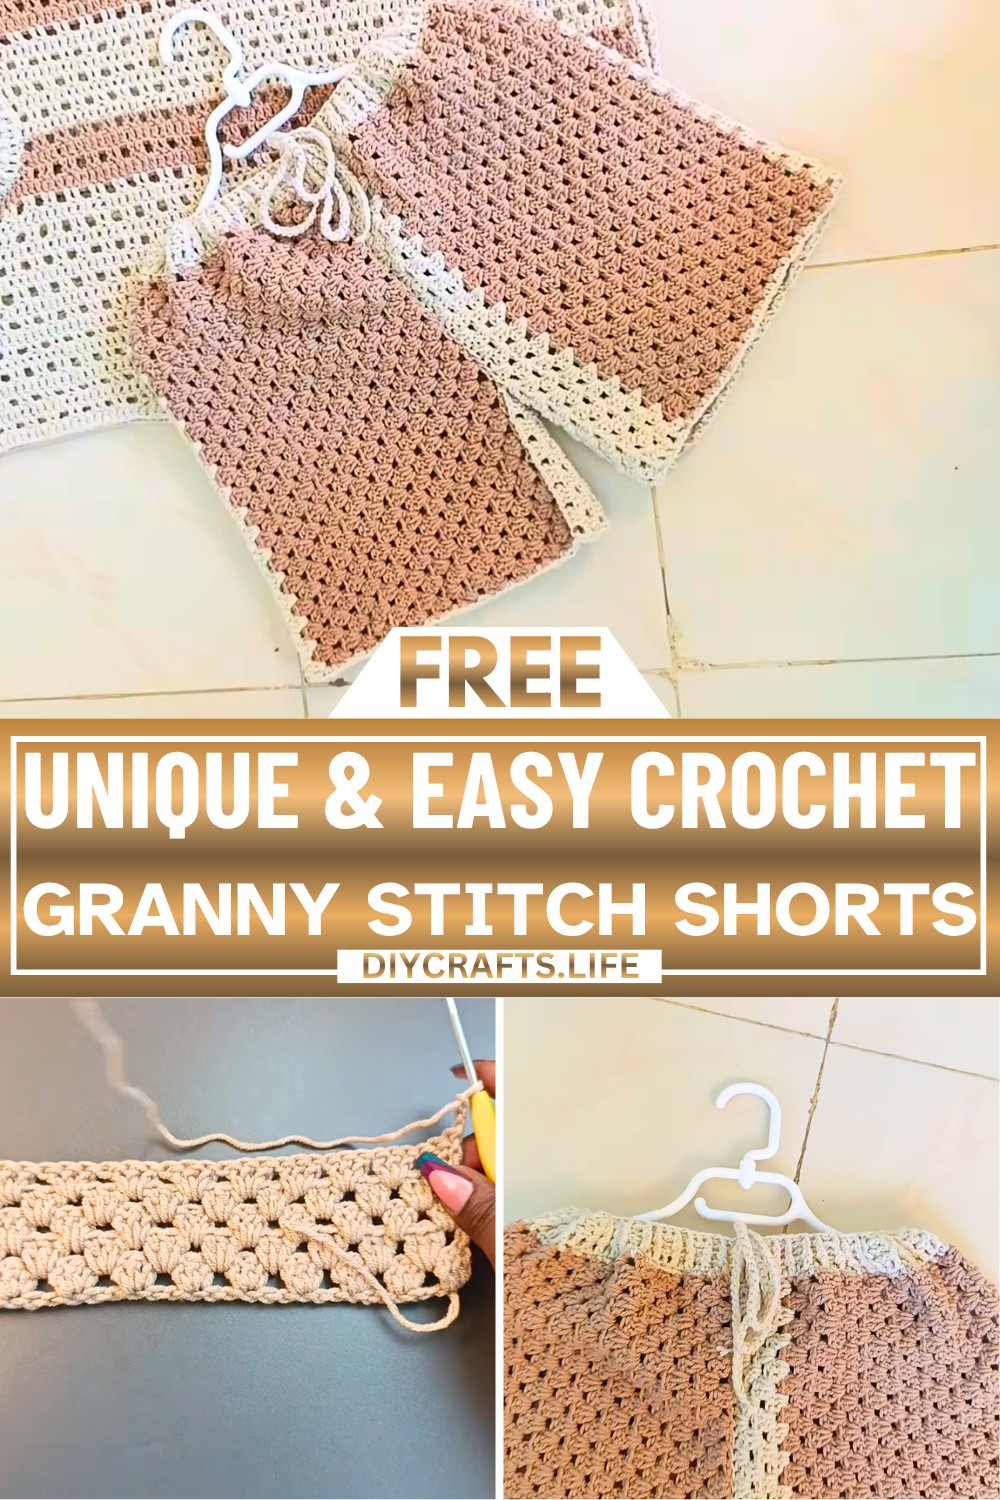
Granny stitch shorts are a unique and trendy piece you can wear on sunny days, relaxing afternoons, or even as cozy loungewear. These Crochet shorts stand out with their colorful, textured pattern, making them both stylish and playful. They're handcrafted with love and warmth, perfect for anyone who enjoys adding a touch of creativity to their wardrobe.
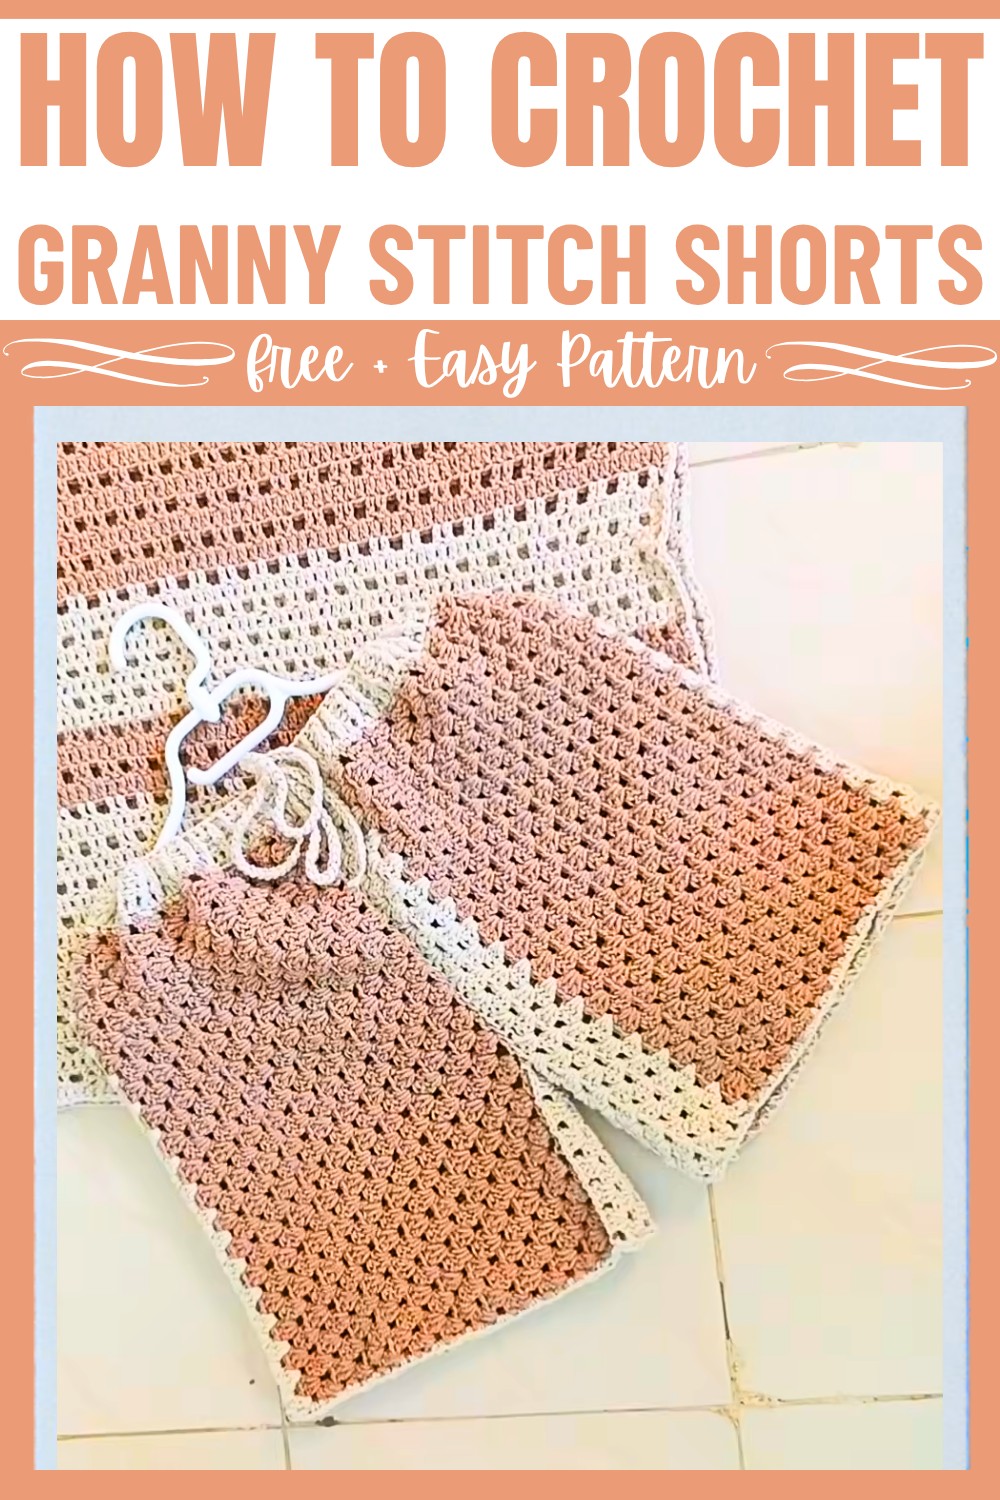
Crocheting these shorts is simpler than it looks! Using the timeless granny stitch technique, you'll shape soft, airy fabric that feels great. Whether you're picking your favorite vibrant colors or sticking to neutrals, the design is endlessly customizable. The process is fun and relaxing, and before you know it, you’ll have a stylish creation that’s uniquely yours.
Credit LaDenser Crochets
Materials & Tools Needed:
- Yarn: Medium-weight milk cotton yarn (or any similar yarn).
- Crochet Hook: 3.5 mm crochet hook.
- Additional Tools:
- Scissors
- Darning needle
- Stitch markers
- Measuring tape
Finished Size & Customization Ideas:
Measurements Required:
- Full Length: From the top of the shorts to the hem. Example: 14.5" for length + 1.5" for waistband = 16" total.
- Thigh Measurement: Circumference around the thigh. Example: 11.5" x 2 = 23-24" total width.
- Rise Measurement: Distance from the waist to the crotch area. Example: 12", adjusted to 10" to accommodate the waistband extension.
Customization:
- Color Changes: Change colors at any point to create stripes or patterns.
- Single-Color Version: You can work the shorts entirely in one color for a minimalist look.
- Adjustable Drawstring: Add a drawstring to the waistband for a secure fit.
Pattern Abbreviations & Terminology:
- ch: Chain
- dc: Double Crochet
- sp: Space
- sl st: Slip Stitch
- sc: Single Crochet
- yo: Yarn Over
Step-by-Step Crochet Instructions:
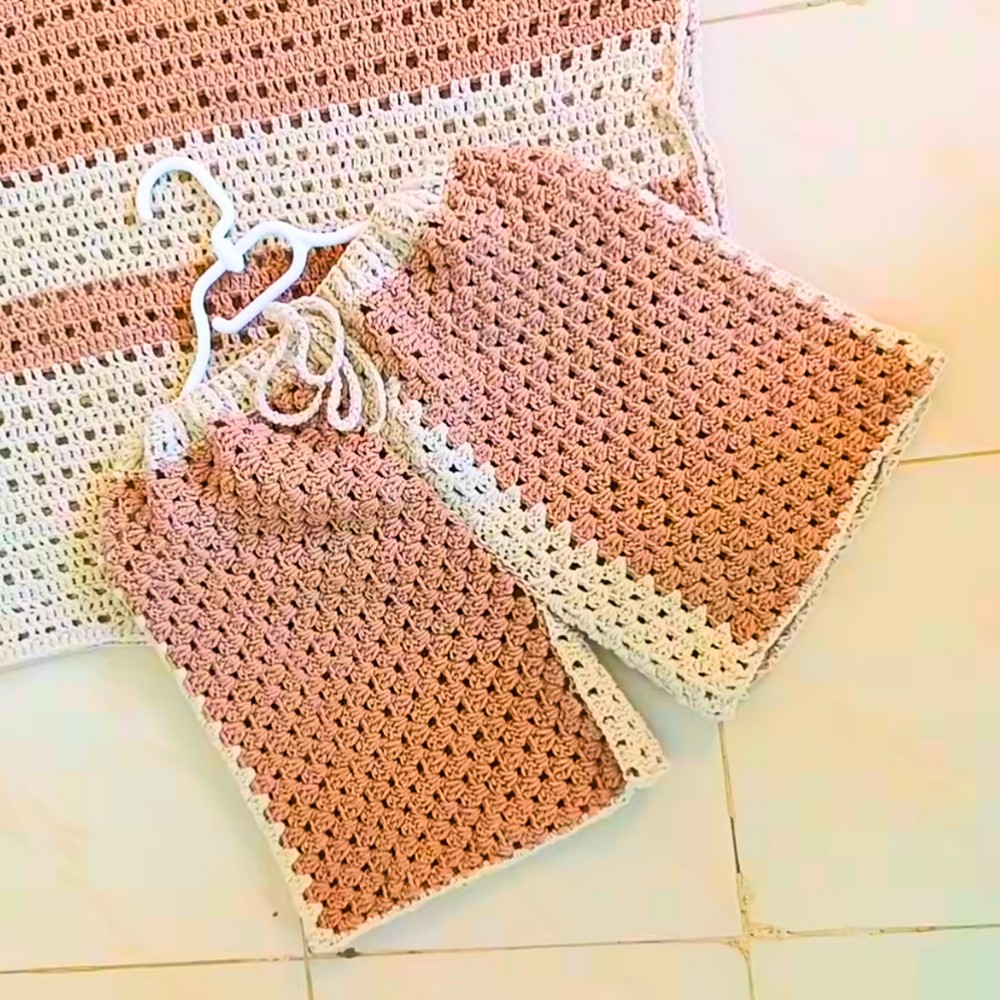
Main Granny Stitch Panel:
The panel will form the base fabric for the shorts.
Step 1 | Begin the Foundation Chain:
- Start with a slip knot and chain a length measuring the desired length of your shorts.
- Foundation chain needs to be a multiple of 3 + 1. For example, 48 chains + 1 = 49 chains for a length of 14.5".
- Measure the chain to ensure it meets your length requirement.
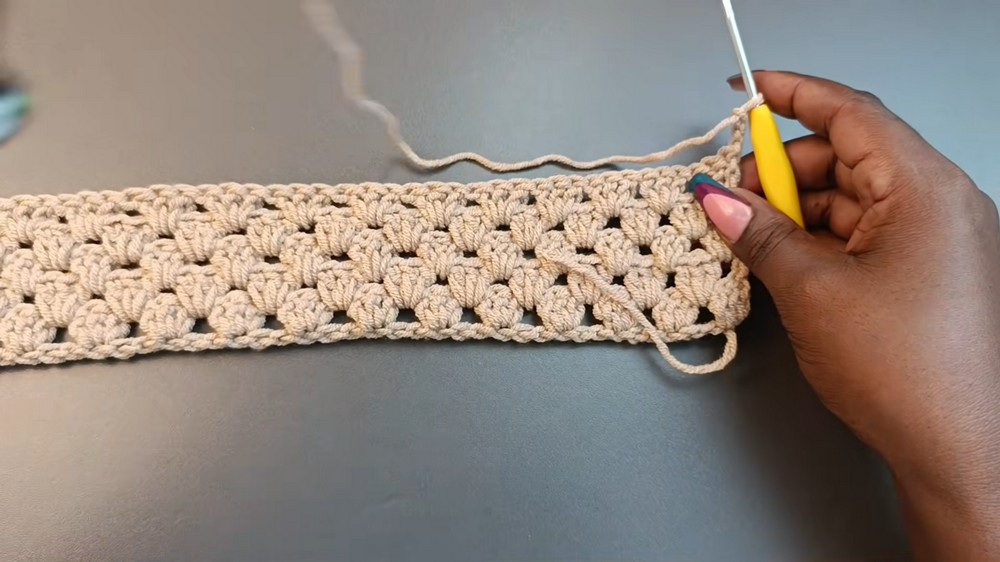
Step 2 | Row 1:
- Block off the last chain. Chain 3 (counts as 1 dc).
- Yarn over (yo), work 3 dc in the blocked-off chain.
- This forms the first granny stitch cluster.
- Yo, skip 2 chains, then work another 3 dc in the next chain.
- Repeat across the row until the end.
- Finish the row with a set of 3 dc in the last chain.
Step 3 | Row 2:
- Chain 3, turn.
- Skip the previous cluster and work 3 dc into each space between clusters across the row.
- At the end of Row 2, work 1 dc into the space between the last two dc stitches.
Step 4 | Row 3:
- Chain 3, turn. Start in the first space and work 2 dc (this, along with the chain 3, makes 3 dc).
- Continue working 3 dc clusters across the spaces as in Row 2.
- Finish the row by working 3 dc in the final space.
Step 5 | Repeat Rows:
- Repeat Row 2 for all even rows and Row 3 for all odd rows.
- Work granny cluster rows until the panel width matches 2 inches less than your thigh measurement. Example: If your thigh is 24 inches, stop when the width reaches 22 inches.
Creating Extensions for the Fly Measurement:
Step 1 | Measure and Begin the Extensions:
- Add extensions to meet the crotch/fly measurement minus 2 inches. Example: Target 10 inches instead of 12 inches.
- Count spaces/clusters from the bottom. Work 7 granny stitch clusters in the first extension row:
- Chain 3, turn, and work:
- Row 1: Begin granny stitch clusters for 7 spaces.
- Chain 3, turn, and work:
Step 2 | Work Additional Rows:
- Add 3 more extension rows (total of 4 rows).
- Joining Extensions: On the 4th row:
- Chain 3, turn, align the two sides and work sl sts to join.
- Continue granny stitch clusters, joining as you go. Finish with a single crochet.

Adding Borders to Each Leg:
Step 1 | Work Single Crochet Border:
- Starting from the bottom hem of one leg:
- Chain 1, and work alternating:
- 2 sc in one row edge.
- 1 sc in the next row edge.
- Chain 1, and work alternating:
- Repeat around the hem and sl st to join.
Step 2 | Repeat for the Second Leg:
- Complete the same sc border for the other leg hem.
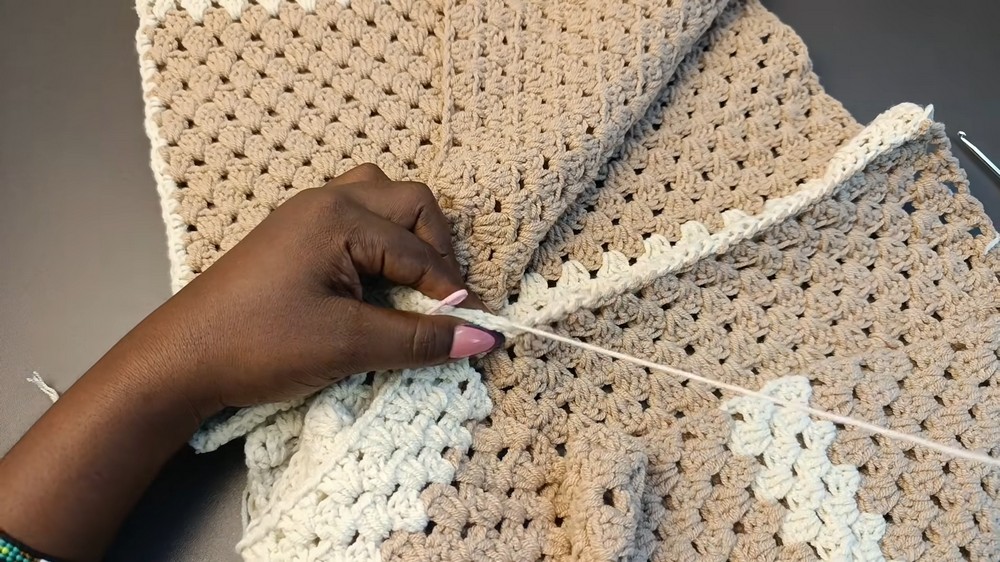
Joining the Legs Together:
Step 1 | Mark the Middle:
- Using a stitch marker, identify the center of each leg panel (the space between the second and third rows from the crotch).
- Align and temporarily pin together using stitch markers.
Step 2 | Sew or Crochet the Seam:
- Use a darning needle or sl st join to connect the two panels at the crotch, ensuring alignment.
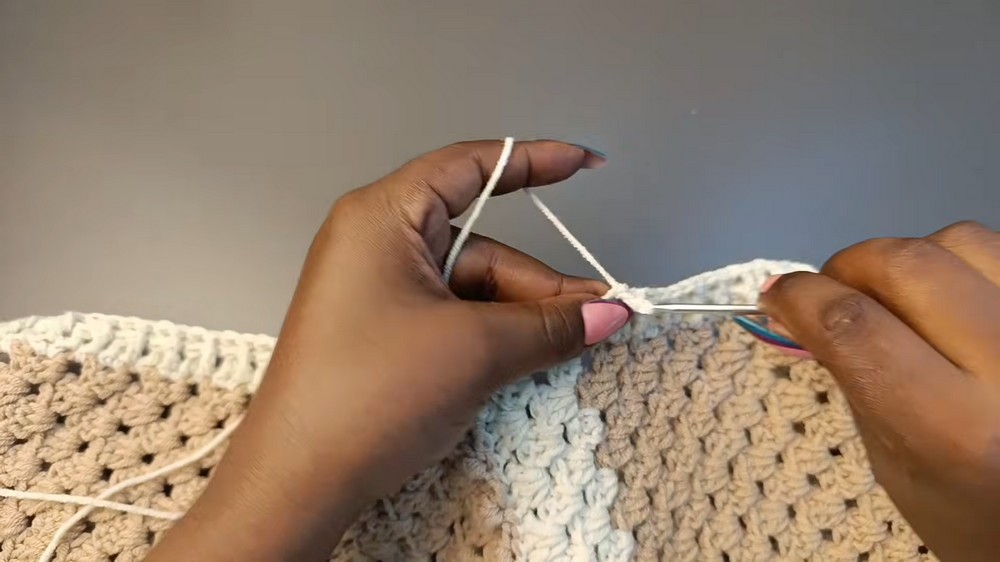
Creating the Waistband:
Step 1 | Single Crochet Foundation:
- Starting at the top, work alternating:
- 2 sc per row edge.
- 1 sc per row edge.
- Continue around the perimeter of the waistband and sl st to join.
Step 2 | Ribbed Waistband in Front and Back Post Double Crochet:
- Begin by chaining 3.
- Alternate between:
- Front post dc around the next stitch.
- Back post dc around the following stitch.
- Continue FPDC and BPDC rounds for a total of 4 rounds (or desired waistband height).
Adding the Drawstring:
- Create a drawstring with 200 chains.
- Weave the drawstring through the waistband stitches to complete the shorts.
Finishing Techniques:
- Secure all loose ends by weaving them in with a darning needle.
- Check alignment and measurements one final time.
- Optional: Steam block the shorts for a polished finish.