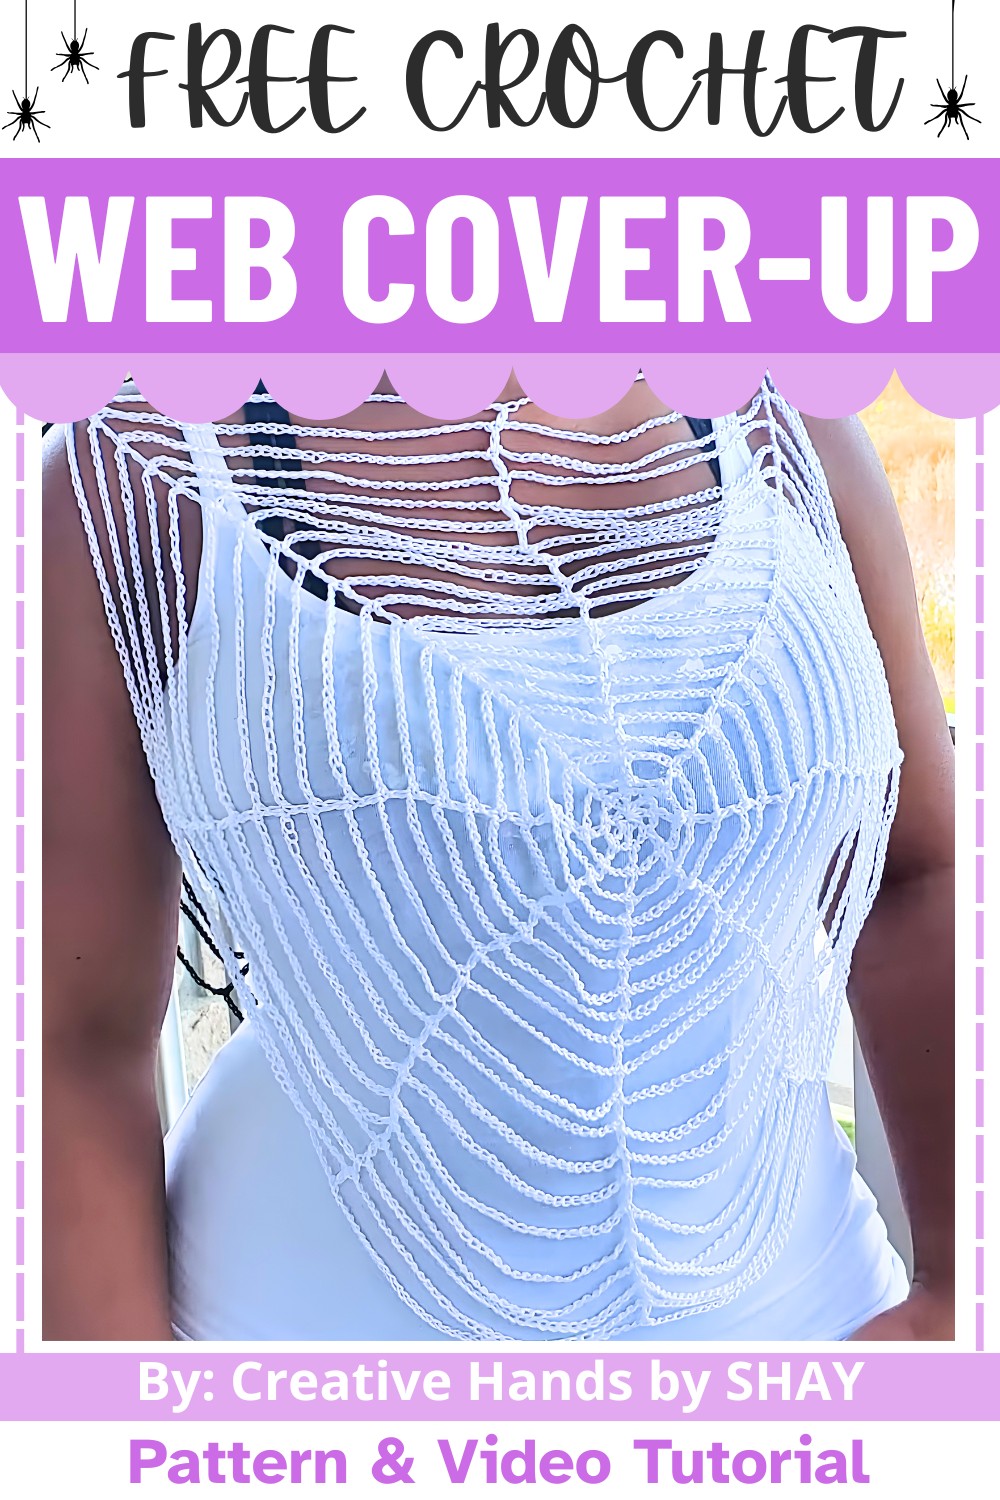
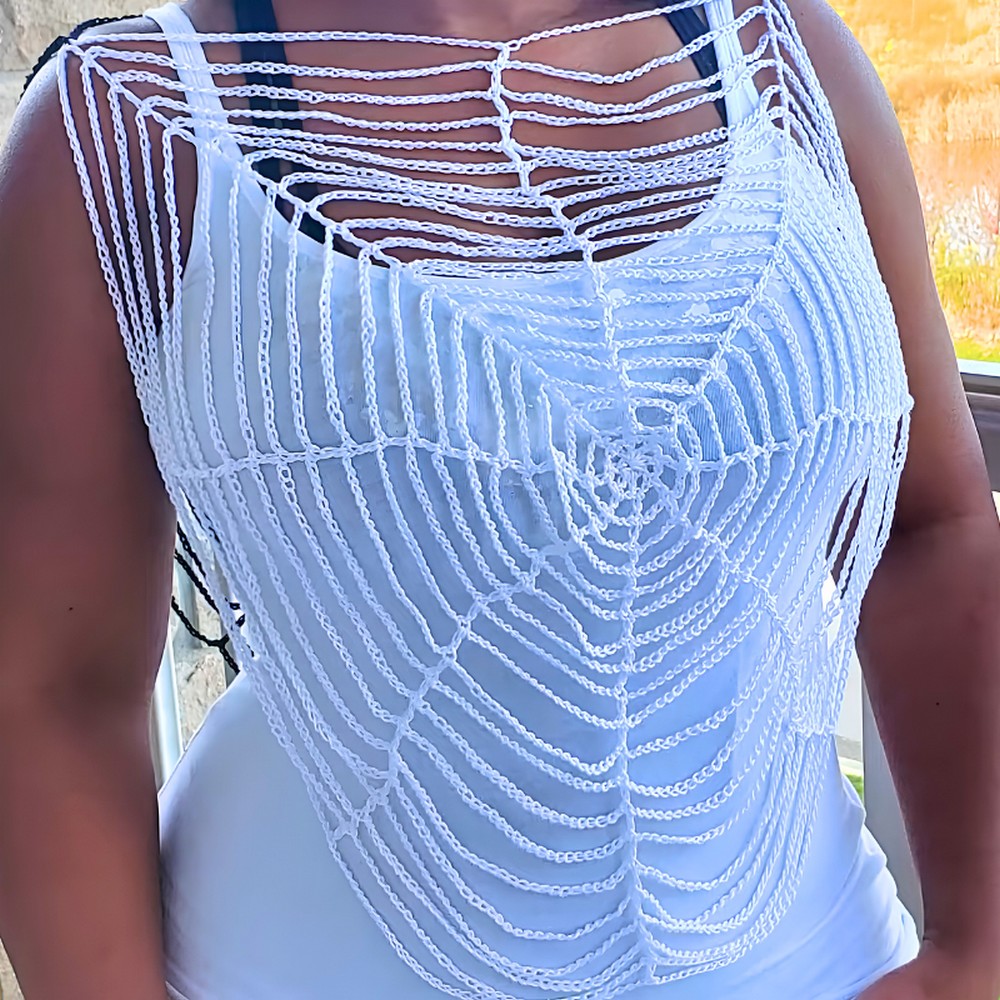
A crochet spider web usually belongs in decorations, yet this cover-up turns that familiar Halloween image into something light and wearable. The beauty of the piece comes from its airy appearance and the way it adds seasonal character without feeling overdone. It feels less like a costume item and more like a handmade creation with its own personality. The complete crochet pattern below reveals what gives this design its unmistakable charm.
Crochet Spider Web Cover
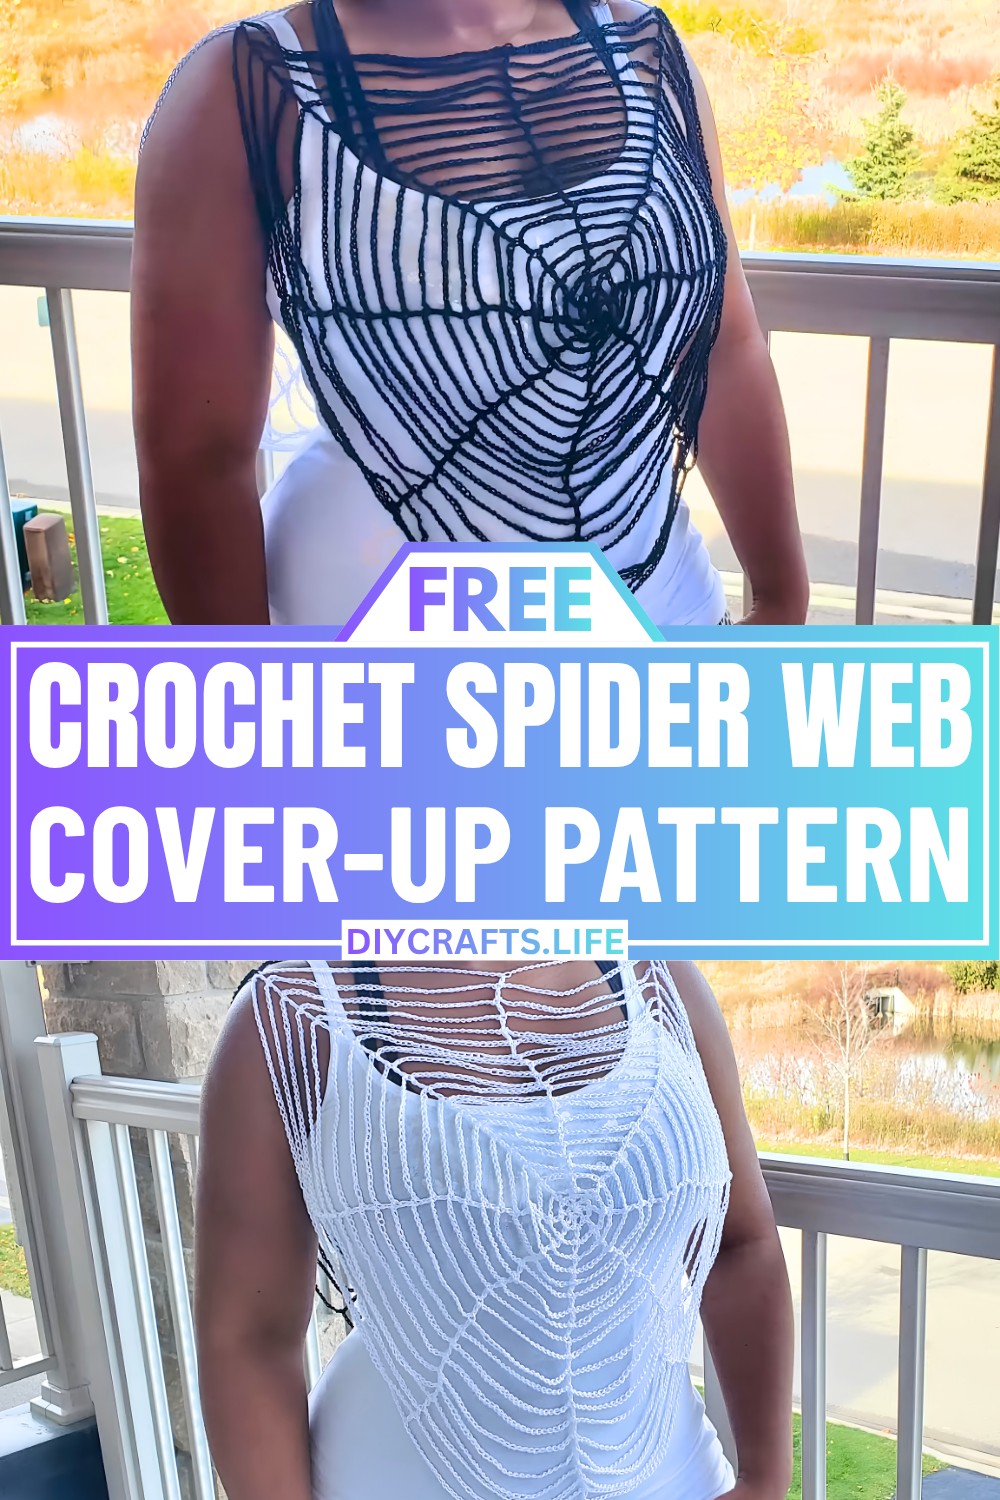
One of the most enjoyable parts of this crochet piece is seeing a playful idea become something you can actually reach for and wear. Every finished version carries a slightly different mood, which makes the experience feel personal from start to finish. The tutorial expands on those details and brings the full character of the design to life. By exploring the rest of the post, readers gain both inspiration and a memorable crochet piece to create for the season.
Credit Creative Hands by SHAY
Materials & Tools Needed
-
Yarn/Thread: Aunt Lydia's Fashion 3 Crochet Thread (Size 3 weight).
-
Note: The tutorial uses one ball of Black and one ball of White to create a reversible look. If making a solid color, you will need approximately 2 balls/skeins.
-
-
Crochet Hook: 3.5 mm.
-
Additional Notions: Stitch marker, scissors, yarn needle for weaving in ends.
Finished Size & Customization Ideas
-
Sample Size: The creator crochets each panel up to 20 rounds, which fits as a standard adult poncho-style cover-up.
-
Customization: Because the pattern expands evenly on an 8-spoke radial grid, you can continue adding rounds past round 20 to make it larger or stop earlier for a children's size. You can also make it a single solid color instead of a two-tone reversible piece.
Pattern Abbreviations & Terminology
-
ch: Chain
-
dc: Double Crochet
-
sl st: Slip Stitch
-
sp: Space
-
st(s): Stitch(es)
-
* to *: Repeat instructions between asterisks around the entire row.
Step-by-Step Detailed Crochet Instructions
Make two identical circular panels (the tutorial features one panel in white and one panel in black).
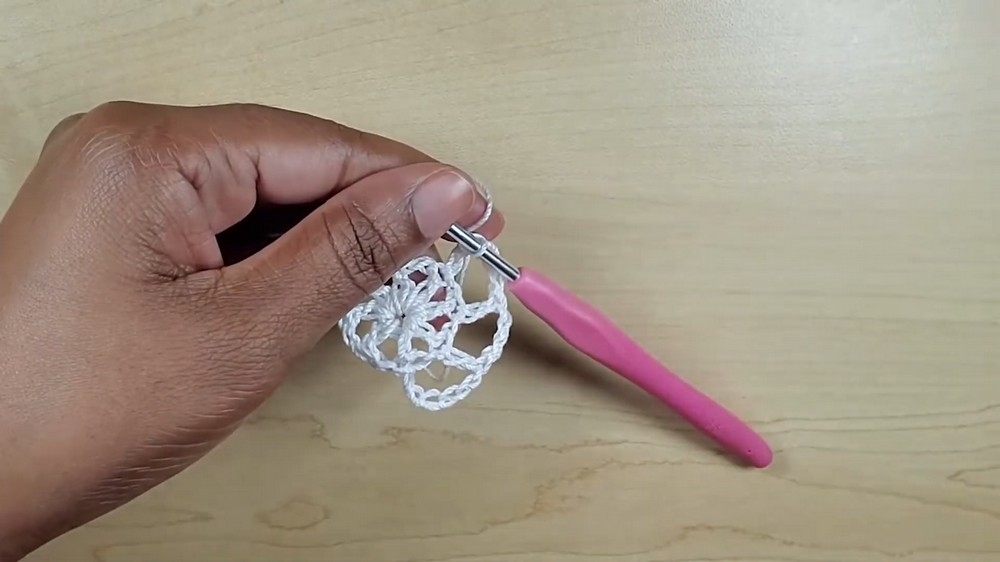
Round 1
-
Form a slip knot and pull up a loop on your hook.
-
Chain 4. Insert your hook back into the very first chain made and work a slip stitch to join into a small foundation ring.
-
Chain 4 (this counts as your first double crochet and a chain-1 space).
-
Yarn over, insert hook into the center of the ring, and work 1 double crochet. Chain 1.
-
Repeat step 4 until you have placed 7 double crochets into the center ring, working over your starting yarn tail as you go to secure it.
-
To finish the round, locate the initial ch-4, count up to the 3rd chain, and work a slip stitch into it to close.
-
Pull your starting yarn tail firmly to close up the open space in the center of the ring.
-
Stitch Count: 8 double crochet "spokes" separated by 8 ch-1 spaces.
Round 2
-
Chain 6 (this counts as your first double crochet and a chain-3 separation space).
-
*Yarn over, insert your hook directly into the top loops of the next double crochet stitch from the previous round, and work 1 double crochet. Chain 3.
-
Repeat the instructions between the asterisks inside each double crochet spoke all the way around the circle.
-
Join the round by inserting your hook into the 3rd chain of the beginning ch-6 and working a slip stitch.
-
Stitch Count: 8 double crochet spokes separated by 8 ch-3 spaces.
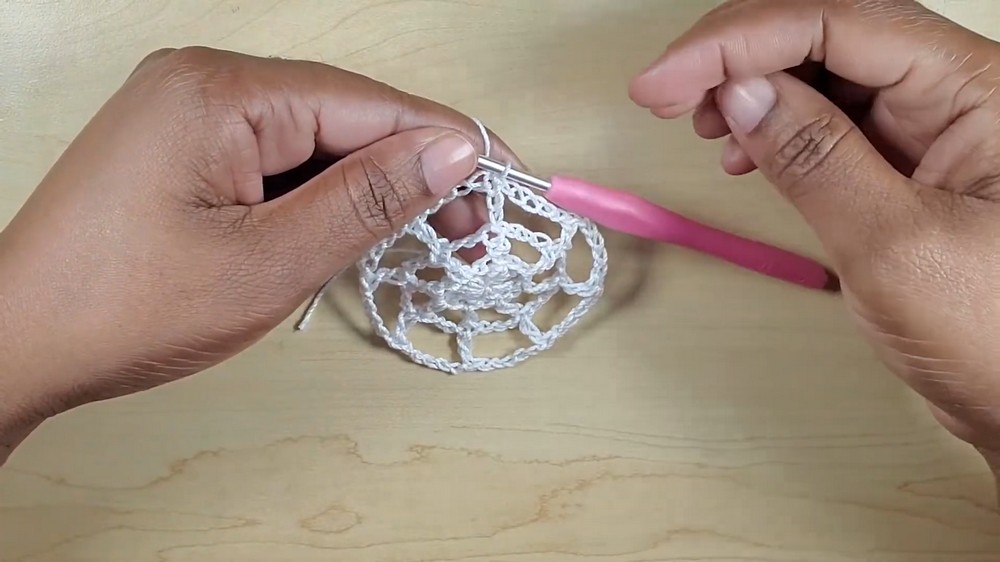
Round 3
-
Chain 8 (this counts as your first double crochet and a chain-5 separation space).
-
*Work 1 double crochet directly into the top loops of the next double crochet spoke, then chain 5.*
-
Repeat between * around the row.
-
Join the round by working a slip stitch into the 3rd chain of your starting ch-8.
-
Stitch Count: 8 double crochet spokes separated by 8 ch-5 spaces.
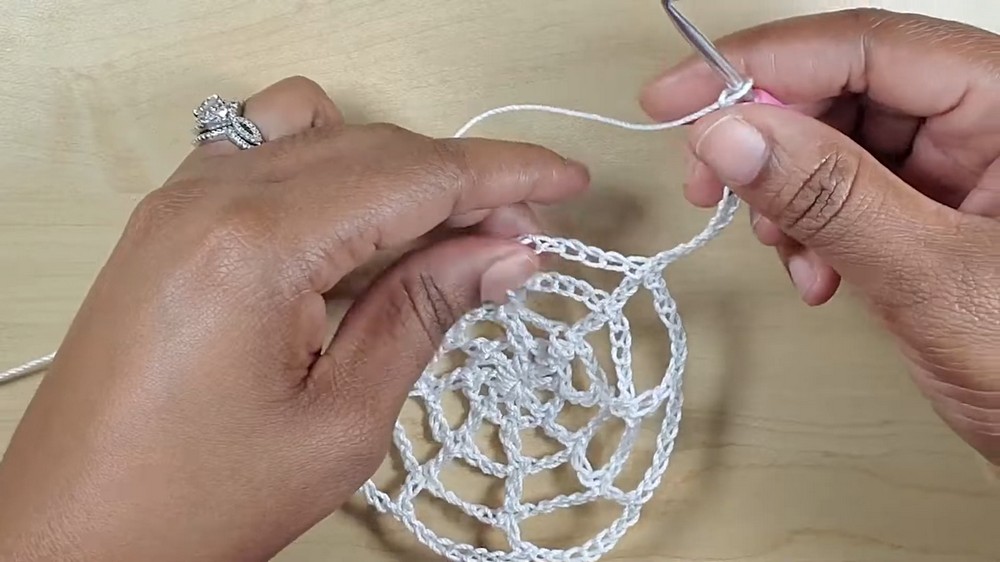
Round 4
-
Chain 10 (this counts as your first double crochet and a chain-7 separation space).
-
Work 1 double crochet into the top of the next double crochet spoke, then chain 7.
-
Repeat around the row.
-
Join the round by working a slip stitch into the 3rd chain of your starting ch-10.
-
Stitch Count: 8 double crochet spokes separated by 8 ch-7 spaces.
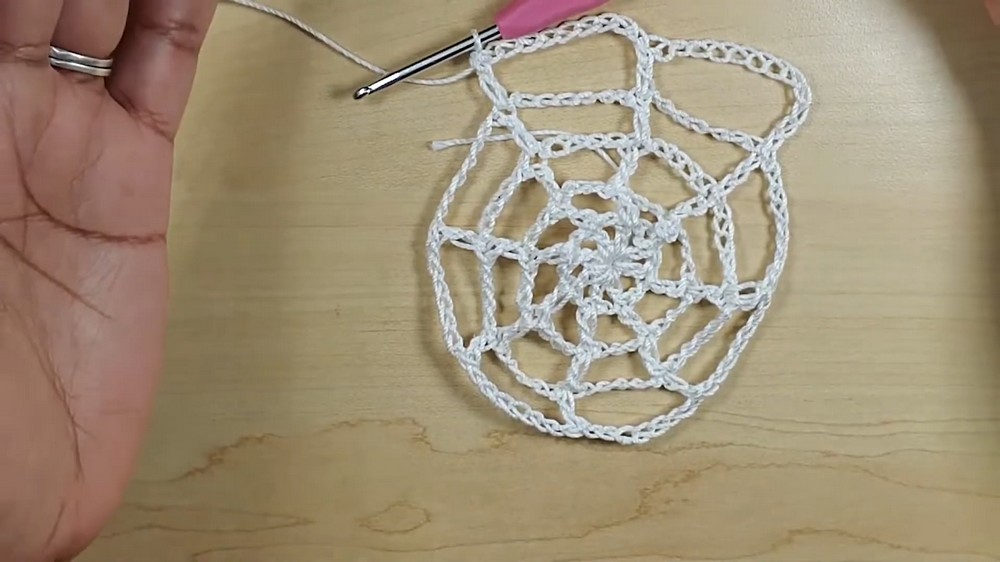
Round 5
-
Chain 12 (this counts as your first double crochet and a chain-9 separation space).
-
*Work 1 double crochet into the top of the next double crochet spoke, then chain 9.*
-
Repeat between * around the row.
-
Join the round by working a slip stitch into the 3rd chain of your starting ch-12.
-
Stitch Count: 8 double crochet spokes separated by 8 ch-9 spaces.
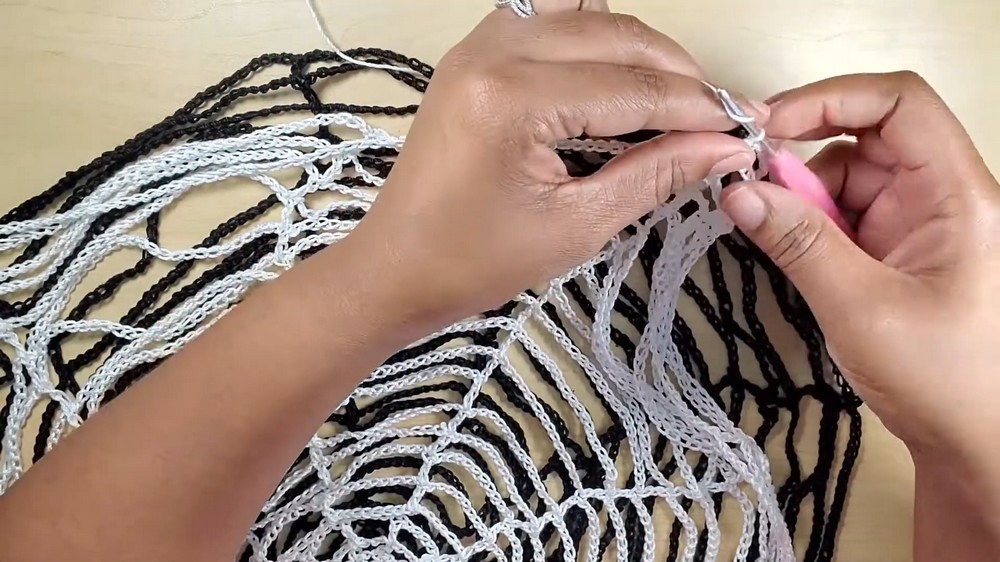
Rounds 6 through 20 (Incremental Growth Progression)
The mathematics of the web follows a uniform formula: Every round, add 2 chains to the starting chain up, and add 2 chains to the separation spaces. The number of double crochet spokes stays exactly at 8.
-
Round 6: Ch 14 to start. *1 dc, ch 11* around. Sl st to join.
-
Round 7: Ch 16 to start. *1 dc, ch 13* around. Sl st to join.
-
Continue this pattern line by line up to Round 20.
- Round 20 Completion: Cut the yarn thread, pull it through the remaining loop to create a knot, and fasten off.
Assembly & Finishing Technique
-
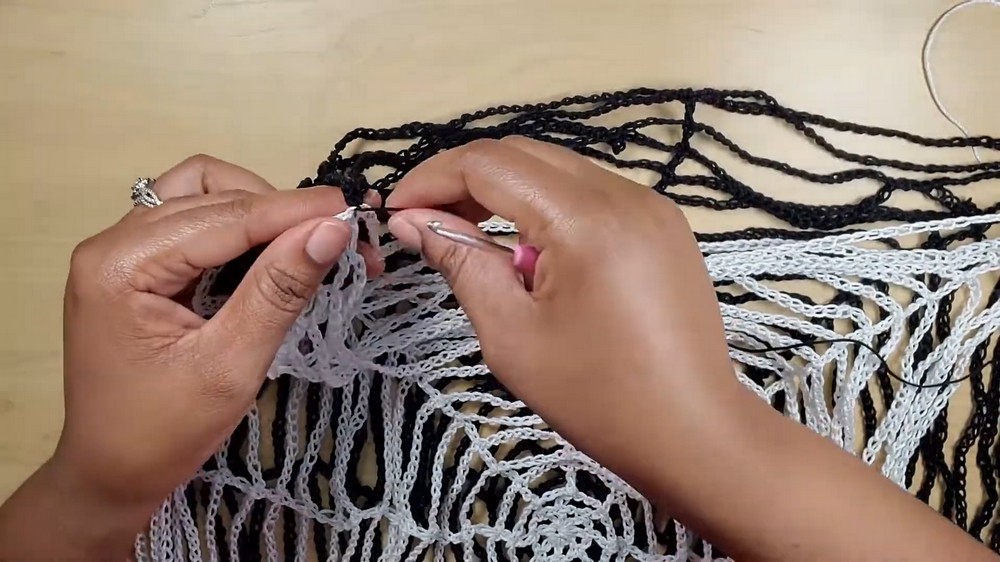
Blocking & Placement: Lay your two completed circular web panels flat on top of each other, aligning the radial double crochet spokes so they match perfectly.
-
First Shoulder Join: Choose an outer spoke along the edge where you want the shoulder line to connect. Insert your hook through the top stitches of both panels simultaneously.
-
Draw up a loop of your matching yarn color, work a slip stitch through both panels to secure them together, and chain 1. Cut the yarn and pull tight to knot.
-
Second Shoulder Join: Move to the exact opposite side of the circle, aligning the corresponding spoke. Repeat the same joining process (insert hook through both panels, sl st, ch 1, and fasten off).
-
Neckline Opening: The unjoined space left open between these two shoulder connections creates the boat-neck opening for your head.
-
Finishing: Thread your loose yarn tails onto a needle and weave them securely into the surrounding stitches. Clip off any excess thread clean to the fabric. Your reversible cover-up is ready to wear.