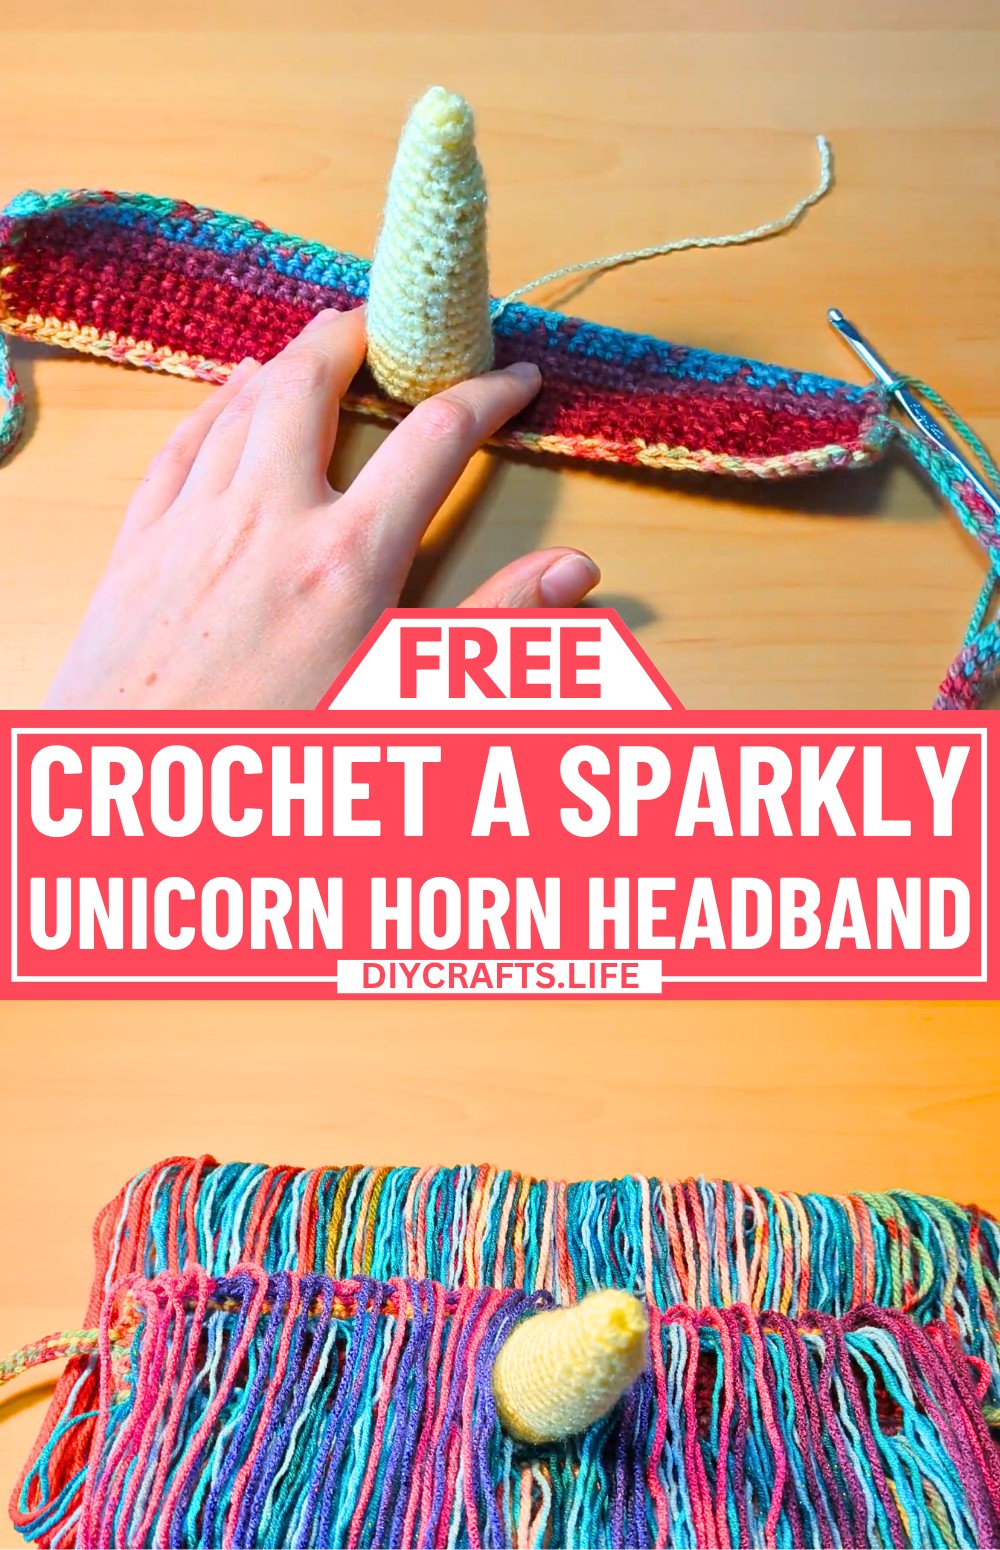
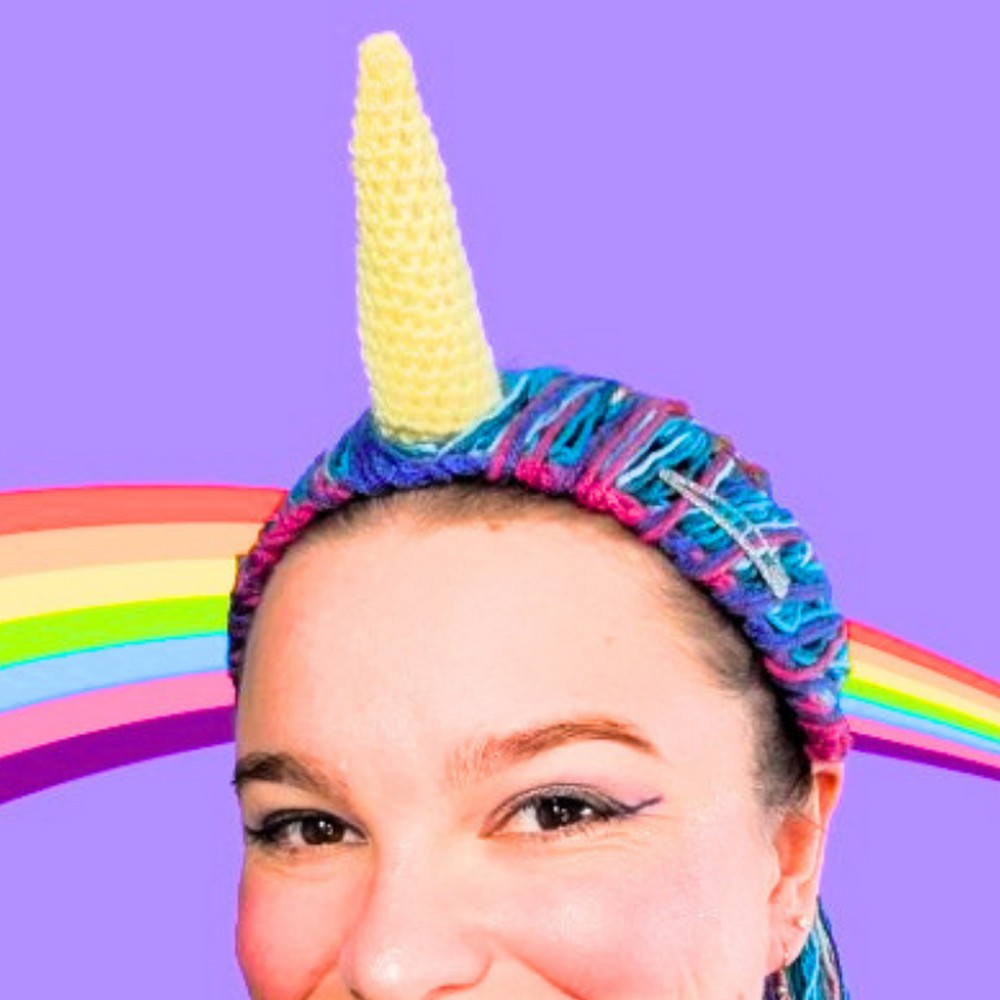
This unicorn costume headband is a delightful crochet item that's perfect for Halloween or any dress-up occasion. It showcases a vibrant, glittering horn, playful, and a snug-fitting headband that ties comfortably around your head. This charming accessory brings a sprinkle of magic to your outfit, whether paired with a tutu, a sparkly top, or any colorful look from your wardrobe. This whimsical piece is a versatile, wearable treasure for both kids and adults.
Crochet Unicorn Horn Headband
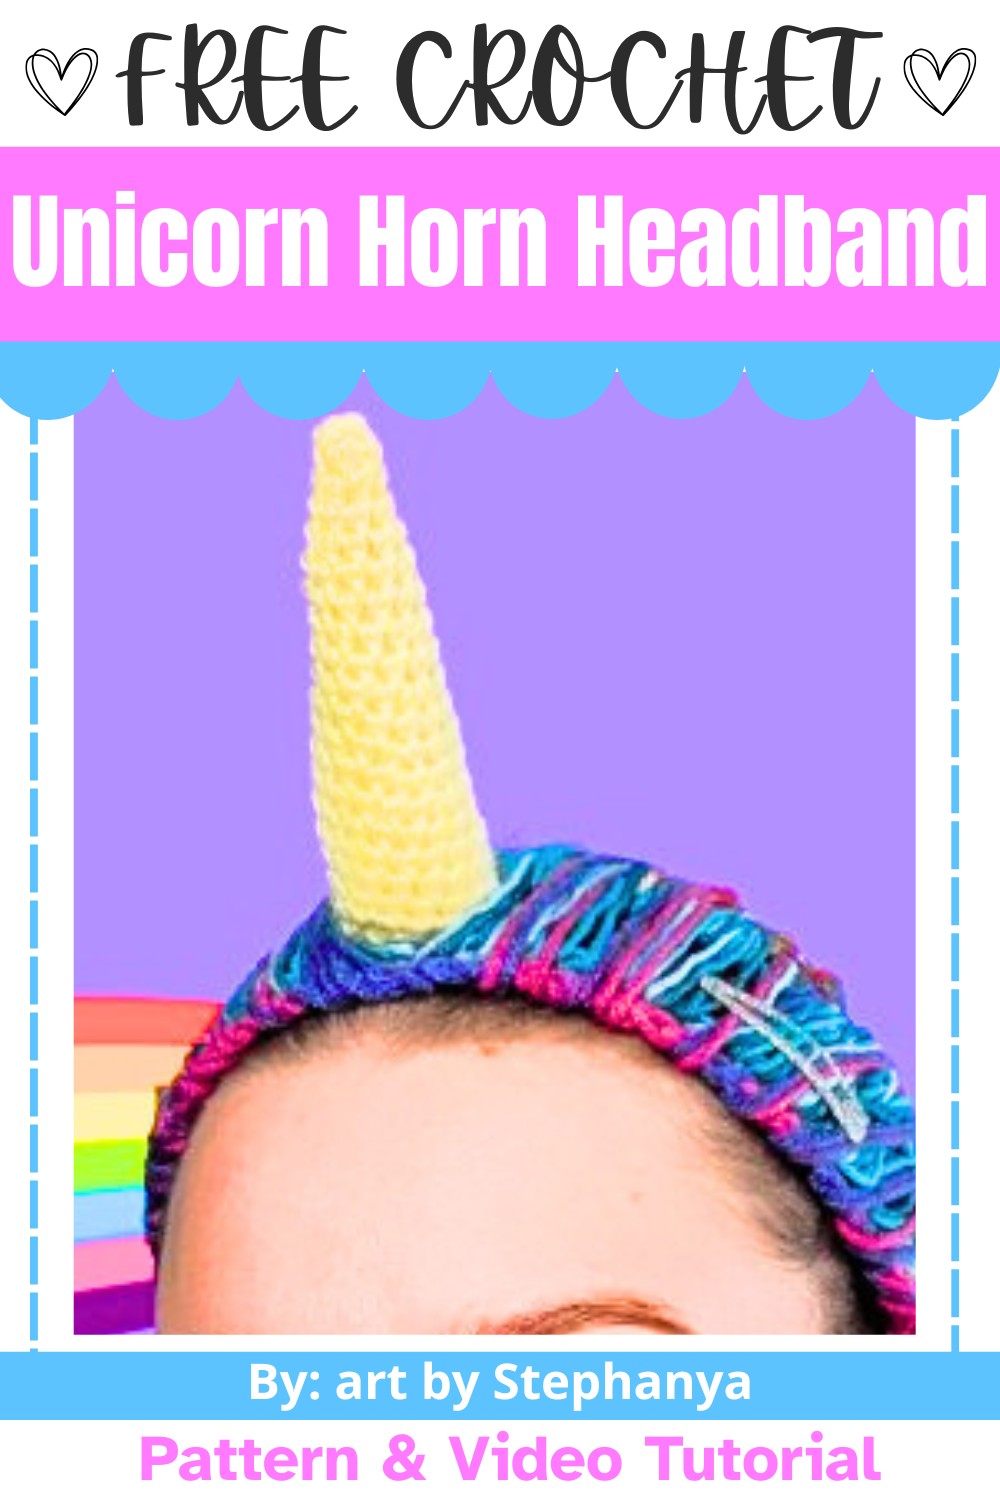
You’ll crochet a cone-shaped horn using sparkly yellow yarn and add multicolored “hair” along the band. A crochet headband underneath ties into place, making it adjustable and comfortable to wear. It’s a great way to use leftover yarn or experiment with new colors. This beginner-friendly idea can be customized with any color you choose, letting you create your unique unicorn look in just a couple of hours.
Credit art by Stephanya
Materials and Tools Needed
- Yarn:
- Yellow yarn with a bit of sparkle (for the horn).
- Any variegated or multi-colored yarn scraps (for the hair mane).
- Optional: Blue sparkly variegated yarn or any other color (to add layers of hair).
- Hook: 4 mm crochet hook.
- Stuffing: Polyester fiberfill for the horn.
- Other Supplies:
- Scissors.
- Yarn needle (for sewing the horn and weaving in ends).
- Sparkly clips (optional, for securing the headband).
Finished Size & Customization Ideas
- Headband Length: Approx. 45 chain stitches or long enough to fit across the head (adjustable for different head sizes).
- Horn Size: Small, pointy cone approximately 3–4 inches tall.
- Custom Options: Use brighter or pastel yarns for the mane. Mix textures (e.g., glitter or metallic yarn). Skip the horn to make it a "mane-only" whimsical accessory.
Pattern Abbreviations & Terminology
- St(s) = Stitch(es).
- Ch = Chain.
- SC = Single Crochet.
- Sl St = Slip Stitch.
- Inc = Increase (2 SC into one stitch).
- Dec = Decrease (SC two stitches together).
- MC = Magic Circle.
- All instructions are in US Terminology.
Step-by-Step Detailed Crochet Instructions
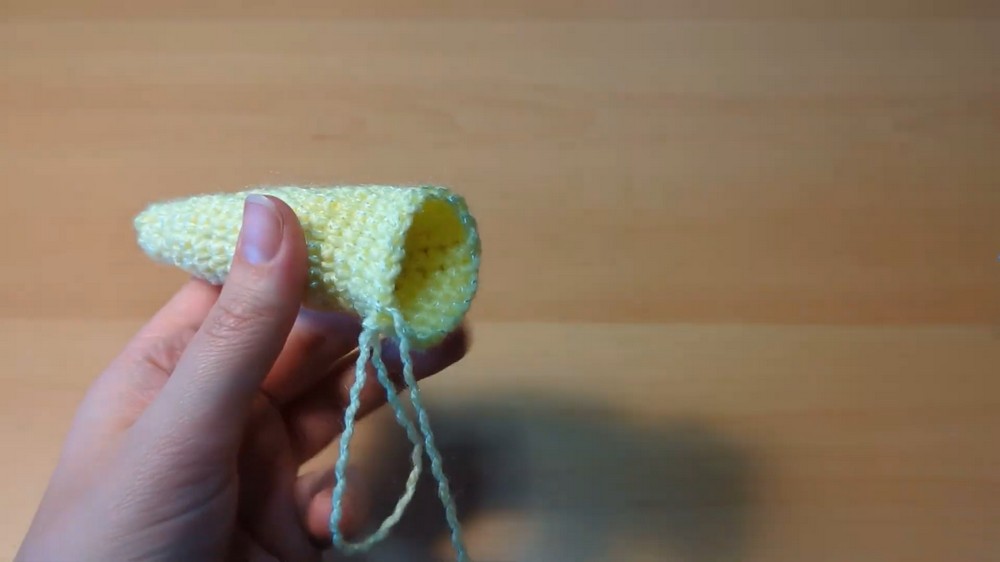
1. Unicorn Horn
- Start the Horn Base (Round 1):
- Using yellow sparkly yarn, create a magic circle (MC) and crochet 6 SC into the circle.
- Pull the circle tight and join with a Sl St.
- Form the Cone Shape (Rounds 2–5):
- Round 2: Place an Inc in the first stitch, then SC into each of the remaining stitches. (7 sts total).
- Round 3: Inc in the first stitch, SC in the next 6 stitches. (8 sts total).
- Round 4: Inc in the first stitch, SC in the next 7 stitches. (9 sts total).
- Round 5: Repeat the pattern of Inc followed by SC to continue the gradual widening (10 sts total).
- Add Length Without Width (Rounds 6–7):
- SC into each stitch around without increasing.
- Stuff the Horn:
- Firmly stuff the horn with polyester fiberfill (use the end of the crochet hook to push it deep into the tip).
- Close the Horn (Rounds 8+):
- Begin Dec rounds using SC two stitches together until the opening closes.
- Fasten Off:
- Weave in the ends securely.
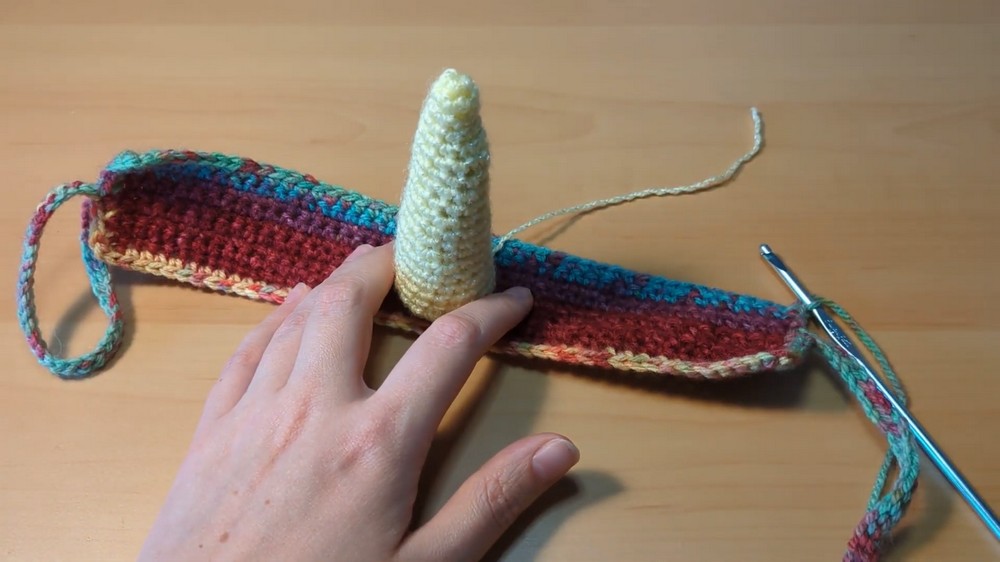
2. Headband Base
- Chain the Headband Length:
- With variegated yarn, chain 45 stitches (or an appropriate length to fit across your head).
- Add Thickness to the Headband:
- Turn and SC along each chain stitch. Repeat for several rows until the headband feels sturdy (approx. 3–4 rows).
- Add Straps to Secure the Headband:
- Move to the center of the headband. Chain a long strap (approx. 20-25 stitches).
- Slip Stitch back into each chain to add thickness to the strap. Fasten off and repeat on the other side.
- Weave Ends:
- Once complete, weave in any loose ends.
3. Rainbow Mane
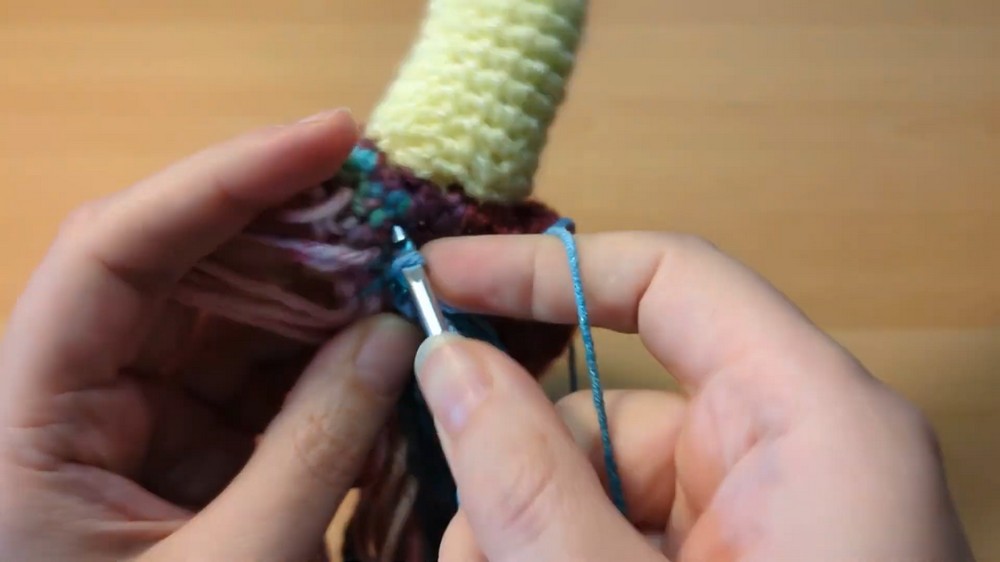
- Attach Yarn for Mane:
- Choose your mane colors (variegated or solid). Start near one end of the headband.
- Add Hair Loops:
- Insert the hook into a stitch, yarn over with a long length of yarn, and pull through. Yarn over again and finish the SC.
- Leave a long loop for the "mane" and skip a stitch before repeating the process.
- Continue Along the Headband:
- Work the loops across one side of the headband. Use varying colors for a rainbow effect or keep it monochromatic.
- Layer Additional Hair:
- Repeat the loop method for extra rows if desired, focusing on the edges to give volume.
4. Assembly
- Attach the Horn:
- Sew the horn to the center of the headband using a yarn needle and matching yarn. Make sure it is secure.
- Final Mane Adjustments:
- Add more layers of hair loops if needed to fill any gaps.
- Customize with Finishing Touches:
- Trim or fluff the mane to the desired length. Optionally, add clips or embellishments to finish your design.
Finishing Techniques
- Styling: Tie the headband securely around your head. If you have leftover mane hair, gather it into a high ponytail with your real hair.
- Final Costume Look: Pair this headband with sparkly or rainbow-themed clothing for the ultimate unicorn effect.