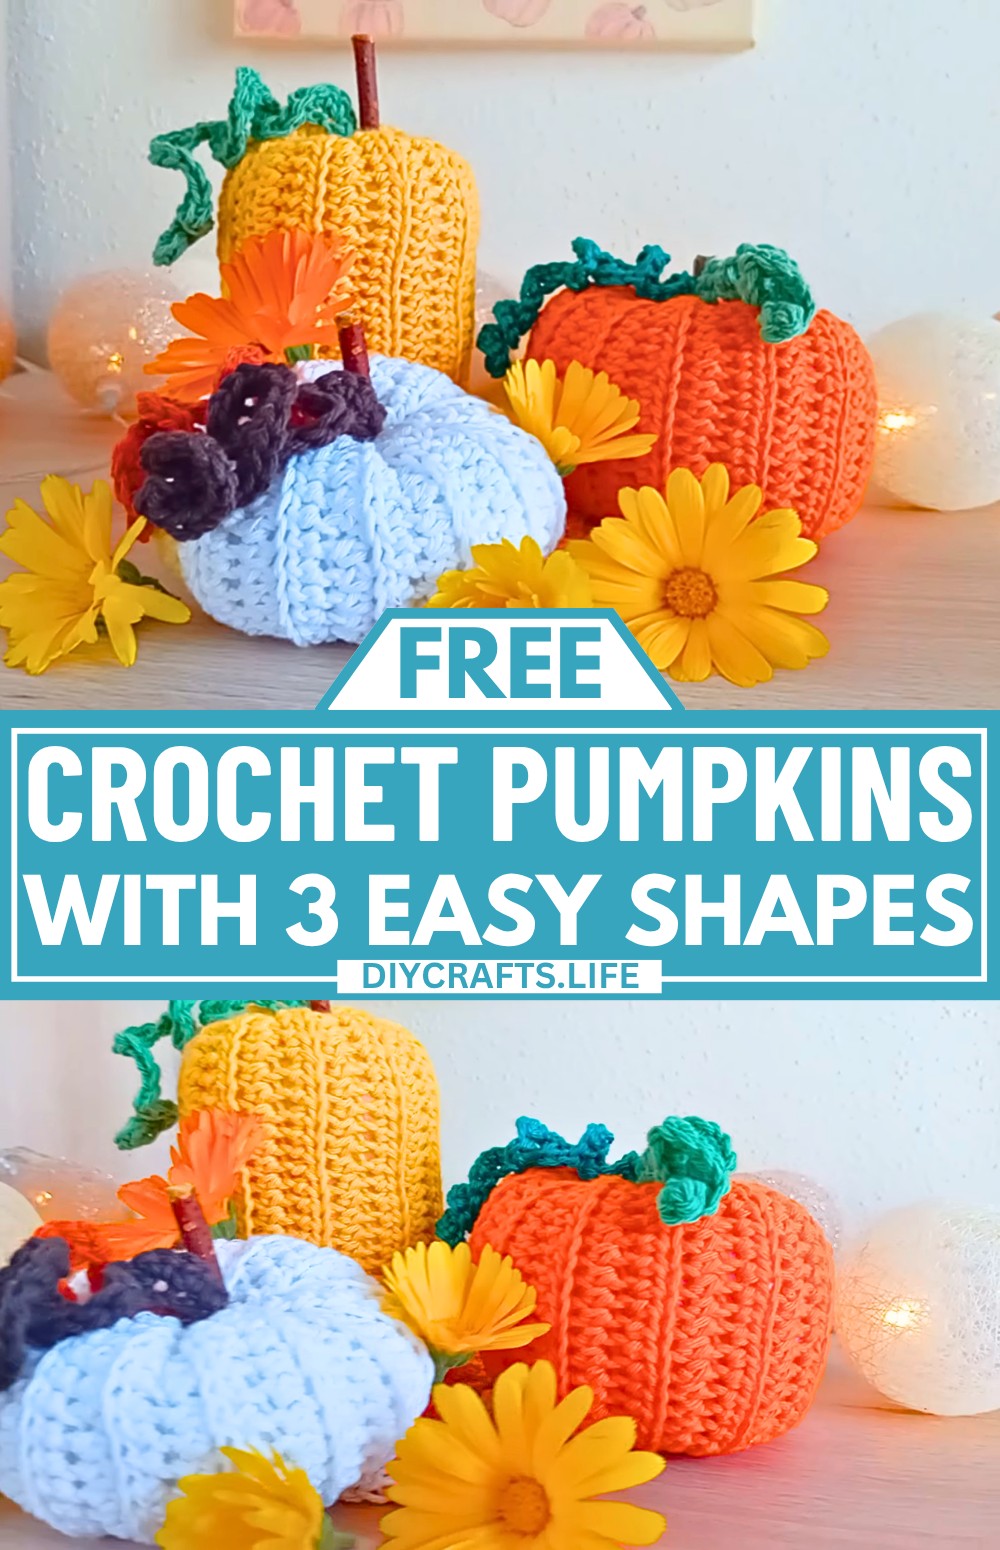
These Crochet pumpkins are the perfect decoration for cozy spaces. Whether for fall, Halloween, or just adding a touch of charm to your room, these soft, handmade crochet pumpkins bring warmth and cuteness into your home. You can make them exactly how you like, tall, round, or flat, using this beginner-friendly tutorial. These crochet pumpkins look great on shelves, tables, or even as part of a centerpiece.
Friendly Crochet Pumpkins
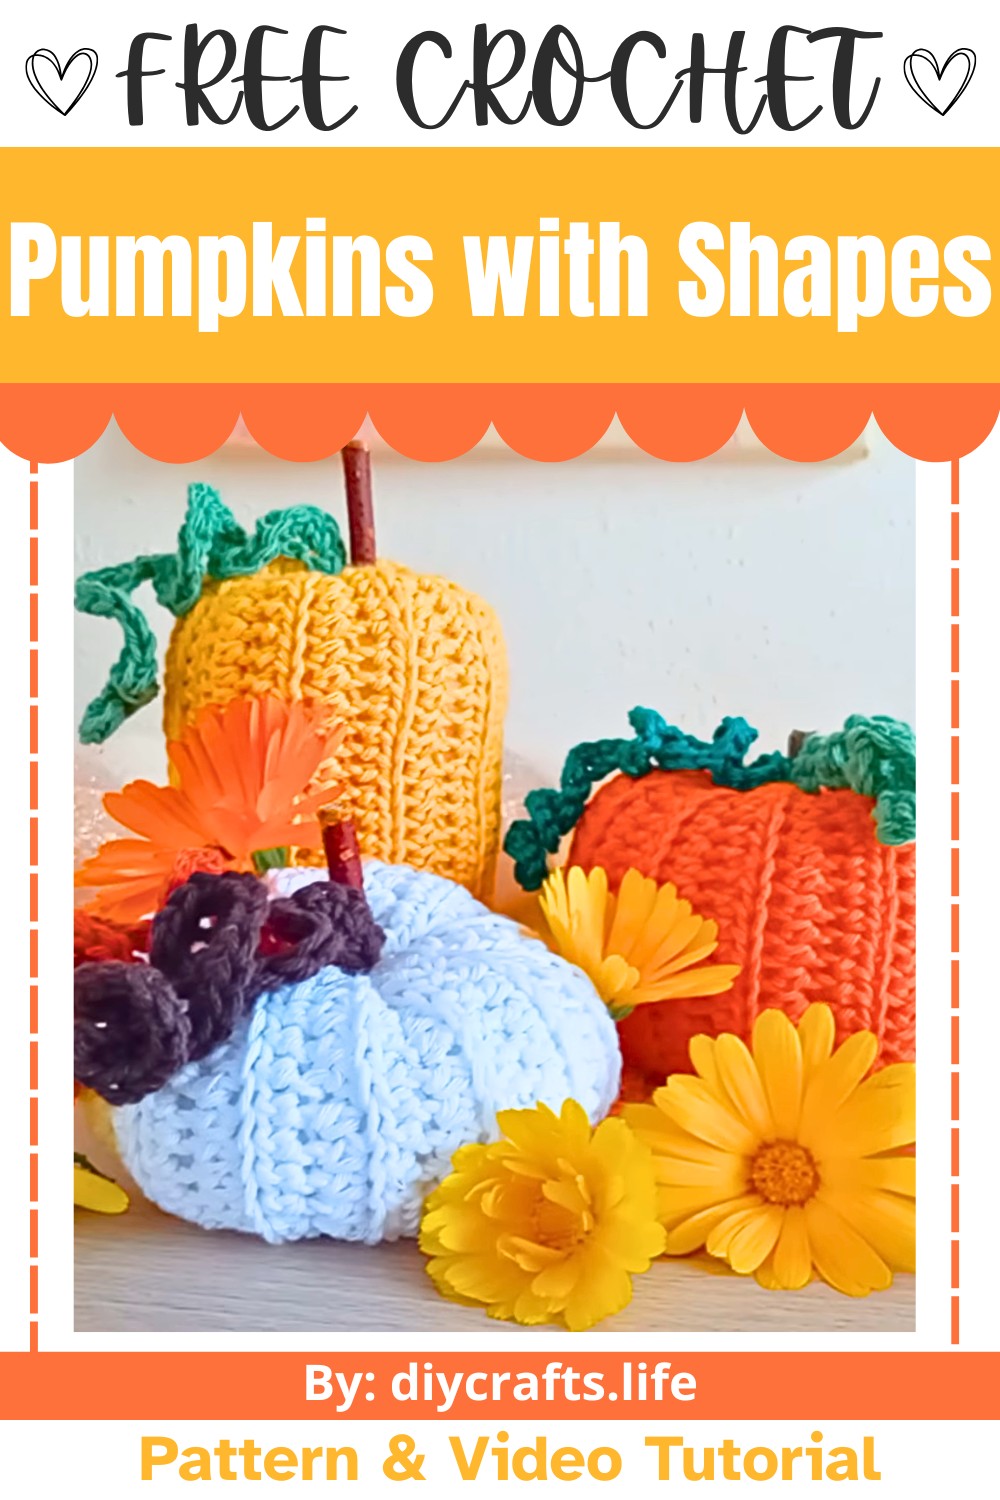
This tutorial shows you how to crochet pumpkins step-by-step, offering three easy variations to suit your style. From creating the pumpkin’s signature ribbed texture to finishing it with fun details like spirals and a wooden stem, it’s a simple and fun way to start crocheting. No complex techniques, just basic stitches and creativity. So grab your favorite yarn colors, a small piece of wood for the stem, and some stuffing, and watch your pumpkin take shape. It’s a rewarding way to learn something new and make something beautiful at the same time.
Credit chaikasea
Materials and Tools Needed
Here’s what you’ll need to crochet the pumpkin:
- Orange-colored yarn (or another color for the body of your pumpkin).
- Green-colored yarn (for the leaf spirals).
- A small piece of wood (for the pumpkin stem).
- Fiberfill or stuffing material (to stuff the pumpkin).
- Crochet hook (size compatible with your yarn 4.0).
- Scissors.
- Needle (to sew the piece together).
- Hot glue gun (optional, for attaching the spirals and stem).
Finished Size & Customization Ideas
The finished pumpkin featured in the video tutorial is small and round, perfect for decorative purposes. To customize:
- Flat pumpkin: Use fewer chains at the start and work fewer rows (exact chains/rows specified in the video).
- Round pumpkin: Stick to the tutorial’s instructions for the chains and rows.
- Longer pumpkin: Increase the initial chain count and the number of rows.
Pattern Abbreviations & Terminology
This tutorial uses standard crochet abbreviations:
- Ch: Chain.
- HDC: Half Double Crochet.
- Sc: Single Crochet.
- Back Loops Only (BLO): Work stitches into the back loops only, not both loops.
Crochet terminology is written in US terms.
Step-by-Step Detailed Crochet Instructions
Below is an exact breakdown of the instructions shared in the video.
Pumpkin Body
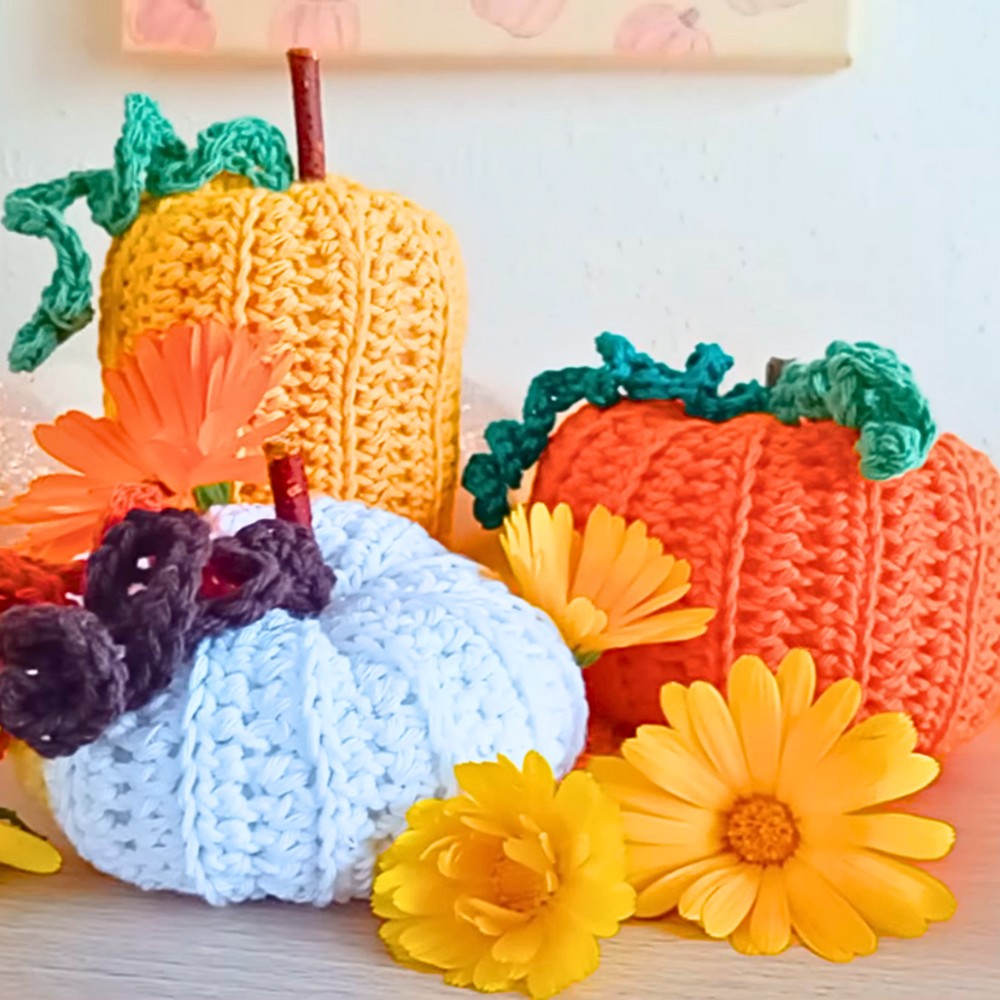
- Foundation Chain:
- Start with a slip knot.
- Chain 32.
- Row 1:
- Work HDC starting in the third chain from the hook.
- Continue making HDCs across the row. (31 HDCs total).
- Row 2:
- Chain 2, turn your work.
- Work HDC into the back loops only (BLO) across the row.
- For the last stitch, work a normal HDC (under both loops).
- Repeat Rows 2:
- Chain 2, turn your work.
- Continue working rows of HDC (BLO) until you complete 19 rows in total.
Finishing the Body:
- Once you've completed all rows, chain 1, cut the yarn, and leave a long tail for sewing.
- Use the yarn needle to sew the two short edges of the rectangle together. This will create a tube shape.
- Take one opening of the tube and weave the yarn tail through all the stitches on the edge. Pull tightly to cinch it closed.
- Stuff the pumpkin generously with fiberfill/stuffing material.
- Repeat the cinching process on the other side to close the pumpkin, making sure it's securely stuffed.
- To shape the pumpkin:
- Insert the yarn needle from the bottom to the top of the pumpkin, pulling tight to create the characteristic indented pumpkin shape.
- Secure by tying a knot, and hide the yarn ends by inserting them into the body of the pumpkin.
Pumpkin Leaf Spirals
- Foundation Chain:
- Use the green yarn to make a slip knot.
- Chain 26.
- Single Crochet Spiral:
- Work SC into the first chain.
- Work another SC into the same chain.
- Continue working 2 SCs into each chain across. This creates the curly spiral.
- At the end of the chain:
- Chain 1, cut the yarn, and secure.
- Knot the two ends of the spiral together.

Final Assembly
- Attach the Spiral:
- Use a glue gun to attach the spiral to the top of the pumpkin. Press lightly for a few seconds to secure.
- Attach the Stem:
- Apply hot glue to the middle of the spiral.
- Add the small piece of wood (stem) and press to secure it.
Customization Notes
To adjust the size of the pumpkin:
- Smaller pumpkin: Reduce the starting chain and the number of rows.
- Larger pumpkin: Increase the number of chains and rows.