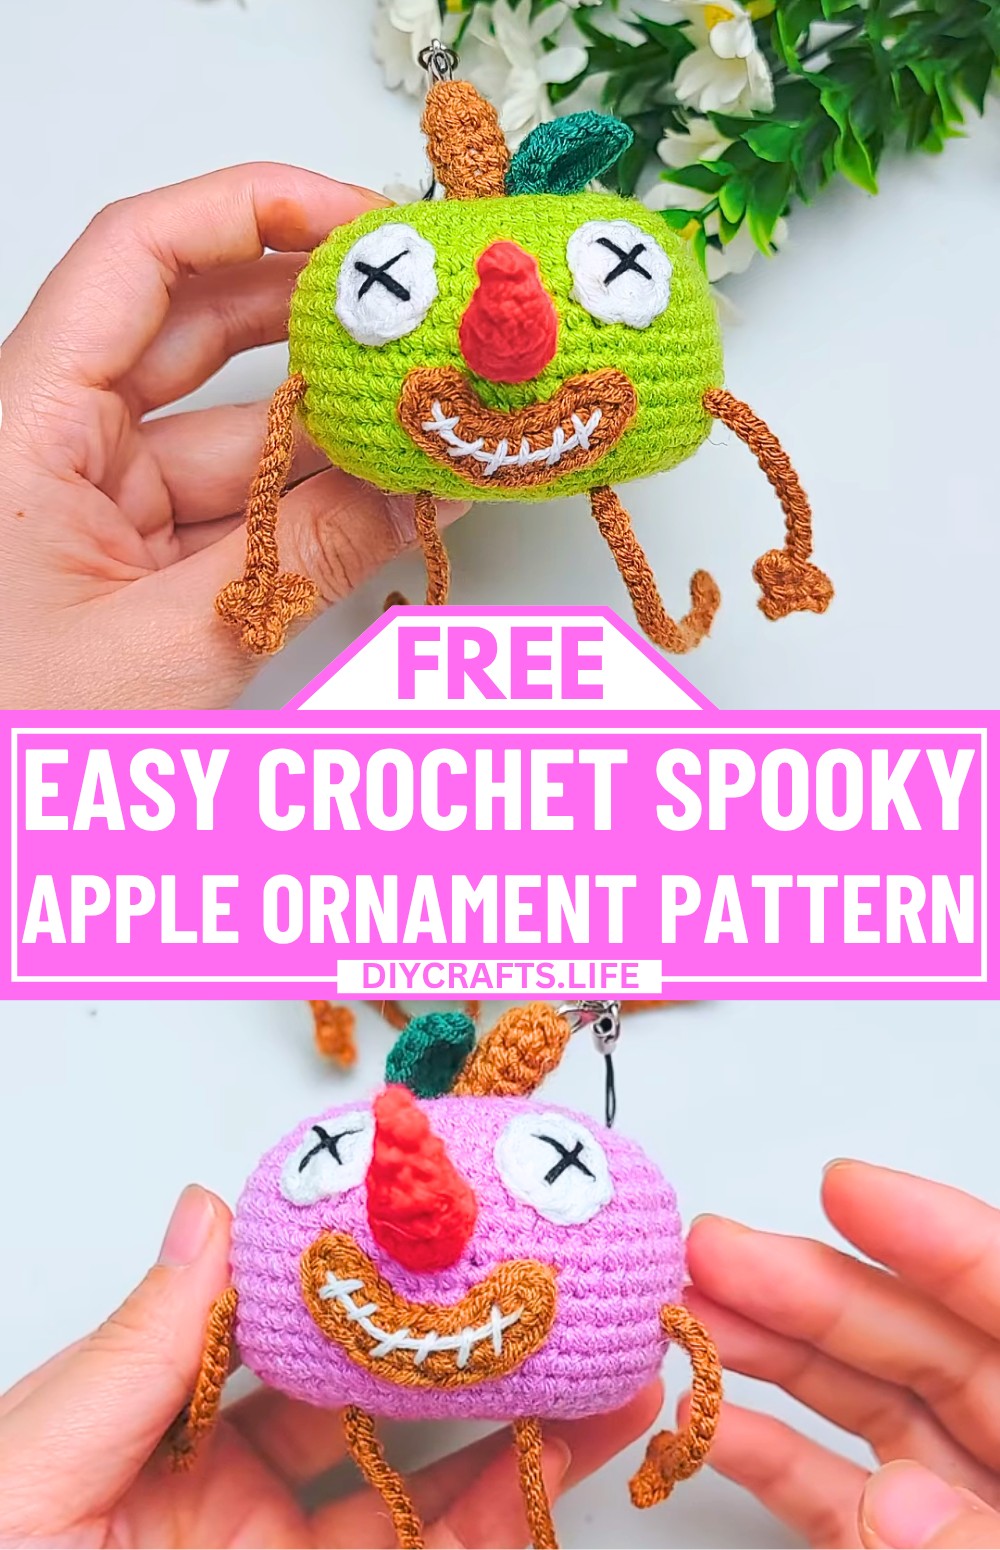
This crochet ornament is both fun and festive, adding a touch of weird charm to your Halloween setup. Perfect for hanging during spooky season, whether it’s for your Halloween party decor, as a handmade gift, or as a playful pendant, this crochet apple will bring smiles all around.
Halloween Apple Crochet Ornament
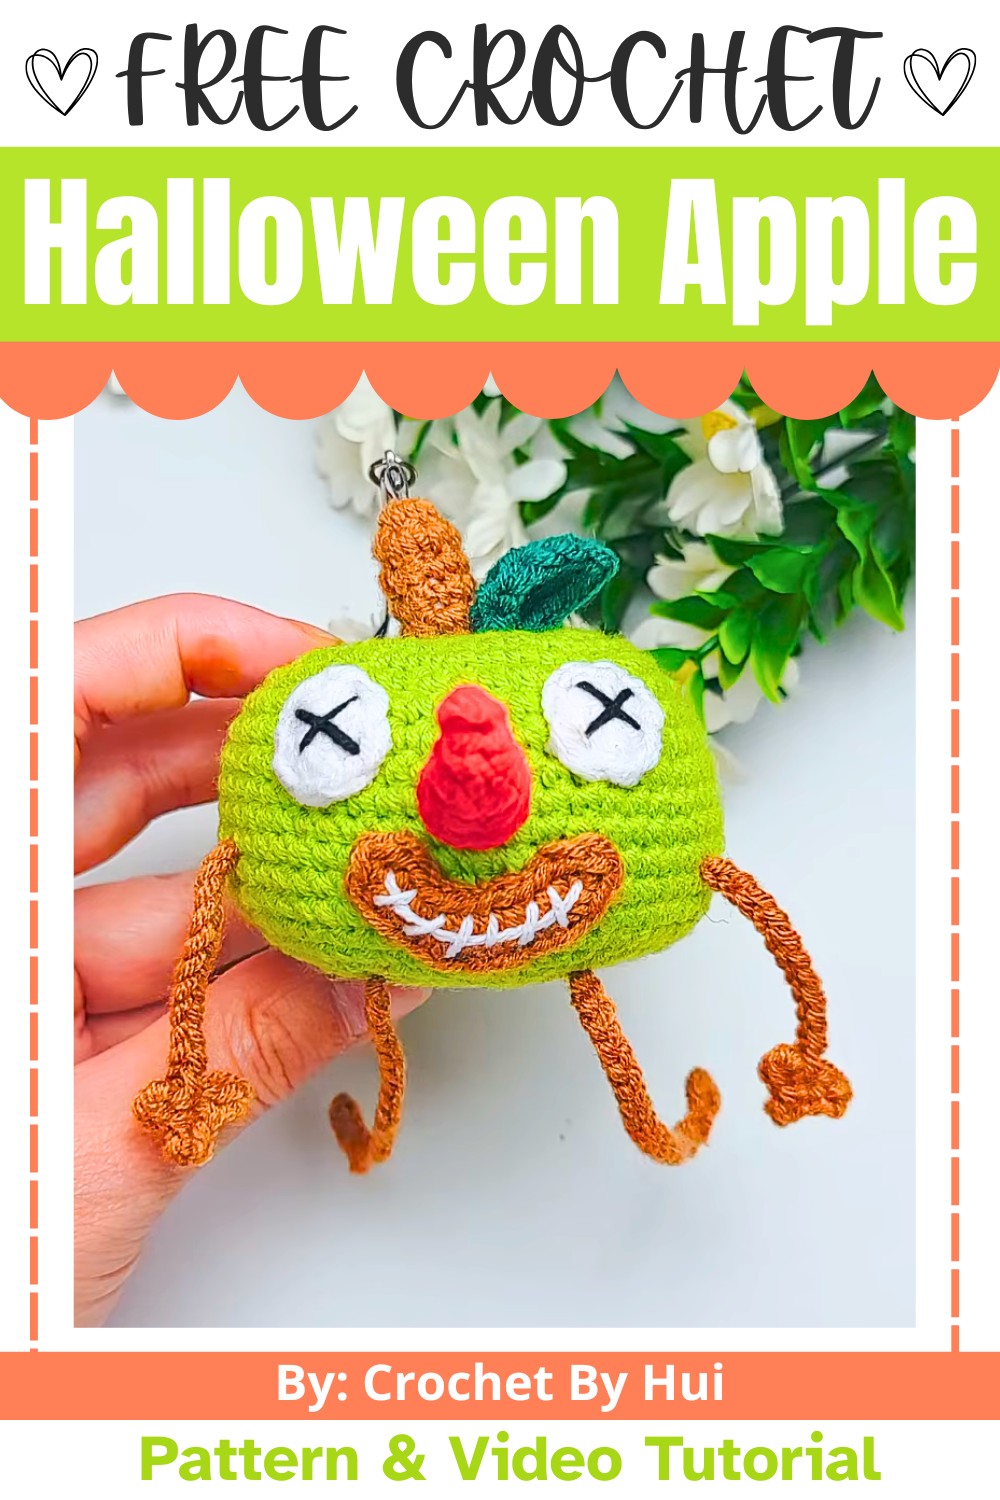
Making this crochet ornament is simple and beginner-friendly, allowing you to create the body, face, and cute little arms and feet step by step. The tutorial uses colorful yarn and basic crochet techniques, so anyone can jump in and learn. With minimal materials and easy instructions, you’ll have your quirky crochet apple ready to display in no time.
Credit Crochet By Hui
Materials and Tools Needed
- Yarn: 4 strands of milk cotton yarn (or any similar yarn).
- Hook: 2.0 mm crochet hook.
- Stuffing: Polyester fiberfill for the apple body.
- Additional Supplies: Waste thread (as a stitch marker), sewing needle, scissors, lobster clasp (for hanging), and black and white threads for detailing.
- Optional: Safety eyes, embroidery thread for facial details, or other embellishments.
Finished Size
- The finished size of the apple ornament will depend on the yarn thickness and tension used but should be small enough to work as a decorative ornament.
- Approximate size: 6-7 cm (depending on customization).
Customization Ideas
- Add More Color: Use variegated or Halloween-themed colors like black, orange, and green for a spooky effect.
- Facial Expressions: Experiment with different embroidered expressions (happy, frightened, mischievous, etc.).
- Accessories: Add a small crocheted witch hat or cape to make the apple even more festive.
Pattern Abbreviations & Terminology
Crochet terminology: US Terms
- ch: Chain
- sl st: Slip Stitch
- sc: Single Crochet
- inc: Increase (2 sc in the same stitch)
- dec: Decrease (single crochet two stitches together)
- rep: Repeat
- FLO: Front Loop Only
- BLO: Back Loop Only
Step-by-Step Crochet Instructions
Part 1: Apple Body
- Round 1: Start with a magic ring. Make 6 sc in the ring. (6 sts)
- Round 2: Inc in all 6 sts. (12 sts)
- Round 3: [1 sc, inc] x6. (18 sts)
- Round 4: [2 sc, inc] x6. (24 sts)
- Round 5: [3 sc, inc] x6. (30 sts)
- Round 6: [4 sc, inc] x6. (36 sts)
- Round 7: [5 sc, inc] x6. (42 sts)
- Round 8: [6 sc, inc] x6. (48 sts)
- Round 9: [7 sc, inc] x6. (54 sts)
- Rounds 10-17: Sc in each stitch around. (54 sts per round)
Shaping Decreases:
- Round 18: [7 sc, dec] x6. (48 sts)
- Round 19: [3 sc, dec, 3 sc] x6. (42 sts)
- Round 20: [5 sc, dec] x6. (36 sts)
- Round 21: [2 sc, dec, 2 sc] x6. (30 sts)
- Round 22: [3 sc, dec] x6. (24 sts)
- Round 23: [1 sc, dec, 1 sc] x6. (18 sts)
- Round 24: [1 sc, dec] x6. (12 sts)
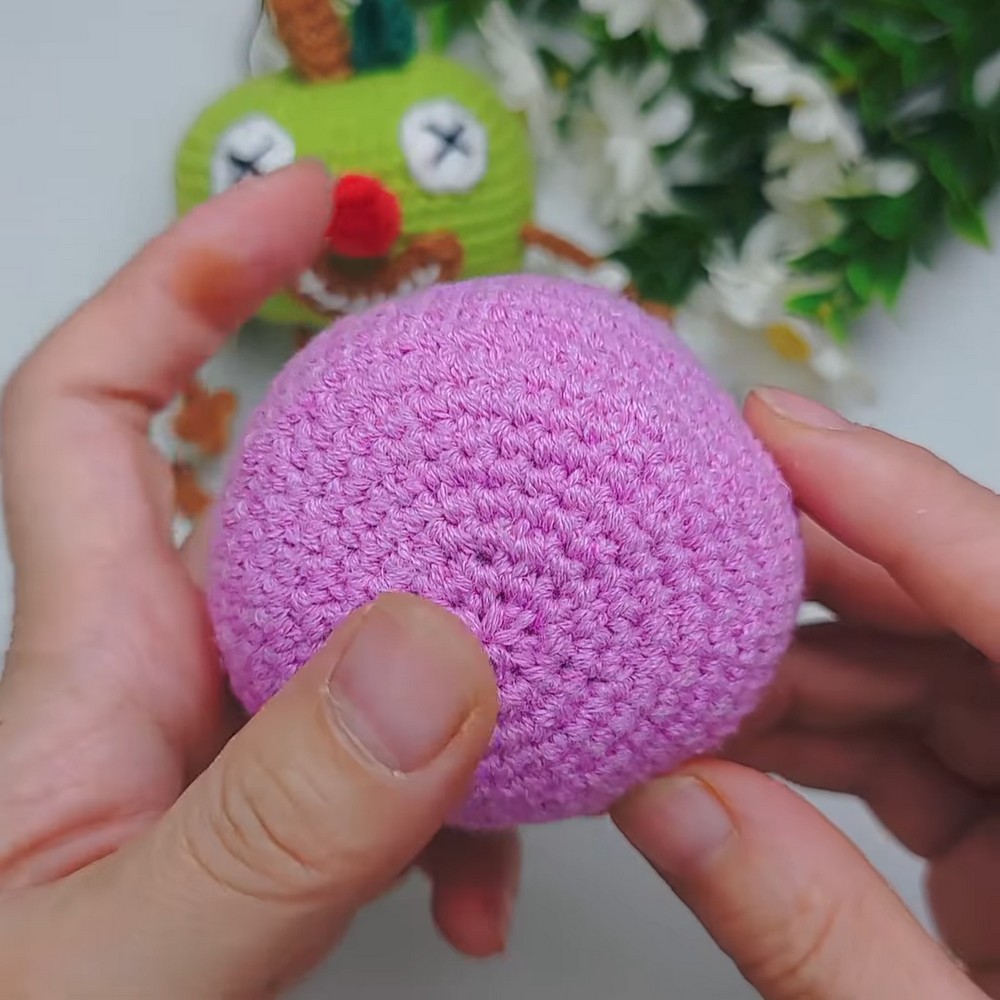
- Finish: Stuff the apple body, ensuring it is firm. Fasten off and weave in the ends.
Part 2: Eyes
- Round 1: Start with a magic ring. Make 8 hdc into the ring. Tighten the loop and sl st to the first st to join.
- Fasten off and leave a long tail for sewing. Repeat this to make two eyes.
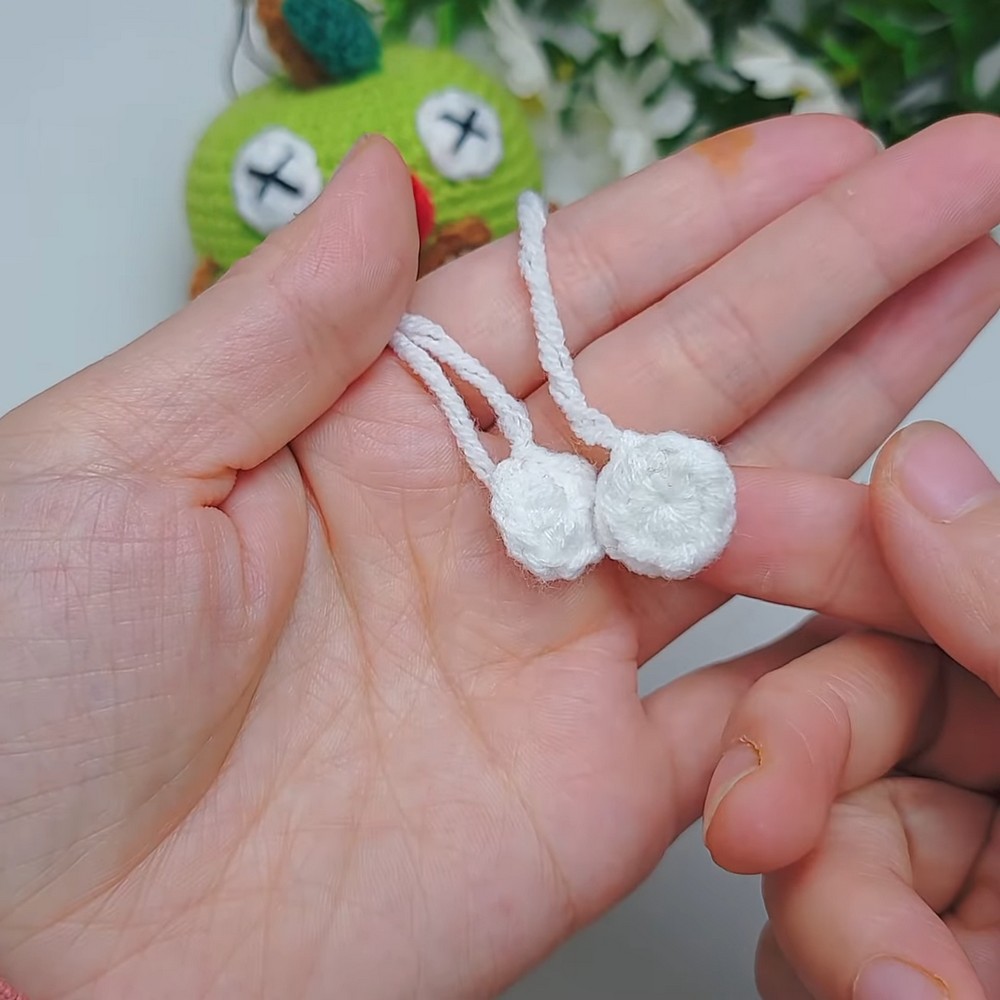
Part 3: Nose
- Ch 8, join the ends with a sl st to form a ring.
- Round 1: Sc into all 8 chains. (8 sts)
- Round 2: [1 sc, dec] x2. (6 sts)
- Continue decreasing until only 2 sts remain, and fasten off. Leave a tail for sewing.
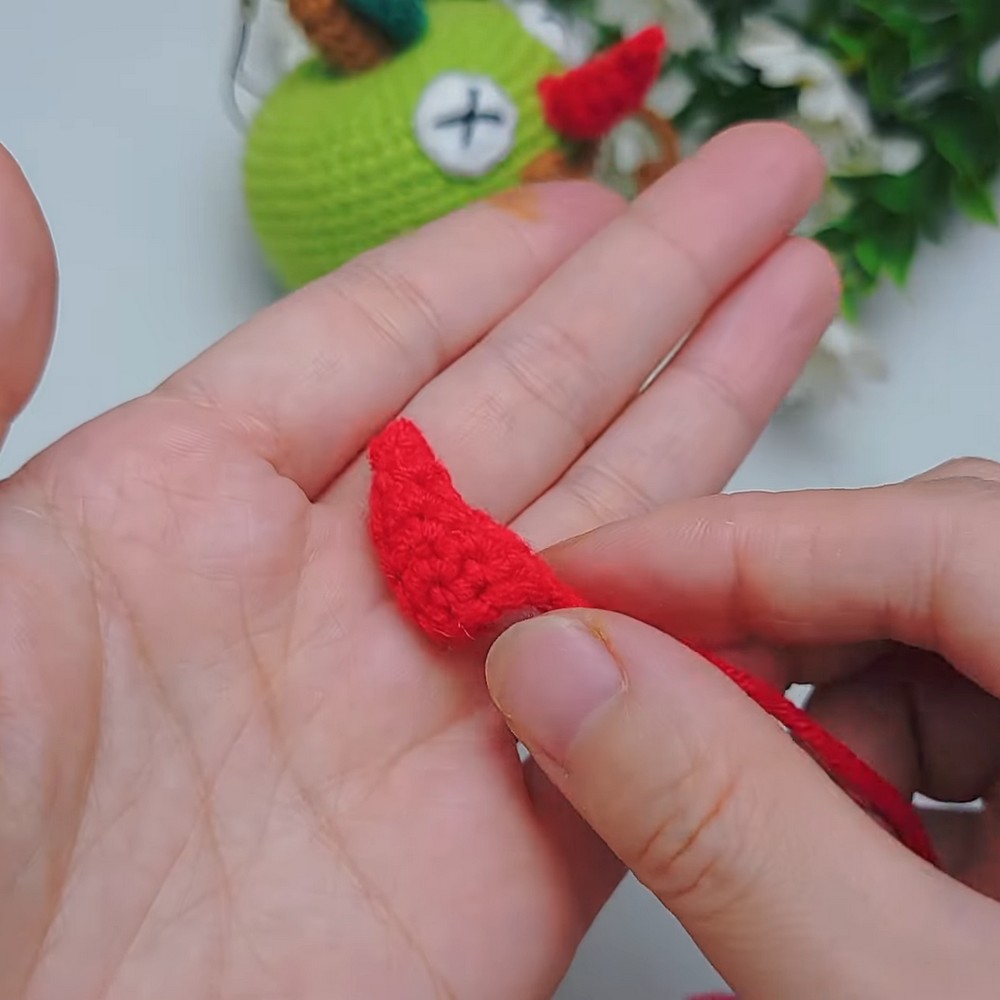
Part 4: Mouth
- Ch 11.
- Row 1: Turn and sc along the chain, increasing in specific stitches to form a curve for the mouth.
- Fasten off, leaving a long tail for sewing.
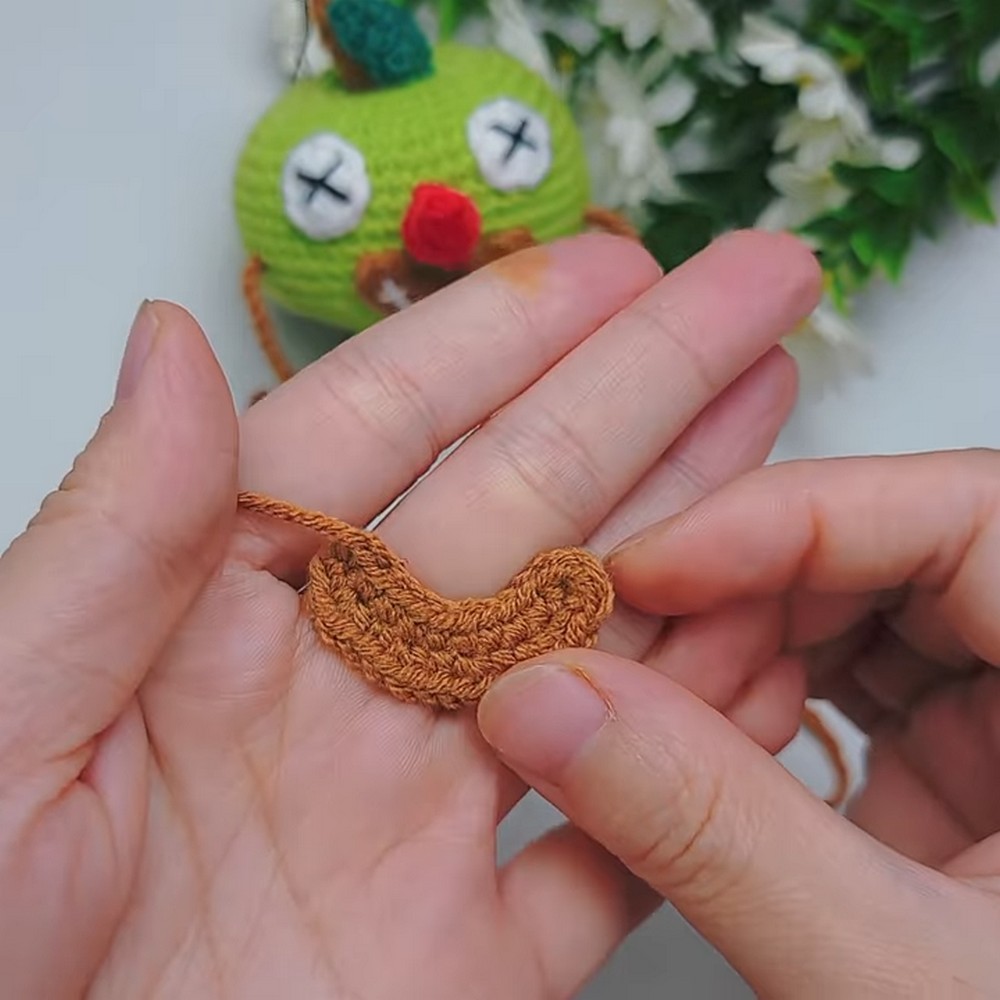
Part 5: Arms
- Ch 14.
- Twist the chain to work along the back bumps: alternate between sl st, ch 2, sl st to form tiny “fingers.”
- Fasten off and leave a long tail for sewing. Repeat this to make two arms.
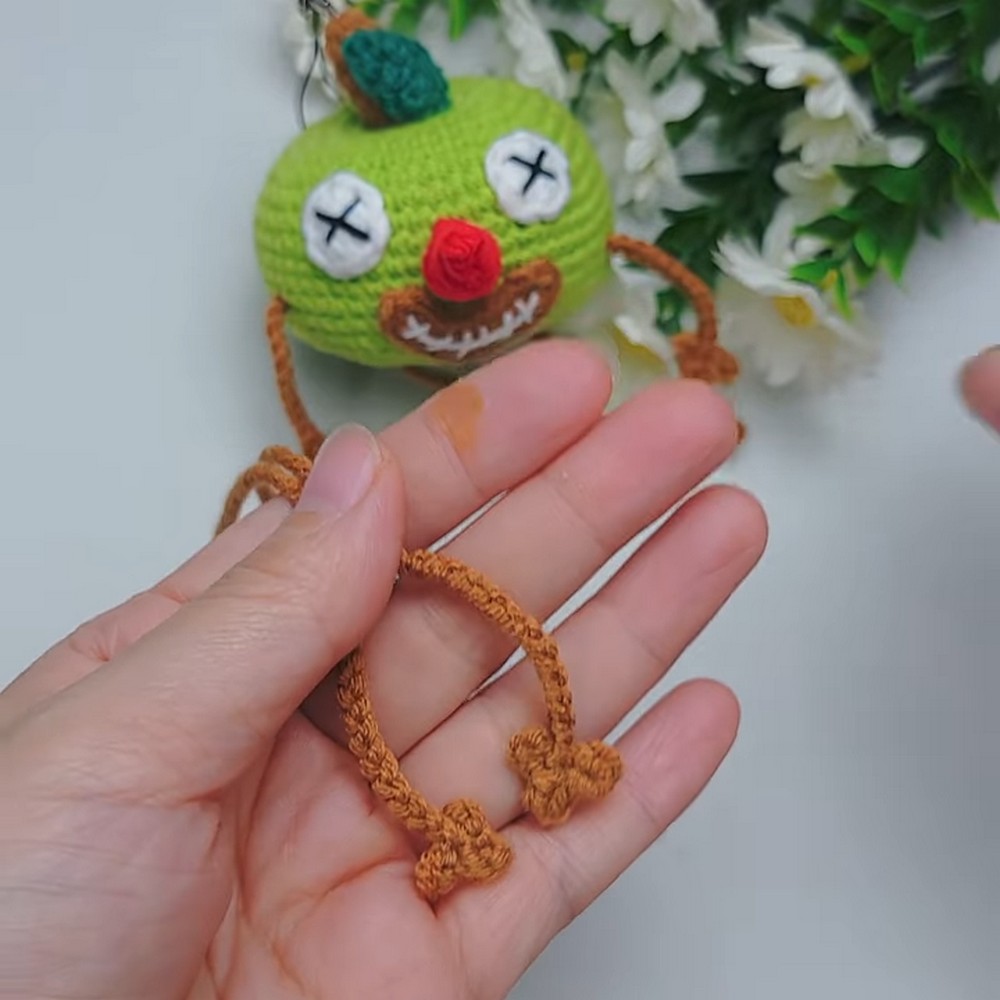
Part 6: Legs
- Ch 20.
- Work back down the chain with a mix of medium-long stitches and sl sts to give it thickness.
- Fasten off and leave a tail for sewing. Repeat this to make two legs.
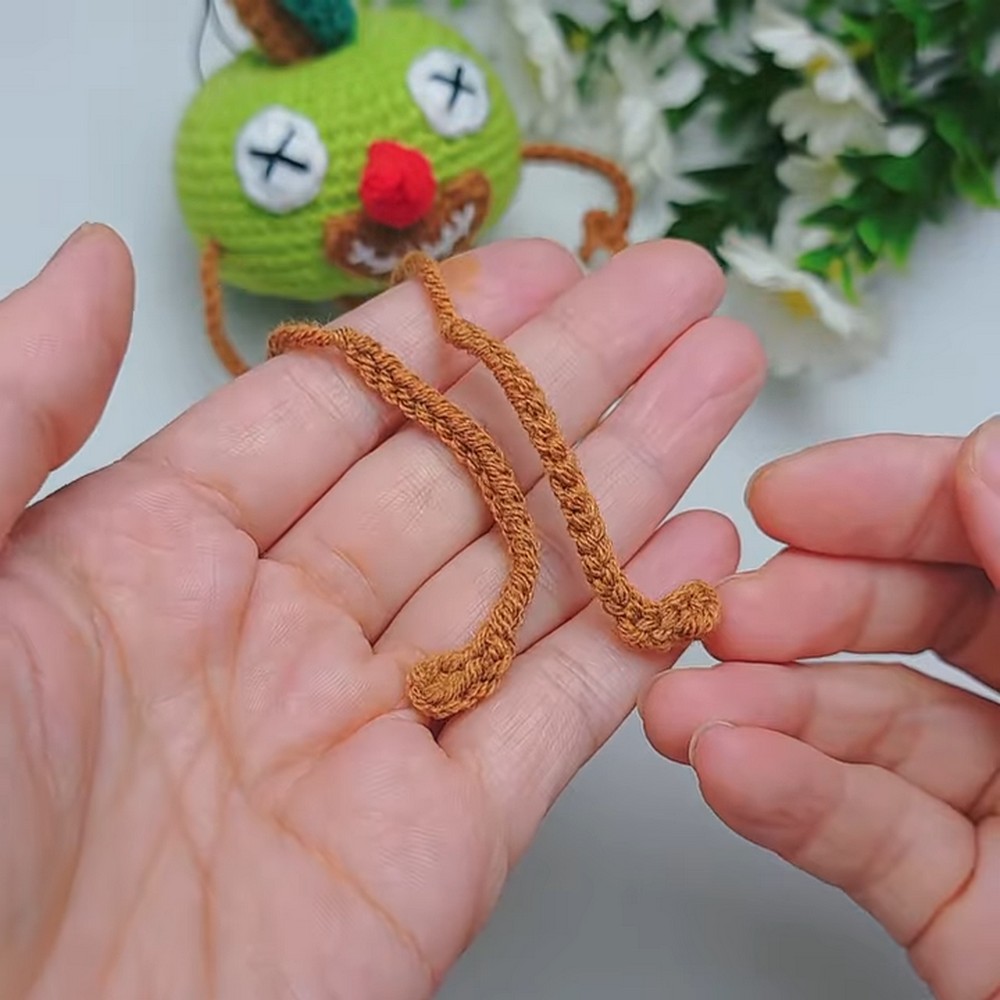
Part 7: Stem
- Round 1: Start with a magic ring. Make 6 sc into the ring.
- Rounds 2-7: Sc around in each stitch. (6 sts per round)
- Stuff the stem and fasten off, leaving a long tail for attachment.
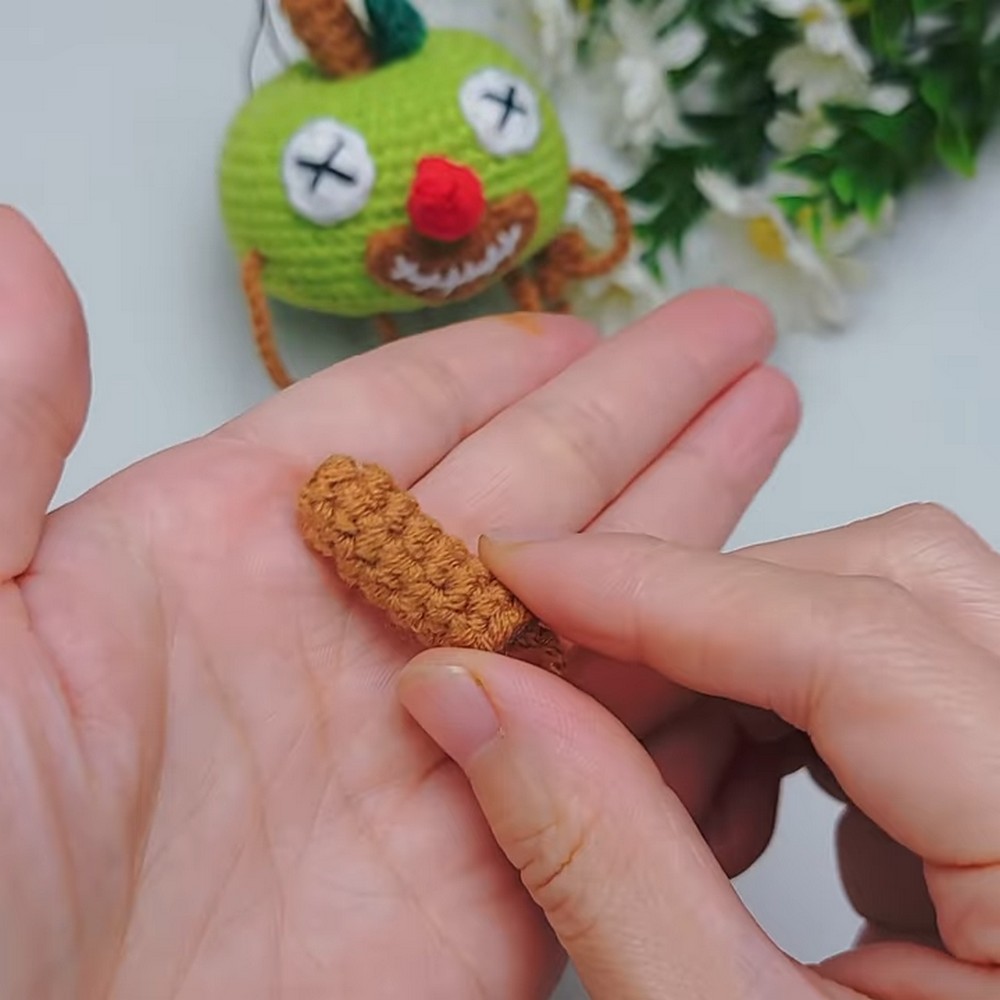
Part 8: Leaf
- Ch 7.
- Work along the chain with the following sequence: sc, hdc, dc, hdc, sc.
- Ch 1, rotate to work along the other side of the chain with the same sequence in reverse.
- Fasten off and leave a tail for sewing.
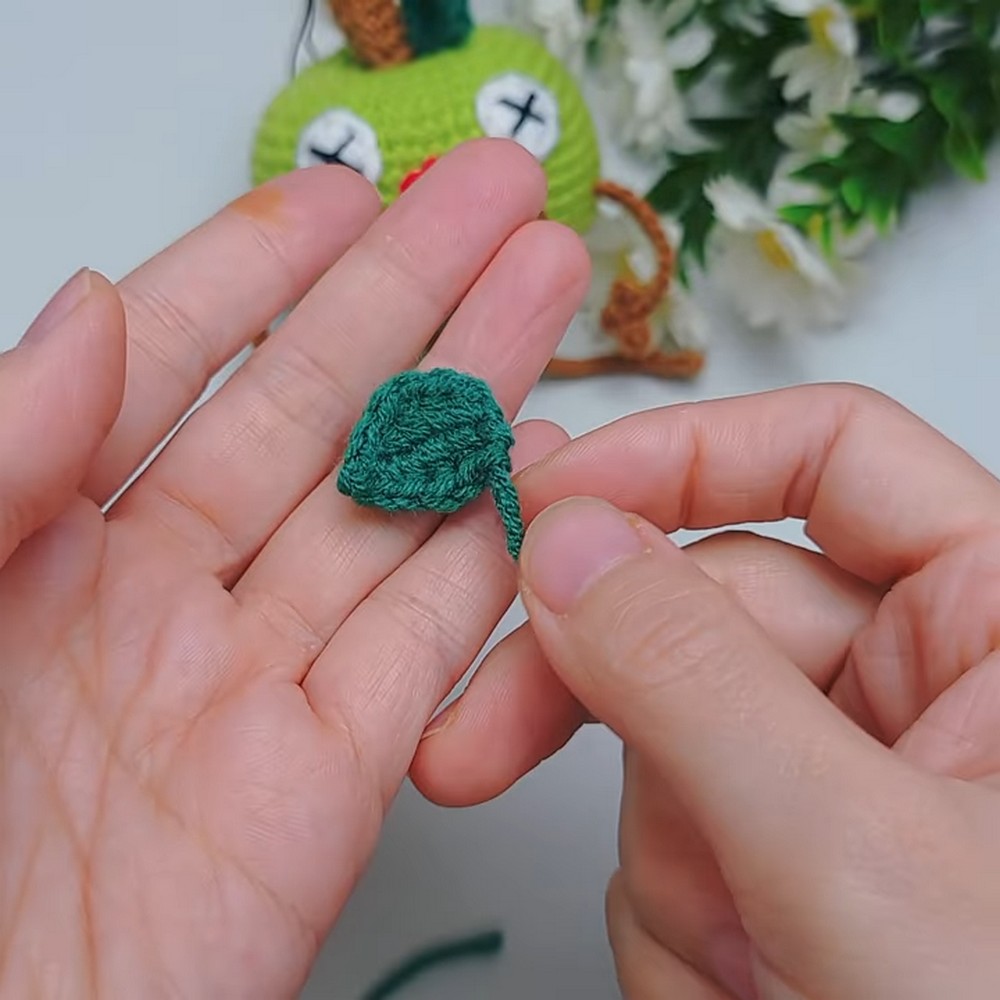
Part 9: Assembly
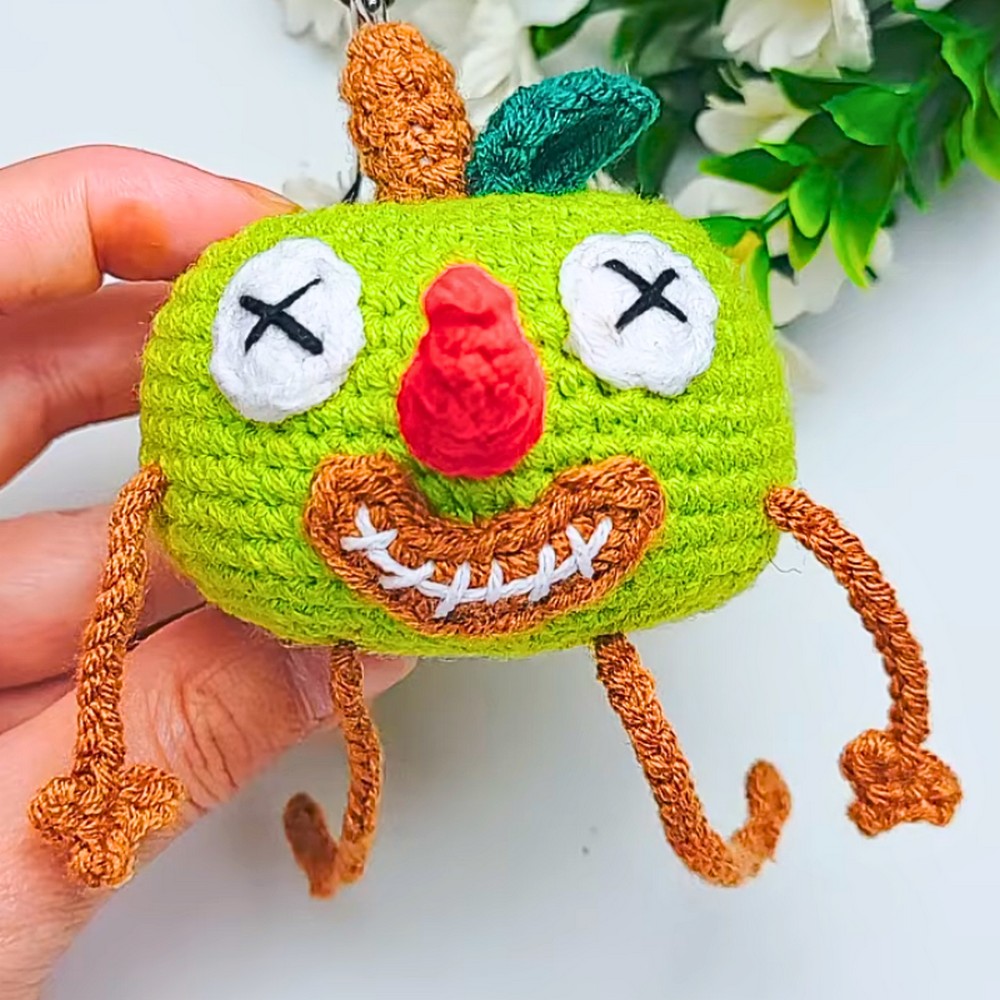
- Attach the stem to the top center of the apple.
- Sew the leaf next to the stem.
- Position and attach the eyes, using black thread to embroider pupils if desired.
- Sew the nose below the eyes.
- Attach the mouth, shaping it into a mischievous smile or expression.
- Sew the arms and legs to the sides and bottom of the apple, respectively.
- For hanging: Attach a lobster clasp or loop thread through the top of the stem.
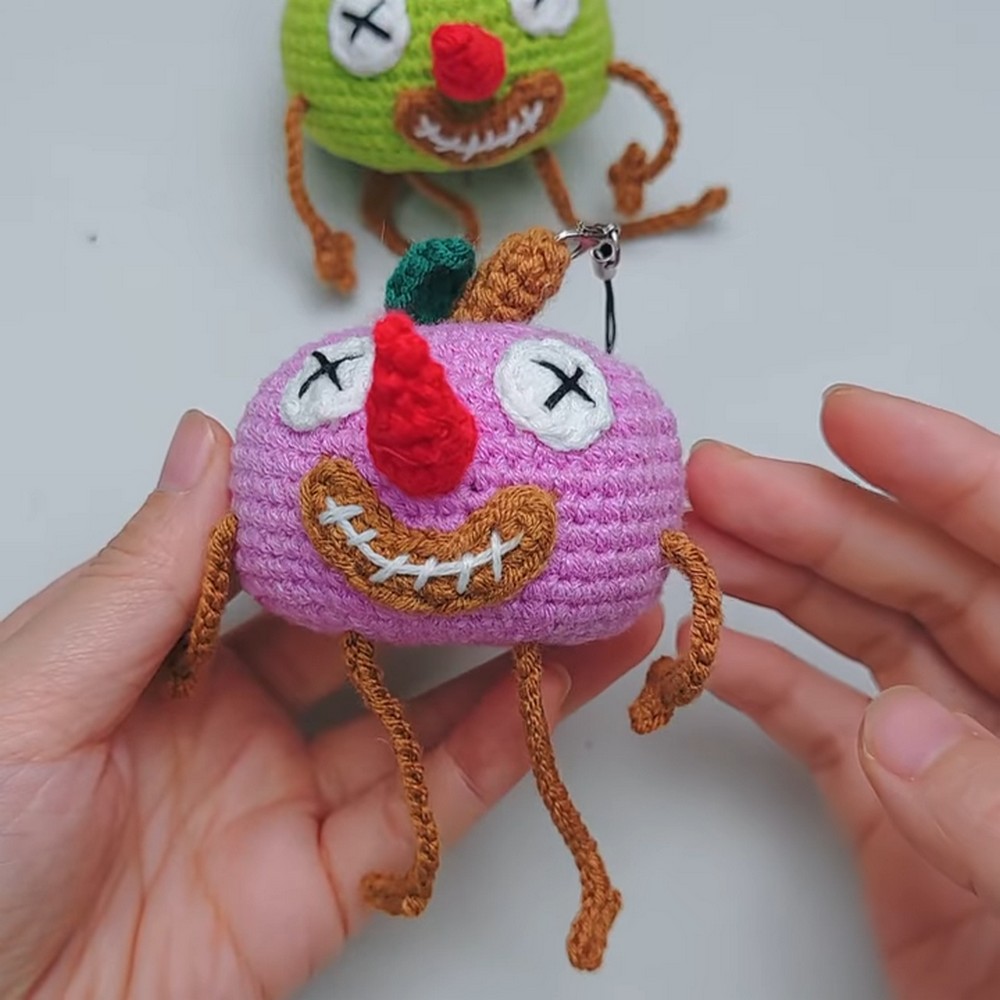
Finishing Touches
- Embroider details on the face, like spooky or funny eye expressions.
- For added Halloween vibes, attach small embellishments like crocheted spiders or pumpkins.