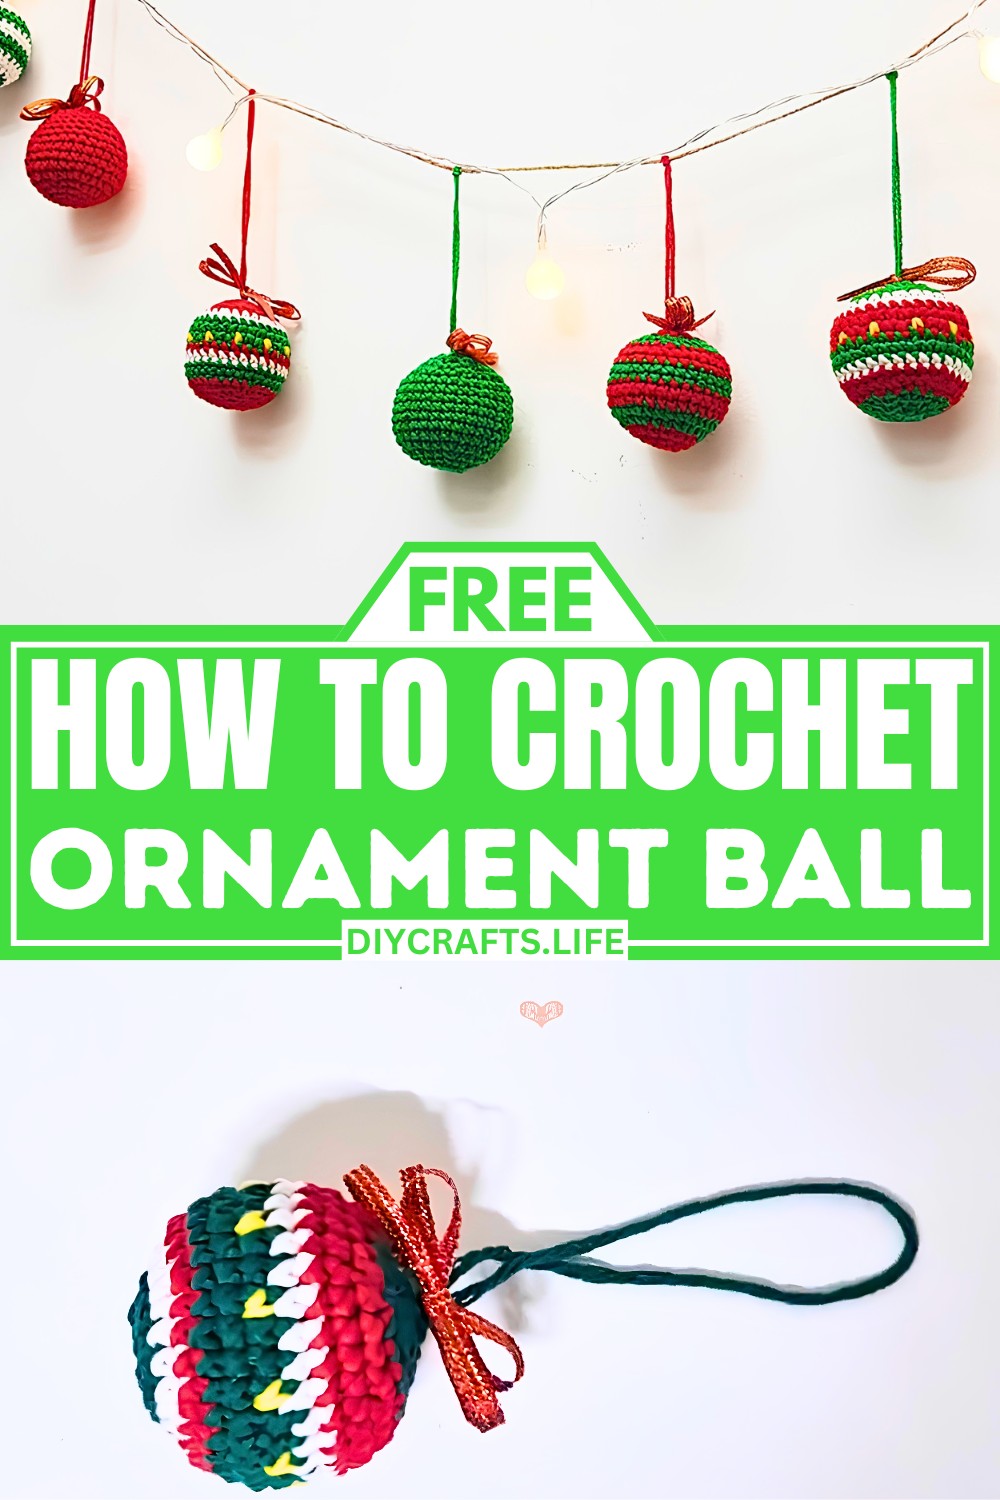
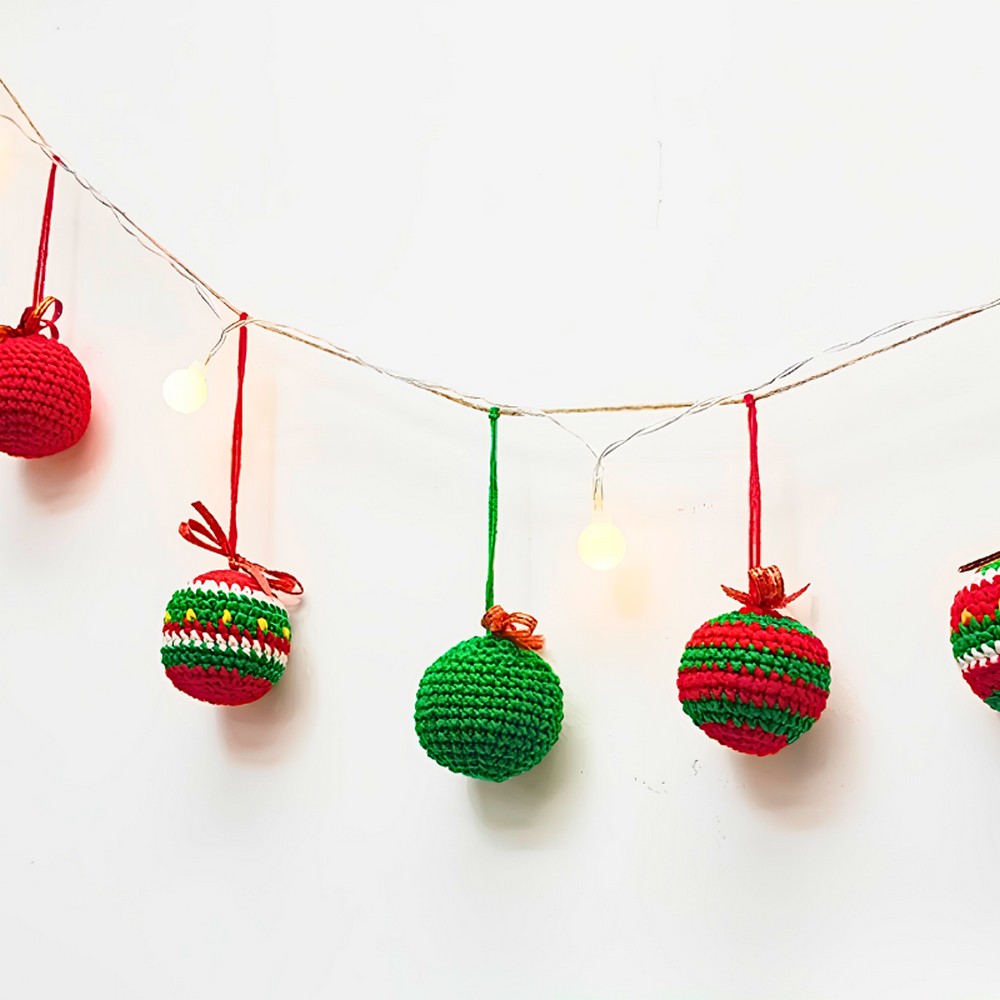
A crochet Christmas ornament ball can become a standout detail in your holiday decorations without relying on an elaborate design. Neatly shaped stitches create a smooth, rounded ornament. It looks just as striking on a Christmas tree as it does gathered in a decorative bowl. The finished ornament is only half the appeal. The stitch-by-stitch shaping gives every crochet piece its own character.
Crochet Christmas Ornament Ball Tutorial
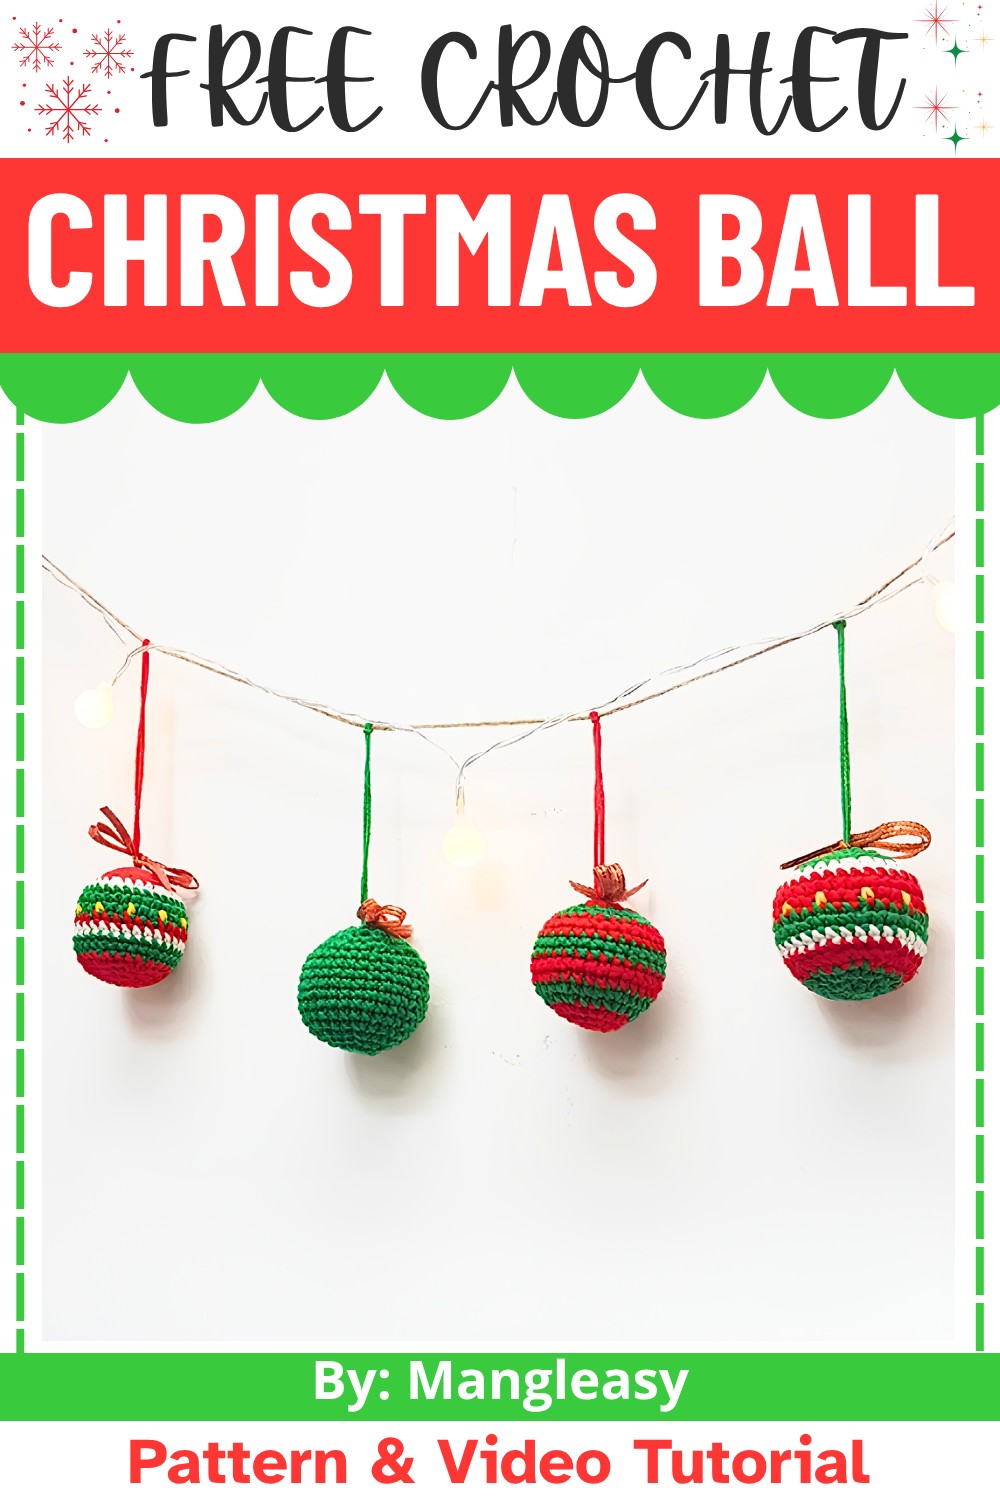
Creating this crochet ornament is a relaxing piece that leaves room for personal touches. Experiment with classic Christmas shades, soft neutrals, or lightly textured yarns. This gives each ornament its own identity while keeping the collection visually connected. Lightweight yet sturdy, these crochet ornament balls store easily. They return each season with the same shape and handmade finish that made them worth keeping.
Credit Mangleasy
Materials & Tools Needed:
- Yarn:
- White yarn
- Red yarn
- Green yarn
- Yellow yarn
- Crochet Hook: Use the recommended hook size for the yarn weight (commonly either 3.5mm or 4mm for DK or worsted-weight yarn).
- Stitch Marker (optional): To mark the first stitch in rounds.
- Scissors: To cut threads.
- Mat/Embroidery Needle: For weaving in ends.
- Light Stuffing Material: Like polyester fiberfill.
- Ribbon: For decoration and hanging purposes.
Finished Size:
The finished ornament ball size will depend on your yarn and hook choice.
Following the pattern with standard yarn and hook size should result in a ball approximately 3–4 inches in diameter.
Customization Ideas:
- Use metallic or glitter yarn to make the ornament sparkle.
- Add beads or embroidery over the finished ball for extra decoration.
- Alternate yarn colors within rounds for a striped or multicolored effect.
Pattern Abbreviations & Terminology:
Here are the key abbreviations and stitches used (assume U.S. terminology):
- MR: Magic Ring
- Ch: Chain
- Sc: Single Crochet
- Inc: Increase (2 sc in the same stitch)
- Dec: Decrease (single crochet two stitches together)
- St(s): Stitch(es)
- Sl St: Slip Stitch
- Rnd: Round
Step-by-Step Detailed Crochet Instructions:
Base Setup:
Round 1:
- Start with a magic ring (MR) and secure it tightly to prevent loosening.
- Crochet 6 single crochets (sc) into the MR.
- Pull the tail thread to tighten the loop into a circle.
- Join the round by slip stitching into the first sc.
- Ch 1 before progressing to the next round.
Stitch Count: 6 sc.
Increase Sections:
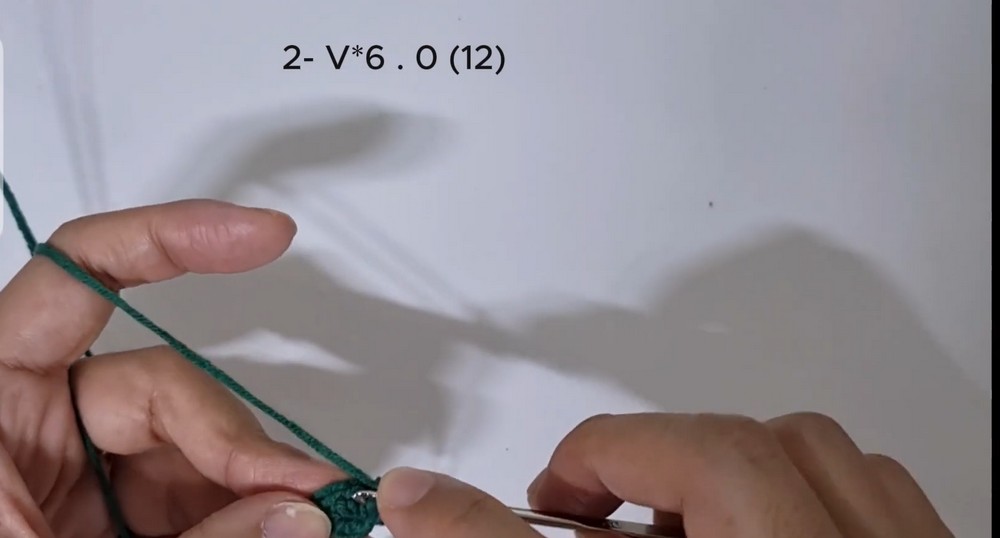
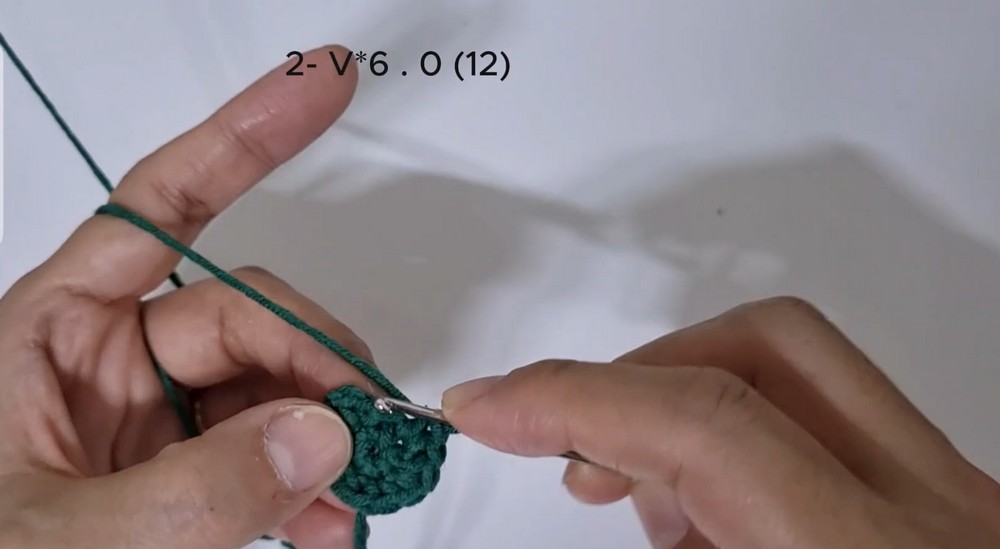
Round 2:
- Work 2 sc into each stitch around (Inc in each st).
- By the end of the round, you’ll have 12 stitches.
- Join with a slip stitch to the first sc.
Stitch Count: 12 sc.
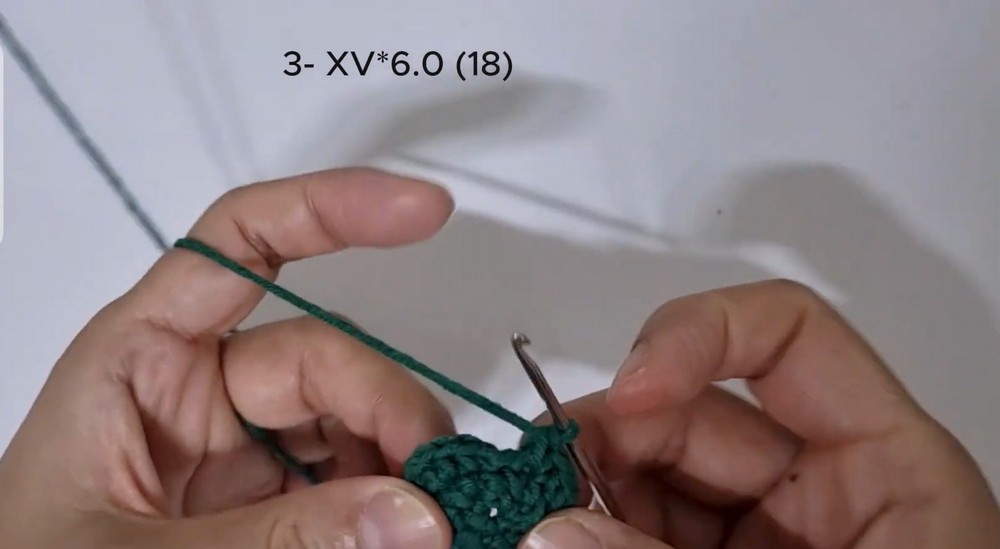
Round 3:
- Start with a Ch 1.
- Alternate between 1 sc in the next stitch and 2 sc in the next stitch (Inc every second st).
- Repeat the sequence around.
- Join with a slip stitch to the first sc.
Stitch Count: 18 sc.
Round 4:
- Start with a Ch 1.
- Alternate between 2 sc in the next stitch (Inc) and 1 sc in the next two stitches.
- Repeat the sequence around.
- Change yarn color if desired (use the red or green thread, as per customization).
- Join with a slip stitch to the first sc.
Stitch Count: 24 sc.
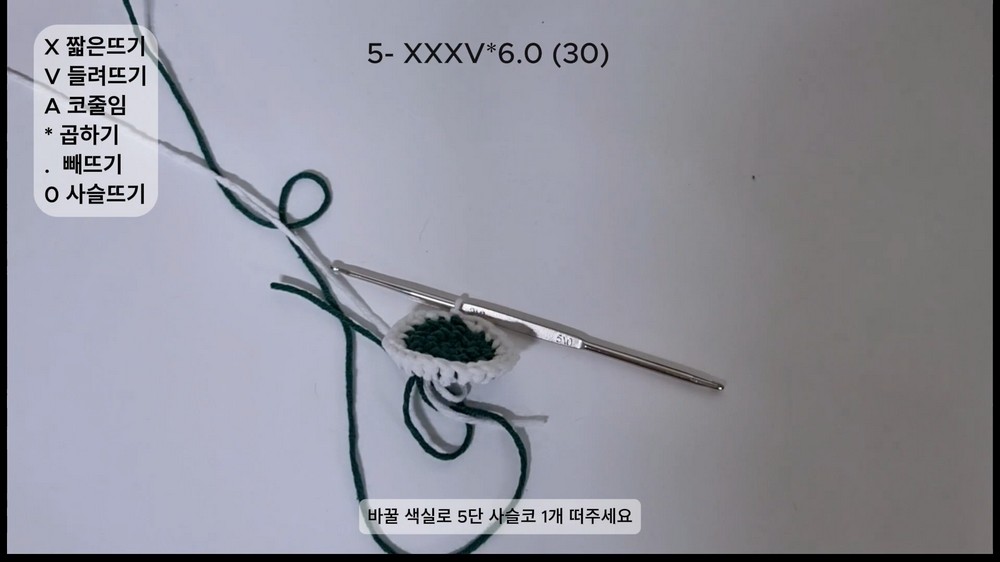
Round 5:
- Start with a Ch 1 and switch to a new yarn color, if needed (e.g., green).
- Work 1 sc in the next three stitches, then 2 sc in the next stitch (Inc).
- Repeat the sequence around.
- Join with a slip stitch to the first sc.
Stitch Count: 30 sc.
Middle Section:
Rounds 6–9:
- Work 1 sc in each stitch around in continuous rounds (no increases).
- Change colors as desired in alternating rounds (e.g., white, yellow, green, or red).
- After finishing Round 9, lightly stuff the ball with fiberfill.
Decrease Sections:
Round 10:
- Start with a Ch 1.
- Alternate between 1 sc in the next three stitches and sc decrease (Dec).
- Repeat the sequence around.
- Join with a slip stitch to the first sc.
Stitch Count: 24 sc.
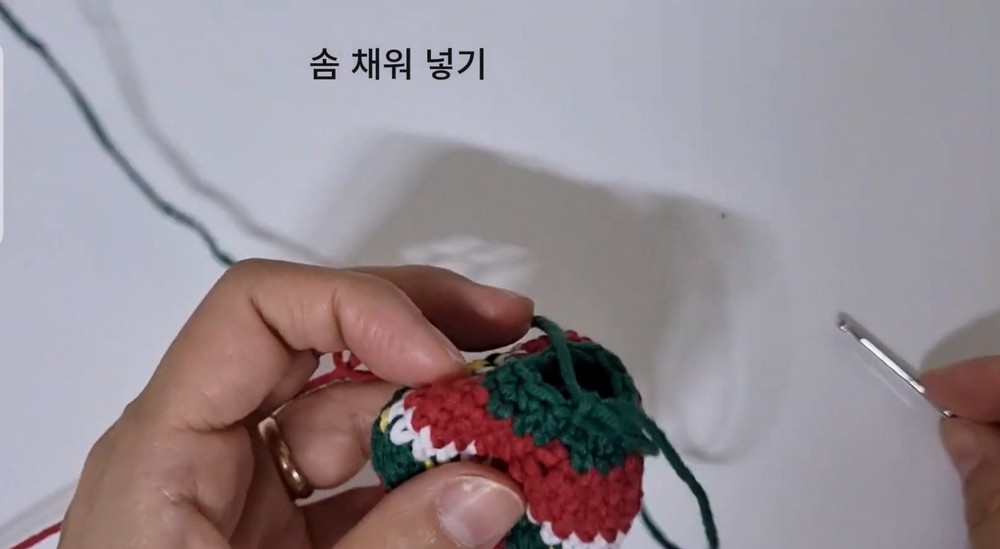
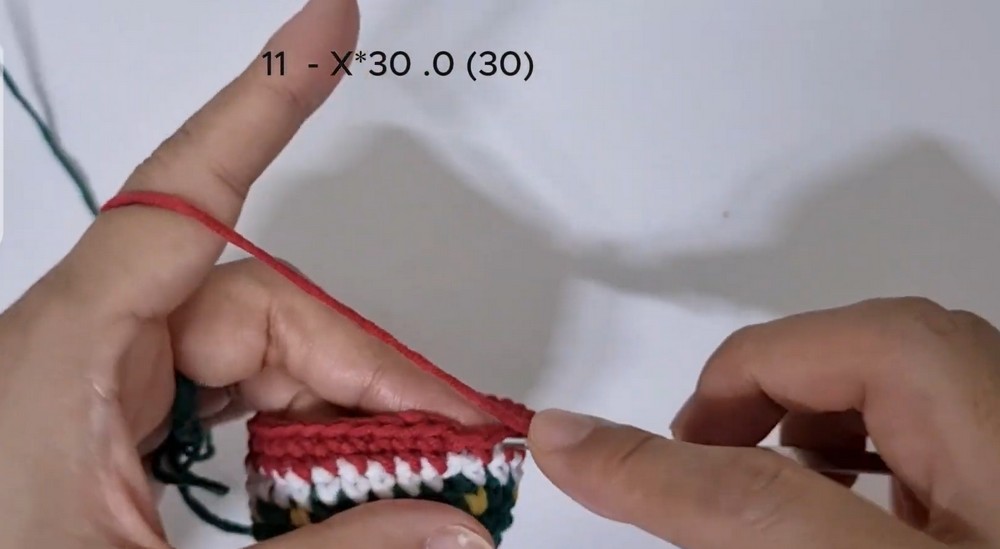
Round 11:
- Start with a Ch 1.
- Alternate between 1 sc in the next two stitches and Dec.
- Repeat the sequence around.
- Stuff the ball firmly, but not overly tight.
- Join with a slip stitch to the first sc.
Stitch Count: 18 sc.
Round 12:
- Start with a Ch 1.
- Alternate between 1 sc in the next stitch and Dec.
- Repeat the sequence around.
- Close the top circle with remaining Decs.
- Fasten off and weave the ends securely.
Stitch Count: 12 sc.
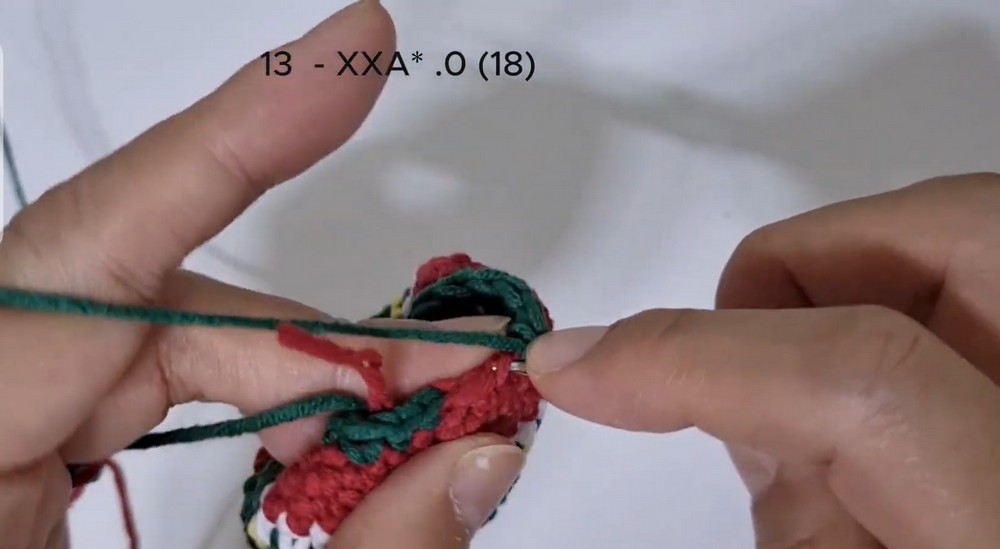
Final Round:
- Decrease continuously until the opening is fully closed (use the mat needle if needed).
- Ensure the ball shape is smooth once the stitches tighten.
Finishing:
- Attach a ribbon at the top center using a needle and thread. This will act as the hanging loop for the ornament.
- Weave in any loose ends and trim excess threads.
- Adjust the stuffing if needed to ensure the ornament retains a rounded shape.