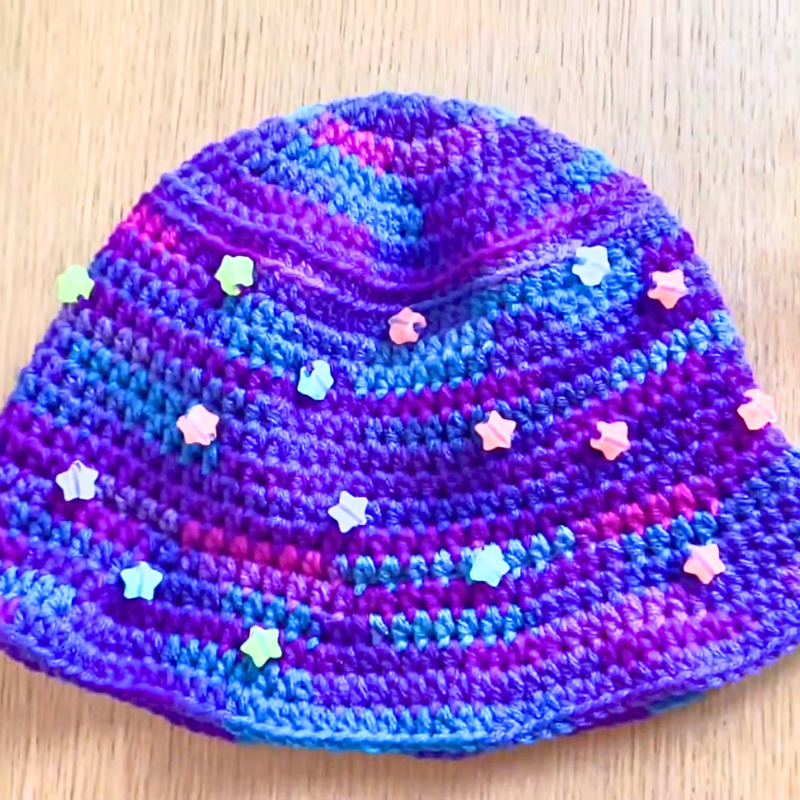
This Crochet bucket hat is no ordinary accessory; it's fun, stylish, and sprinkled with glow-in-the-dark stars. Perfect for daytime or nighttime wear, it adds a touch of creativity to your wardrobe. The galaxy-inspired design lets you carry a bit of magic wherever you go, and the glowing stars make it extra special, especially when it's dark. The glowing stars make it perfect for festivals, parties, or playful nights outdoors.
Crochet Bucket Hat with Glow-in-the-Dark Stars
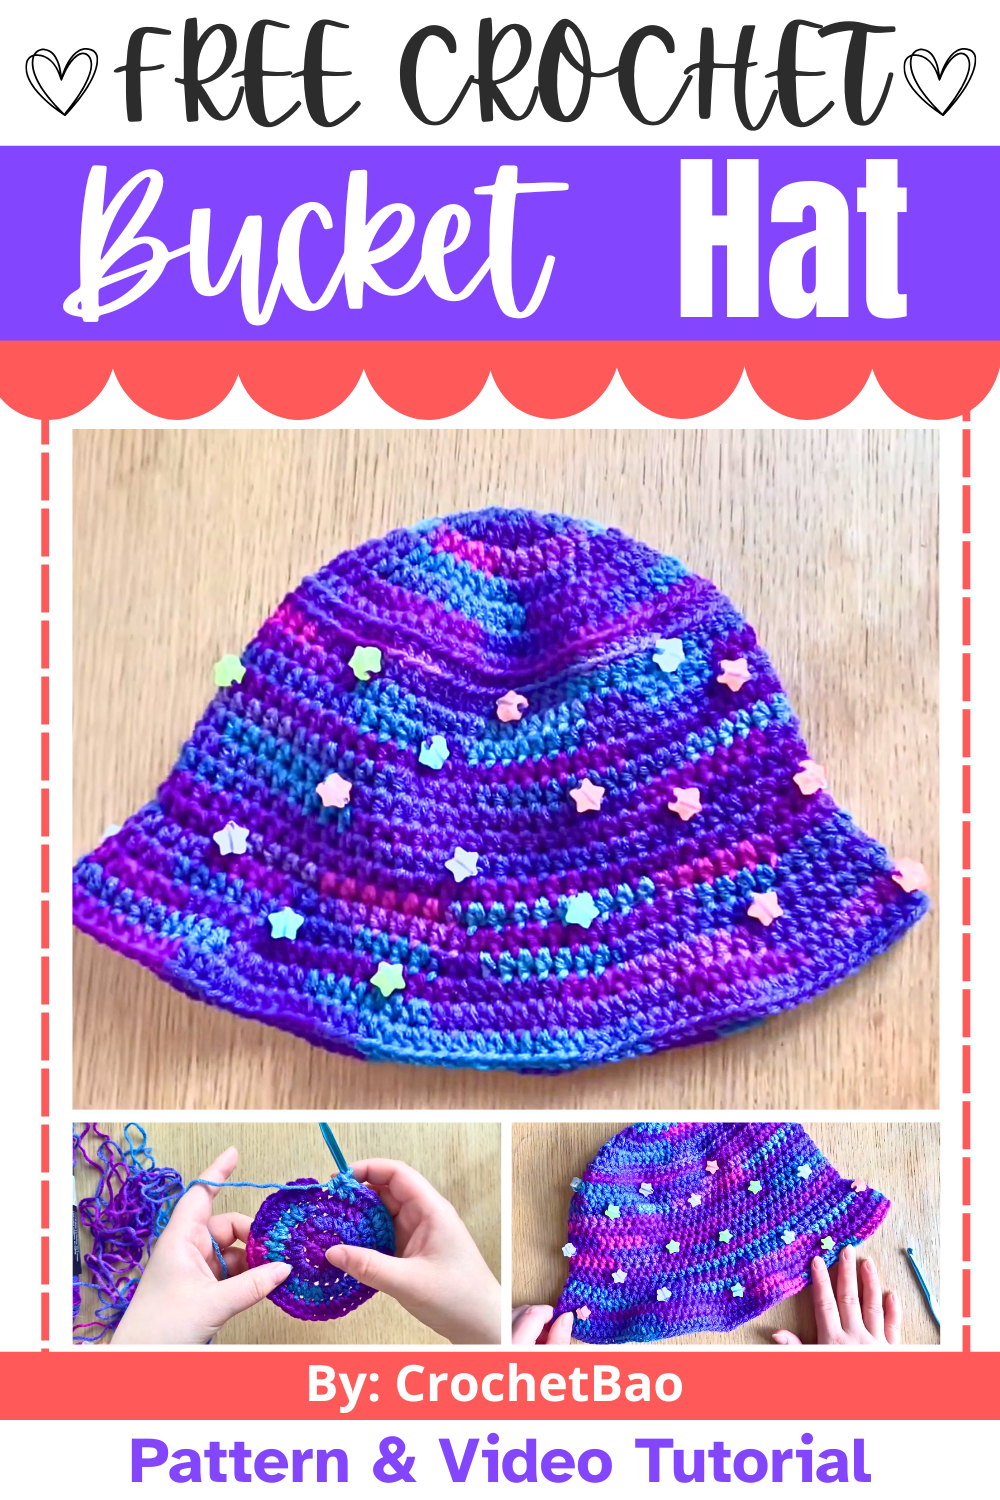
To make this Crochet hat, you'll need soft yarn, a hook, scissors, a tapestry needle, and glow-in-the-dark star beads. The process involves adding the stars directly onto your yarn before you start, so they shine beautifully across the completed hat. It's easier than it sounds, making it great for beginners who want to create something unique and wearable. You can wear it to block the sun, keep your head cozy, or just show off a cool handmade look.
Credit CrochetBao
Materials & Tools Needed
- Yarn: Weight 4 yarn. The tutorial uses Red Heart Super Saver in "Grape Fizz" (236 yards used, about ¾ of the skein).
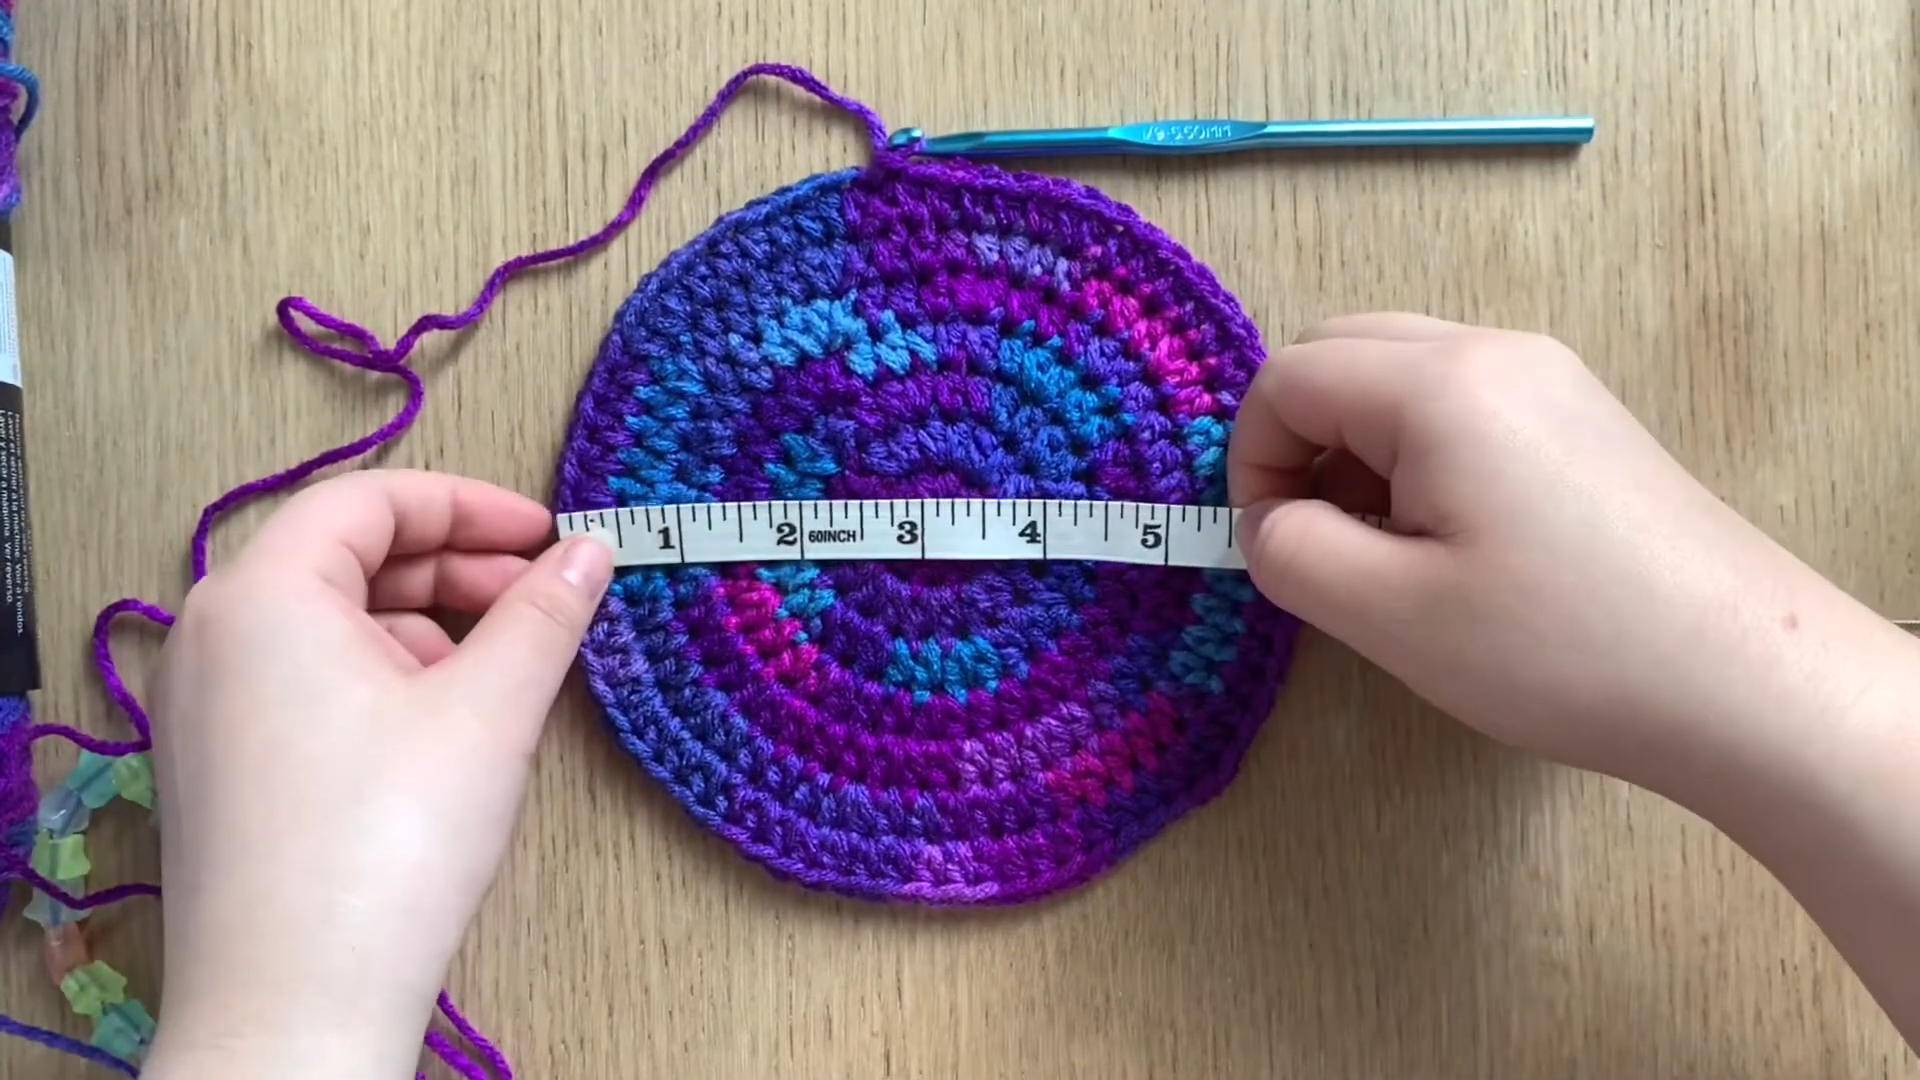
- Hook: 5.5mm crochet hook.
- Beads: Glow-in-the-dark star beads (Creatology brand used in the tutorial; available at Michaels). Ensure the bead holes are large enough for your tapestry needle.
- Tapestry needle: For threading beads and weaving ends.
- Scissors.
Finished Size
- Top of Hat Diameter: 6.25 inches (16 cm).
- Overall Hat Dimensions:
- Customizable based on the number of rounds.
- Fits most adult head sizes.
Customization Ideas
- Yarn Colors: Use galaxy-inspired colors (blues, purples, and blacks) or any combination you like.
- Alternative Beads: If glow-in-the-dark stars aren't available, any beads can be used (just ensure the holes are large enough).
- Hat Brim: Adjust brim width by adding or reducing rounds.
Pattern Abbreviations & Terminology
- ch: Chain
- st: Stitch
- sl st: Slip Stitch
- hdc: Half Double Crochet
- inc: Increase (2 hdc in one stitch)
- blo: Back Loop Only
- 3rd loop: Back third loop of the hdc stitch
- US Terminology is used throughout.
Step-by-Step Crochet Instructions
Preparations
String beads onto the yarn:
- Thread the tapestry needle onto the yarn.
- Add 40–45 beads onto your yarn by threading them through the needle and onto the yarn.
- Pro tip: Add extra beads (34 are used in the pattern, but more prevents running out mid-project).
- Gently push beads further down the yarn to ensure enough working space.
Hat Top (Rounds 1–7)
Start with a magic circle:
- Form a magic circle and secure with a chain.
- Work 10 hdc into the ring, pull the tail tight to close, and join with a sl st to the 1st st. (10 sts)
- Round 2: ch 1, 2 hdc in each st around, join. (20 sts)
- Round 3: ch 1, (2 hdc in the next st, 1 hdc in the next st) repeat around, join. (30 sts)
- Round 4: ch 1, (2 hdc in the next st, 1 hdc in each of the next 2 sts) repeat, join. (40 sts)
- Round 5: ch 1, (2 hdc in the next st, 1 hdc in each of the next 3 sts) repeat, join. (50 sts)
- Round 6: ch 1, (2 hdc in the next st, 1 hdc in each of the next 4 sts) repeat, join. (60 sts)
- Round 7: ch 1, (2 hdc in the next st, 1 hdc in each of the next 5 sts) repeat, join. (70 sts)
- Top Diameter Check: Ensure the circle measures 6.25 inches across.
Main Body (Rounds 8–18)
Continue in rounds to create the sides of the bucket hat:
- Round 8 (Transition Round): Work in blo and 3rd loop only.
- ch 1, 1 hdc in blo and 3rd loop of each st around, join. (70 sts)
- This creates the ribbing effect along the edge.
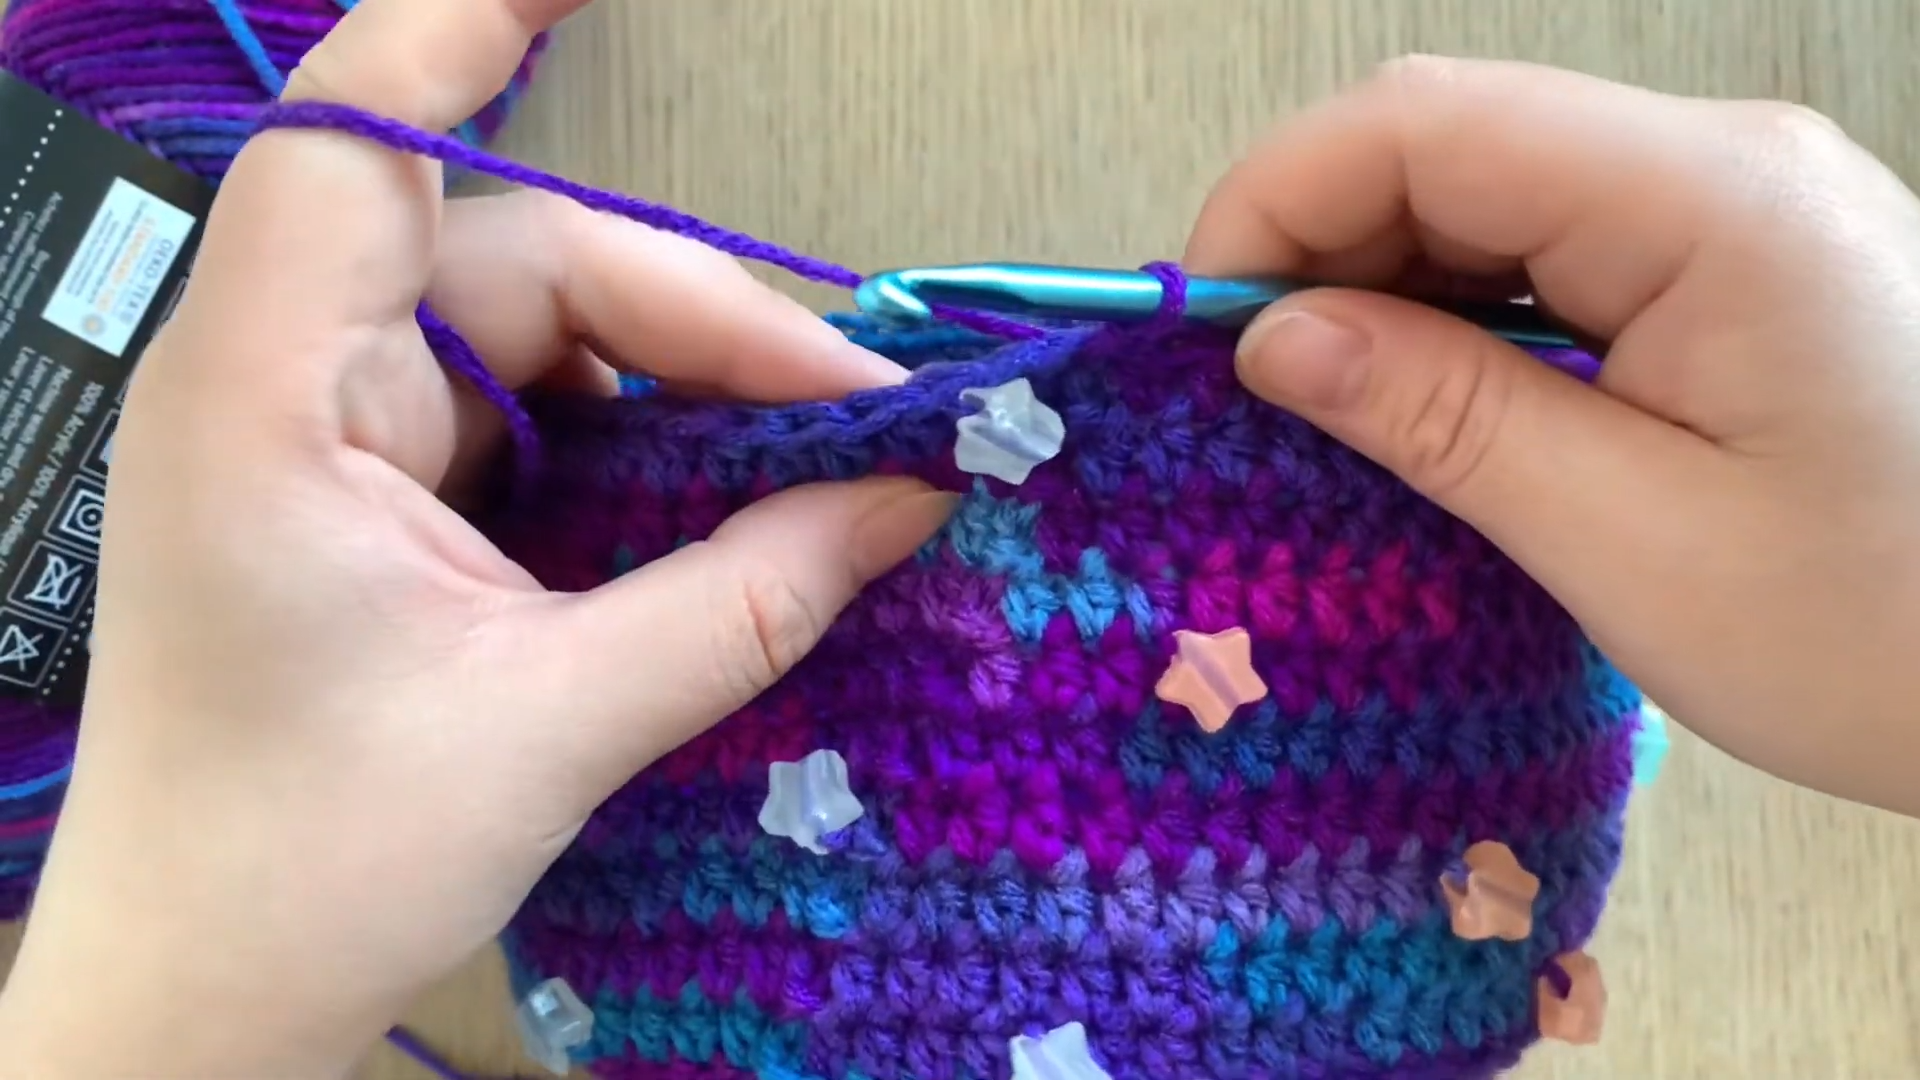
- Round 9 (Beads Start):
- Same stitch placement (blo and 3rd loop). Randomly incorporate beads.
- Bring a bead forward before yarning over, pull it to the front, and complete the hdc. Place beads 9–11 stitches apart (or adjust spacing as desired).
- Rounds 10–18: Continue with 1 hdc in blo and 3rd loop per stitch in each round.
- Randomly place beads, focusing on natural-looking placement. Alternate rows with and without beads for a balanced look.
Brim (Rounds 19–23)
Round 19:
- ch 1, work in flo only.
- (2 hdc – increase in next st, 1 hdc in the next 6 sts), repeat around, join. (80 sts)
Round 20:
- ch 1, work in both loops.
- (2 hdc – increase in next st, 1 hdc in the next 7 sts), repeat, join. (90 sts)
Round 21:
- ch 1, (2 hdc – increase in next st, 1 hdc in the next 8 sts), repeat, join. (100 sts)
Round 22:
- ch 1, (2 hdc – increase in next st, 1 hdc in the next 9 sts), repeat, join. (110 sts)
Round 23 (Final Round):
- ch 1, (2 hdc – increase in next st, 1 hdc in the next 10 sts), repeat all the way around but do not sl st to join at the end.
Finishing the Hat
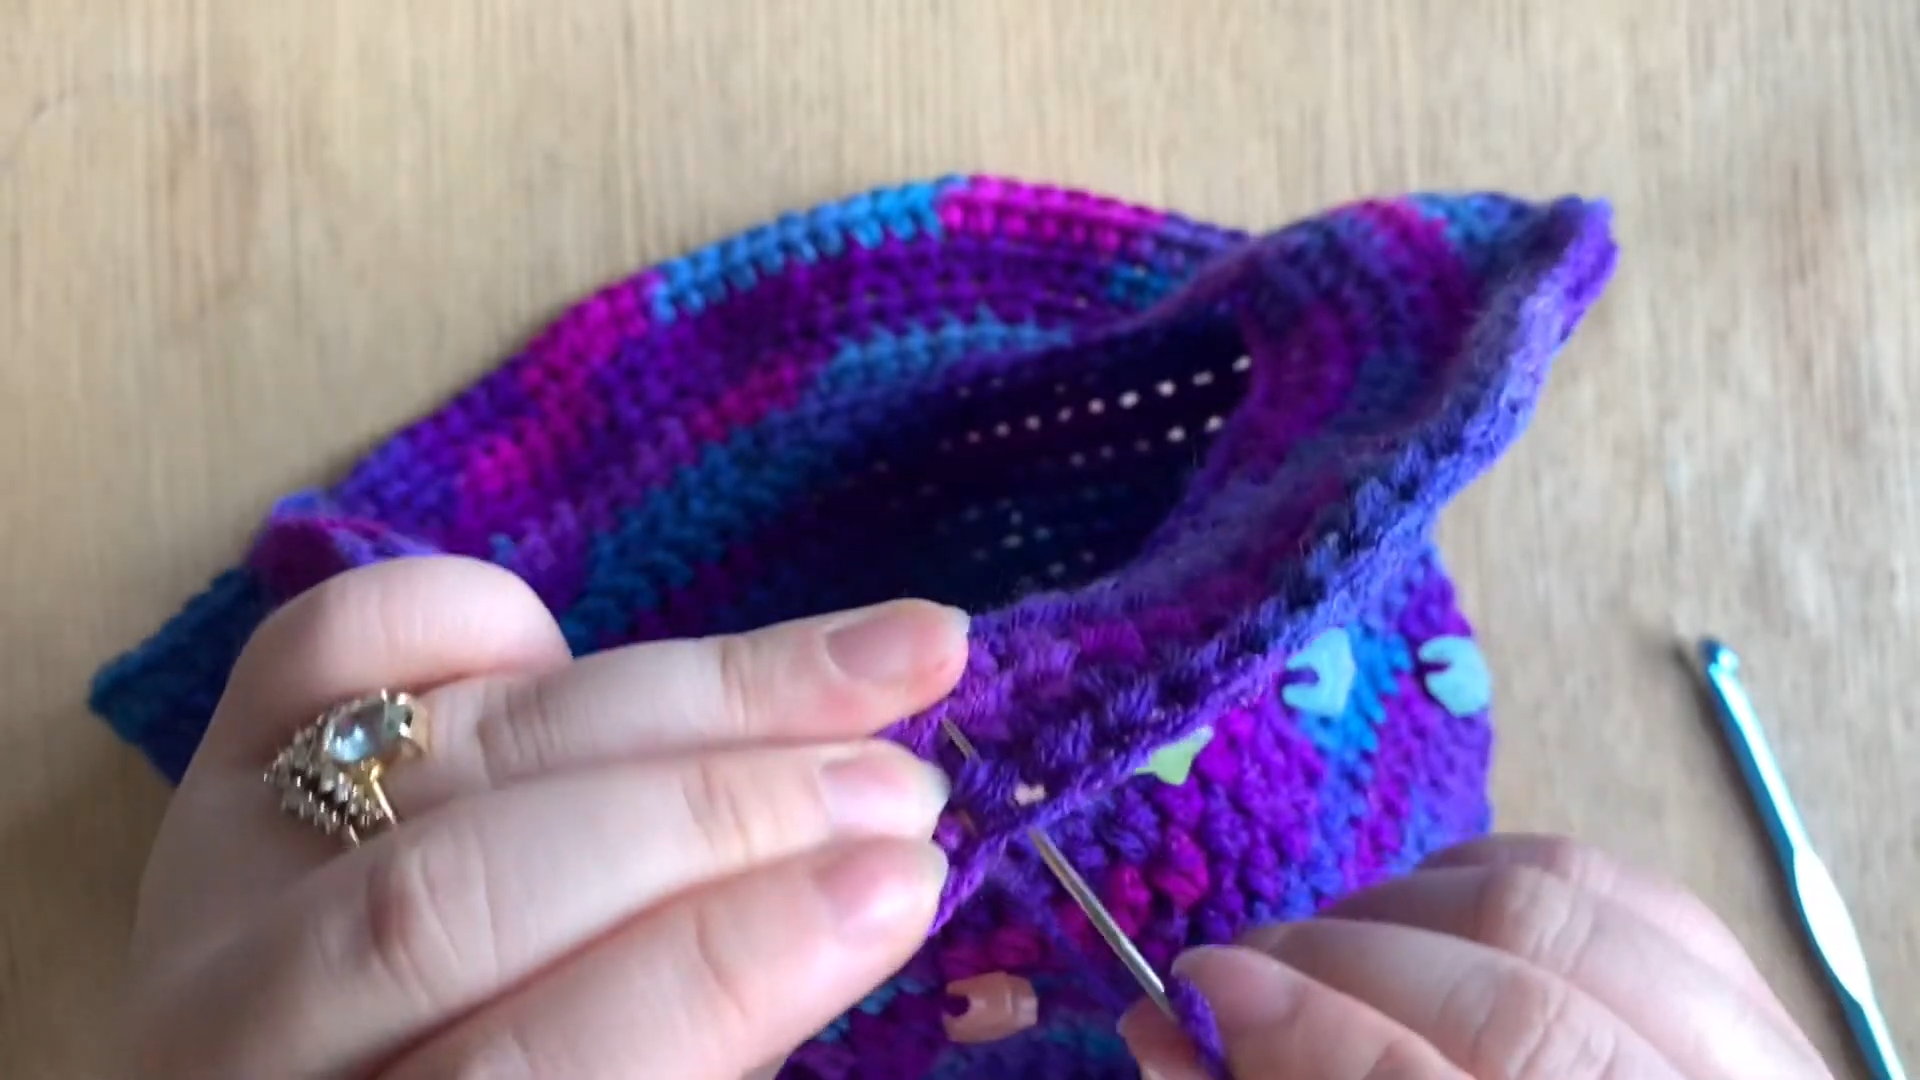
- Invisible Finish: Instead of joining, pull the yarn through the loop completely.
- Insert the tapestry needle under the first st of Round 23, create a seamless finish by mimicking the stitch. Pull through, and weave the end back into the last stitch.
- Weaving Ends:
- Weave in the yarn ends for at least 2 inches. Move back and forth 3 times for security. Trim excess yarn.
- Don’t forget to weave in the magic circle tail.
Additional Notes
- Glow-in-the-Dark Stars Placement: Space the beads evenly and randomly for a natural "galaxy star" effect. Avoid rigid spacing.
- Washing Instructions: Hand wash the hat carefully to preserve bead placement.