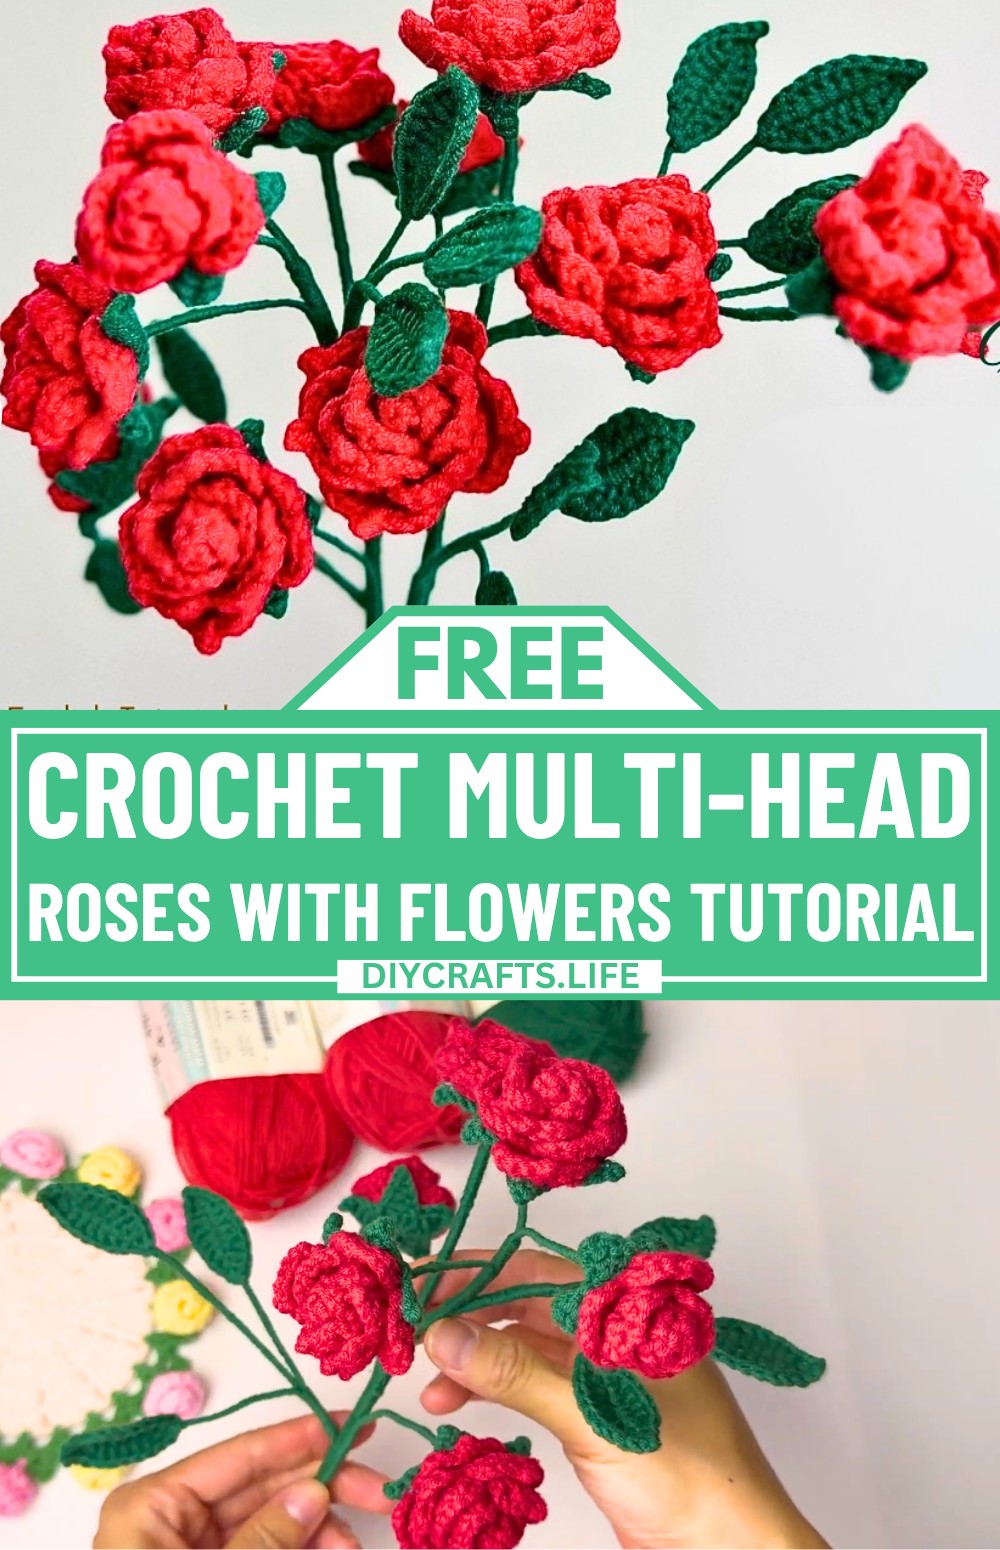
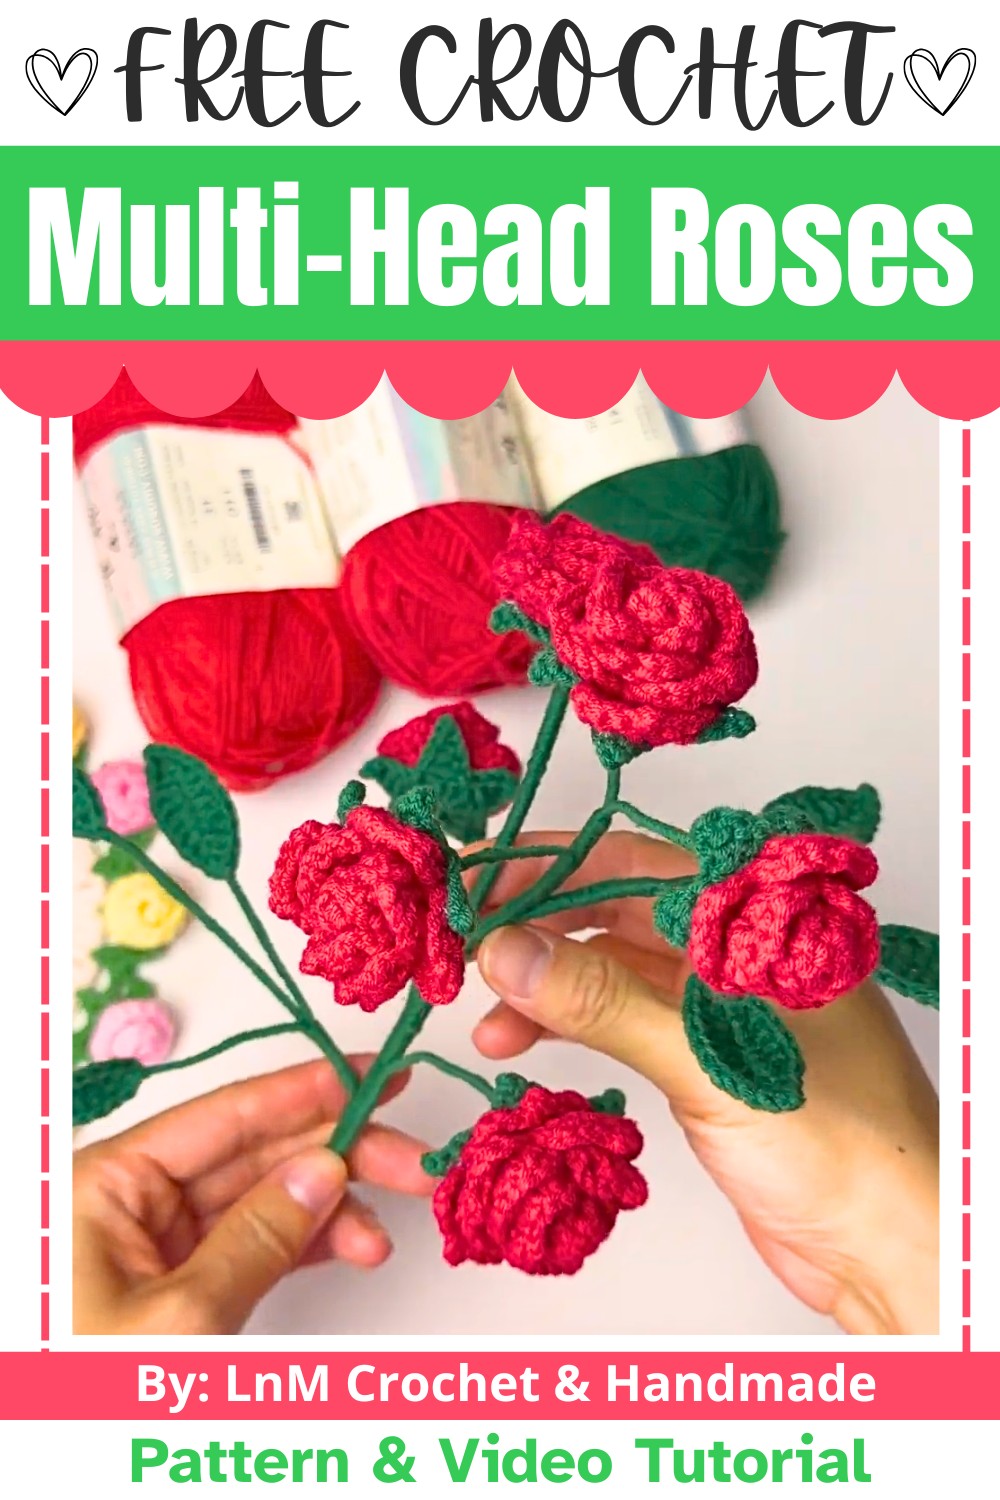
Crochet multi-head roses are a stunning way to bring flowers into your home that never fade. These handmade blooms feature vibrant petals and lifelike details, making them ideal for decorations, gifting, or simply brightening up your space. With multiple roses on a single stem, they create a bouquet effect perfect for special occasions, adding charm to tables, shelves, or even wrapped as unique floral gifts.
Crochet Multi-Head Roses with Flowers
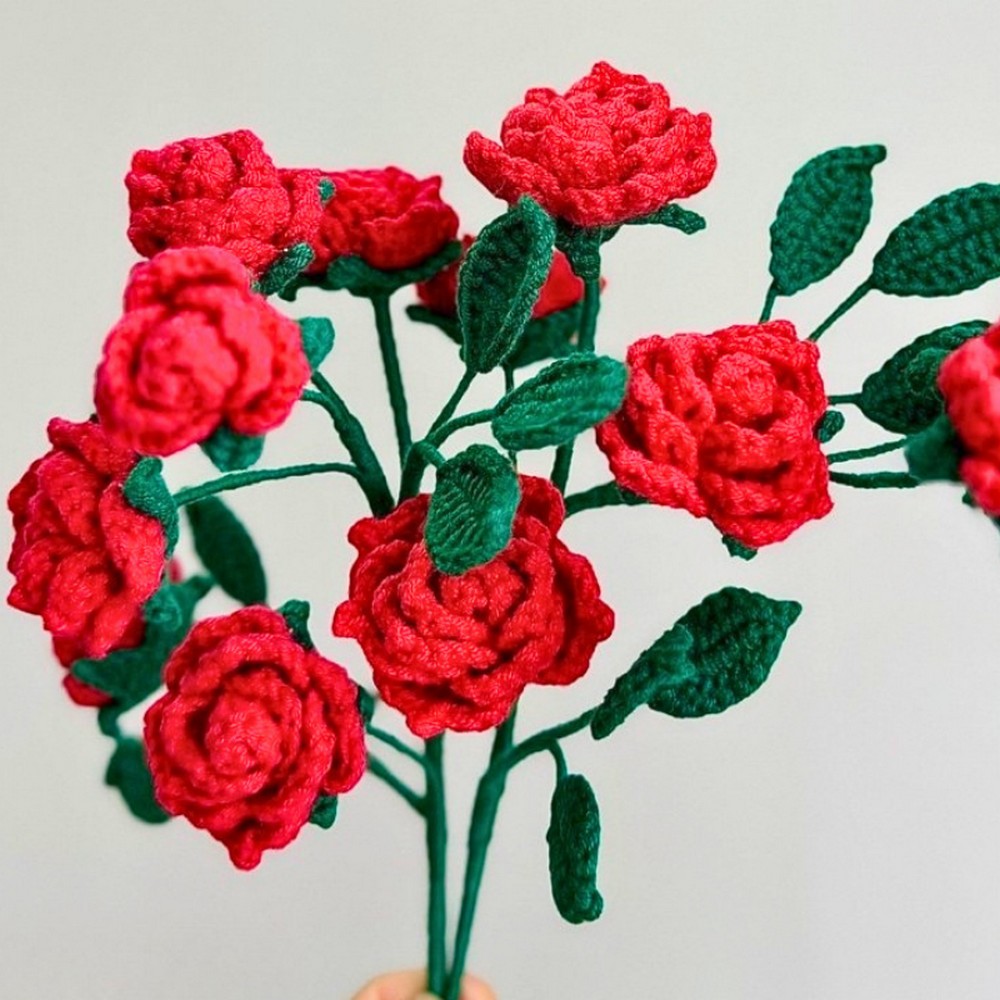
What makes this rose's design special is its versatility in color and arrangement. From crocheting large petals to delicate small roses, assembling the flowers and leaves is fun and creative. You can mix different shades to mimic nature or customize the colors as you wish. Beginners will enjoy working on this pattern; each element is straightforward and comes together beautifully. Whether you're crocheting flowers for décor, gift bouquets, or personal creation, these roses are a timeless choice.
Credit LnM Crochet & Handmade
Materials & Tools Needed
- Yarn:
- Susan thread yarn in different colors:
- Color #41 for leaves (Green).
- Color #35 (or preferred rose colors) for flowers.
- Yarn weight similar to DK or sport weight as per your choice.
- Susan thread yarn in different colors:
- Hook: Corresponding to yarn size (recommended range: 2.5 mm - 3.5 mm).
- Additional Tools:
- Floral wire:
- 2 longer wires (~30 cm) for the top leaves.
- 4 shorter wires for lower leaves.
- Fabric glue or hot glue gun.
- Scissors.
- Yarn needle.
- Floral wire:
Finished Size & Customization Ideas
- When fully assembled, the multi-head rose measures approximately 30–40 cm tall (including stem length).
- Customization Ideas:
- Experiment with gradient yarns for the roses to achieve a natural ombre effect.
- Add more rose heads and leaves to create fuller bouquets.
- Incorporate beads or embellishments for added detail.
- Adjust wire stem heights to create desired rose arrangements.
Pattern Abbreviations & Terminology
US Crochet Terms:
- ch: Chain
- sc: Single crochet
- hdc: Half double crochet
- dc: Double crochet
- tr: Treble crochet
- tr inc: Treble increase (2 trebles in the same stitch)
- sl st: Slip stitch
- picot edge: Chain 1, slip stitch into the last treble (or specified stitch)
Step-by-Step Crochet Instructions
Each component—large roses, medium roses, small roses, sepals, and leaves—is broken down for clarity. Follow along for exact stitch counts.
I. Large Roses (Make 2)
- Foundation:
- Begin with a slip knot and chain 47.
- From the second chain from the hook, work 46 sc (1 sc in each chain).
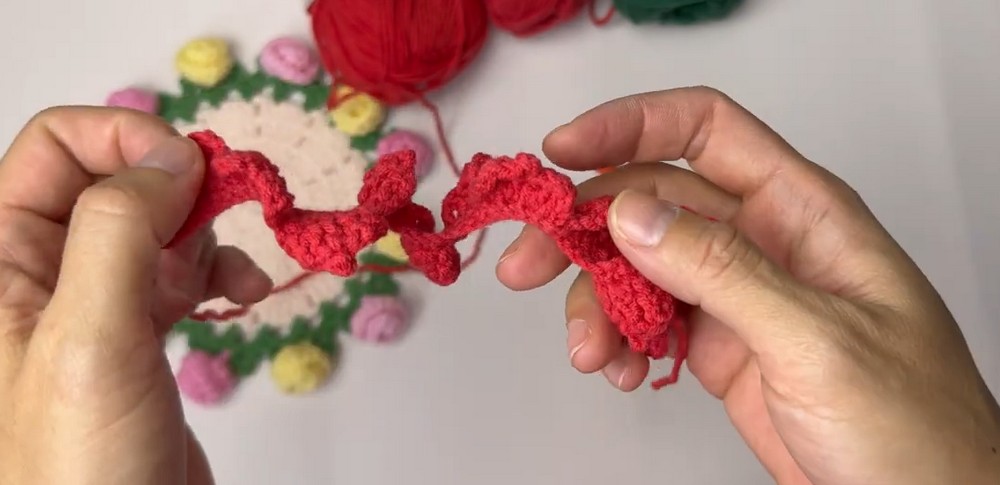
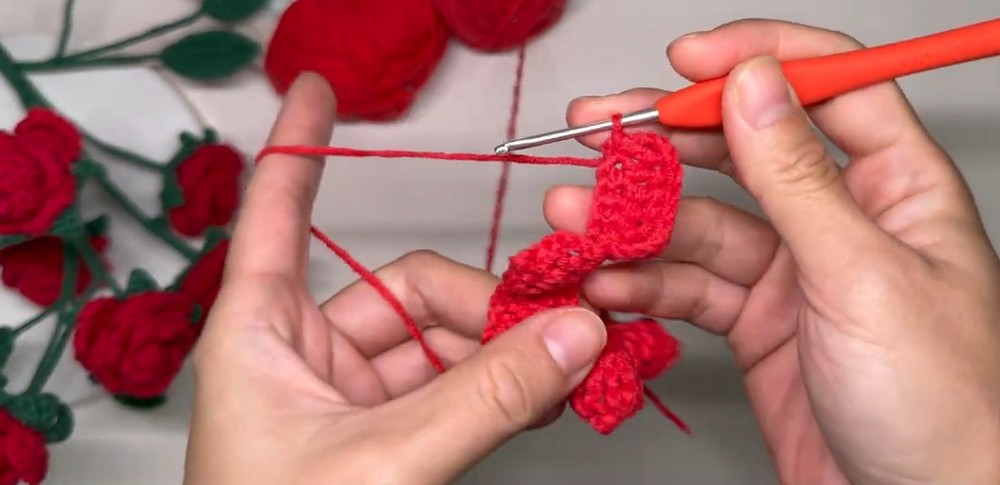
- Row 2: Form Petals
- Ch 3 (counts as the first treble).
- Into the first sc:
- Work 1 tr.
- In the next sc:
- Work tr inc (1 tr + 1 tr in the same stitch).
- Picot edge: Ch 2, sl st into the top of the last treble (creates picot).
- Next sc:
- 1 tr.
- Final sc of petal:
- 1 tr.
- Ch 3, sl st into the last treble.
- Repeat for the next 5 petals, working each petal across 4 stitches.
- Smaller Petals:
- Ch 3, turn.
- Work as before, but for this set:
- Use a shorter picot edge (Ch 1 instead of Ch 2).
- Repeat for 5 smaller petals, across 4 stitches each.
- Closing the Base:
- On the last 6 stitches, work:
- 6 tr, one per stitch.
- Finish with ch 3, sl st, and cut yarn—leave 20 cm tail for assembly.
- On the last 6 stitches, work:
II. Medium Roses (Make 3)
- Foundation:
- Begin with ch 35.
- From the second chain, work 34 sc.
- Row 2: Large Petals
- Ch 3 (counts as first tr), turn.
- Work 1 tr into each of the first 4 stitches of the base row following the large petal instructions. This produces 4 large petals, each on a 4-stitch base.
- Row 3: Smaller Petals
- Work 4 smaller petals following the same stitch sequence but across 3 stitches per petal.
- Final Section:
- On the last 6 stitches, work 6 tr, ch 3, sl st, and cut yarn.
III. Small Roses (Make 1)
- Foundation:
- Begin with ch 22.
- From the second chain, work 21 sc.
- Row 2: Small Petals
- Work 5 small petals following the same stitch sequence as for the medium flowers (3-stitch base per petal).
- Final Section:
- Work 6 tr, ch 3, sl st into last stitch, and cut yarn.
IV. Sepals (Make 6)
- Start with a Magic Ring:
- Ch 2 (does not count as a stitch).
- Into the ring:
- Work 10 dc.
- Tighten the ring and sl st into the first dc.
- Form Sepal Points:
- Ch 5.
- From the second chain from the hook:
- Work 2 sl st, 1 sc, and 1 hdc.
- Skip 1 dc and sl st into the next dc.
- Repeat for a total of 5 sepals.
- Cut yarn and weave ends.
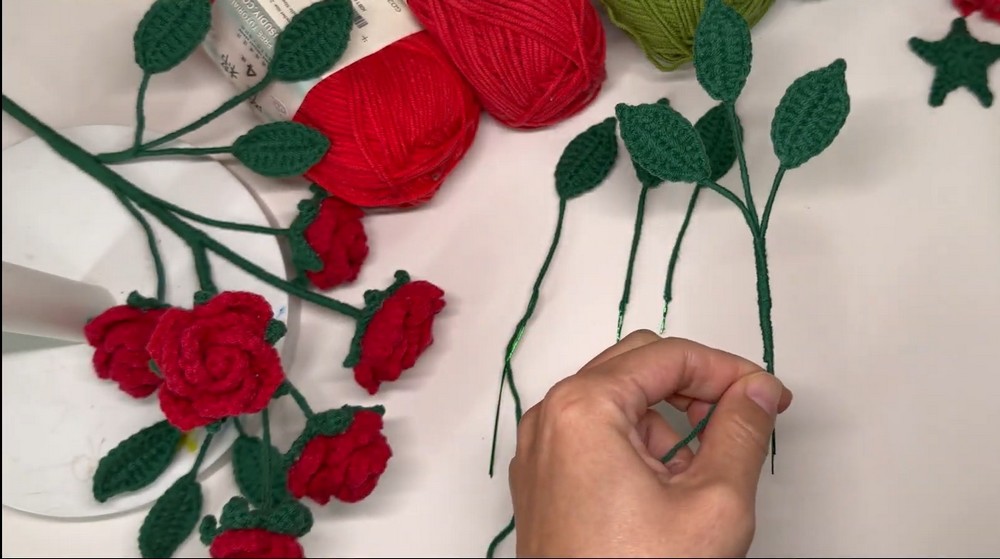
V. Leaves (Make 6)
- Foundation:
- Use green yarn and ch 10.
- Place floral wire behind the work.
- Leaf Edging:
- In the second chain from hook:
- Work 1 sc, 1 hdc.
- 5 dc across the next 5 chains.
- In the last stitch:
- Work 2 sc, 1 picot edge, then 1 sc.
- In the second chain from hook:
- Second Side:
- Mirror the first side:
- 5 dc, 1 hdc, and 1 sc.
- Sl st to create even edge, secure yarn, and wrap wire.
- Mirror the first side:
Assembling the Flowers
- Center the Flower:
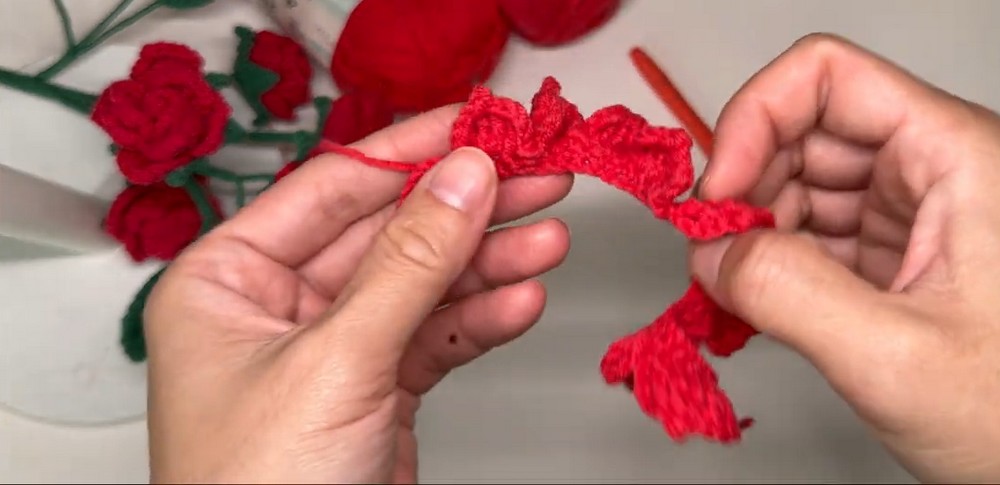
- Roll the base of each flower (starting with the treble-heavy center) to shape the rose.
- Insert wire at the base. Secure with glue and continue rolling.
- Attach Sepals:
- Insert the wires of the sepals into the base center. Glue in place.
- Create Stems:
- Wrap green yarn around wires, adding medium flowers, small flowers, and leaves along the stems.
- Final Arrangement:
- Attach large roses to the main floral wire. Adjust heights of leaves and flower stems as desired.
Finishing Touches
- Use fabric glue to secure the arrangement.
- Customize the placement of petals and leaves for a natural look.