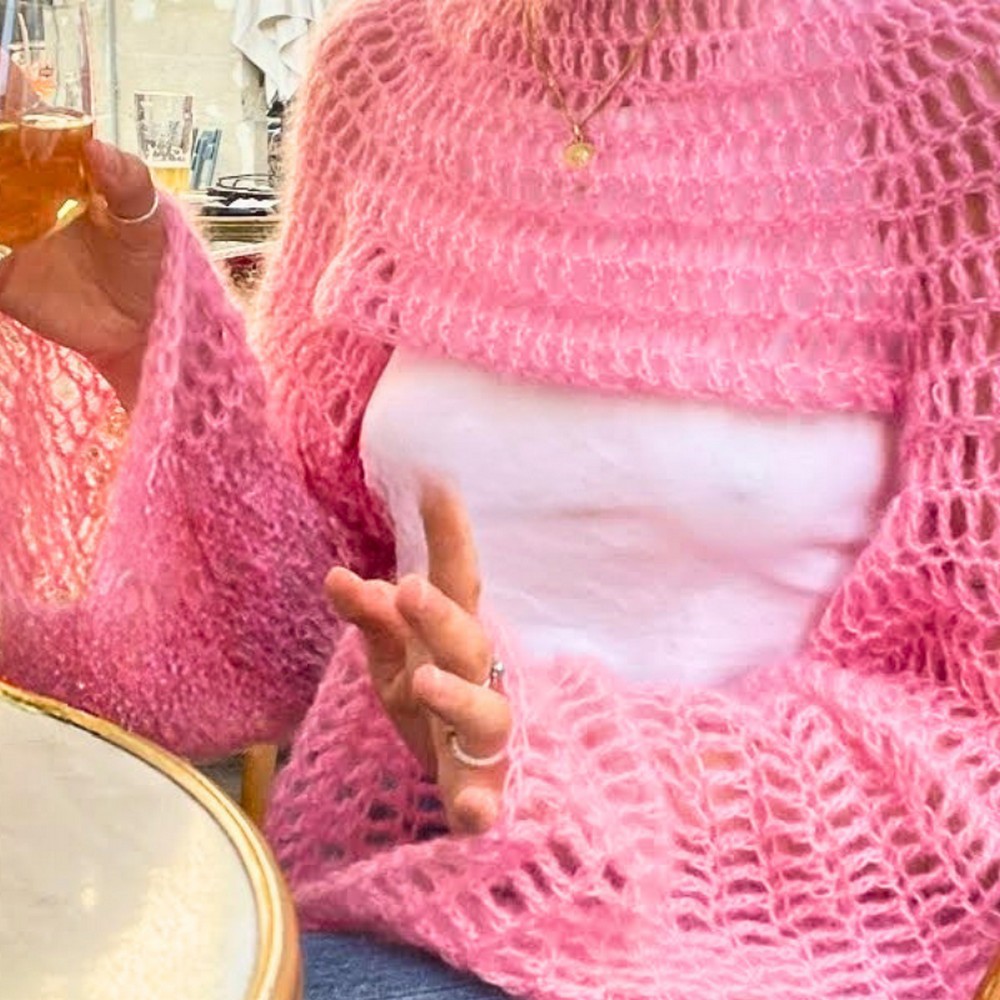
This stylish cropped shrug is a lightweight and breathable layering piece you'll love to wear. Made with a delicate mesh pattern, it’s perfect for adding a touch of elegance to any outfit. Whether you're pairing it with a dress on a warm day or layering it over a casual t-shirt, this shrug fits any occasion. Its unique open-work stitch gives it a modern, breezy feel, great for showcasing your crochet skills.
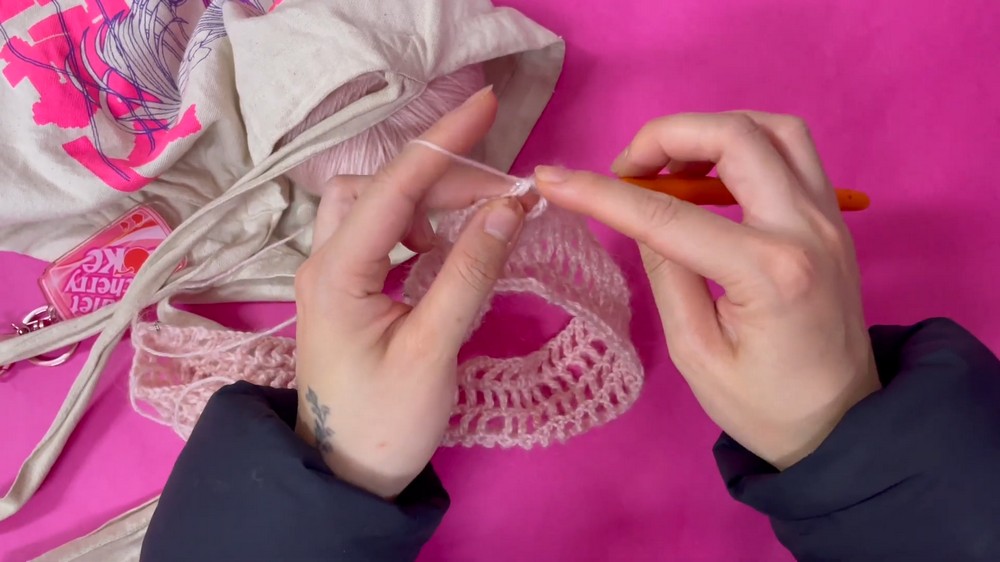
Crochet Cropped Shrug Tutorial
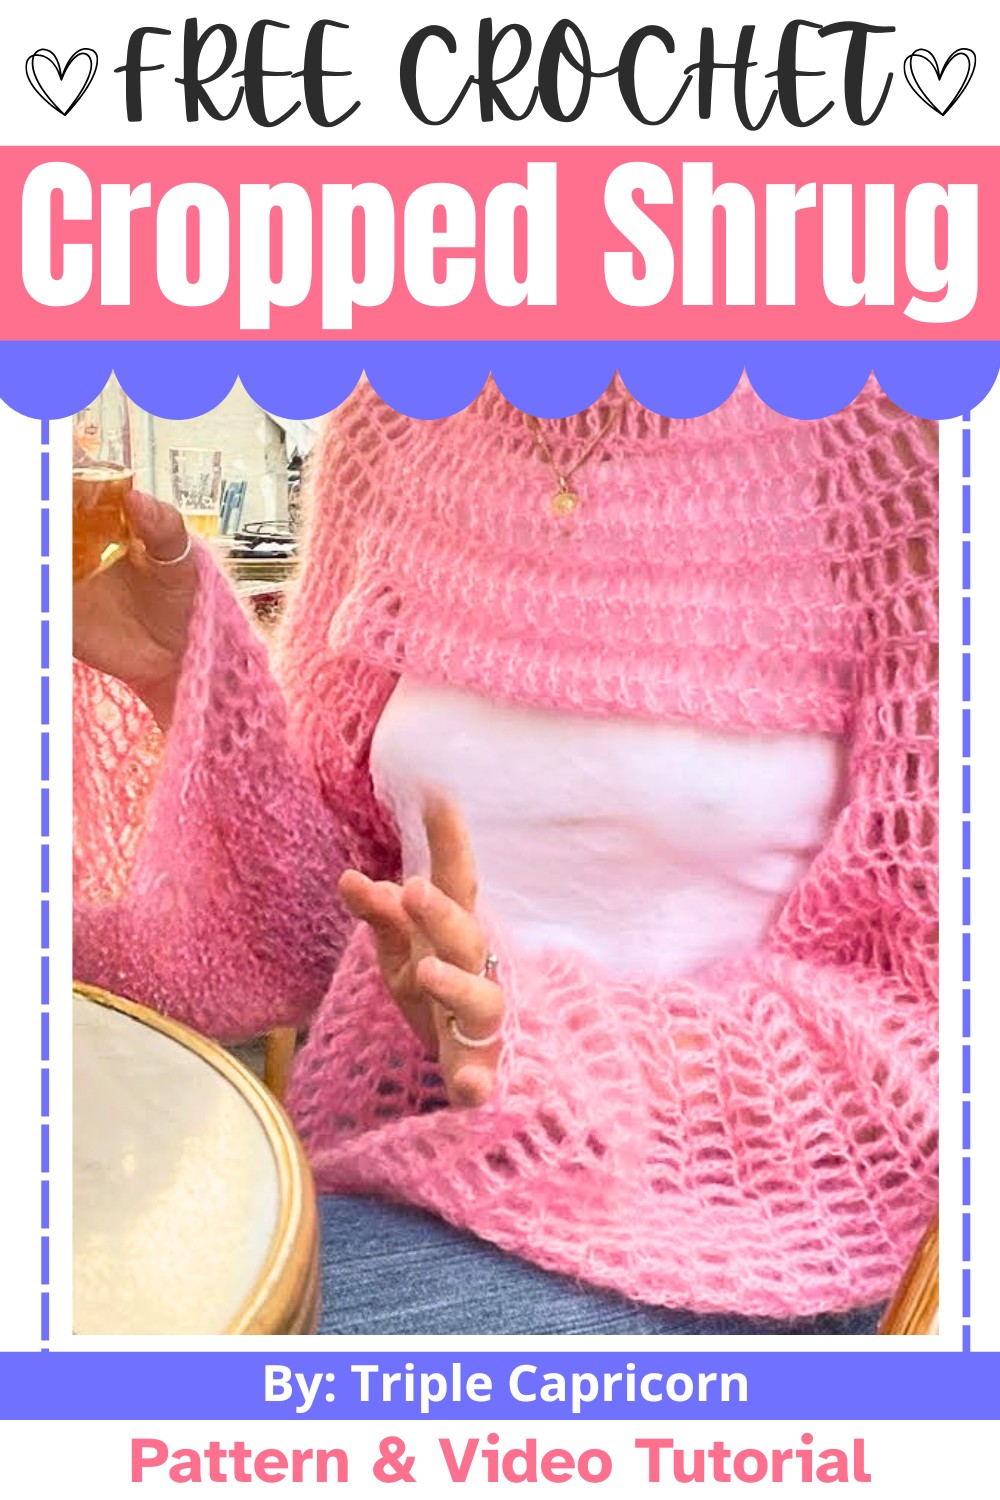
What makes this shrug even better is how beginner-friendly it is to make. Instead of fixed sizes, this pattern follows a flexible, made-to-measure approach, allowing you to create the perfect fit. Using basic crochet stitches, you’ll create a flattering raglan sleeve design that’s simple yet stylish. The tutorial also shows you how to customize details like sleeve length and neckline size, so your shrug suits your personal style. It’s ideal for first-timers looking to create their very first wearable crochet piece.
Credit Triple Capricorn
Materials & Tools Needed
- Yarn: Fine yarn (wool and mohair blend recommended for a soft, halo-like texture).
- Feel free to use any yarn of your choice, though fluffy yarn is ideal for this project.
- Crochet Hook: 3 mm ergonomic aluminum hook.
- Additional Tools:
- Measuring Tape (optional, for a made-to-measure approach using personal garment dimensions).
- Scissors.
- Stitch Markers (useful for marking increase points).
- Darning Needle (for weaving in ends).
Finished Size & Customization Ideas
- The tutorial follows a made-to-measure method, making this shrug easy to customize for any size.
- Suggested starting length for the foundation chain: approximately 70 cm (27.5 inches) for an oversized neckline. Adjust this as needed, ensuring the chain count is a multiple of 4 for proper pattern alignment.
- Customization options:
- Vary the foundation chain length to adjust the neckline size.
- Add or reduce sleeve length by adjusting the number of rounds worked.
- Alter the flare of the sleeves by increasing more or less actively.
Pattern Abbreviations & Terminology
(Using US Crochet Terms)
- Ch: Chain
- Sl St: Slip Stitch
- Tr: Triple (or Treble) Crochet
- YO: Yarn Over
Step-by-Step Crochet Instructions
1. Yoke (Neckline)
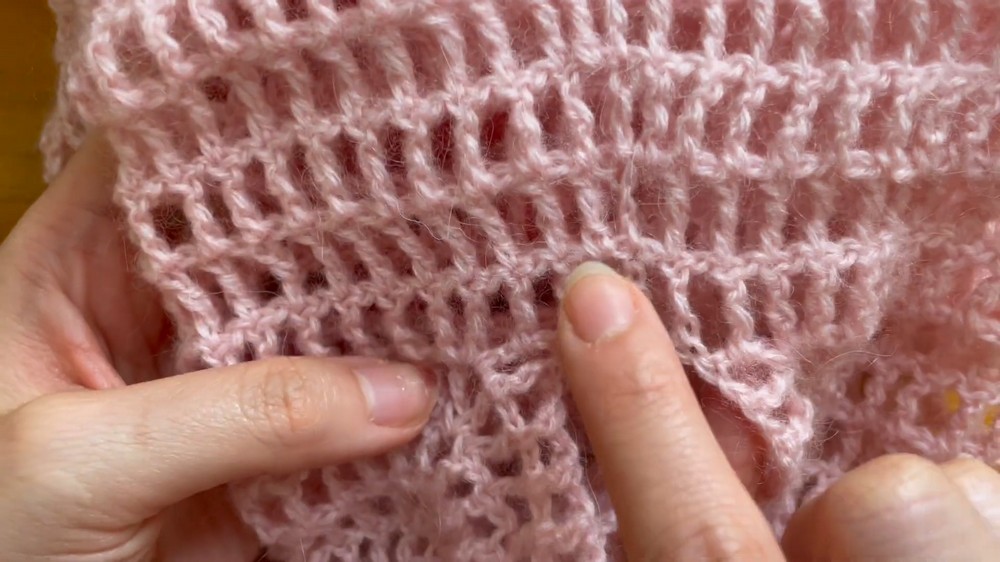
The yoke forms the mesh foundation of the shrug.
- Foundation Chain:
- Work a foundation chain of 120 chains (adjust length as desired, ensuring the count is a multiple of 4).
- Join the chain into a ring with a slip stitch (sl st), ensuring the chain is not twisted.
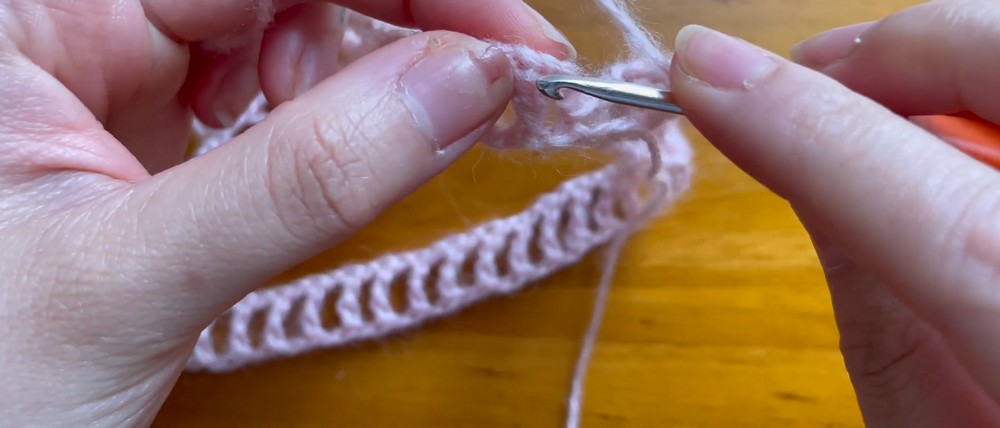
- Round 1:
- Chain 4 (counts as 1 Tr + Chain 1).
- Skip the next chain, Tr into the following chain, Ch 1. Repeat across the entire foundation chain.
- Complete the round with a sl st into the 3rd chain of the starting chain.
- Round 2: Adding Increases:
- Fold the work in half and roughly mark out four points (sleeve and body increase points) using stitch markers.
- Start the round with Ch 4 and turn your work.
- Work the repeating pattern (Tr, Ch 1) until you reach one of the marked points. Into each marked chain space, work:
- (Tr, Ch 1, Tr) (this forms a V-stitch and adds an increase point).
- Replace the stitch marker into the Ch-1 space created above.
- Continue with the Tr, Ch 1 pattern repeat, adding increases at the remaining three marked points.
- Complete with a sl st into the 3rd chain of your starting chain.
- Rounds 3+:
- Continue working rounds with a Ch 4 start, turning your work each time to keep the seam straight.
- Add increases at each previously marked chain space (Tr, Ch 1, Tr).
- Maintain the mesh pattern (Tr, Ch 1) across all other stitches.
- Repeat until the yoke reaches just under your armpits.
- Test the fit by trying it on over your head.
2. Splitting for Sleeves
- Work the final yoke round as normal, but at each increase point (where marked):
- Work 1 Tr into the chain space, then chain a flexible number (start with Ch 5, adjust for fit) to connect the gap between sleeve sections, and work into the next increase point's chain space.
- This creates the sleeve openings.
- Complete the round and secure with a sl st into the 3rd chain of the starting chain.
3. Sleeves
The sleeves are flared and customizable to length.
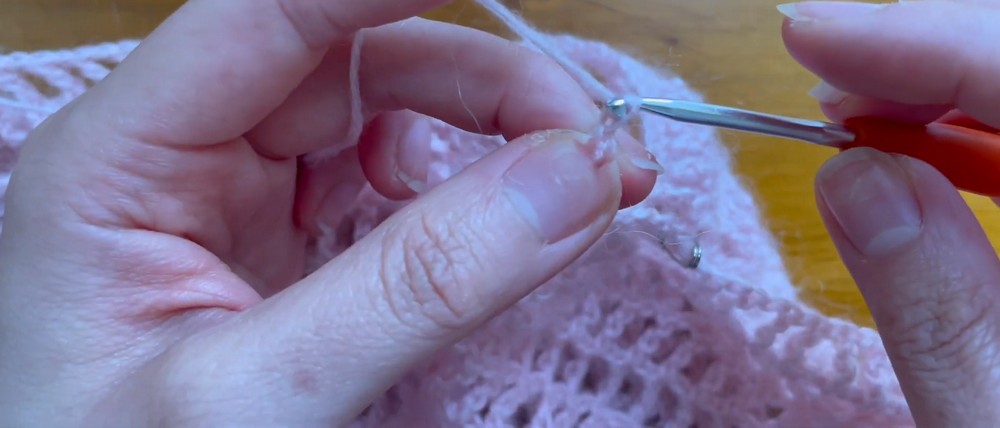
- Joining Yarn:
- Attach yarn at the underarm's Ch-5 base for a discreet connection.
- Ch 4 to begin. Ensure the sleeve rounds face the correct side for consistency with the stitch flow.
- Round 1:
- Work the mesh pattern (Tr, Ch 1) around the sleeve opening.
- Ensure you work into both previously marked chain spaces symmetrically.
- Finish with a sl st into the 3rd chain of the starting chain.
- Round 2+: Gentle Flare:
- To increase the flare, start the round as usual but add an additional (Tr, Ch 1) into the chain space next to the starting chain.
- Continue the mesh pattern as normal for the rest of the round.
- Work Additional Rounds:
- Repeat the increase technique for as many rounds as desired (e.g., 5–10 rounds for a moderate flare, 15–16 for a pronounced flare).
- When the flare is complete, work several rounds of mesh without increases until the sleeve reaches your desired length.
- Finishing the Sleeve:
- Sl st into the 3rd chain of your starting chain, fasten off, and weave in ends securely.
4. Finishing the Body
- Add any final rounds to the body (if needed) to match the sleeve's length and the overall fit.
- Slip stitch to finish and weave in ends securely.
5. Blocking (Optional)
- Gently steam block the shrug to even out stitches and improve drape.
Final Notes
- This shrug is versatile and suited for all sizes due to its made-to-measure construction.
- Wear it with style and tag the creator if showcasing it on social media!