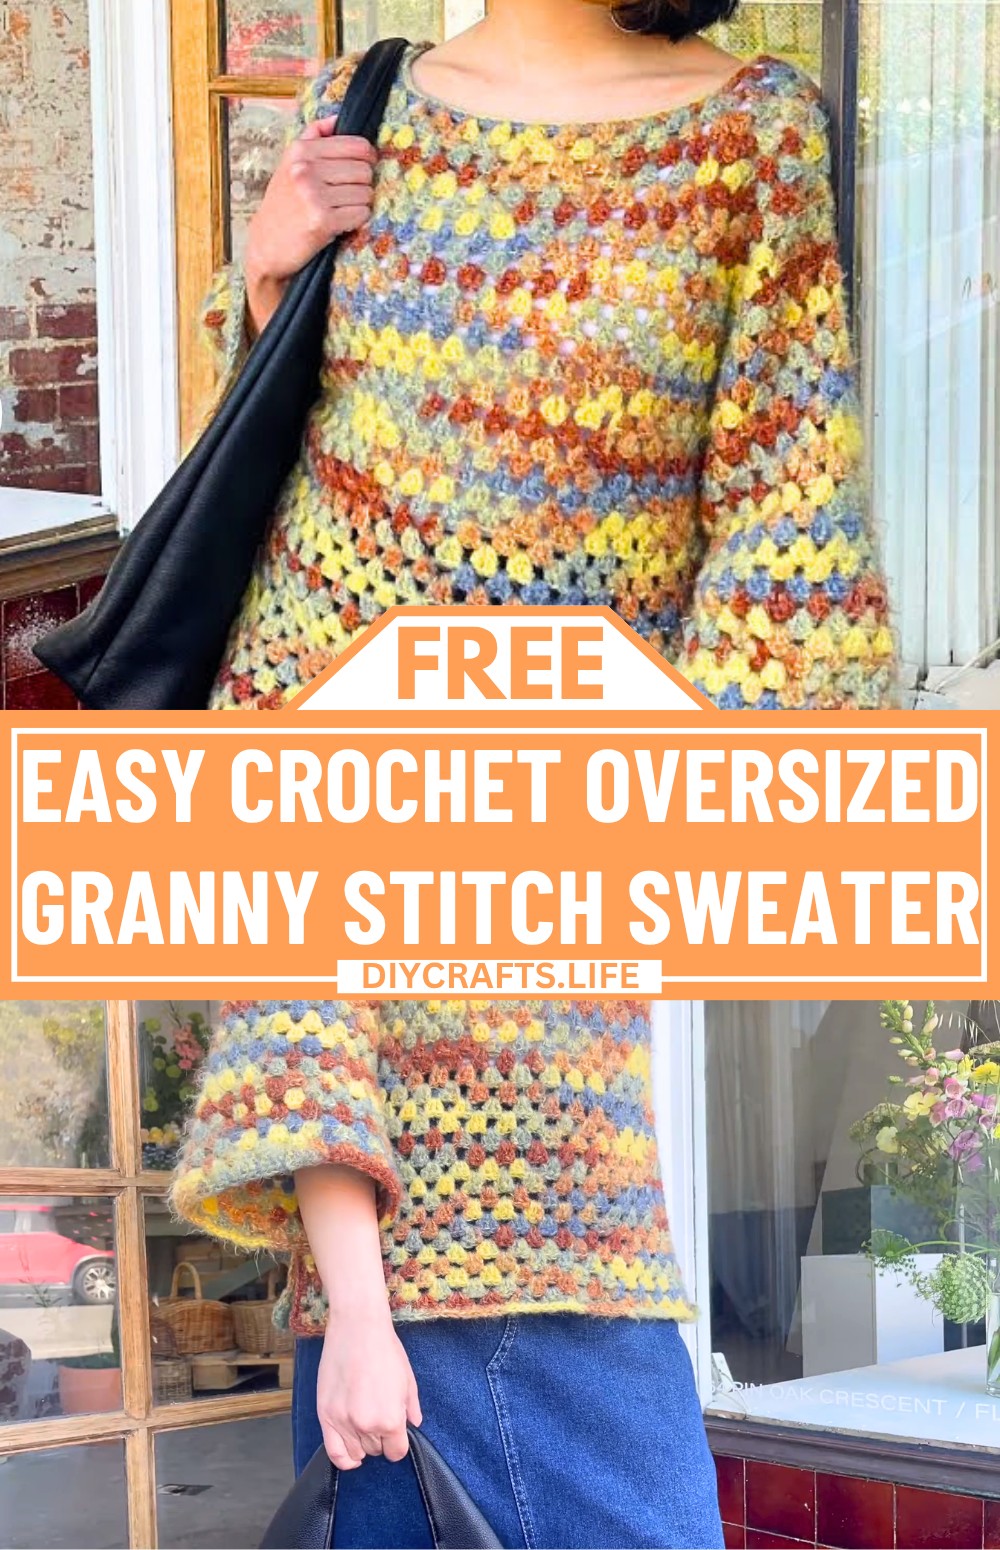
An oversized granny stitch sweater is both stylish and cozy, perfect for layering during cooler seasons. Its timeless design combines classic crochet stitches with a modern oversized fit, making it great for casual outfits or simply lounging comfortably at home. With its relaxed shape, it suits a variety of body types and feels light yet warm on the skin.
Crochet Oversized Granny Stitch Sweater Tutorial
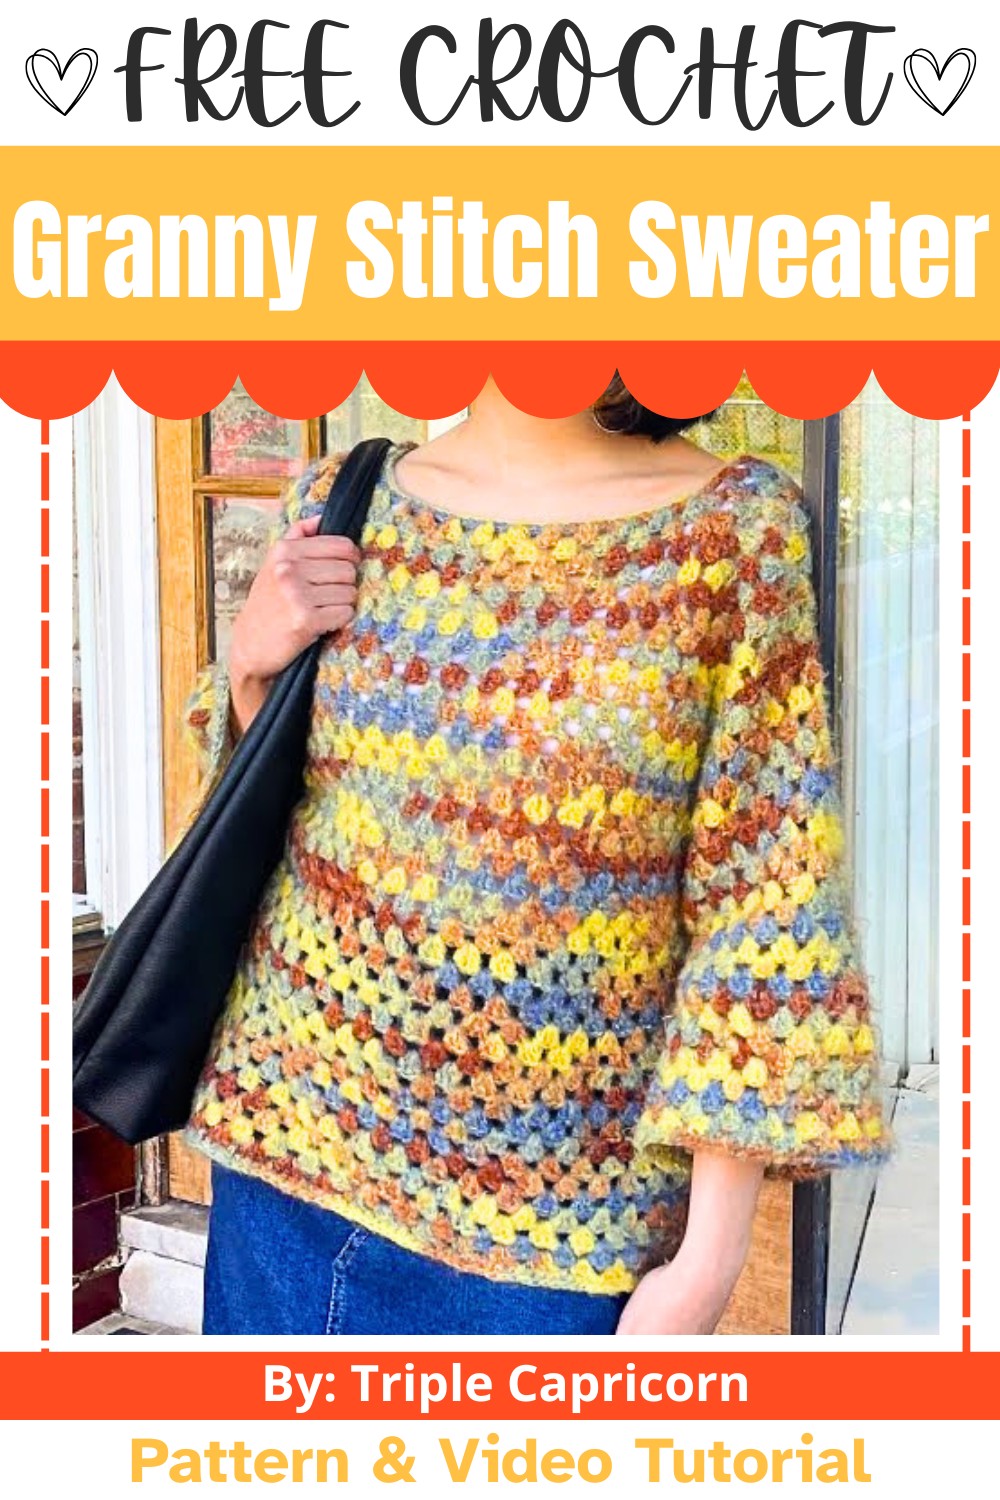
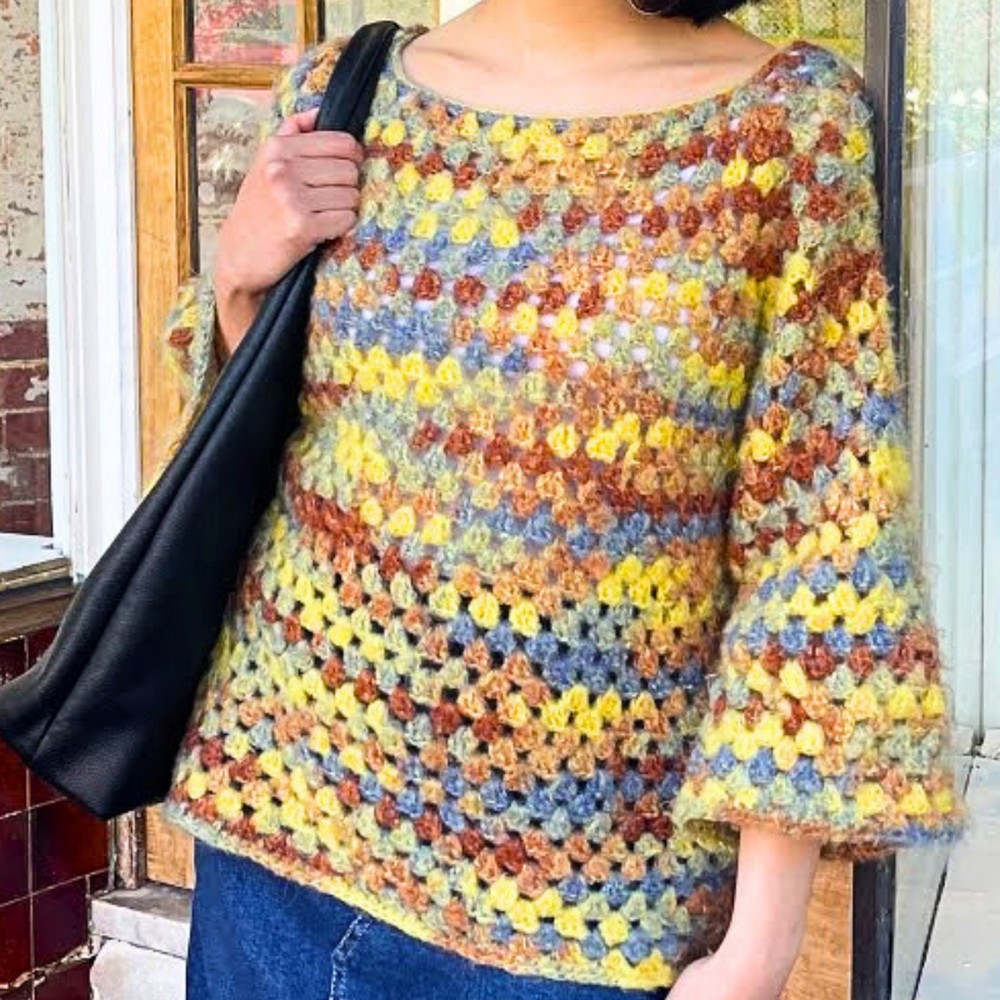
This sweater stands out because of its simple yet elegant granny stitch pattern. It’s designed using a practical top-down raglan style, meaning it’s crocheted in one seamless piece without complicated joins or panels. Beginners will love how the repetitive clusters create uniform textures while making the process easy to follow. While details like sleeve shaping and hem can be personalized, the overall pattern is intuitive and rewarding for anyone ready to create a wearable crochet masterpiece.
Practical Use
Not only does this sweater look great, but it’s versatile too. Wear it with jeans or leggings for a casual day out, layer it over tank tops, or even style it with your favorite accessories for a unique look. You can also customize sleeve lengths or body length to match your personal preference, making this piece truly yours.
Credit Triple Capricorn
Materials & Tools Needed
- Yarn: Choose a yarn suitable for your sweater size. The tutorial suggests a yarn that works well for oversized garments, such as worsted weight yarn or similar.
- Crochet Hook: The specific hook size wasn’t mentioned in the scrape, but use a hook size that matches your yarn label recommendation (e.g., 5.0mm or larger for worsted weight yarn).
- Stitch Markers: At least 6 markers, used for marking increase points and other sections.
- Tapestry Needle: To weave in the ends.
- Measuring Tape: To measure dimensions for proper fit.
- Scissors
Finished Size & Customization Ideas
The finished sweater size depends on the number of foundation chains you create and the number of rounds worked. The pattern is customizable as follows:
- Foundation Chain Length: Chain any multiple of 3 to customize the neckline width. Example given: 120 chains for an oversized neckline.
- Sleeves: Add rounds to make them longer or stop earlier for shorter sleeves.
- Body Length: Make the sweater longer or shorter by adding/subtracting rounds from the body.
- Optional Split Hem: Add split hems for a stylish finish.
Pattern Abbreviations & Terminology
The tutorial uses US crochet terminology. Here are the key abbreviations:
- ch: Chain
- sl st: Slip Stitch
- sc: Single Crochet
- dc: Double Crochet
- sp: Space
- cluster: A group of stitches worked into the same stitch or space (in this project, clusters are 3 double crochets worked together).
- YO: Yarn Over
Step-by-Step Crochet Instructions
Each component is broken into detailed numbered steps as per the tutorial.
Component 1: Foundation Chain & Yoke Beginning
- Create a Slip Knot: Leave a 15cm (6-inch) tail. Wrap the yarn in an "X" over your middle and forefinger, pull through the top strand, and form a loop on your hook.
- Chain for the Neckline: Work any multiple of 3 (e.g., 120 chains). Use stitch markers to count easily.
- Join the Chain into a Round: Ensure the chain isn’t twisted. Slip stitch into the third loop of the first chain for extra elasticity.
- Start the Yoke:
- Remove the stitch markers.
- Round 1: Chain 1 and work sc into the third loop of every chain. Once you finish, join with a sl st into the first sc.
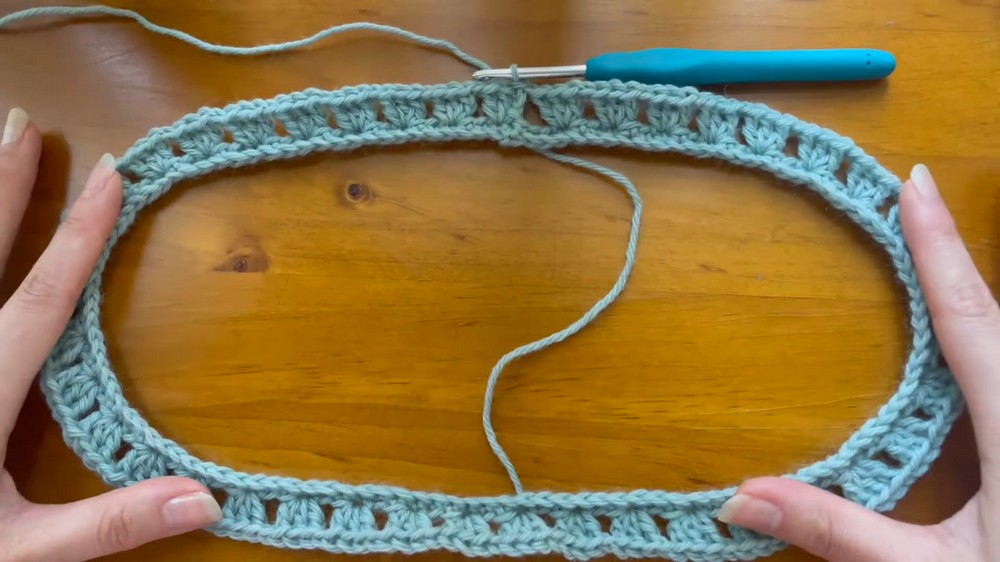
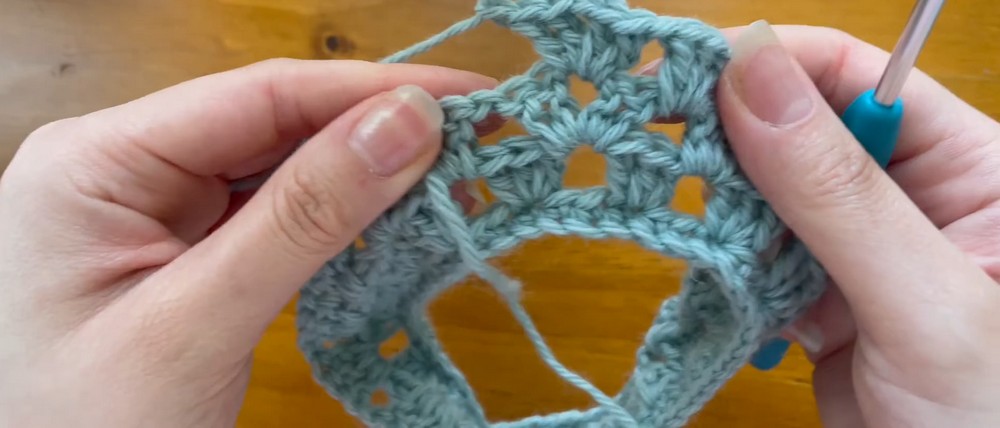
Component 2: Granny Stitch Pattern & Yoke Expansion
- Round 2 - Start Granny Stitch Clusters:
- Chain 3 (counts as a dc), work 2 dc into the base of the same stitch, and chain 1.
- Skip 2 stitches, then work another cluster (3 dc) into the next stitch. Repeat this across the round.
- At the end, join with a sl st into the third chain of the starting chain.
- Increase Points for Raglan Sleeves:
- Divide the round into 4 sections for increases: two wider edges for the front and back (12 clusters each) and two shorter edges for sleeves (8 clusters each). Mark chain spaces at each increase point.
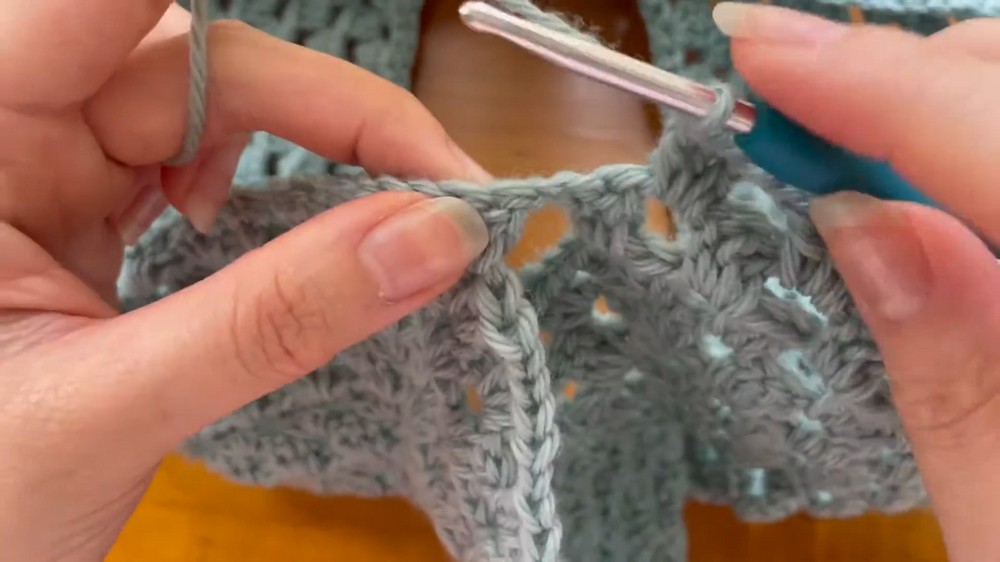
- Round 3+:
- Chain 3, turn your work for a straight seam. Work clusters normally into chain spaces.
- At each increase point, remove the marker, and create
2 dc, ch 1, 2 dc, ch 1into the marked chain space. Return the marker to the newly created chain space. - Continue in this pattern until the yoke reaches the armpit length. Test fit to check sizing.
Component 3: Splitting for Sleeves
- When yoke is at armpit length, split for sleeves:
- Work clusters as usual until the first increase point. At the marker, create
2 dc, ch 1, then immediately join the next increase point by working2 dc, ch 1into its chain space. This creates the sleeve opening. - Continue working clusters normally until the next pair of increase points to repeat the process for the second sleeve.
- Work clusters as usual until the first increase point. At the marker, create
- Try the sweater on after this round to ensure comfortable fit at the sleeves.
Component 4: Body of the Sweater
- Continue working granny stitch clusters in rounds to build the body. The tutorial suggests 30 rounds for the main body section, but adjust based on your desired length.
- Optional Split Hem:
- Mark the midpoint between the front and back clusters to determine where the split will be.
- Tie off yarn and rejoin at either split marker. Work clusters in rows (not rounds), turning work at the end of each row. The tutorial suggests 8 rows for the hem length.
- Finish each hem with a row of sc along the edge.
Component 5: Sleeves
- Join yarn at the edge of the sleeve opening (near the armpit for less visible seams).
- Work granny stitch clusters around the sleeve in continuous rounds. Repeat until the desired sleeve length is reached (e.g., 28 rounds suggested in the tutorial).
- Finish with a row of sc around the sleeve opening for a clean edge.
Final Steps:
- Tie off all loose ends securely and weave them in using a tapestry needle.
- Steam block or wash the sweater for a polished, wearable finish.
Customizing Color Changes (Optional)
For color blocks or stripes:
- Change colors at the start of any round. Tie off the current yarn and join a new yarn by tying it into the chain space near the seam. Continue with your pattern.

Summary of Stitch Counts
- Neckline: Chain in multiples of 3 (e.g., 120)
- Clusters: Front/Back sections have 12 clusters each; sleeves have 8 clusters each.
- Body Length: 30 rounds (or personal preference)
- Sleeves: 28 rounds (or personal preference)
- Split Hem: 8 rows