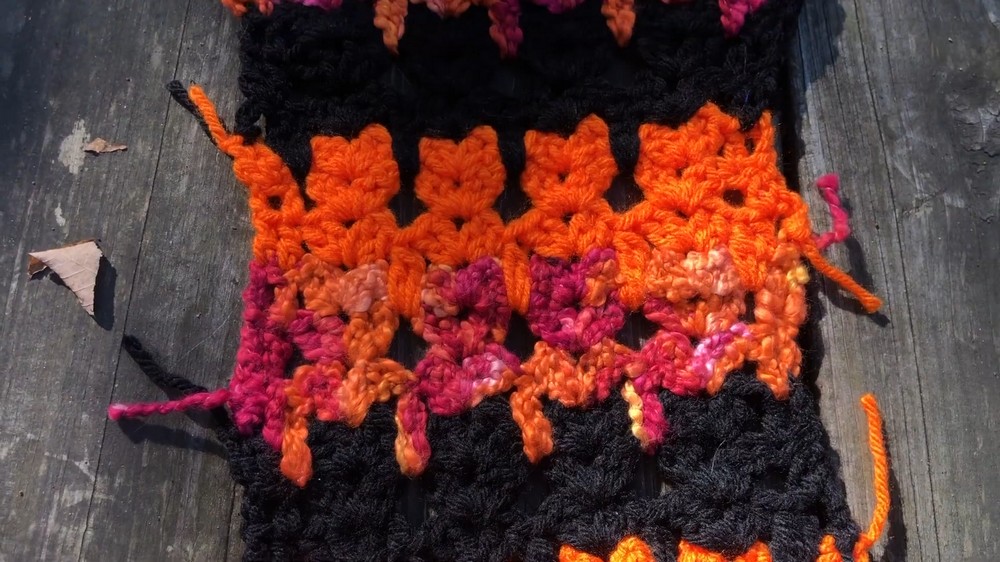
This cat stitch is a decorative and eye-catching crochet technique that includes cat-inspired motifs in handmade designs. This stitch features carefully crafted elements such as pointed ears, paw details, and textured. These details make the fabric look like a cat and give it a special design.
Crochet Cat Stitch Tutorial
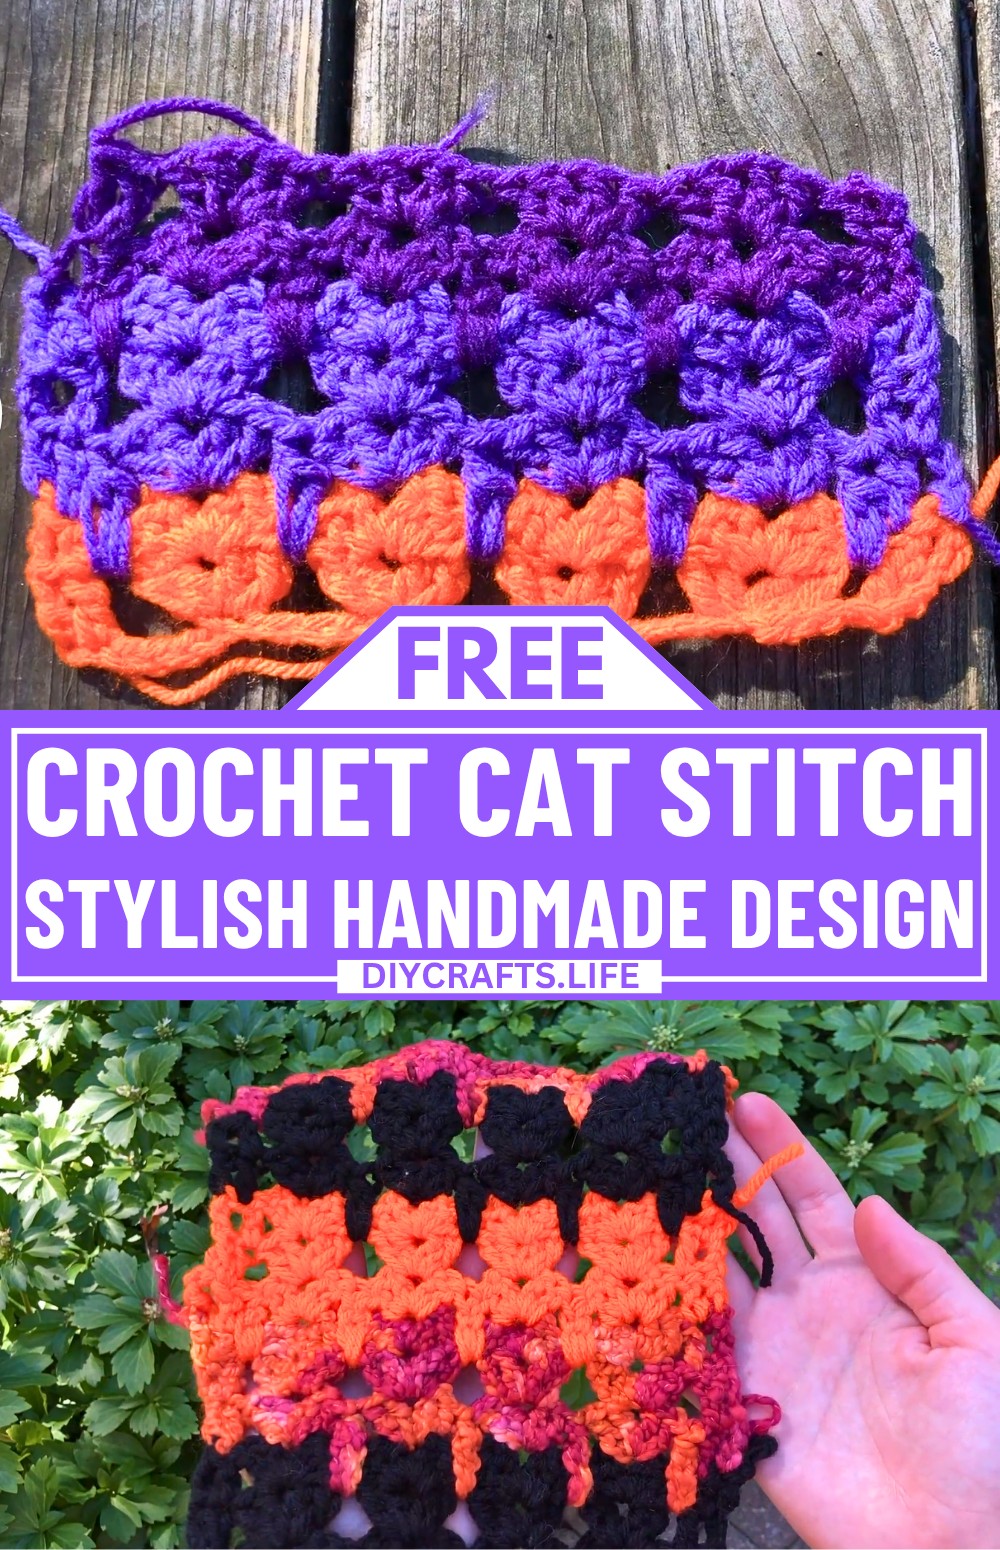
Due to its playful yet stylish look, this stitch has become especially popular in seasonal crochet collections, particularly for fall and Halloween-themed Creations. It enhances a handmade piece by combining creativity with comfort, making the final product not only cozy but also uniquely expressive and trend-focused.
Credit Wife of a Writer
Materials and Tools Needed
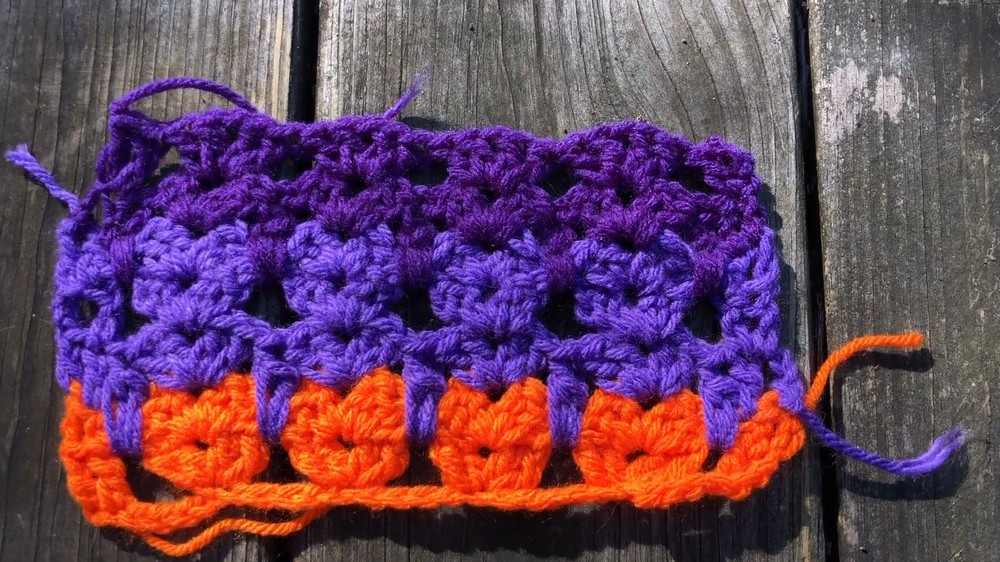
- Yarn: Medium-weight acrylic yarn in three contrasting colors (Halloween-themed colors recommended for festive vibes).
- Hook: 4.25 mm crochet hook. Adjust size for tighter or looser stitches:
- Use a smaller hook for tighter stitches.
- Use a larger hook for looser stitches.
- Scissors
- Tapestry Needle: For weaving in loose ends.
Finished Size & Customization Ideas
- This pattern is worked in multiples of 5, allowing easy customization of width for scarves, blankets, or even sweaters.
- Example ideas:
- Scarf: A narrower width using fewer stitches.
- Blanket: A larger piece with extended multiples.
- Sweater: Incorporate panel designs featuring the cat stitch.
- Adjust the length by repeating the rounds and alternating colors to suit your preference.
Pattern Abbreviations & Terminology
- Ch: Chain
- Dc: Double Crochet
- Ch sp: Chain space
- Ext2dctog: Extended Double Crochet Two Together
- Sl st: Slip Stitch
- St: Stitch(es)
Step-by-Step Crochet Instructions
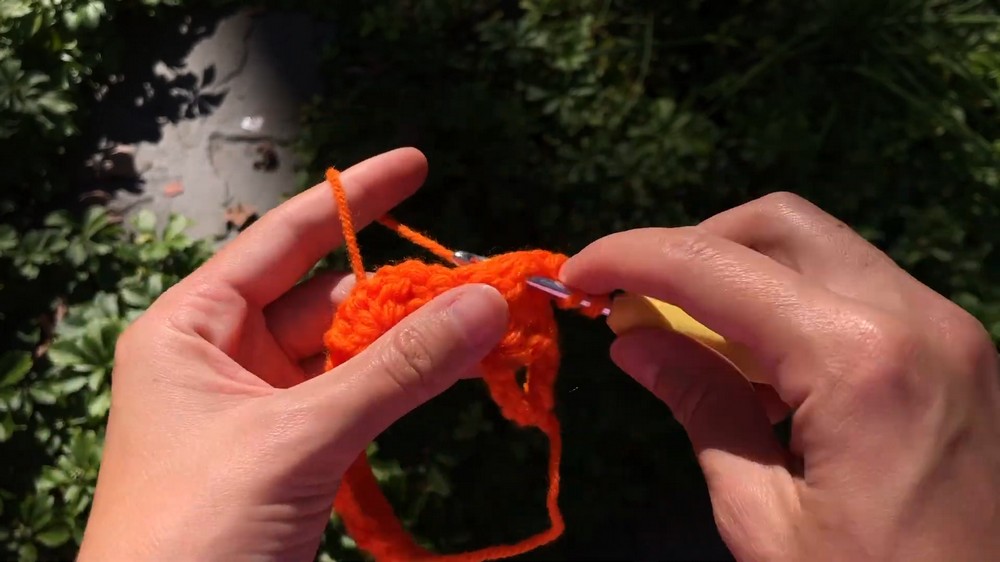
Foundation Chain
- Make Slip Knot: Create a slip knot using your preferred method.
- Chain Multiples of 5: Chain 30 stitches (or adjust the starting chain length as desired—ensure it’s divisible by 5).
Round 1: Establishing Base
- Skip the first 3 stitches (counts as 1 double crochet).
- Double crochet (dc) into the 4th stitch from the hook.
- Skip 4 stitches, then create a shell into the 5th stitch by working:
- 2 double crochets (dc) into the same stitch.
- Chain 1.
- 2 double crochets (dc) into the same stitch.
- Continue creating shells in this manner:
- Skip 4 stitches, then work a shell into the next stitch.
- When 6 stitches remain, skip the next 4 stitches and dc into the last 2 stitches.
- This completes Round 1.
Round 2: Shell Stitch Setup
- Chain 3, turn your work.
- Double crochet (dc) into the next stitch.
- Work one shell into each chain-1 space from the previous row:
- 2dc, ch1, 2dc into each chain-1 space.
- Finish the round by dc into the last 2 stitches.
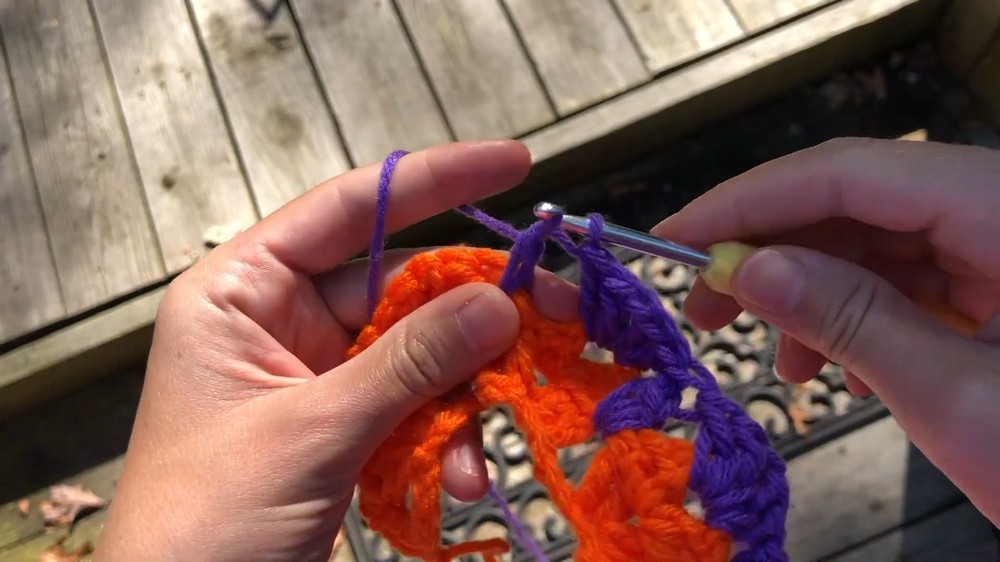
Round 3: Adding First Color Change
- Fasten off the first color.
- Join the second color (e.g., purple):
- Use a slip stitch to join into the last dc of the previous round.
- Chain 3, turn your work, and dc into the next stitch.
- Special Stitch: Extended Double Crochet 2 Together (Ext2dctog):
- Yarn over and insert your hook into the gap between the shells from Round 1.
- Pull up a loop (3 loops on hook).
- Yarn over and pull through the first 2 loops (2 loops remain).
- Yarn over and insert the hook into the same space, then pull up another loop (4 loops on hook).
- Yarn over and pull through 3 loops.
- Yarn over and pull through the last 2 loops.
- Work one shell into the next chain-1 space.
- Repeat across the row:
- Alternate between an Ext2dctog stitch and a shell stitch.
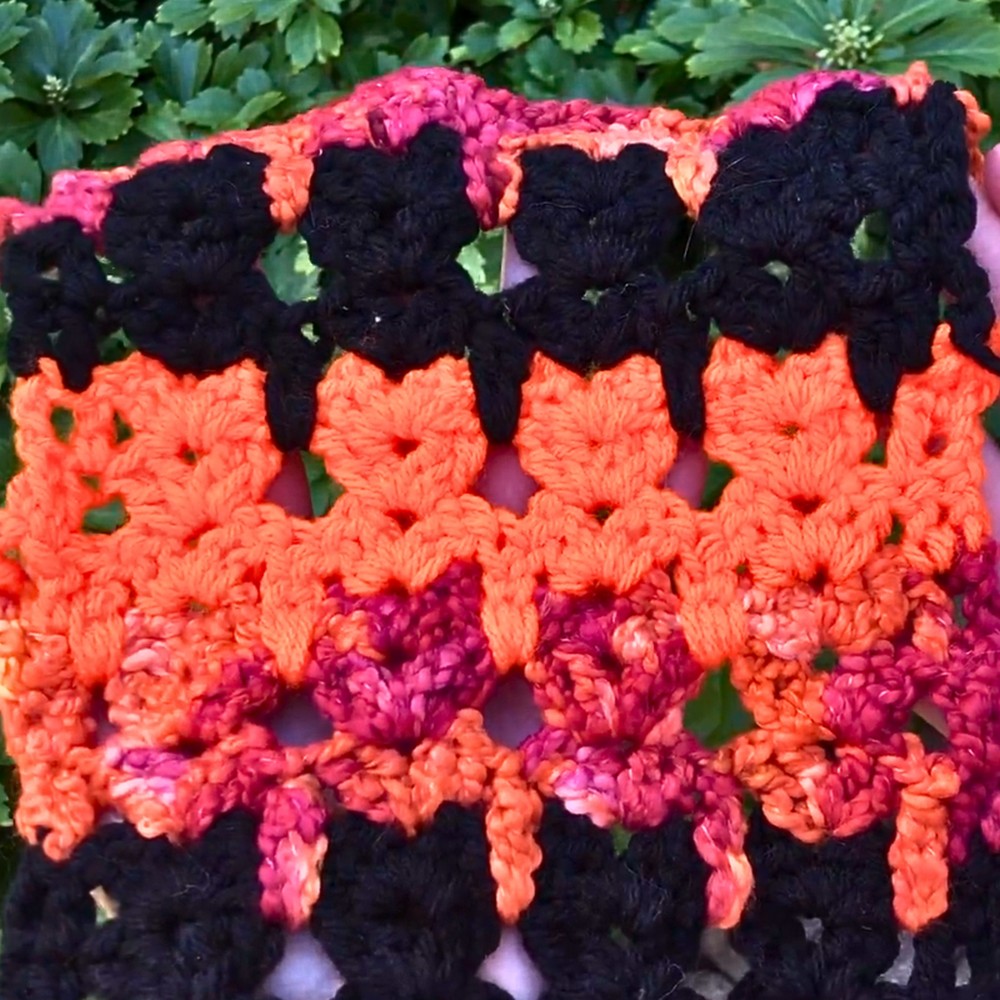
- At the end, finish with dc in the last 2 stitches. This row creates the cat ears.
Round 4 & 5: Basic Shell Rows
- Switch back to the previous shell pattern:
- Ch 3, turn your work.
- Dc into the next st, then work shell stitches into the chain-1 spaces across.
- Dc into the last 2 stitches at the end of each round.
- Repeat across rounds 4 and 5.
Round 6: Switching Colors Again
- Fasten off the previous color and attach the third color (e.g., deep purple).
- Repeat Round 3 to create another row of cat ears using Ext2dctog stitches.

Continuing the Pattern
- For longer projects, repeat rows 3-5 as desired.
- Odd-numbered rows (e.g., row 3) feature cat ears with Ext2dctog stitches.
- Even-numbered rows (e.g., row 4) are basic shell rows.
Finishing Techniques
- Fasten Off: At the end of your project length, fasten off the yarn securely.
- Weave Ends: Use the tapestry needle to weave in all loose ends neatly.
- Blocking (optional): For an even finish, block your work if needed.
Notes
- This pattern creates a unique texture with adorable cat stitches, perfect for seasonal decorations or gifts.
- Play with colors to customize the look—bright colors for a festive vibe or muted tones for subtle elegance.