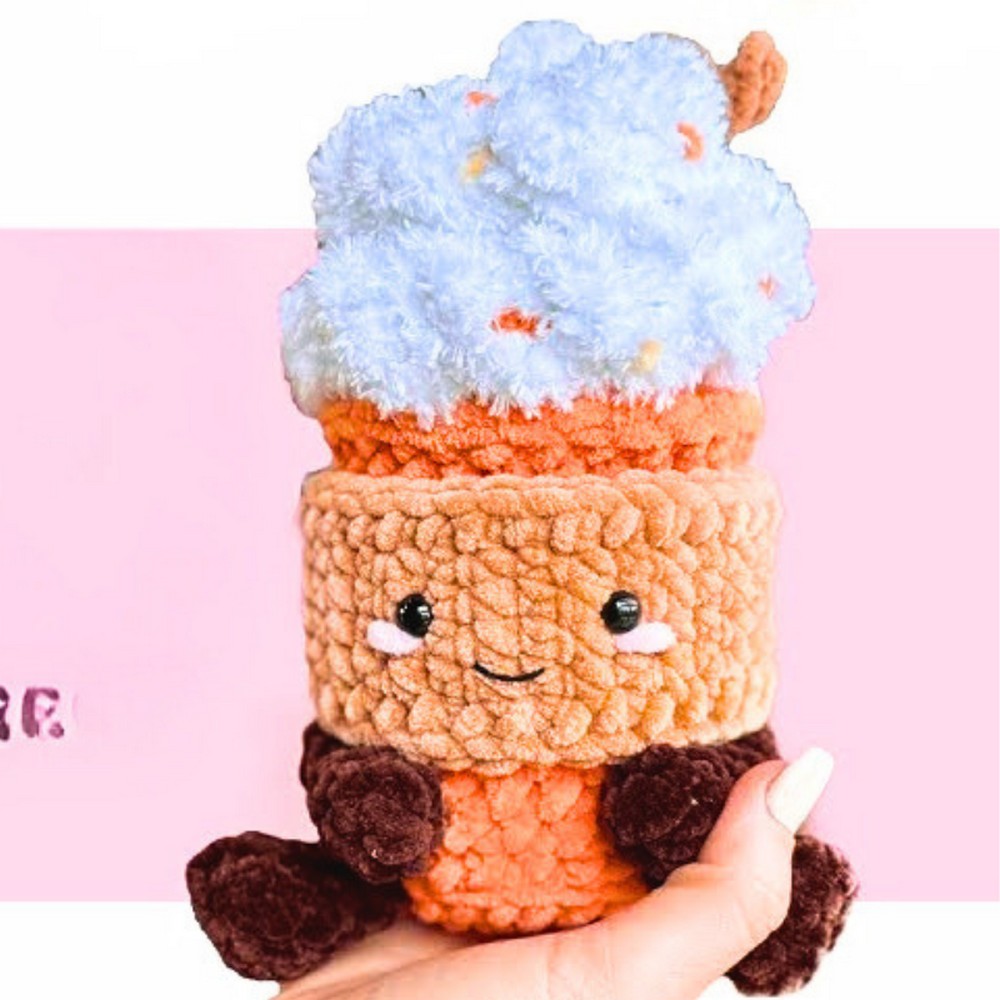
This JellyCat‑inspired pumpkin spice latte is a soft, huggable drink plush made just for cozy fall days. It looks like a tiny latte cup with a bright orange “pumpkin” body, a snug cup holder, fluffy whipped cream on top, sweet little cheeks, and even mini cinnamon sticks. It’s perfect as room decor, a gift for coffee lovers, or a friendly toy that sits by your bed or on your desk.
Crochet Pumpkin Spice Latte Tutorial
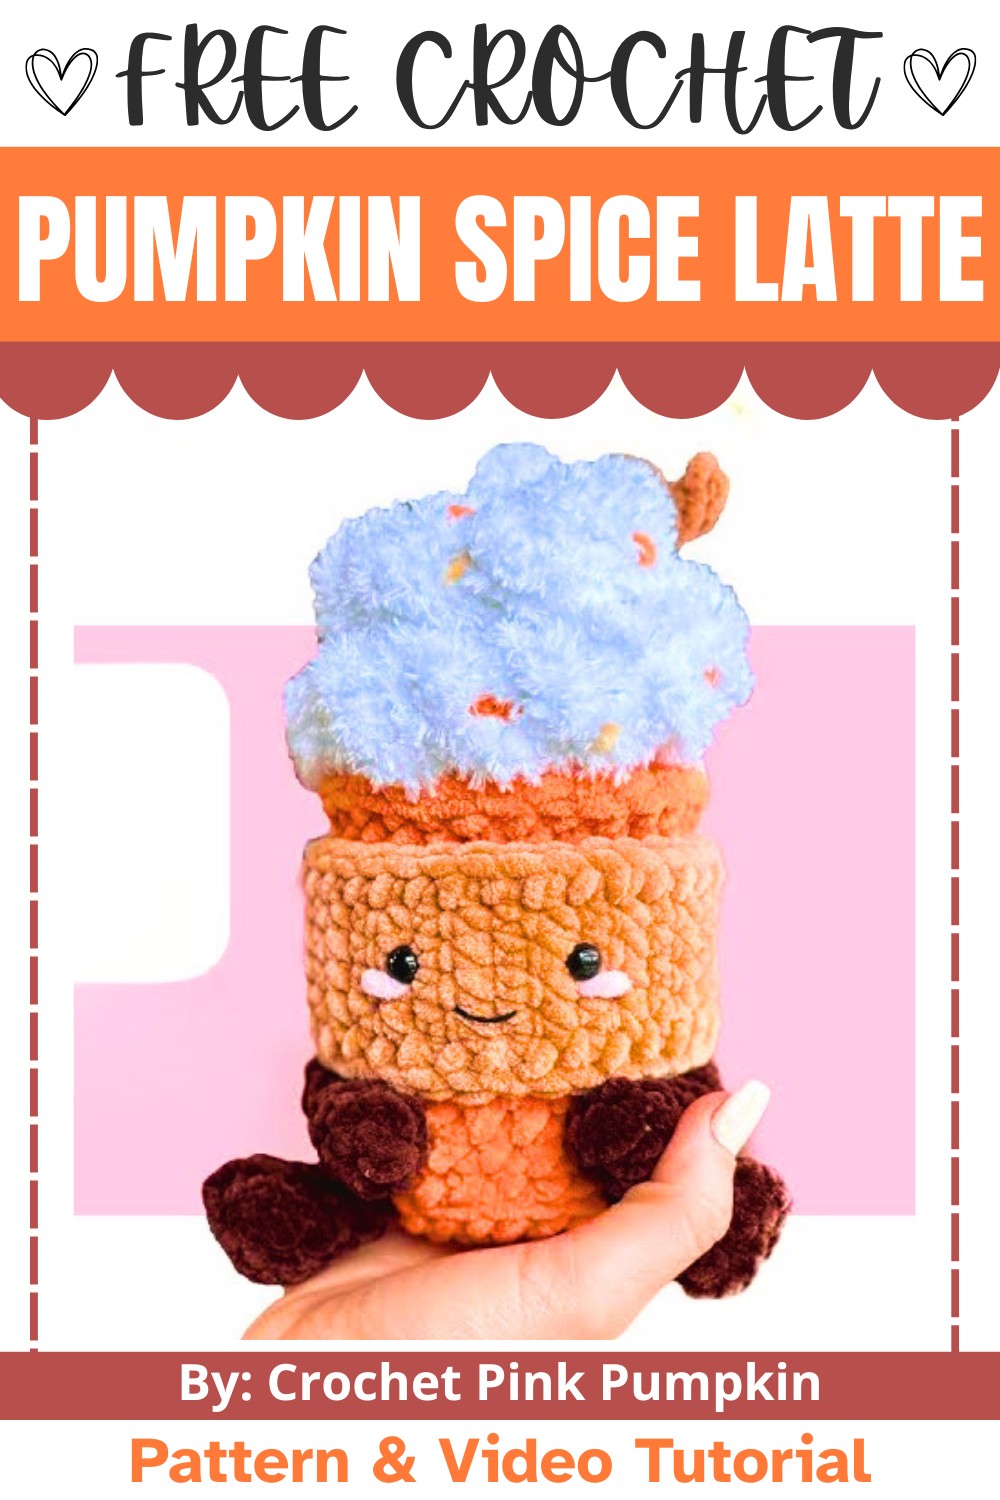
This Crochet tutorial walks you through every step with simplicity, making it beginner-friendly and enjoyable. You’ll learn how to create cute features like legs, arms, and facial embroidery to bring it to life. Using soft, textured yarns gives this plushie a warm and cuddly feel. Even if you’re new to crocheting, you’ll love how straightforward the instructions are, guiding you row by row.
Credit Crochet Pink Pumpkin
Materials and Tools Needed
- Yarn:
- Cup: Premier Parfait Chunky in Tangerine
- Cup Holder: Hobbii Honey Bunny in Nougat
- Whipped Cream:
- Option 1: Premier Parfait Chunky in White
- Option 2: Premier Parfait Chunky in White + Little Bunny Yarn
- Legs, Arms, and Accents:
- Legs & Arms: Premier Parfait Chunky in Chocolate
- Cinnamon Stick: Premier Parfait Chunky in Teddy Bear
- Cheeks: Ballet Pink (small amount)
- Sprinkles: Yellow and Orange Parfait Chunky (small amounts)
- Smile: Thin Black Cotton Yarn
- Hooks:
- Size: 6 mm, 7 mm, 8 mm (varies for components)
- Use the size specified for each part.
- Other Tools:
- Darning needle (preferably curved)
- Hot glue gun (optional for assembly)
- Safety eyes (8 mm; 2 pieces)
- Stitch markers
- Stuffing material
- Cardboard (for flat feet and cup base)
- Wooden sticks (optional; helps assembly)
Finished Size
The finished Pumpkin Spice Latte plushie will be approximately 6–8 inches tall, depending on your tension and materials. Components such as the whipped cream and cinnamon sticks are customizable to give your piece a unique flair.
Customization Ideas
- Face Style:
- Add blush with fabric paint instead of yarn cheeks.
- Choose different mouth shapes (smiling, smirking, etc.).
- Cup Holder Pattern:
- Switch yarn colors for themes like Halloween or Thanksgiving.
- Whipped Cream:
- Use sparkle yarn or sequins for glamour.
- Accents:
- Experiment with flavored topping visuals — multicolored "sprinkles," crochet fruit slices (orange, pumpkin), or faux cinnamon dust.
Pattern Abbreviations & Terminology
Standard US Crochet Terms:
- Ch = Chain
- St = Stitch
- Sc = Single Crochet
- Inc = Increase (2 Sc in one St)
- Dec = Decrease (Sc two stitches together)
- BLO = Back Loop Only
- Flo = Front Loop Only
- MR = Magic Ring
Step-by-Step Detailed Crochet Instructions
Each section below is broken into numbered steps, exact stitch counts, and additional assembly tips.
1. Legs (Make 2)
- Yarn: Premier Parfait Chunky in Chocolate
- Hook: 6 mm
Steps:
- Chain 5, place stitch markers on the loops of each chain.
- Round 1: Skip the last chain, and Sc across (4). Then continue on the opposite side of the chain: Sc into each marked chain (4). You’ll have 9 total stitches.
- Flatten the leg base:
- Place the crocheted foot onto a cardboard piece, trace, cut smaller than the outline, and set aside.
- Round 2: BLO - 1 Dec, 7 Sc. (8 stitches).
- Insert the cardboard piece into the flat base; stuff lightly.
- Round 3: Sc in each stitch (8 stitches).
- Round 4: 1 Dec, 6 Sc (7 stitches).
- Round 5: Sc in each stitch (7 stitches).
- Fasten off and sew the opening closed, making it flat. Leave a long tail for later assembly.
2. Arms (Make 2)
- Yarn: Premier Parfait Chunky in Chocolate
- Hook: 6 mm
Steps:
- Round 1: MR, 6 Sc.
- Round 2-3: Sc in each stitch (6 stitches per round).
- Lightly stuff.
- Round 4: 1 Dec, 4 Sc (5 stitches).
- Round 5-7: Sc in each stitch (5 stitches per round).
- Fasten off, sew the opening flat using the tail.

3. Main Cup
- Yarn: Premier Parfait Chunky in Tangerine
- Hook: 7 mm
Steps:
- Round 1: MR, 6 Sc.
- Round 2: 6 Inc (12 stitches).
- Round 3: Sc, Inc repeated 6 times (18 stitches).
- Round 4: 2 Sc, Inc repeated 6 times (24 stitches).
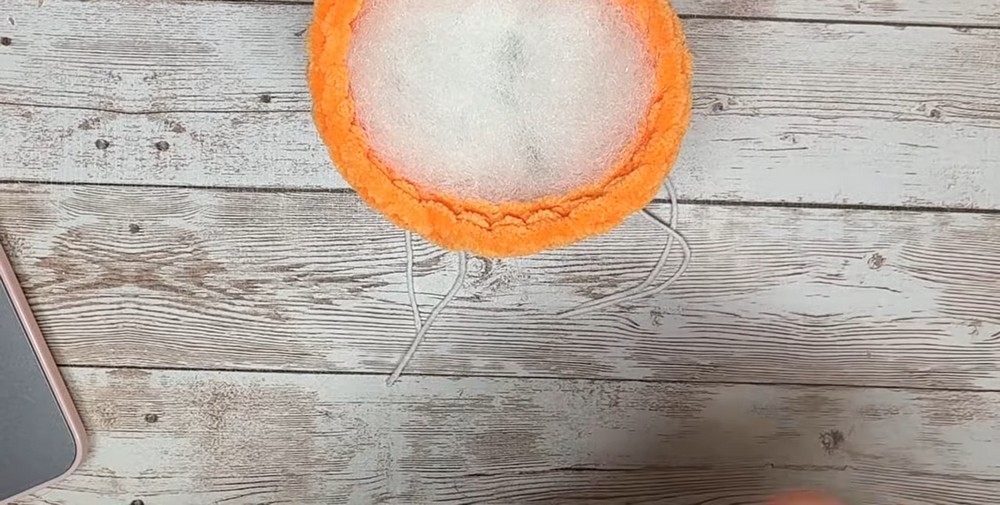
- Flatten the cup base:
- Trace and cut cardboard for a flat base.
- Place stitch markers on the FLO of the 9th & 15th stitches of Round 4 for leg placements later.
- Round 5: BLO - Sc in each stitch (24 stitches).
- Round 6-11: Sc in each stitch (24 stitches per round).
- Round 12: 11 Sc, Inc repeated 2 times (26 stitches).
- Round 13-15: Sc in each stitch (26 stitches per round).
- Round 16: FLO - Sc in each stitch (26 stitches).
Place cardboard in the base, stuff generously, and fasten off.
4. Cup Holder
- Yarn: Hobbii Honey Bunny in Nougat
- Hook: 6 mm
Steps:
- Chain 6, turn and Sc across to the last stitch (5 stitches + 1 turning chain).
- Repeat rows until the holder nearly wraps around the cup (~9.5 inches or custom).
- Single crochet along 3 sides to add a decorative edge.
- Fasten off, leaving a long tail for sewing ends together.
- Use the tail to join the edges and attach under the cup lip.

5. Whipped Cream
- Yarn: Premier Parfait Chunky (White) or White + Bunny Yarn
- Hook: 8 mm
Steps:
- Chain 9, turn.
- Row 1: BLO - Inc, 6 Sc, Dec (8 stitches).
- Row 2: BLO - Dec, 6 Sc, Inc (8 stitches).
- Repeat Rows 1–2 until the piece measures 23 inches (customizable).
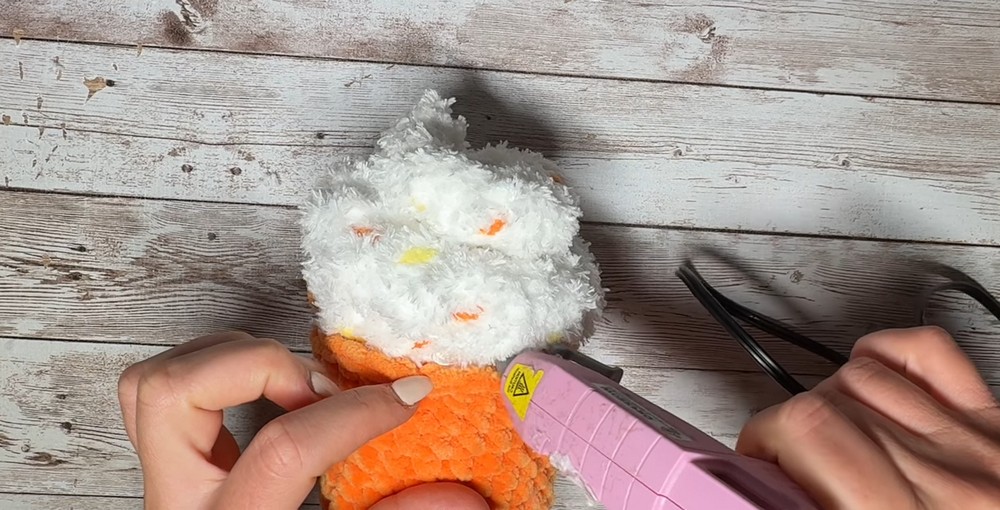
- Embroider sprinkles with yellow/orange yarn.
- Lightly stuff, fold in half, and sew edges together.
- Attach whipped cream to the cup's top edge using either FLO or hot glue.
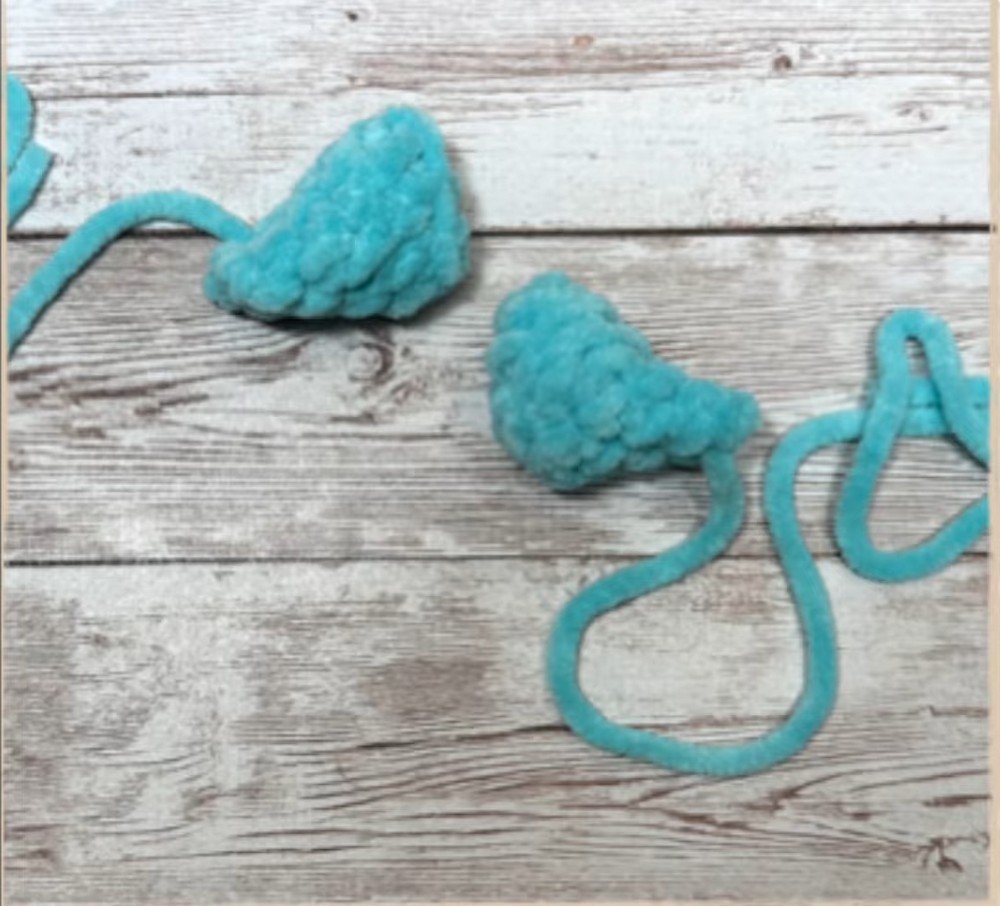
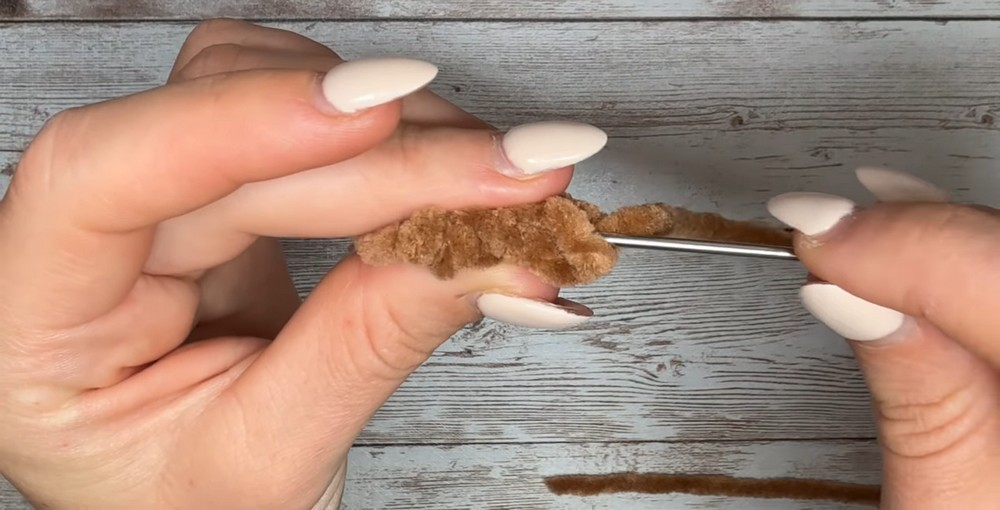
6. Cinnamon Sticks (Make 2)
- Yarn: Premier Parfait Chunky in Teddy Bear
- Hook: 6 mm
Steps:
- Chain 4, skip 1, Sc across (3 stitches).
- Fasten off, fold lengthwise, and sew both sides for a tube.
- Attach cinnamon sticks on top of the whipped cream with twine.
Assembly
- Attach legs to marked FLO at the cup’s bottom using thread/yarn tails.
- Sew arms ~3 stitches apart, centered below the cup holder.
- Apply the cup holder snugly around the cup and sew the ends.
- Secure the whipped cream inside the cup's top edge. Use sewing or hot glue.
- Place cinnamon sticks at the top of the whipped cream.
Finishing Touches
- Insert safety eyes ~4 rows apart.
- Embroider cheeks with pink yarn and smile with black cotton thread.
- Optional: Add decorative glue for final fixes.