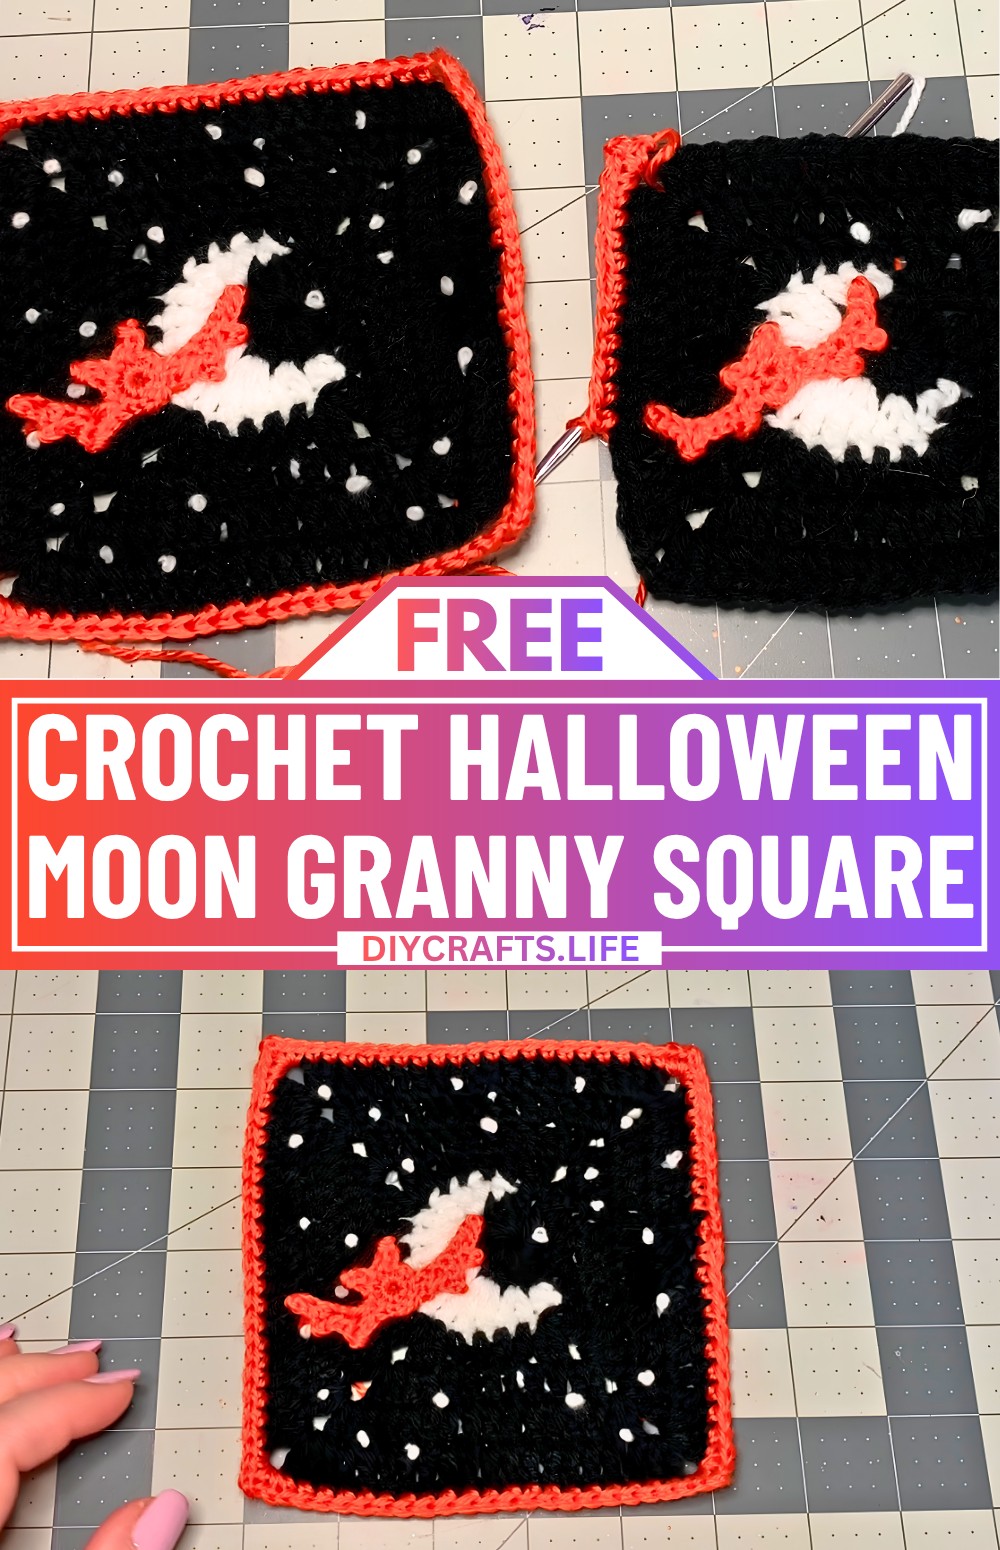
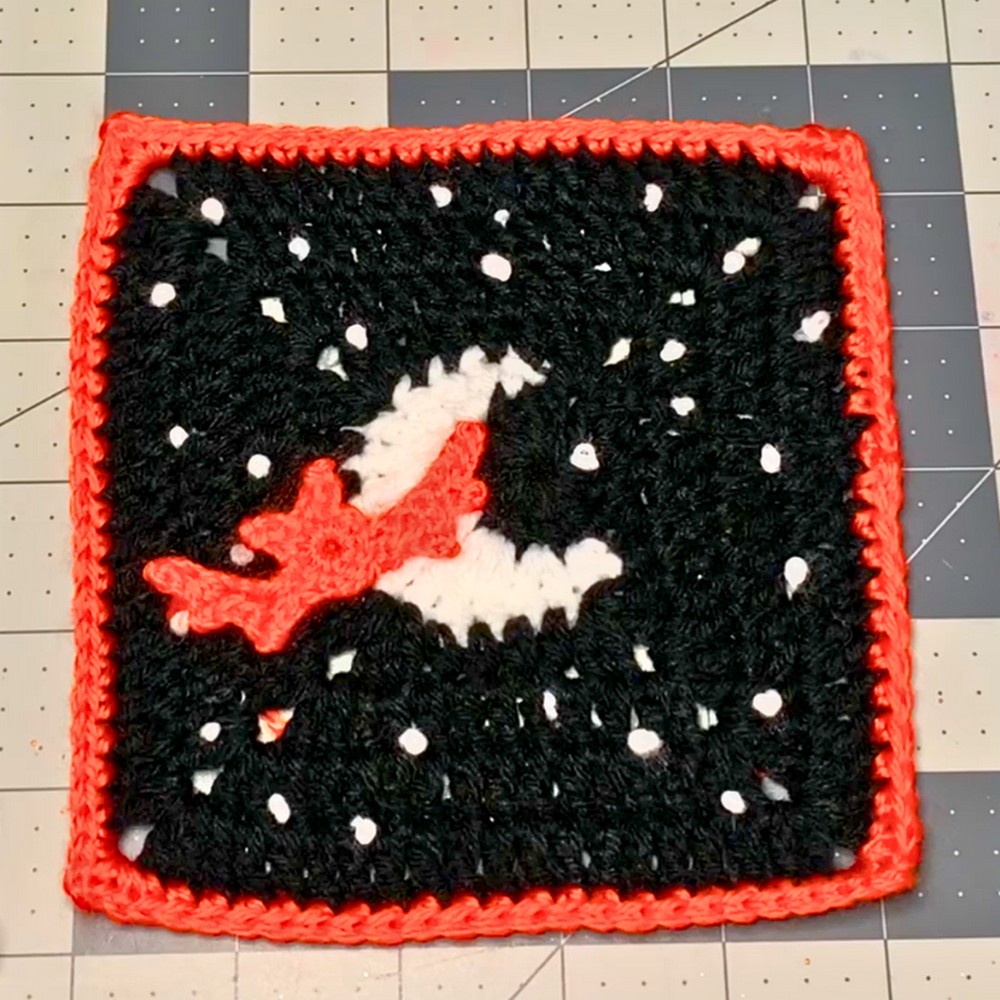
This delightful granny square features a glowing moon surrounded by stars and a friendly little bat in the centre, making it a fun and seasonal crochet piece. The crochet granny square is rich in detail, combining playful shapes and colors to bring a spooky yet cheerful vibe to your decor. It can be used in blankets for hanging displays, or even as part of a Halloween-themed banner. It’s great for adding a handmade touch to your celebration.
Crochet Halloween Moon Granny Square
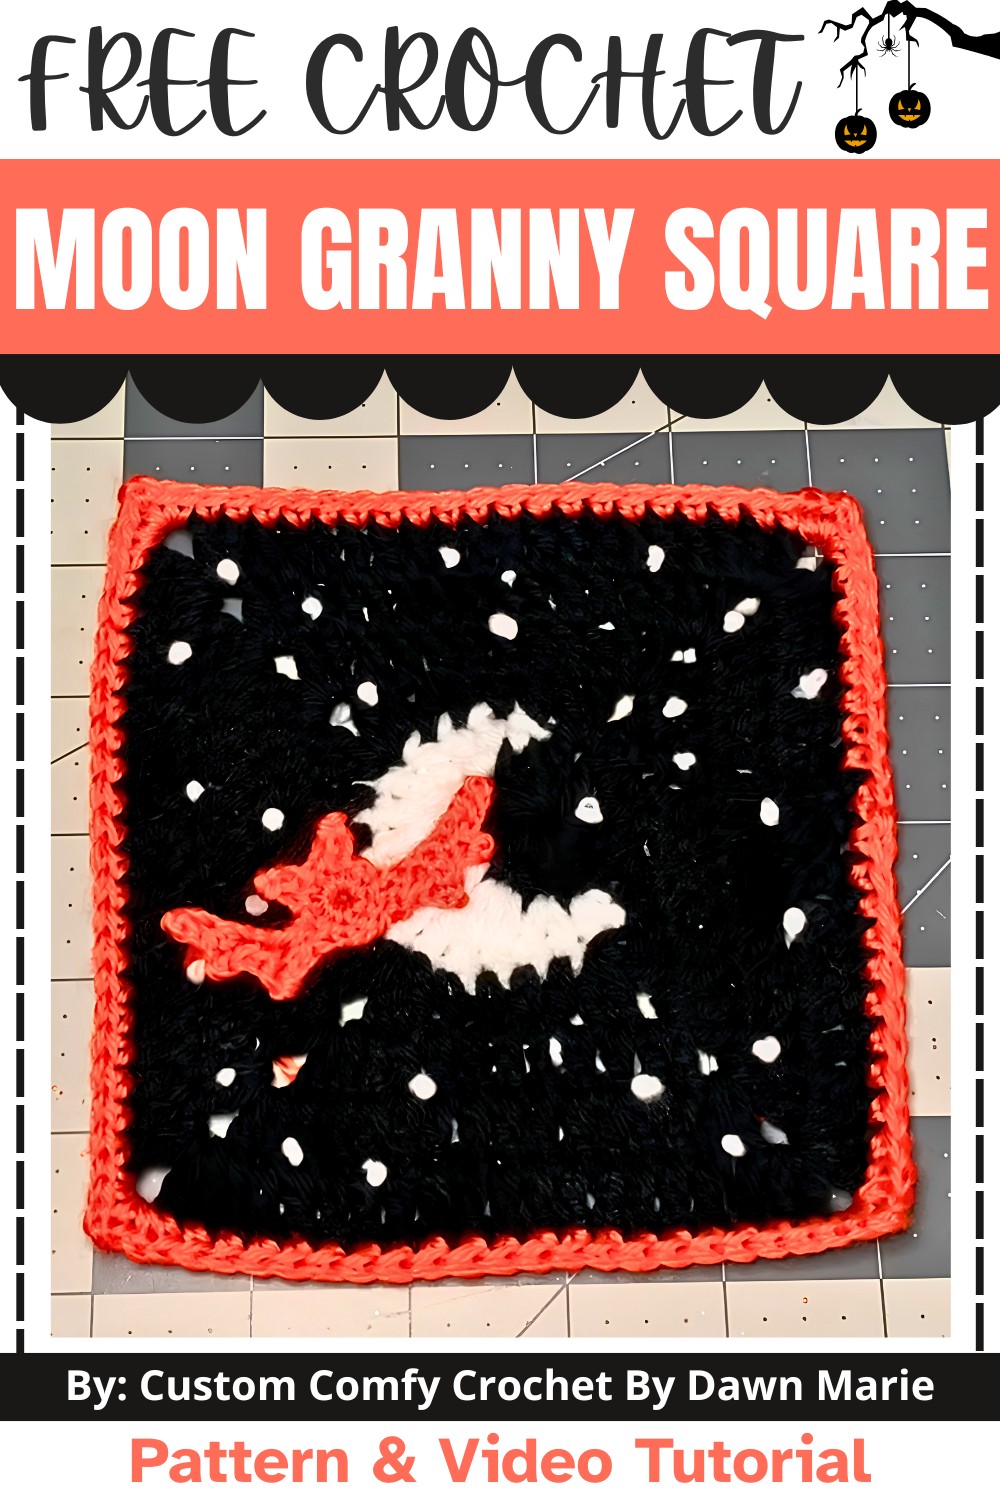
Creating this granny square design is simple and enjoyable, even for those new to crochet. The mix of black, orange, and white yarns brings the spooky season to life, while adding a pop of fun and creativity to your space. While it’s light on technical details, the tutorial offers easy steps, ensuring beginners feel confident about trying it out. This adorable crochet granny square is both stylish and versatile, and perfect for anyone looking to make a little Halloween magic.
Credit Custom Comfy Crochet By Dawn Marie
Materials & Tools Needed
Yarn:
- Moon & Granny Square: Lightweight yarn (Category #3 or #4 yarn for larger results; color: Black/White).
- Bat & Edging: Lightweight yarn (Category #3; OR adapt #4 yarn by pulling threads apart; color: Orange).
Crochet Hooks:
- Moon & Granny Square: 4.25 mm hook.
- Bat: 2.75 mm hook (or E hook).
Additional:
- Darning needle.
- Stitch markers or scrap yarn.
- Scissors.
Finished Size & Customization Ideas
- Finished Size: Approx. 6 x 6 inches for the granny square.
- Customization:
- Adjust hook sizes for a smaller or larger square.
- Experiment with contrasting colors for the moon, stars, and bat.
- Optionally attach the granny squares to a blanket, scarf, or wall hanging.
Pattern Abbreviations & Terminology
- ch: Chain.
- sl st: Slip Stitch.
- sc: Single Crochet.
- dc: Double Crochet.
- tr: Treble Crochet.
- hdc: Half Double Crochet.
- st: Stitch.
- magic circle: Adjustable yarn loop for starting.
- Terminology: US crochet terms.
Step-by-Step Crochet Instructions
1. Moon Centerpiece
Round 1 (Black Yarn):
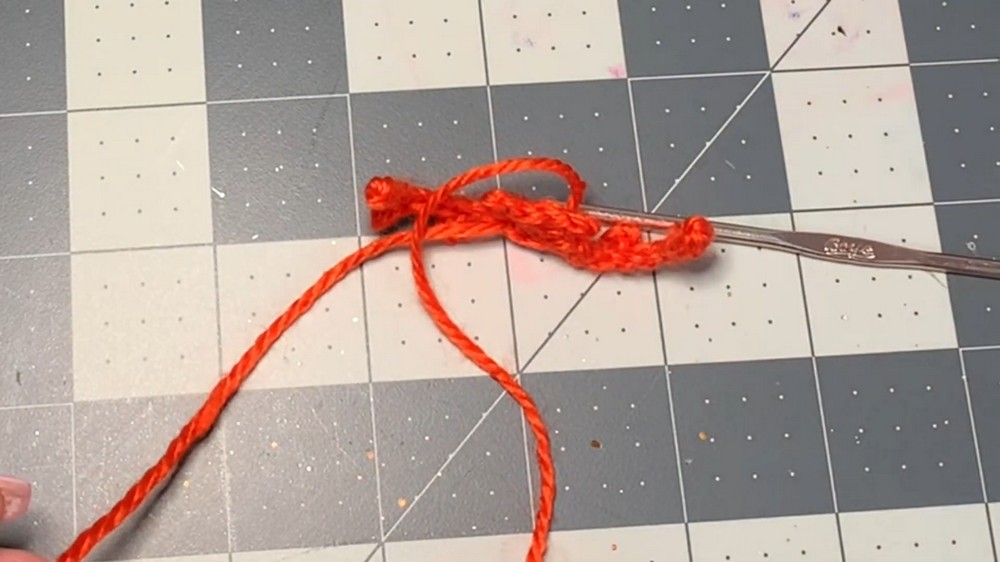
- Begin with a slip knot; chain 4.
- Work into the 4th chain from the hook:
- 11 double crochets and pull the chain tight (serves as a mini magic circle).
- Slip stitch into the top of the starting chain-4.
- Make 1 hdc into the "top of chain-4." Use a stitch marker to mark this stitch.
Change Color (White Yarn):
- Pull white yarn through, securing with a knot. Cut black yarn.
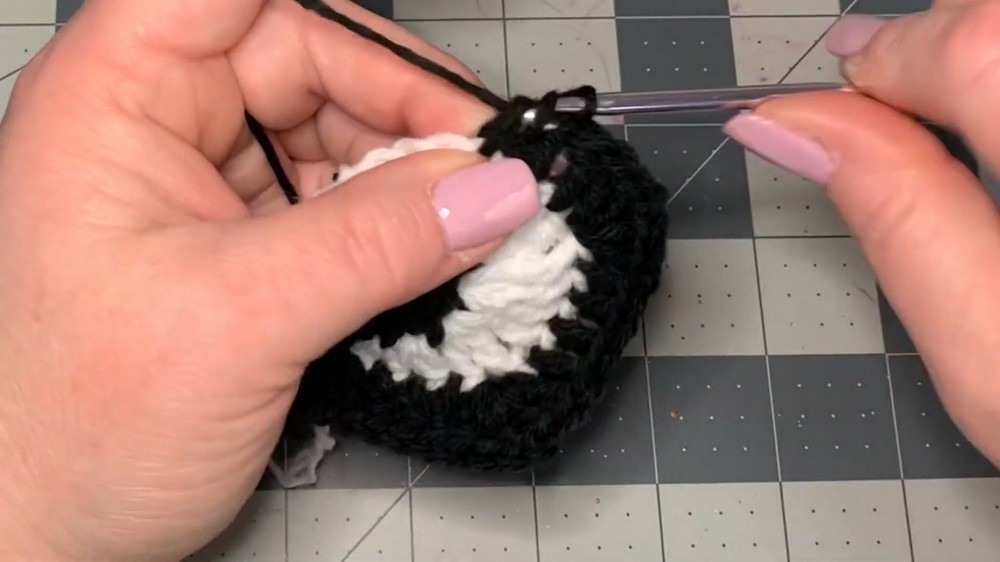
Round 2 (White Yarn):
- First Stitch: Make 1 hdc into the next st.
- Second Stitch: Work 2 dc.
- Third Stitch:
- 1 dc, followed by 2 tr.
- Fourth Stitch: Work 3 tr.
- Fifth Stitch: 2 tr + 1 dc.
- Sixth Stitch: Work 2 dc.
- Seventh Stitch: 1 hdc + 1 sc.
- Slip Stitch into the next st.
- Cut the yarn.
The moon centerpiece is complete. Tip: Ensure all stitches are tight for a defined crescent shape.
2. Creating the Granny Square
Round 1 (Black Yarn):
- Rejoin black yarn at the marked hdc.
- Ch 3 (counts as dc), then work 1 dc, ch 2, 2 dc in the same st (corner formed).
- Work 4 dc across white stitches.
- Work a new corner (2 dc, ch 2, 2 dc) into the next stitch.
- Repeat step 3 and step 4 until four corners and sides are complete.
- Slip stitch to join the round.
Subsequent Rounds:
- Corners: Work 2 dc, ch 2, 2 dc in corner spaces.
- Sides: Dc in each available st.
- Continue until the square reaches desired size (4 total rows recommended).

3. Adding Stars
French Knot Stars:
- Thread white yarn on the darning needle.
- Insert the needle into the square's surface. Leave some thread hanging behind.
- Wrap the needle twice with yarn.
- Insert the needle close to the starting point and pull through – forms a small circular knot.
- Repeat across the square. Adjust thread tension for clean knots.
4. Bat Applique
Magic Circle (Orange Yarn):
- Make a magic circle with 6 sc.
- Pull tight and sl st into the first sc.
Ears:
- Ch 2. Slip stitch into the second chain from the hook.
- Slip stitch into the next st.
- Repeat step 1 for the second ear.
Wings:
- Chain 9.
- Work sl st in the 2nd chain from the hook through the next 3 chains.
- Ch 2, sl st into the 2nd ch. Continue working sl st along the remaining stitches.
- Repeat the same wing instructions for the other side.
Finish:
- Tie off the yarn and sew the bat onto the square (centered on the moon).
- Secure both ends of orange yarn into the back loops to hide tails.
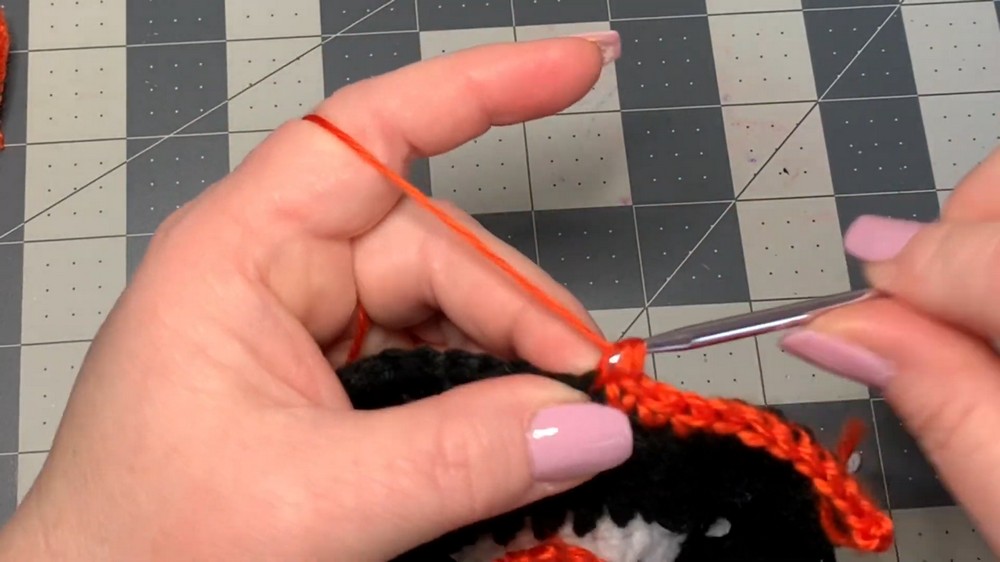
5. Edging
- Join black or orange yarn at any corner space.
- Ch 1, work 2 sc, ch 2, 2 sc into the corner space.
- Single crochet into every st along the edge.
- For each corner: 2 sc, ch 2, 2 sc.
- Repeat until edging is complete. Slip stitch, cut yarn, and fasten off.
Tips for Finishing
- Weave in ends securely to prevent unraveling.
- Block the square for a professional finish (optional).
- Arrange multiple squares for blankets or other patterns!