

Want to crochet a butterfly with layered wings and delicate petal edges? Follow this three-round pattern to create a colorful 3D motif for brooches, clips, garlands, and handmade gifts.
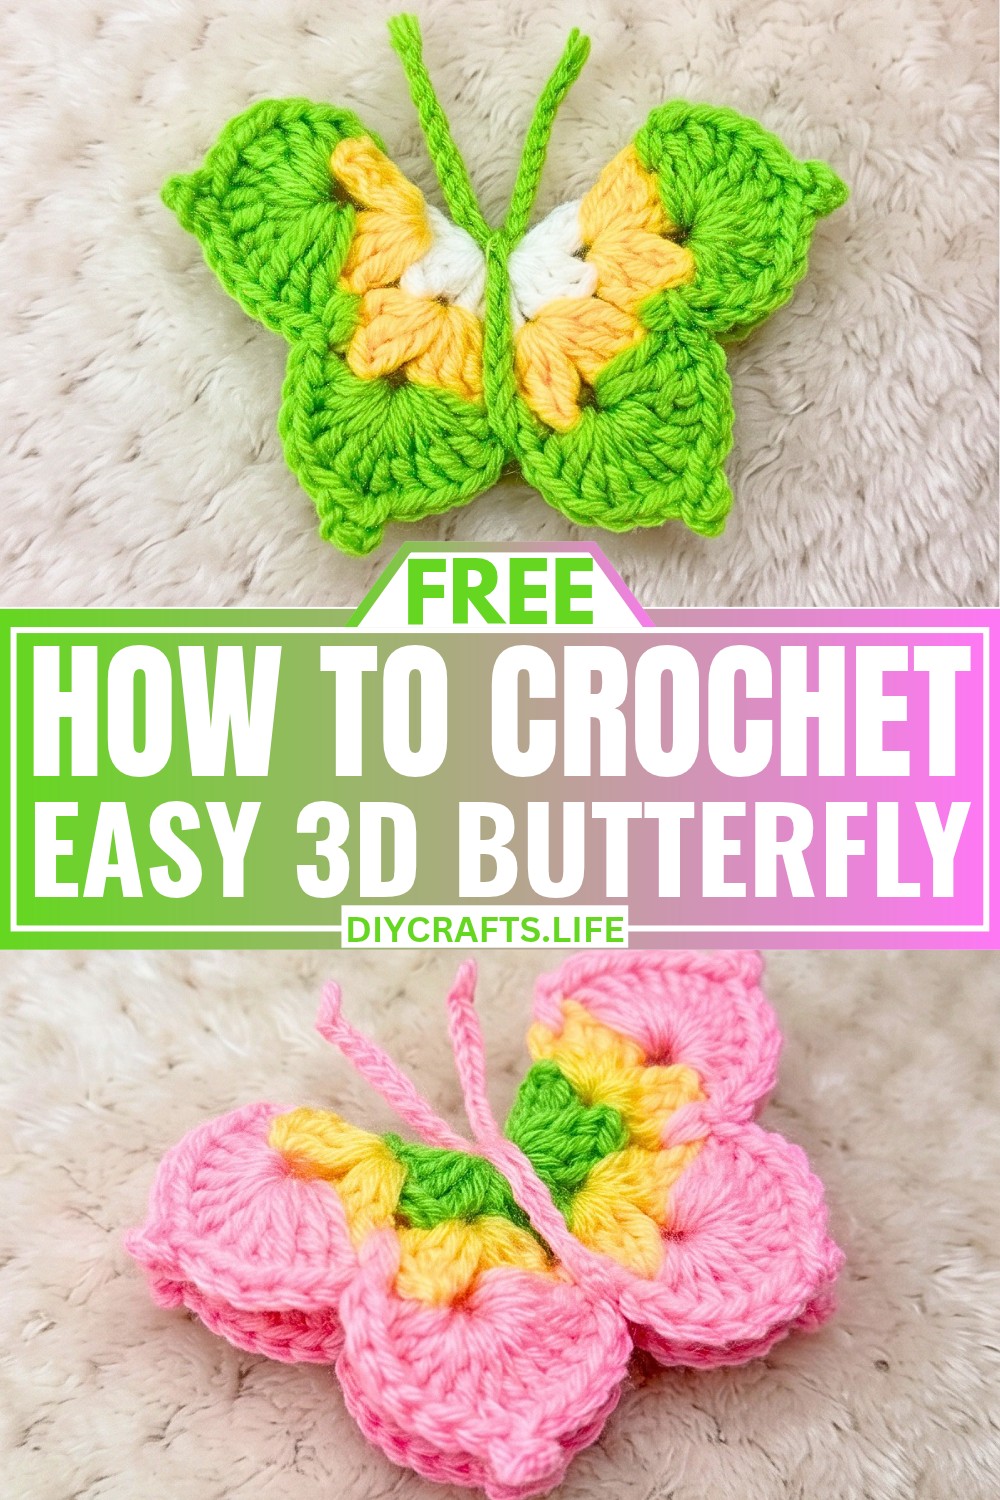
Bright yarn colors and textured wing edges give crochet butterflies a charming look, while folding a simple circular motif creates their distinctive three-dimensional shape. Keeping track of chain spaces and stitch groups can feel confusing at first, but working through each round makes the shaping easier to follow.
This crochet tutorial guides you through the center, contrasting rounds, scalloped wing details, and a simple chain body with antennae. You’ll also find ideas for changing colors and turning your finished crochet butterfly into wearable accessories or decorative garlands. Let’s get started.
Credit Crochet Joy
Materials & Tools Needed
- Yarn: Lightweight, DK, or worsted-weight yarn in your chosen colors.
- Crochet Hook: Approximately 2.5-3.5 mm for defined stitches, adjusted to suit your yarn.
- Yarn Needle: For weaving in loose ends and securing the body.
- Scissors: For trimming yarn tails.
Finished Size & Customization Ideas
The finished butterfly measures approximately 2–3 inches across, depending on yarn weight, hook size, and tension.
- Highlight the wings: Change colors in Round 2 or Round 3 to emphasize the center and petal edges.
- Make a wearable accessory: Sew a small brooch pin or barrette backing securely onto the reverse side.
- Add decorative details: Tiny pearls or beads can embellish the center, but avoid small detachable decorations on items intended for young children.
- Create a garland: Crochet several butterflies in coordinated pastel shades and attach them along a length of yarn for nursery or party décor.
Pattern Abbreviations & Terminology
- ch: Chain
- dc: Double Crochet
- sc: Single Crochet
- sl st: Slip Stitch
- MR / mr: Magic Ring
- st/sts: Stitch/stitches
- rnd: Round
- rep: Repeat
Before starting: In Round 1, the initial chain 3 counts as the first double crochet. Each of the eight center groups consists of 3 dc separated by ch 2. In Round 2, each chain space receives a group of 3 dc, ch 2, and 3 dc. Keep the chain spaces open, as they provide the structure for the next round.

Step-by-Step Crochet Instructions
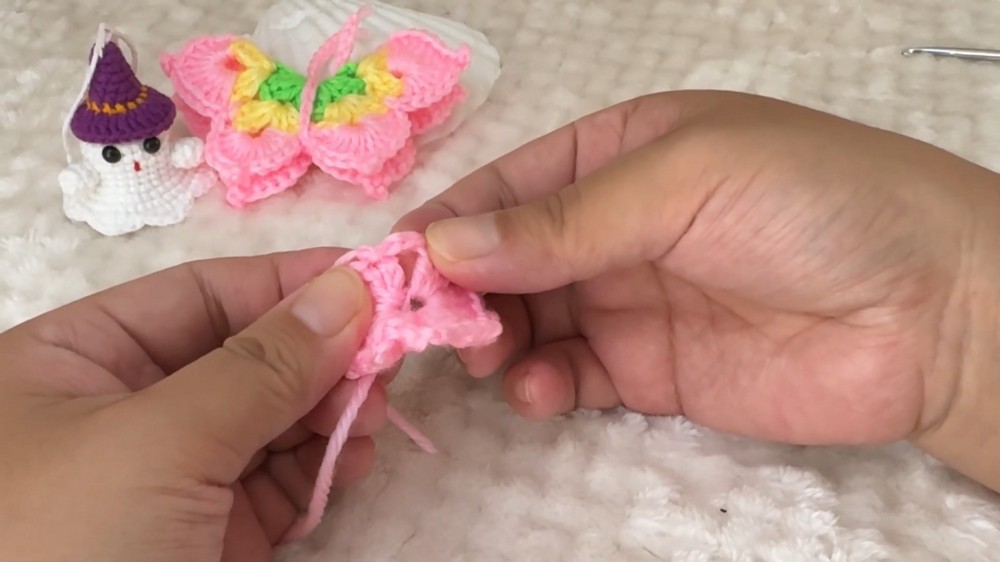
Round 1: Create the Center Foundation
Begin with your first yarn color. This round creates the circular base from which the butterfly’s layered wings will form.
Step 1: Make the magic ring. Form a magic ring, leaving a tail long enough to pull the center closed securely.
Step 2: Work the first double crochet group. Chain 3; this counts as your first dc. Work 2 dc into the ring to complete the first group of 3 dc.
Step 3: Create the first chain space. Chain 2. This gap separates the first group from the next and helps establish the circular pattern.
Step 4: Continue around the ring. Work 3 dc into the ring, then ch 2. Repeat the sequence of 3 dc and ch 2 until you have 8 groups of 3 dc in total, counting the opening ch 3 as the first dc of the first group.
Step 5: Close the center. Chain 2 after the final group, then pull the magic-ring tail to close the center. Avoid pulling so tightly that the surrounding stitches bunch up.
Step 6: Join the round. Slip stitch to the top of the initial chain 3 to close the round, then ch 1. You should see eight stitch groups arranged around a small center, with chain spaces between them.
Round 2: Expand the Butterfly’s Center
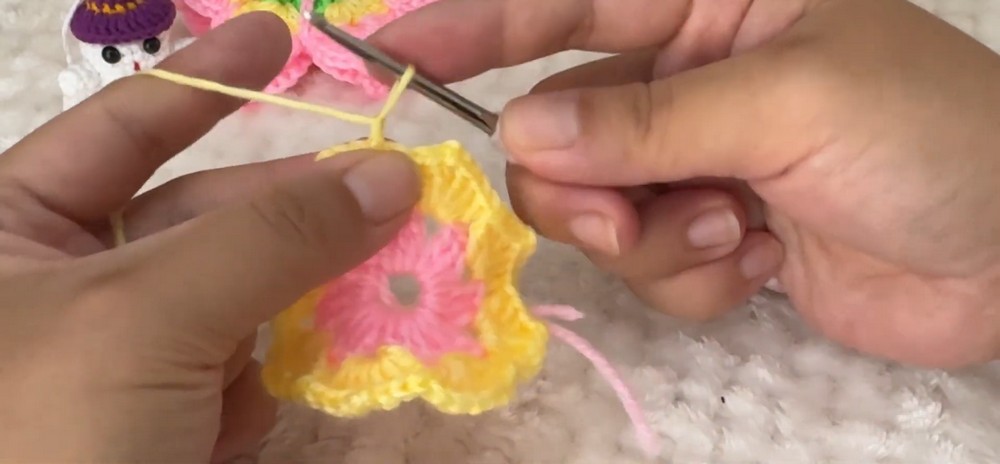
Round 2 builds the motif outward by placing two double-crochet groups into every chain space. You can keep the same color or switch yarn for a contrasting border.
Step 1: Begin in a chain space. Insert your hook into a chain-2 space from Round 1. If changing colors, attach the new yarn here so the color change begins at a natural gap.
Step 2: Work the first group. Chain 3, counting it as the first dc, then work 2 dc into the same space. Chain 2, followed by 3 more dc into that same space.
This creates a group of 3 dc, ch 2, 3 dc in one chain space.
Step 3: Move to the next space. Insert your hook into the following chain-2 space and repeat the same sequence: 3 dc, ch 2, 3 dc. Work directly over the yarn tails for the first few stitches when practical to help secure them.
Step 4: Repeat around the motif. Continue until all 8 chain spaces have received the same stitch sequence. Keep your tension even so the motif expands without curling excessively.
Step 5: Join and finish the round. Slip stitch to the first stitch to close the round, then ch 1. If you are changing colors for Round 3, fasten off and leave a tail for weaving in. Otherwise, prepare the working yarn for the next round according to your preferred joining method.
Round 3: Form the Textured Wings and Petal Edges
This round creates the decorative outer edge. The supplied instructions describe a chain-3 start, another chain-3 section, six double crochets into a designated space, and a single crochet anchor. The exact insertion point for the tall stitch group is important to the finished shape.
Step 1: Attach the yarn. Join your chosen yarn color at the insertion point shown in the original tutorial, then ch 3. This chain counts as the first dc.
Step 2: Make the chain section. Chain 3 to form the next open section. Keep these chains relaxed enough to work into or around the designated space.
Step 3: Work the special stitch placement. The source tutorial describes yarning over, inserting the hook at a specific point, pulling up a loop, and pulling through one loop on the hook before completing the tall stitches. Follow the demonstrated insertion point carefully, as this detail determines how the wing edge sits.
Step 4: Build the petal section. Work 6 dc into the designated space, then work 1 sc to anchor the group and complete the first petal section.
Step 5: Repeat around. Repeat the same sequence at each of the remaining sections until you have 8 groups. Keep the petal sections consistent in height and spacing so the finished edge looks balanced.
Step 6: Join and fasten off. Slip stitch to the first stitch, ch 1, and fasten off securely. Weave the yarn tail into the back of the motif without pulling the outer edge out of shape.
Pattern accuracy note for Round 3: The supplied written instructions do not fully identify the special insertion point or explain precisely where the chain-3 sections and six dc are placed relative to the Round 2 stitches. Check the original video at the linked timestamps before publishing this round as a fully standalone pattern. The missing placement detail should not be guessed.
Make the Body and Antennae Strand
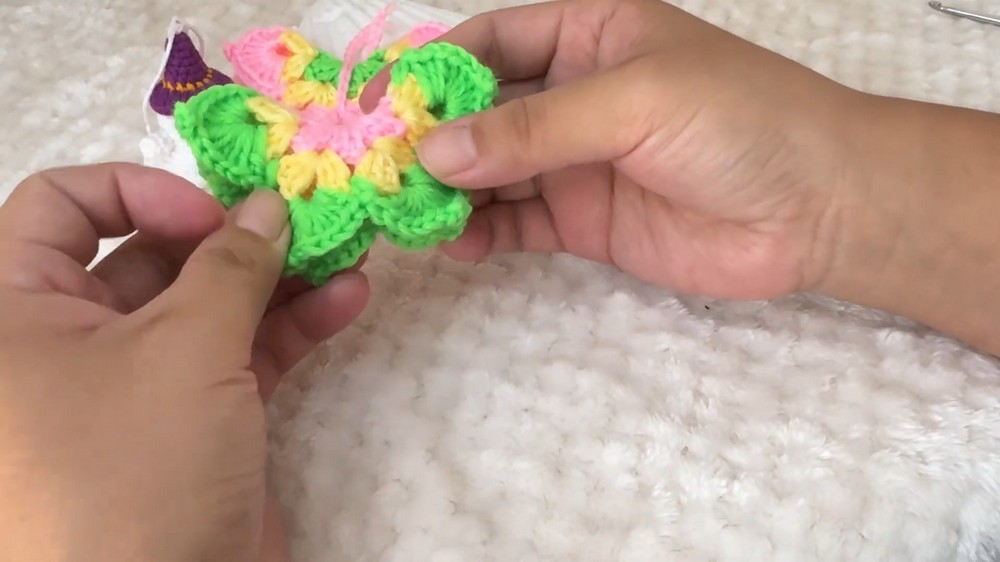
The butterfly’s body is formed from a simple chain strand, which is wrapped around the folded center to hold the wings together and create two antenna-like ends.
Step 1: Make a slip knot. Use your chosen yarn color and create a slip knot on the hook.
Step 2: Chain 32 stitches. Work a continuous strand of 32 chains. Keep the tension even so the strand is flexible enough to wrap around the center.
Step 3: Fasten off. Cut the yarn, leaving a tail if you want to use it to secure the body. Set the strand aside until the wings are folded.
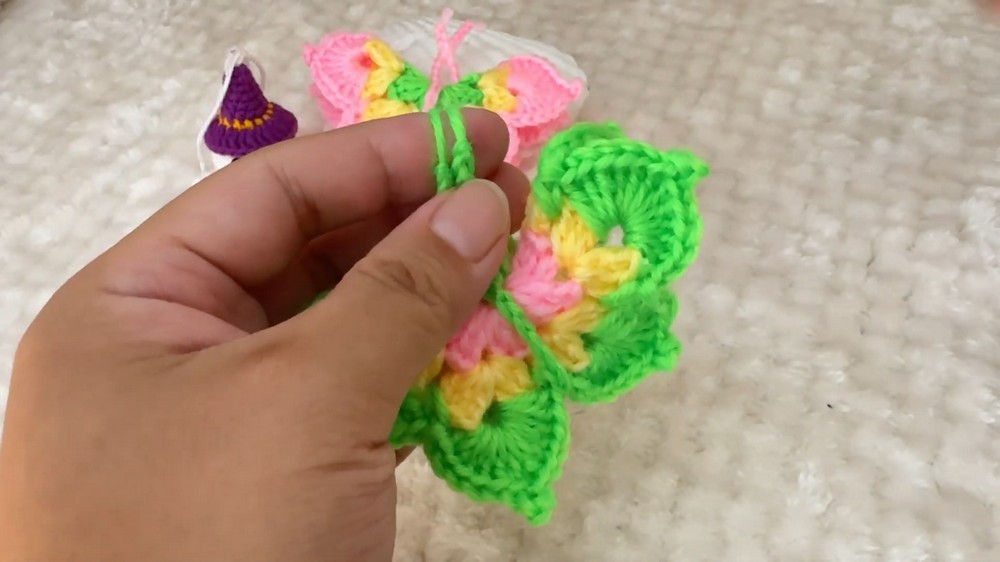
Assembly: Shape Your 3D Crochet Butterfly
Step 1: Fold the motif. Take the completed three-round circle and fold it neatly in half along the center. Arrange the layers so the outer petal edges form the butterfly’s wings.
Step 2: Wrap the body. Position the 32-chain strand around the center crease. Wrap it snugly enough to hold the folded wings together without crushing the texture.
Step 3: Form the antennae. Arrange the remaining ends so they extend above the folded wings like antennae. Adjust their length and position before securing them.
Step 4: Secure the back. Use the yarn tail and needle to fasten the strand firmly on the reverse side. Weave in all remaining ends, taking care not to pull the wings out of shape.
Step 5: Add optional hardware. For a brooch or hair clip, sew an appropriate backing securely to the reverse side. For a garland, attach each butterfly to the display strand through its central body area.
Your 3D crochet butterfly is ready to decorate accessories, gifts, garlands, and other handmade creations. Experiment with color combinations to give each butterfly its own distinctive wing pattern.


