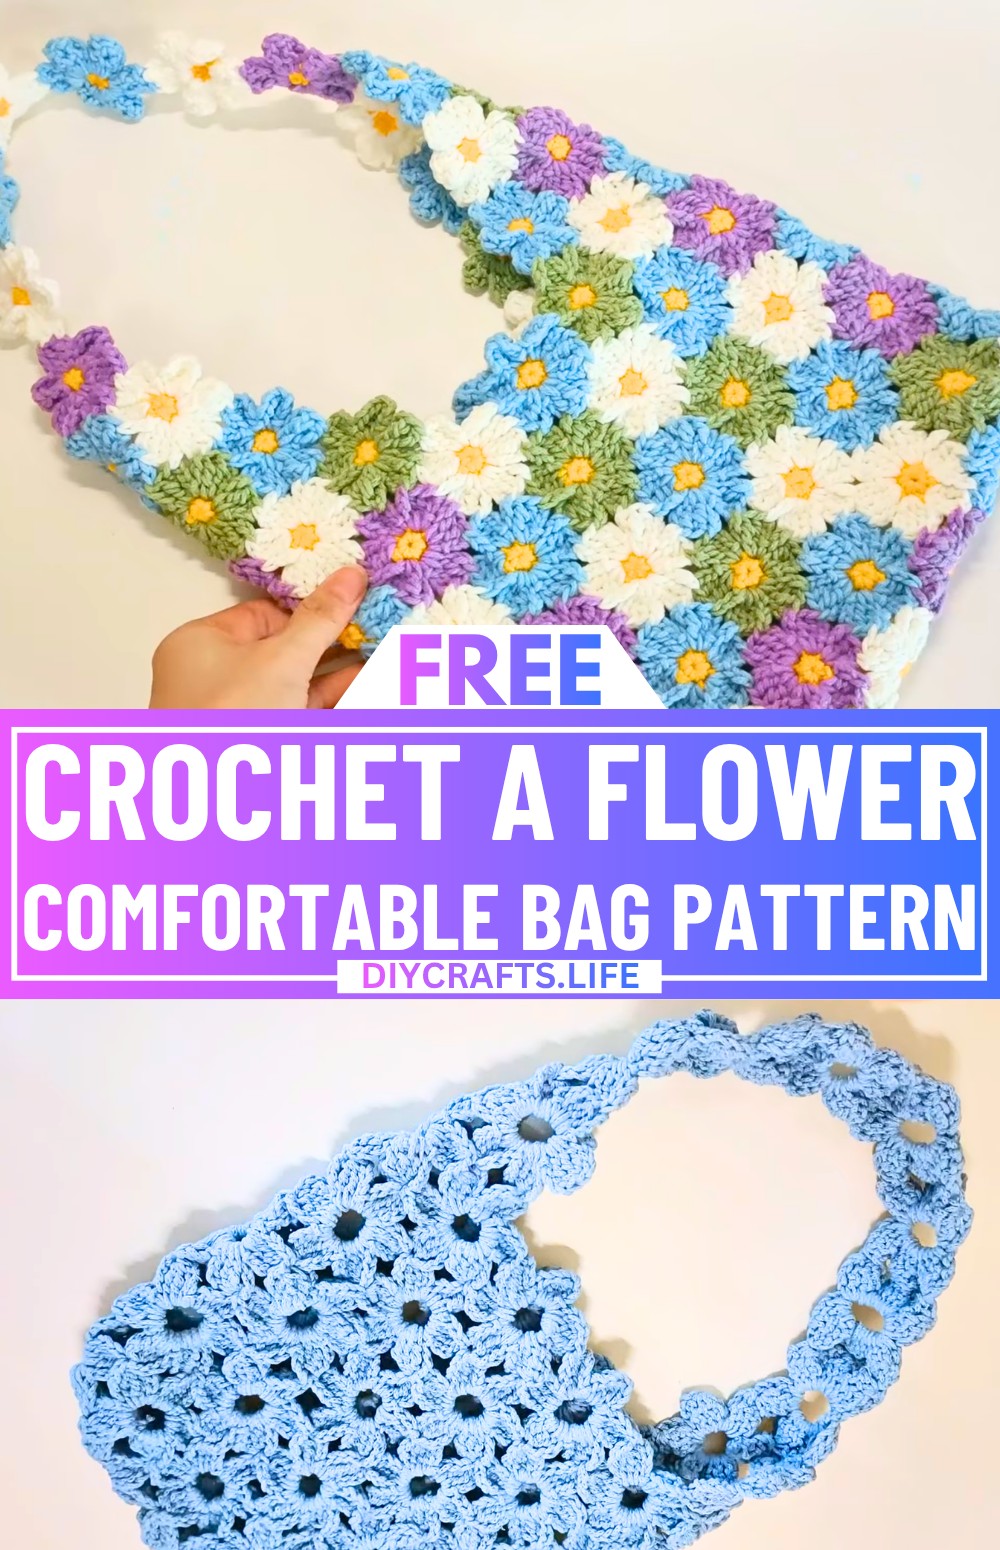
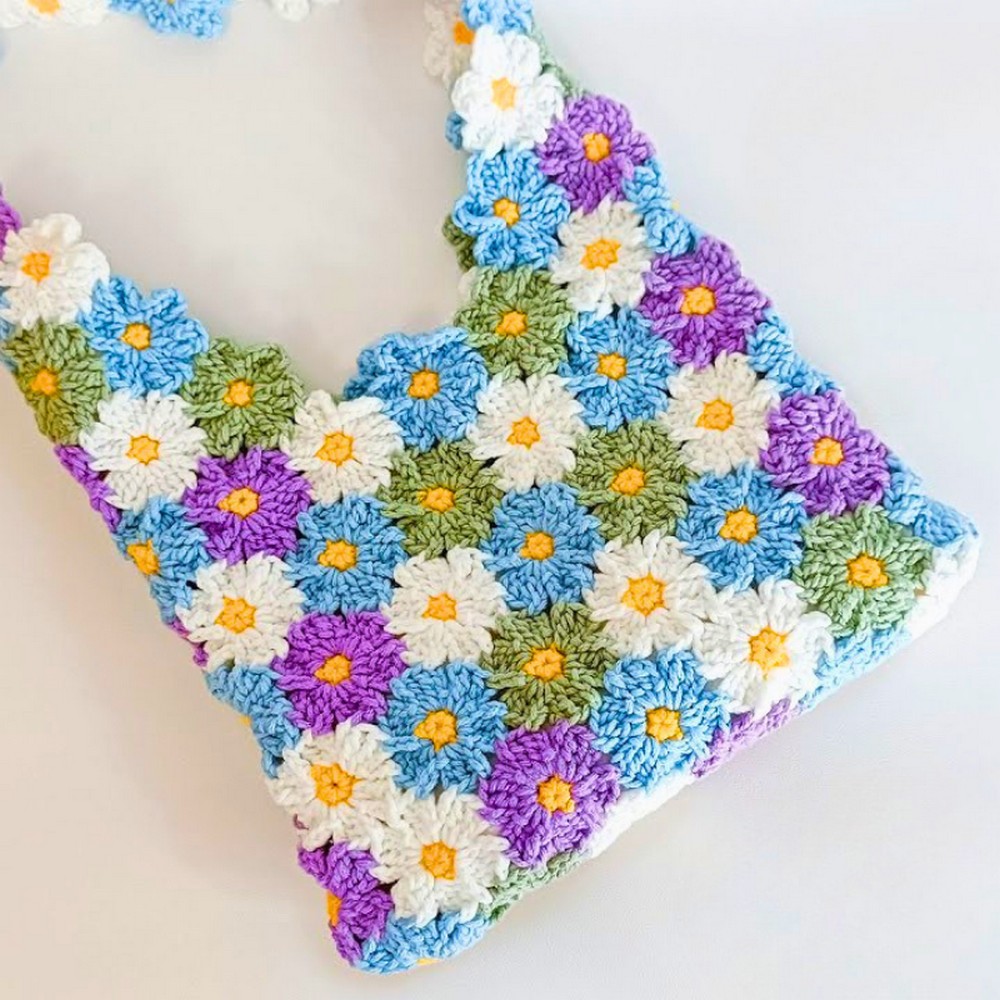
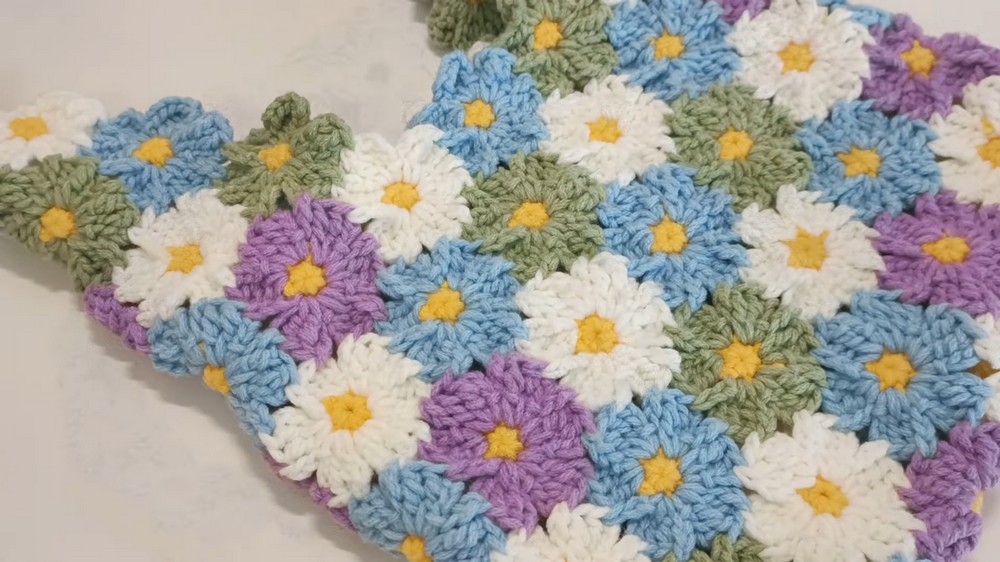
Crocheting a flower bag is a wonderful way to create something both beautiful and practical. This lovely bag features colorful flower motifs joined together, making it perfect for spring outings, adding a touch of charm to your outfit. Its unique design gives it a fresh, cheerful vibe, unlike traditional bags.
Crochet a Colorful Flower Bag
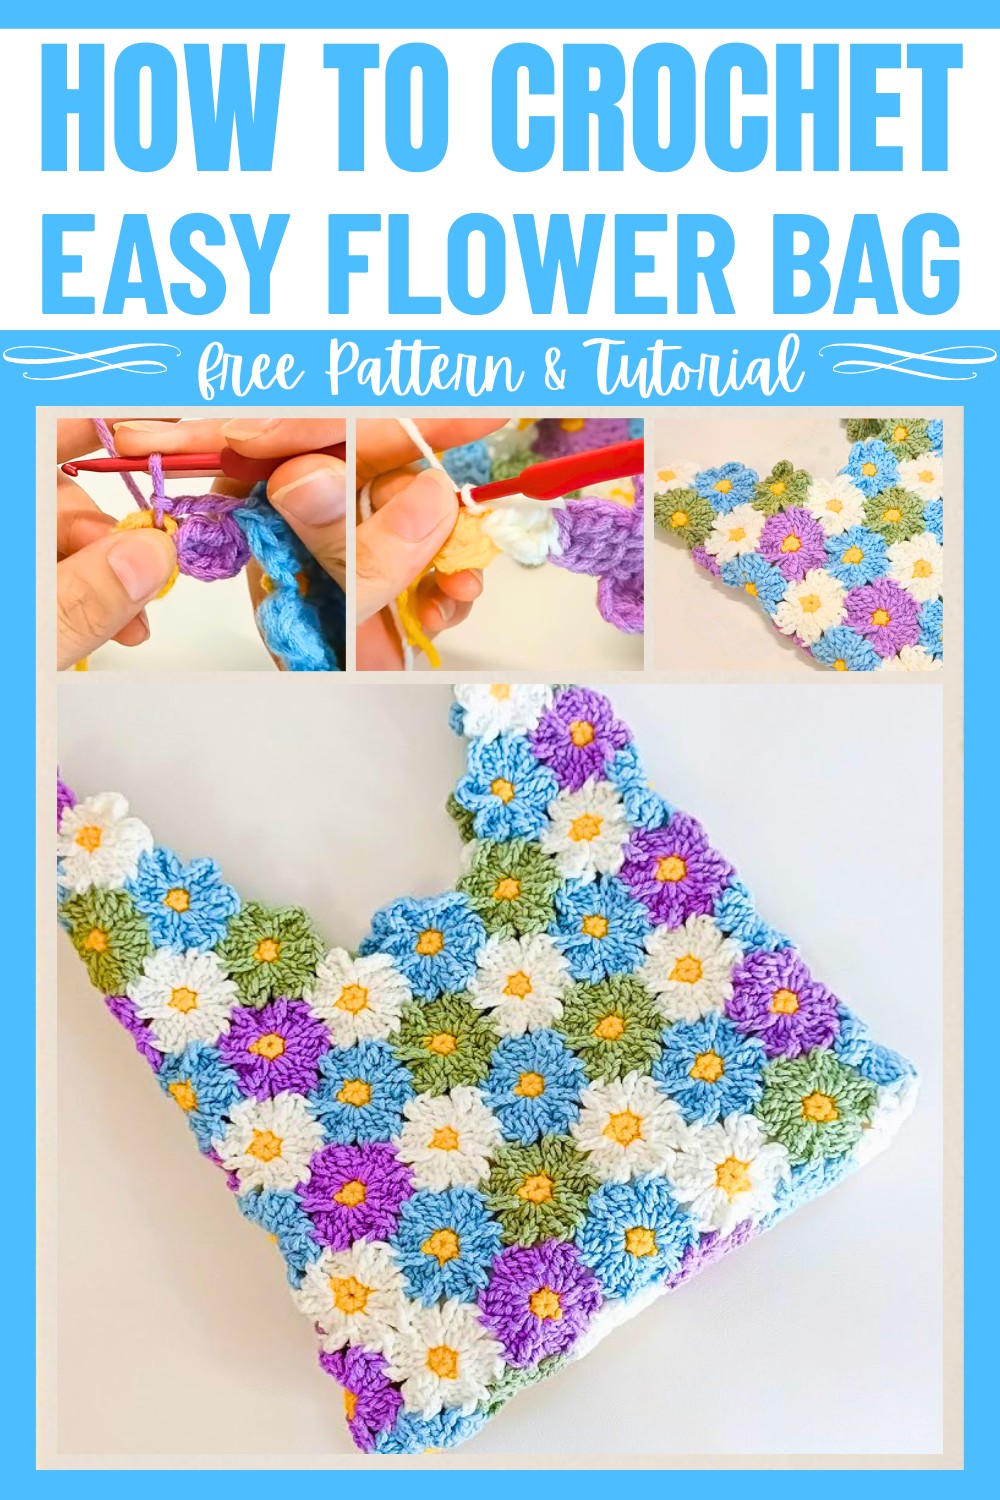
This crochet flower bag is both stylish and functional, making it perfect for carrying small items like your wallet, phone, or keys with a touch of creativity. The process is simple, using crocheted flowers to shape the bag, making it approachable for beginners. The tutorial provides clear instructions and helpful tips, allowing you to customize the crochet design to match your personal style. If you're looking for a cozy hobby or a unique accessory, this flower bag is a great choice.
Credit Vicky Crochet
Materials & Tools Needed
- Yarn: Choose multiple colors of yarn (one color for each flower or a combination for customization).
- Crochet Hook: Use the hook size that complements the yarn weight.
- Scissors
- Yarn Needle: For weaving in ends.
- Stitch Marker (optional, to mark rounds).
Finished Size & Customization Ideas
- Finished Size: The size of the bag might vary depending on your yarn and hook size but is customizable by adding or reducing the number of flower motifs.
- Customization Ideas:
- Use different colors for each flower for a colorful look.
- Add a lining inside the bag for durability.
- Customize the strap length by adding more flower rows or creating a simple chain strap.
Pattern Abbreviations & Terminology
(Using US Terminology):
- ch: Chain
- sc: Single Crochet
- tr: Triple (Treble) Crochet
- sl st: Slip Stitch
- yo: Yarn Over
- mr: Magic Ring
Step-by-Step Detailed Instructions
Component 1: Flower Motif
Round 1: Magic Ring and Single Crochets
- Create a magic ring:
- Hold the tail end of the yarn with your right hand.
- Wrap the yarn around your left little finger, then around your index finger, and form an “X” shape across two fingers.
- Insert the hook under the first part of the "X," grab the second strand, and pull it through to create a loop. Chain 1 to secure the ring.
- Work 6 sc into the magic ring:
- Insert your hook into the ring, yarn over, pull through (2 loops on hook).
- Yarn over and pull through both loops to complete an sc. Repeat 5 more times (6 sc total).
- Pull the tail tight to close the ring.
- Finish with a sl st into the top of the first sc.
- Cut the yarn, fasten off, and weave in the tail with a yarn needle.
Round 2: Petals
- Attach a new yarn color:
- Hold the new color yarn, insert the hook into the first sc from Round 1, and pull up a loop with the new yarn.
- Chain 3 (this forms the base of your petal).
- Create the first petal:
- Make 2 tr into the same stitch where you joined the new yarn.
- Chain 3. Slip stitch into the next stitch to anchor the petal.
- Repeat the petal pattern for all remaining stitches:
- In the next stitch, chain 3, work 2 tr, chain 3, and sl st into the following stitch.
- Continue until you’ve made 6 petals.
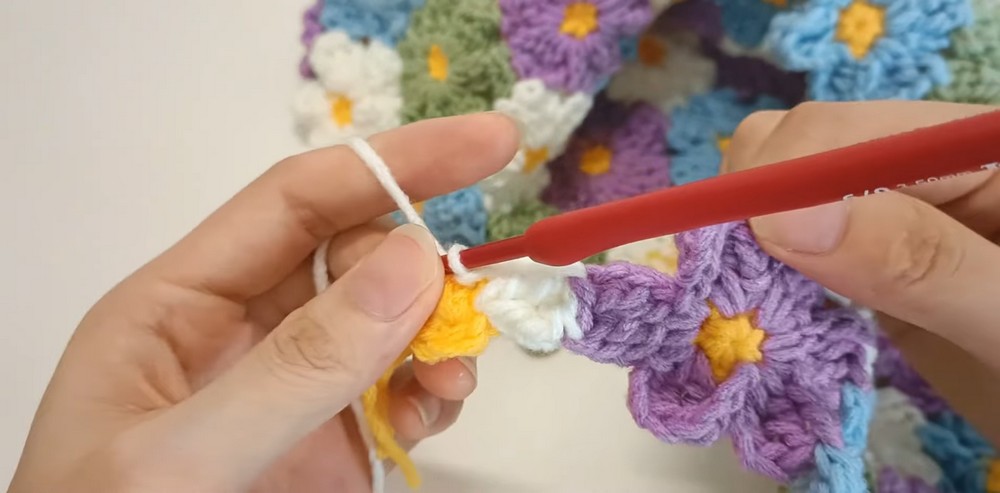
Component 2: Joining Flower Motifs
- Prepare your first flower:
- Complete all petals as above. This flower will act as the starting point.
- Join the second flower:
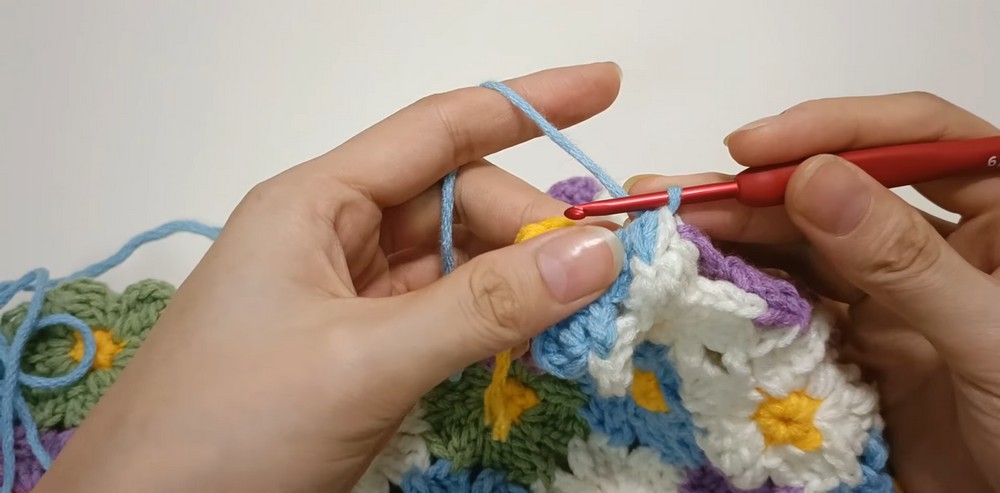
- On the second flower, finish one petal, including the chain 3, and complete the first 2 tr of the next petal.
- Remove the hook and insert it into the top of the corresponding petal on the first flower.
- Pull the yarn through to join.
- Chain 3, then slip stitch into the next petal on the second flower.
- Repeat this joining process for the rest:
- Continue making petals and connecting them to adjacent flowers as shown in the video.
Component 3: Creating the Bag Body
- Arrange the motifs in a circular form:
- In Round 1, connect 12 flower motifs to form the bottom of the bag.
- For Round 2, connect flowers so they overlap flowers from Round 1. Each flower in Round 2 should connect to two flowers in Round 1.
- Repeat this process for 5 rounds, joining flowers as described with slip stitches and chain connections between petals.
Component 4: Closing the Bag Bottom
- For the bottom flowers:
- Join the last row of motifs circularly, working petal by petal.
- Fold flowers inward and connect the edges using the same joining method (slip stitches).
- Securely weave in ends after the final join.
Component 5: Creating the Strap
- Use the same motif method to create flowers in the following configuration:
- One flower for the top center.
- Four flowers for Round 1, three flowers for Round 2, two flowers for Round 3, and one flower for Round 4.
- Join these motifs as you did for the bag and attach the strap to the sides using slip stitches or a yarn needle.
Finishing Techniques
- Check all joins for any loose stitches and secure them.
- Weave in all loose ends with a yarn needle.
- Block the completed bag (optional) to set the shape and give it a polished look.
Customization/Alternate Designs
- Use beads or embellishments for each flower center.
- Swap triple crochets for double crochets or half-double crochets for smaller petals.
- Add a drawstring or zipper for bag closure.