Create a beautiful crochet heart keychain that's both functional and decorative. This customizable project is perfect for gifting or accessorizing bags and keys. With easy-to-follow steps, you can craft a soft, colorful heart that's durable enough to brighten up everyday items.
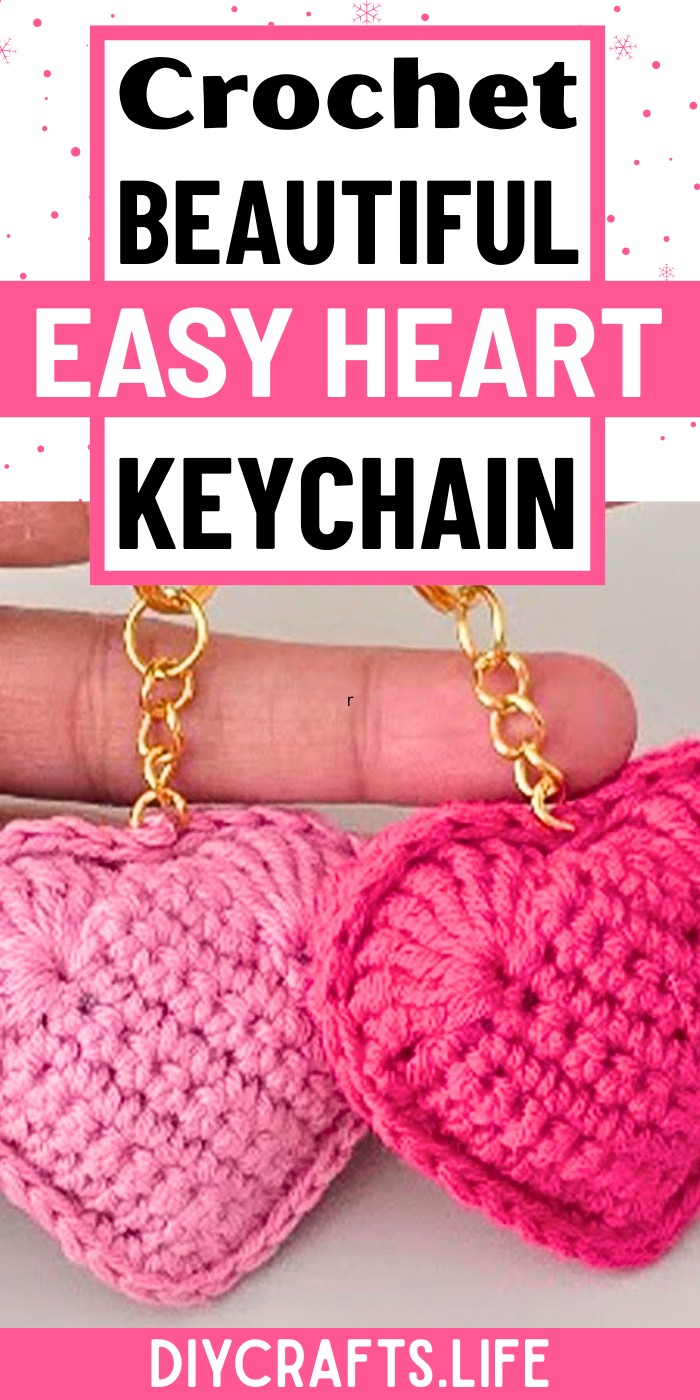
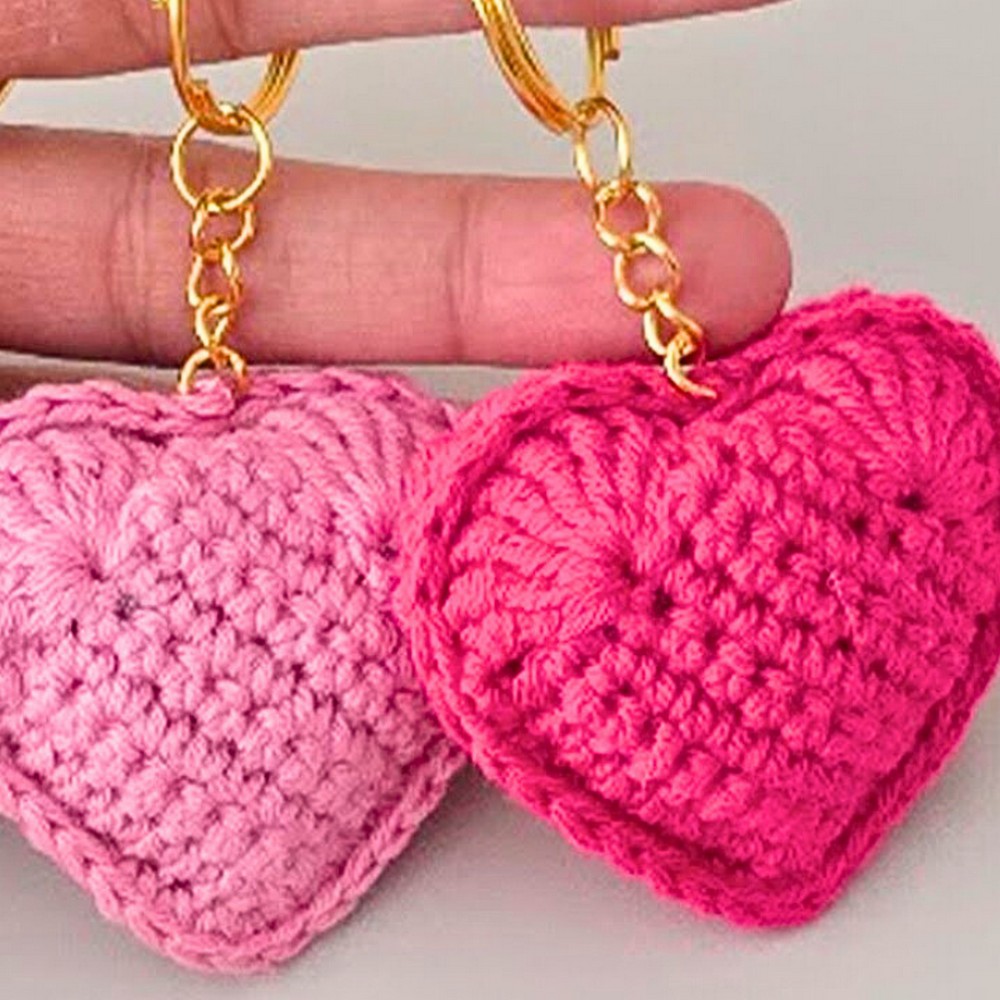
This heart keychain stands out with its plush design, sturdy stitches, and versatile styling. Made with soft Himagurumi Koton yarn, it’s lightweight yet durable. Use it as a statement piece, a thoughtful gift for loved ones, or a charming zipper pull for your keyring or bag.
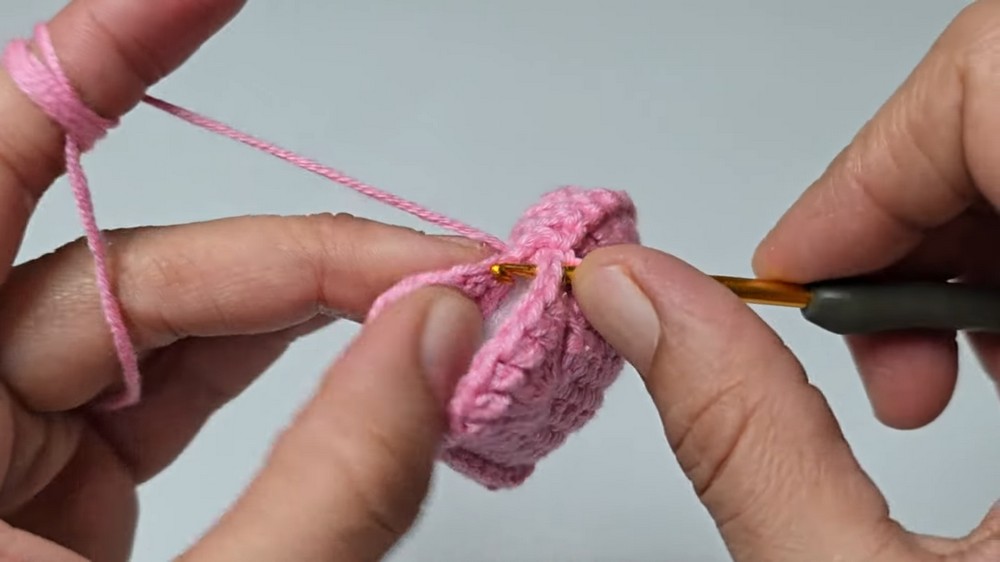
Crochet Heart Keychain
Crafting the crochet heart keychain involves forming two soft heart shapes and stitching them together with precision. From structured triple crochets to the invisible join technique, each step is thoughtfully detailed to ensure a polished handmade piece, stuffed for shape, and finished with a keychain ring.
Credit Crochet Craftsman
Materials and Preparation
To create the Crochet Heart Keychain, you’ll need the following materials:
- Yarn: Himalaya Himagurumi Koton yarn (soft, cuddly yarn recommended for this project)
- Hook Size: 2.50 mm crochet hook
- Additional Tools: Fiberfill to stuff the heart, tapestry needle for weaving ends, and a keychain ring
- Yarn Weight: Lightweight cotton yarn (adjustable based on desired heart size)
Preparation Tips:
- Ensure you choose yarn that feels soft but has a good structure for shaping.
- A 2.50 mm crochet hook works well for detailed designs, but you can adjust based on your yarn thickness.
- Keep fiberfill handy for proper stuffing to give the heart a plump look.
Abbreviations and Notes
Here are the crochet abbreviations used in this tutorial:
| Abbreviation | Meaning |
|---|---|
| SC | Single Crochet |
| CH | Chain |
| TC | Triple Crochet |
| SLST | Slip Stitch |
| YO | Yarn Over |
Important Notes:
- The heart's size can be customized by increasing or decreasing the foundation chain and the rows.
- Be mindful not to pull your stitches too tightly during the foundation chain, or the heart shape might lose its smoothness.
- Use the invisible join technique to finish your work neatly.
Gauge, Approximate Size, and Pattern Notes
- Gauge: Gauge is not critical for this project, but if you desire a specific size, ensure uniform tension throughout.
- Approximate Size: The finished heart size will depend on your yarn and hook combination. Using the recommended materials, the size is approximately a plump, small keychain heart perfect for accessories.
- Special Techniques: Invisible join technique for finishing and fiberfill stuffing for the heart. A gauge swatch is not needed unless you are aiming for a precise dimension.
Step-by-Step Pattern
Foundation/Base:
- Start by making a slip knot.
- CH 10 (or adjust the chain length based on your desired heart size).
- Begin working in the second chain from the hook, and crochet 9 SC across the chain.
- CH 1, turn your work, and crochet 9 SC starting from the first stitch.
Making the Square Base:
- Repeat the process above (CH 1, turn, crochet 9 SC) for 8 rows (this forms the square base of the heart).
Forming the Heart Lobes:
- Locate the 5th stitch of the final row. Yarn over twice and place 8 TC into this stitch. This forms the heart's first lobe.
- Crochet 1 SC into the 9th SC of the row to join the lobe.
- Yarn over twice again, and into the 5th stitch of the opposite side, crochet 8 TC. This forms the second lobe.
- Crochet 1 SC into the top of the 9th SC of the row.
Shaping and Sealing:
- Slip stitch into the final SC of the foundation chain. CH 1, and cut the yarn.
- Weave in the ends through the back loops of the heart for a clean finish.
Creating the Second Heart Piece:
- Follow the above steps to make another identical heart piece.
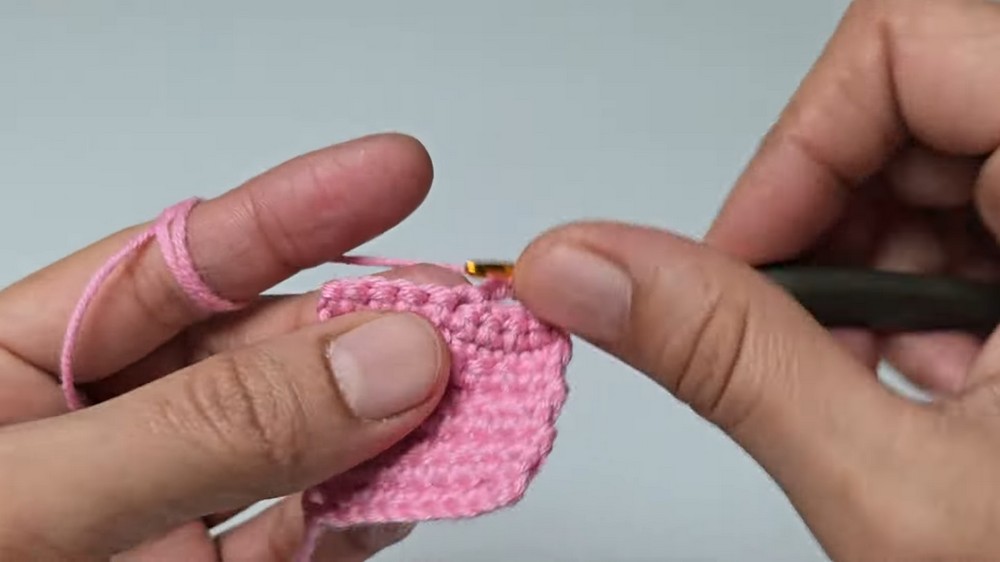
Joining the Heart Pieces:
- Align the wrong sides of both heart pieces. Insert your hook into the slip-stitch space of the triple crochet group and begin crocheting SC around the edges.
- Ensure you crochet each corresponding stitch along the edges of both pieces to create a seamless join.
Stuffing the Heart:
- Before fully sealing, stuff the heart with fiberfill through the opening. Use as much as needed to give the heart a plump shape.
- Finish joining the edges by crocheting SC into the remaining stitches. Slip stitch into the final SC, cut the yarn, and leave a long tail to attach the keychain ring.
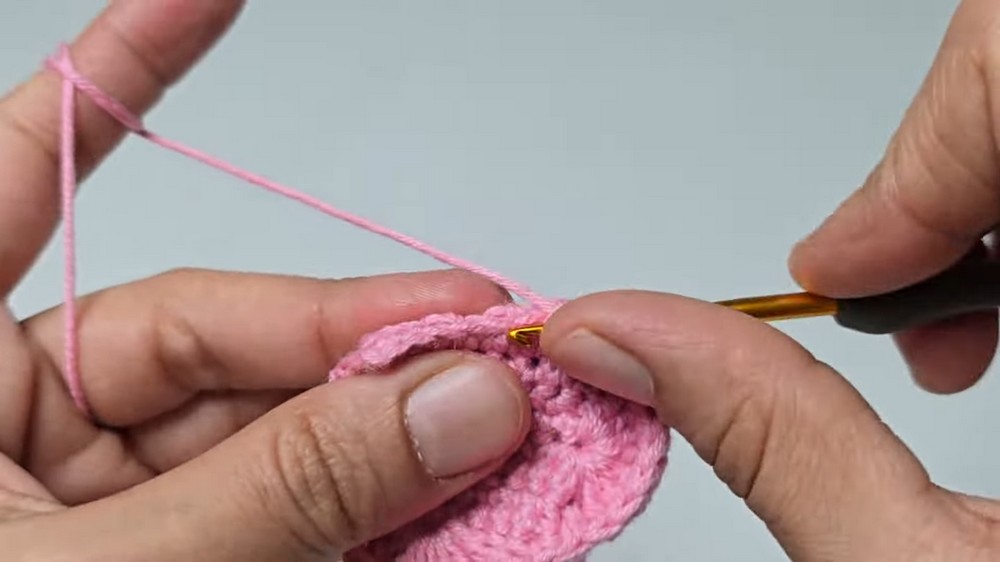
Attaching the Keychain Ring:
- Thread the tapestry needle with the remaining yarn and use the invisible join technique to secure the top of the heart.
- Knot the yarn securely, then thread it through the middle of the heart.
- Attach the keychain ring, then insert the needle through the heart's tip, pulling slightly to enhance the heart’s shape.
Final Steps and Customization
- If you want a larger heart, increase the foundation chain length and add more rows accordingly.
- Personalize with alternate colors or embroidered details!

Pattern Question:
Q: How can I adjust the size of the heart keychain?
A: To make it smaller, reduce foundation chain stitches and rows. For a larger piece, increase both. Follow the tutorial to maintain proportions.
Conclusion:
This crochet heart keychain tutorial offers clear guidance to create a lovely, personal accessory. Featuring creative techniques like the invisible join, it’s a practical yet stylish craft project you’ll enjoy making and sharing with loved ones.