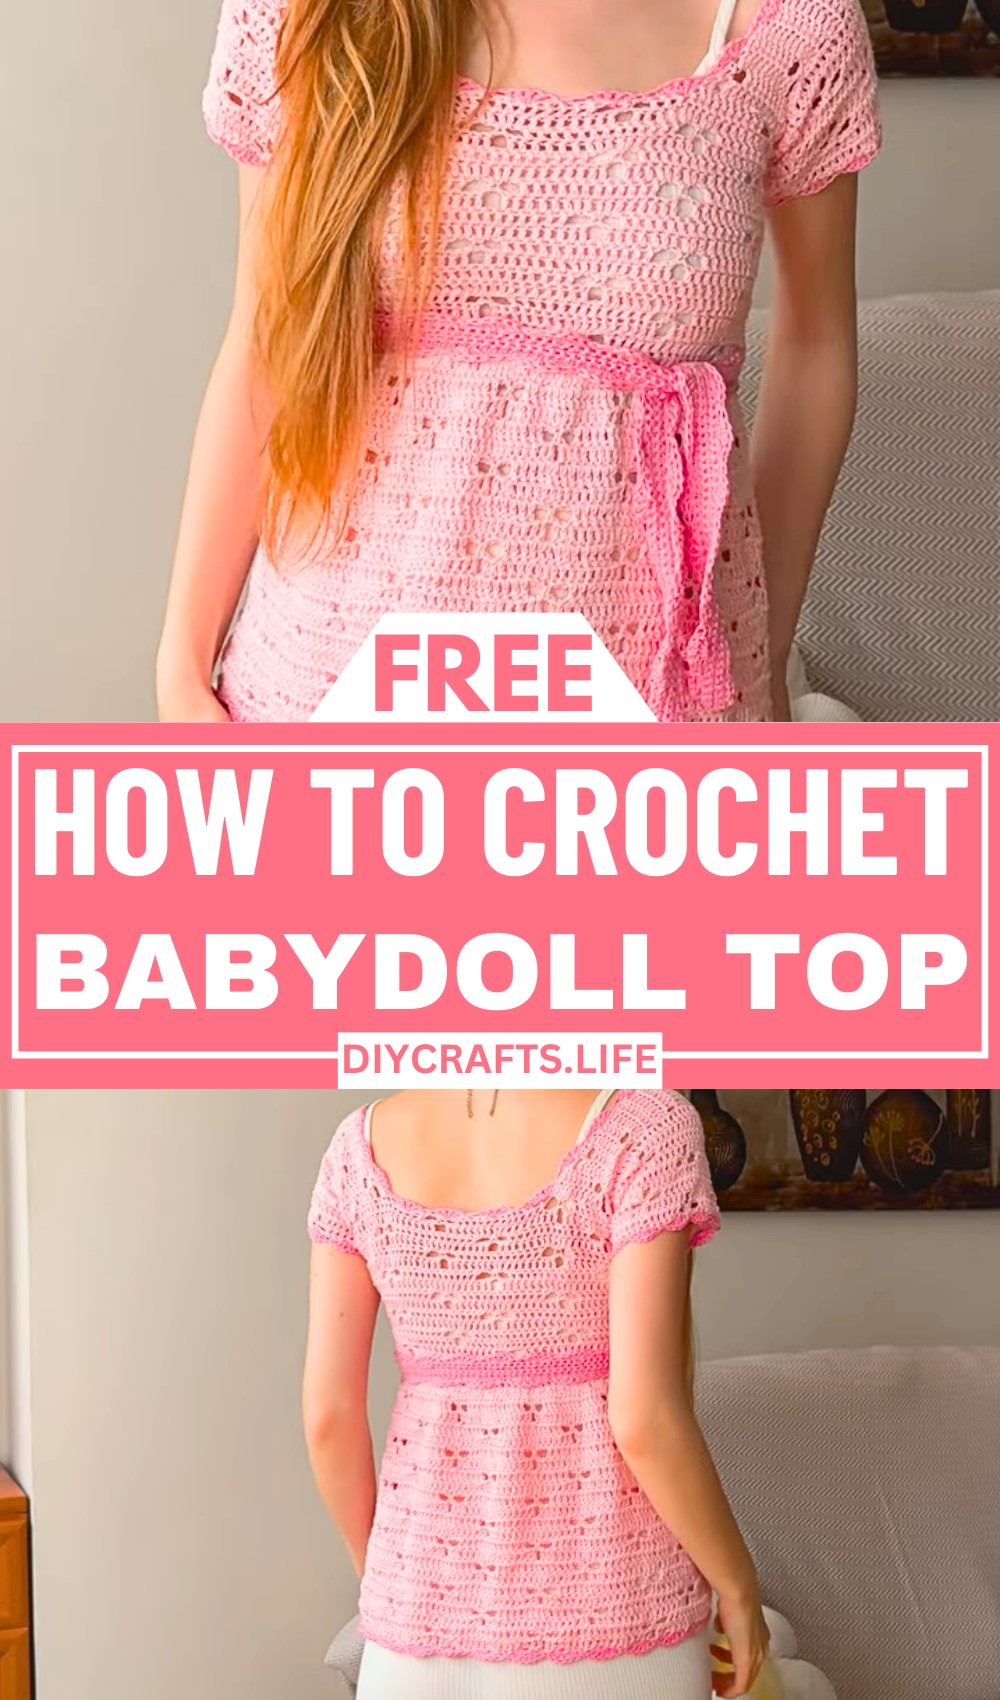
Feel effortlessly stylish with a handmade crochet babydoll top that radiates charm and comfort. With its soft flowy design and potential for abundant customization, this crochet project transforms simple stitches into stunning wear that feels as beautiful as it looks. Whether crafting for a casual daytime look or adding flair to your wardrobe, this unique pattern presents endless opportunities to make it truly yours.
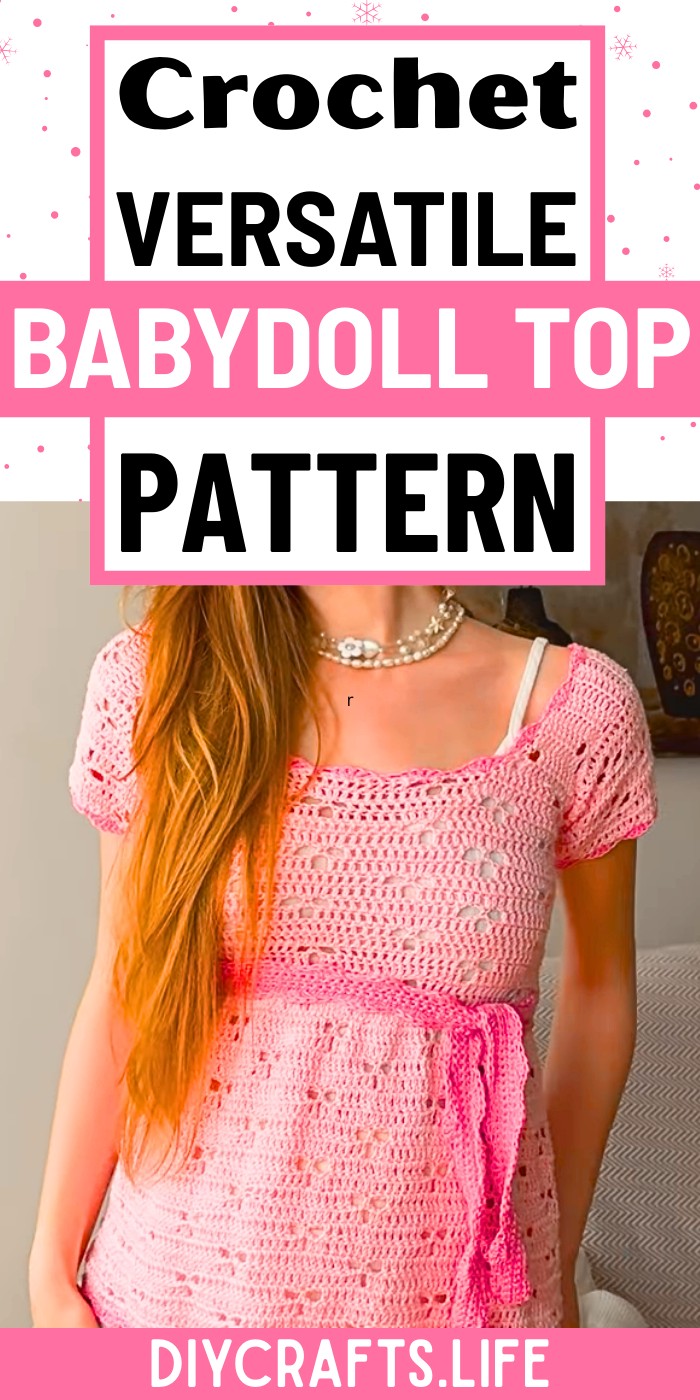
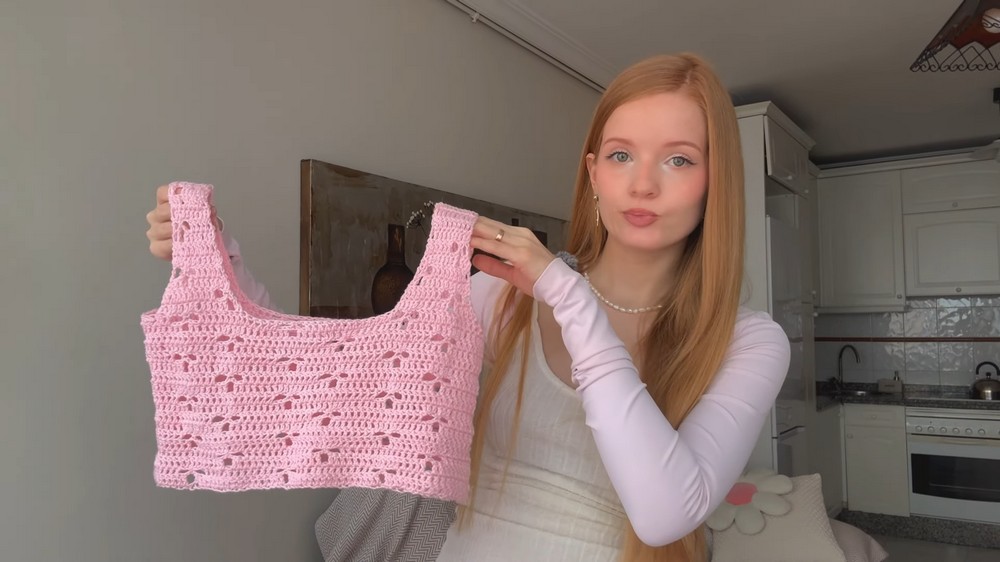
Crochet Babydoll Top
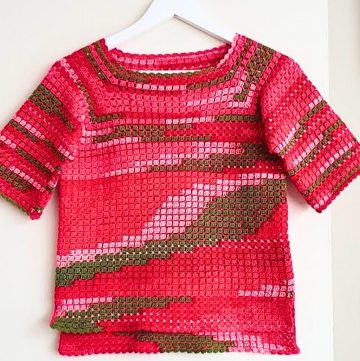
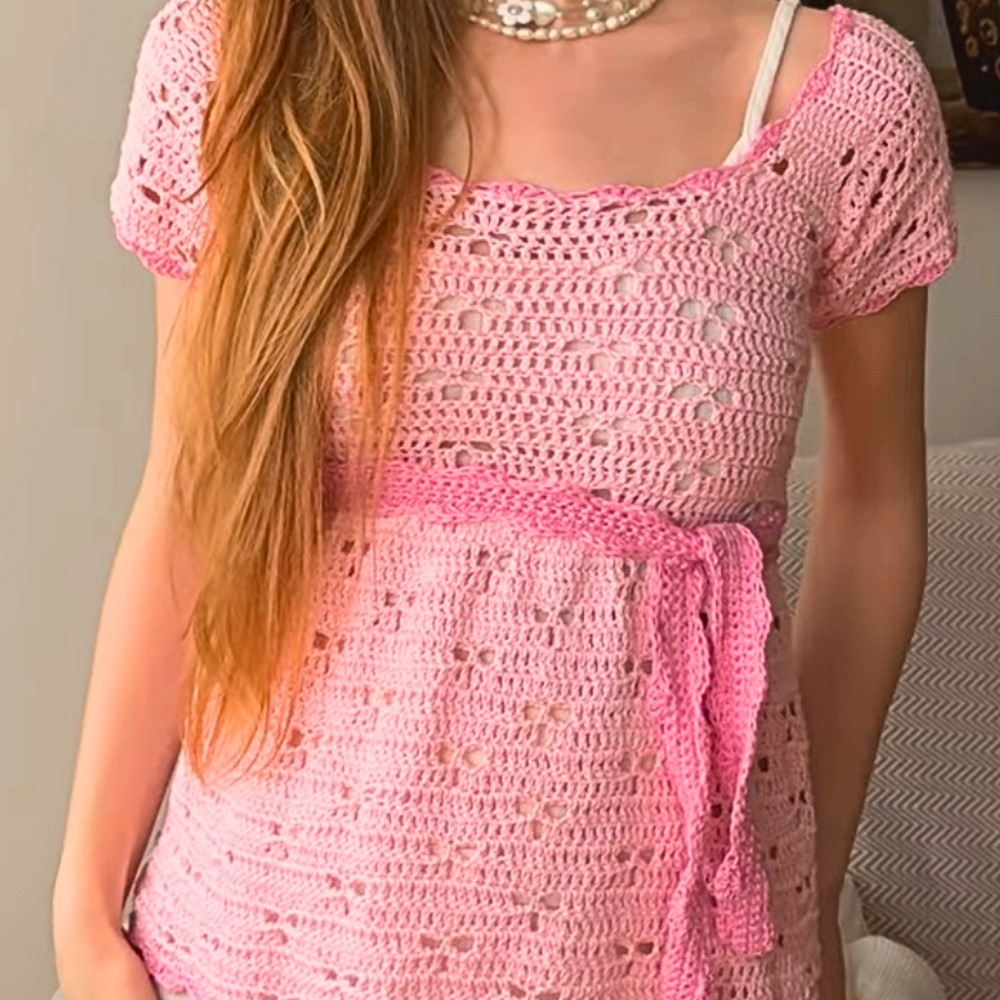
The crochet babydoll top stands out with its versatility and thoughtful details. Featuring delicate straps and an elegant waistband, this pattern can adapt to your preferences—modify it to add sleeves, utilize bright or neutral tones, or even extend it into a full-length dress. Its lightweight cotton design ensures comfort, while the intricate yet easy-to-follow stitches give the top its signature charm. Perfect for pairing with skirts, jeans, or scarves, this handmade piece blends function and fashion seamlessly.
Credit Made by BJax
Materials & Tools Needed
- Yarn:
- 100% cotton (preferred for quality and breathability).
- Example: Cotton Nature, 75g per skein, 150m.
- Colors Needed:
- Main color for the top body.
- Contrasting color for the edging (e.g., pink).
- You are recommended to use affordable cotton yarn or opt for luxury cotton options, depending on your budget. Avoid acrylic for clothing pieces.
- Total yarn needed: Approximately 3.5 skeins for the complete project, depending on the desired size and length.
- Crochet Hook:
- Recommended size: 3 mm (for tighter, less see-through stitches).
- Additional Tools:
- Stitch markers (to mark strap placement).
- Tapestry needle (for sewing straps and weaving in ends).
- Scissors.
Finished Size & Customization Ideas
Approximate Size:
- The main part of the top is 36 cm wide and 18 cm in height after 18 rows of the main stitch pattern.
- Straps consist of 12 rows, with placement adjustable to fit shoulders comfortably.
- Bottom section length: Approximately 23 cm (or as desired for a dress/top).
Ways to Customize:
- Size Adjustments:
- To adjust for larger or smaller bust circumferences, ensure the foundation chain divides by 18.
- If the top feels tight, increase your foundation chain count by increments of 18 stitches.
- Yarn Options:
- Use different yarn weights (e.g., sport-weight for a lighter look or worsted-weight for thicker coverage). Adjust hook size accordingly.
- Opt for natural fibers like bamboo, linen, or wool for different feels and looks.
- Style Adjustments:
- Lengthen the straps for a halter style.
- Add long sleeves using the same stitch pattern as for the top and armholes.
- Crocheting more rows in the bottom section turns it into a comfortable dress.
- Color Variations:
- Combine two or more colors to create stripes or ombre effects.
- Use neutral tones like beige or white for a versatile, everyday look.
- Embellishments:
- Add buttons or beads along the straps or neckline.
- Use decorative edging stitches like picot for detailed finishes.
Pattern Abbreviations & Terminology
- ch = chain
- dc = double crochet
- sc = single crochet
- sl st = slip stitch
- dec = decrease (joining two stitches into one)
- inc = increase (working multiple stitches into the same stitch)
- turn = turn your work to crochet the next row
Pattern uses US crochet terms.
Step-by-Step Detailed Crochet Instructions
Part 1: Top Body
Foundation Chain:
- Create a chain of air loops based on your bust circumference. Ensure the total stitch count divides by 18.
- Example: For a chest circumference of 89 cm, cast on 126 loops. This forms a slightly loose fit.
- Join the chain into a circle with a slip stitch, ensuring it doesn’t twist.
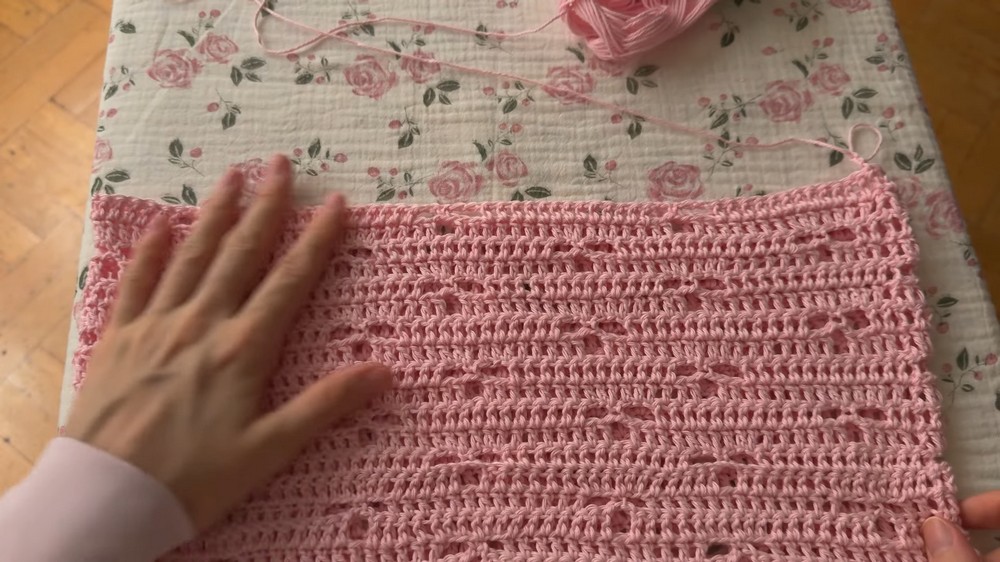
Stitch Pattern (Main Top):
- Row 1:
- Chain 3 (counts as first dc). Make 2 more dc, then ch 3.
- Skip 1 stitch below, crochet 17 dc in a row.
- Repeat the sequence: ch 3, skip 1 stitch, crochet 17 dc, until the round ends.
- Adjust and join with a sl st at the end of the row.
- Row 2:
- Turn your work. Chain 3 (counts as the first dc), then crochet 12 more dc until 2 stitches before the gap from the previous row.
- Chain 2, skip those two stitches, sc into the gap, then chain 2.
- Repeat this: 13 dc, chain 2, sc in the gap, for the entire row.
- Join with a sl st at the end.
- Row 3 & Row 4:
- Continue working the chart pattern, alternating between double crochet rows and chain patterns.
- Row 5 onwards repeats rows 1 through 4.
- Crochet rows until the bust coverage length suits your preference.
- Example: The tutorial worked 18 rows, making the top section 18 cm tall.
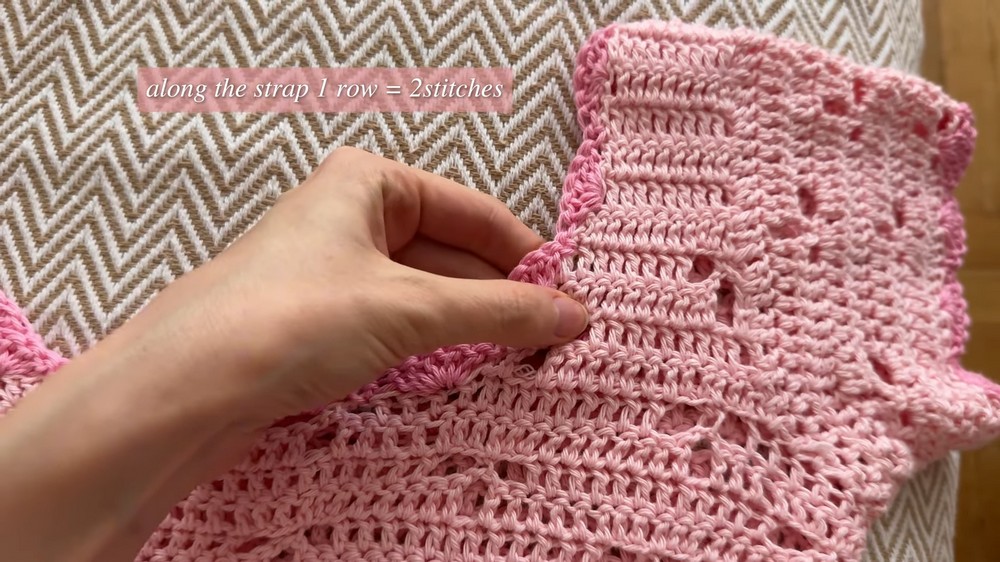
Part 2: Straps
- Place your seam at the side of the top. Use stitch markers to mark strap placement for the front and back. (Example: Leave 21 stitches apart for each strap).
- Crochet each strap following the same stitch pattern as the top body.
- For each strap:
- Start with decreases: ch 2, dec at the beginning and end of the strap row.
- Alternate “decrease rows” with “straight rows”.
- Crochet 12 rows straight, ensuring it reaches halfway up the shoulder.
- For each strap:
- Repeat for the remaining straps (total: four straps).
- Sew front and back straps together at the shoulder using a tapestry needle.
Part 3: Sleeves
- Begin crocheting around the armhole using the same stitch pattern as the top body.
- Work in rounds, joining each round with a sl st and turning the work after every row.
- Example: Crochet 9 rows for short sleeves.
- For long sleeves, continue crocheting rounds until the desired sleeve length is achieved.
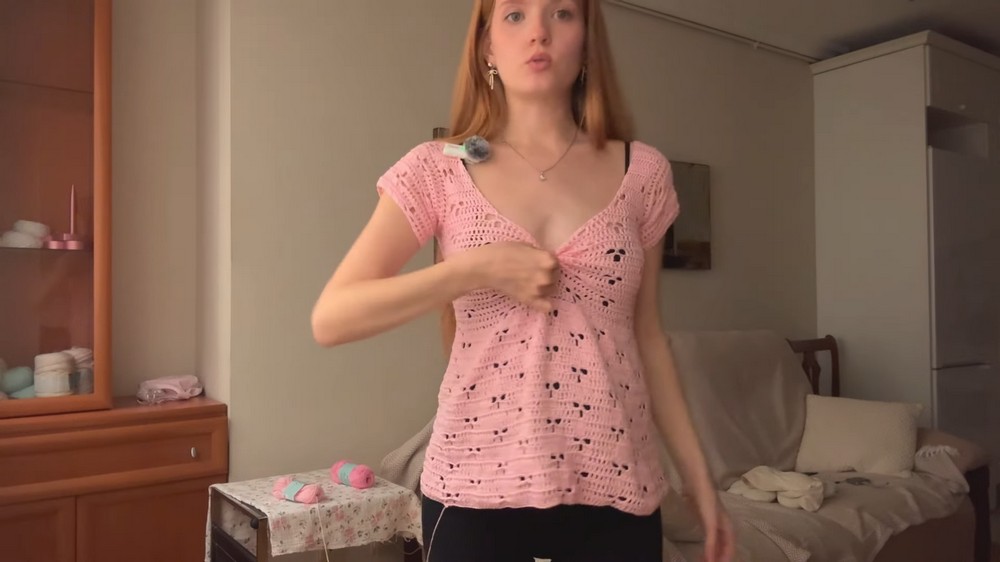
Part 4: Bottom Section
- Turn the top upside down and work downwards starting with a row of double crochets.
- For a looser hem:
- Option 1: Work inc in every stitch (two dc per stitch).
- Option 2: Work inc every other stitch (one regular dc, one inc).
- For a looser hem:
- Follow the chart provided for the bottom section. It repeats rows 1 through 4, similar to the top.
- Continue crocheting until the desired length.
- Example: For the tutorial, the bottom section was made 23 cm long (about 23 rows).
Part 5: Edging & Finishing
- Add edging to all openings (neckline, armholes, bottom).
- Edging Pattern: Ch 3, 4 dc into the same stitch, skip 2 stitches, sc, skip 2 stitches, repeat.
- Work this edging around all edges.
- Waistband:
- Chain 200 stitches.
- Work 4 rows of single crochet back and forth.
- Add the same decorative edging as above.
- Weave in all ends using a tapestry needle.
Final Notes
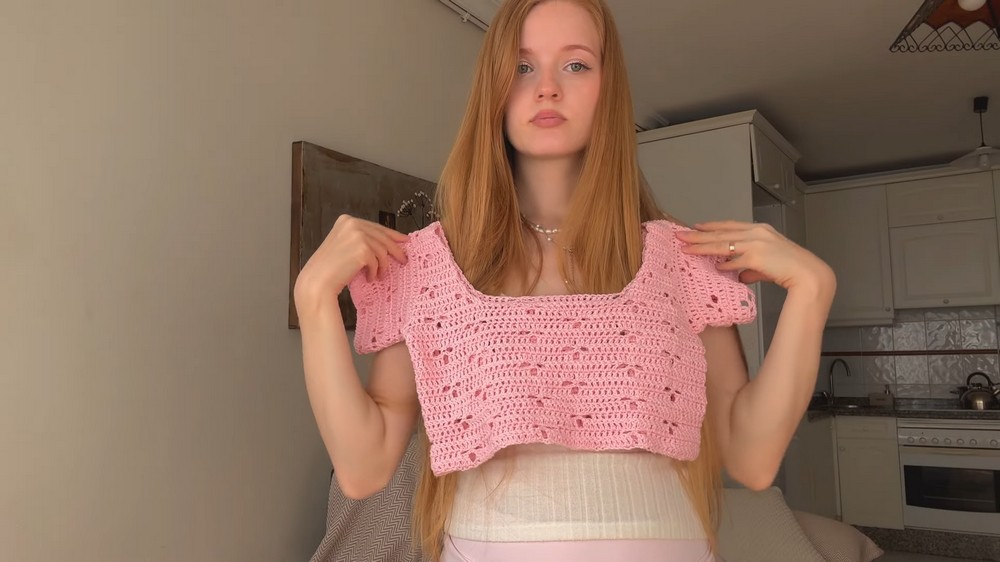
- This crochet babydoll top is versatile: Wear it as a crop top, tank top, or even a dress by extending the bottom section.
- Pair with white pants or skirts for a cute outfit!
- Experiment with colors and yarns for personalized looks.
Enjoy creating this beautiful piece! 😊