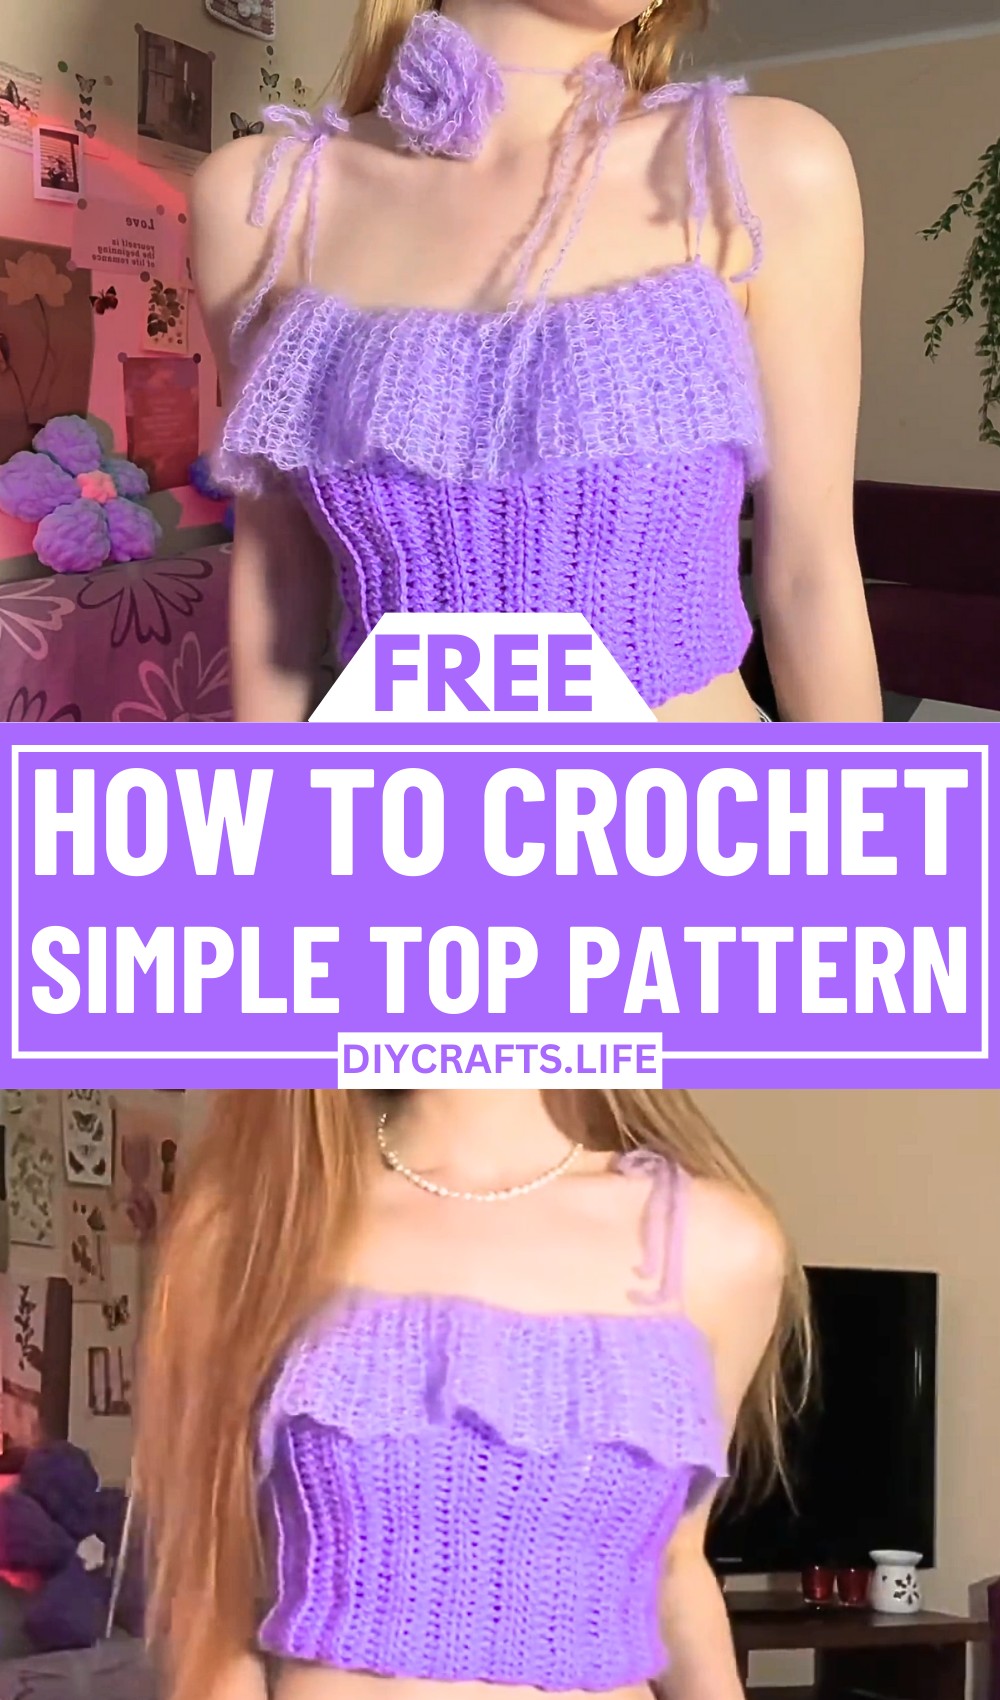
Bring elegance and charm to your outfit with this delicate crochet top design! Whether styled with jeans or skirts, this versatile piece transitions effortlessly between casual and refined outfits. Its lightweight and airy finish add a gentle touch of sophistication, making it suitable for warm weather while still looking like a true work of art.
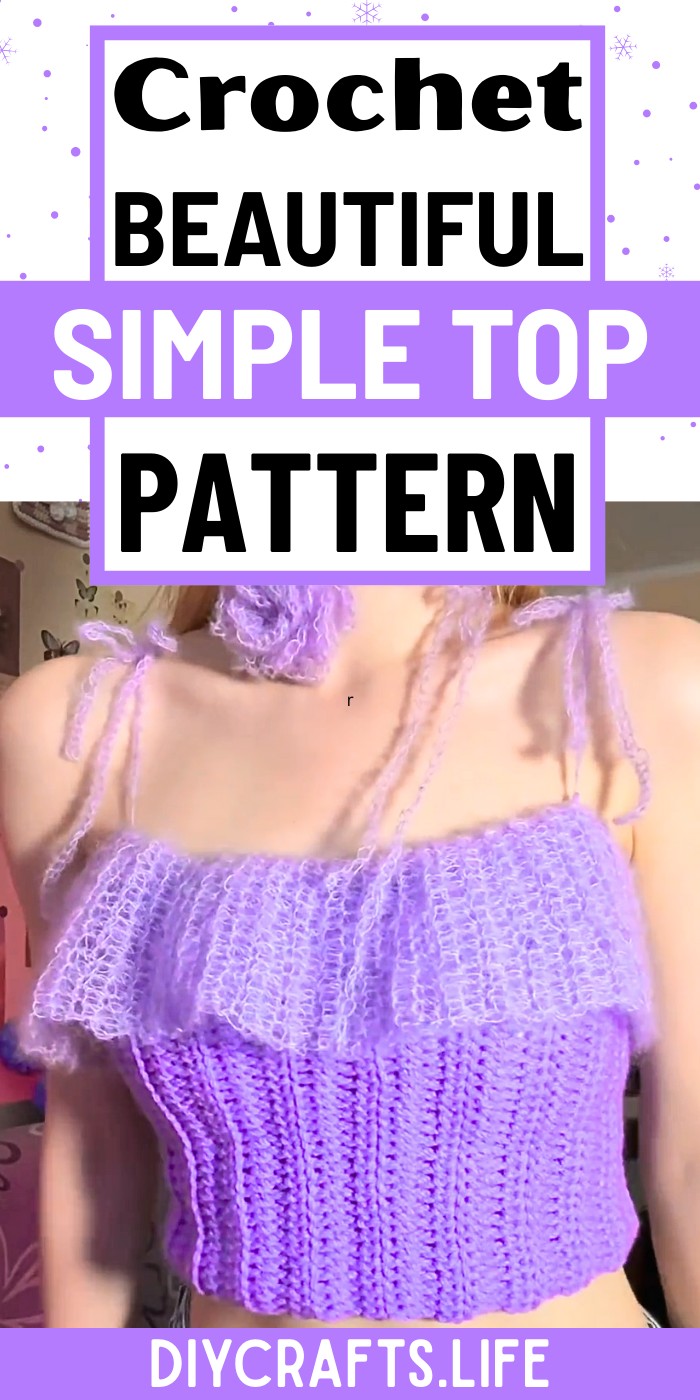
This crochet pattern shines with its layered design that combines two types of yarn—decay medium yarn for the base and mohair yarn for a graceful, airy upper section. Crafted with simple half-double crochet stitches, this pattern balances simplicity and beauty. Featuring adjustable straps and rows that can be customized to fit your style and measurements, this is a beginner-friendly project that lets you experiment with colors, textures, and details. This crochet top will undoubtedly become a stunning and personalized addition to your handmade wardrobe.
Credit WONDER NETTING
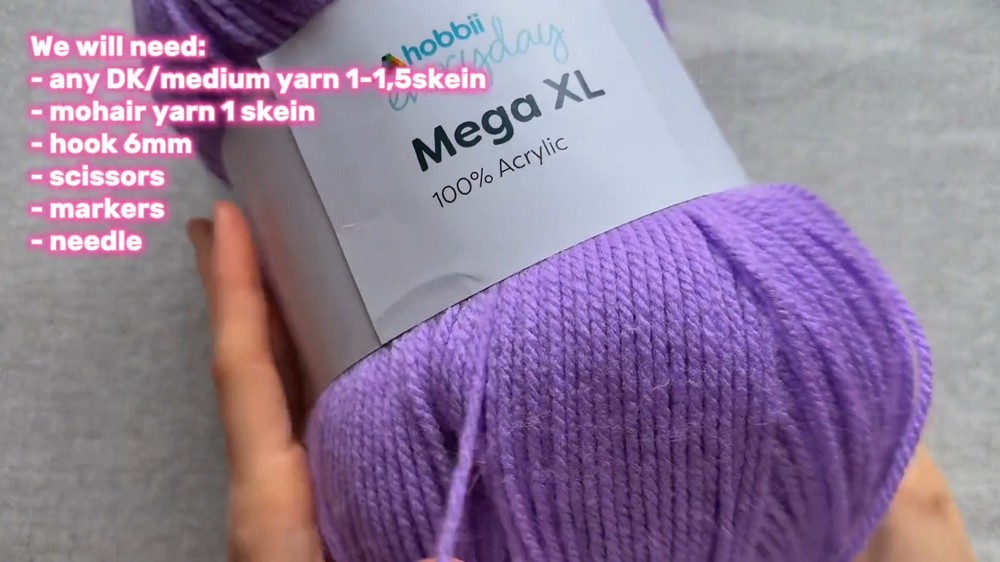
Materials & Tools Needed
- Yarn:
- Acrylic Yarn (DK/medium weight):
- Requires approximately 1–1.5 skeins (100g each), with each skein covering ~100m.
- Example: Large acrylic skein of your choice for the main body.
- Requires approximately 1–1.5 skeins (100g each), with each skein covering ~100m.
- Mohair Yarn:
- Requires 1 skein (25g each), with ~200m per skein.
- Example used: "Frit Silk from Hobby Yarn" (soft and airy texture).
- You can mix yarns of different colors for variation (e.g., white or pastel acrylic for the body and multicolor mohair for the top).
- Acrylic Yarn (DK/medium weight):
- Crochet Hook:
- 6.0mm hook (recommended for DK weight yarn, but you can adjust based on your yarn).
- Additional Tools:
- Scissors
- Yarn needle (for joining seams and weaving in ends)
- 4 Stitch markers (to mark strap positions and joins)
- Measuring tape (to measure size or customize for chest circumference)
Finished Size & Customization Ideas
Approximate Size
- Main Body (acrylic yarn section):
- Width: ~52 cm (20.5 inches; for chest circumference).
- Height: ~25.5 cm (10 inches).
- Mohair Section (airy top part):
- Width: Matches chest circumference.
- Height: ~15 cm or longer, based on personal preference.
Ways to Customize
- Adjust Chest Circumference:
- Add or subtract rows in the main body (Acrylic section) to fit your measurements.
- Approximately 40–50 rows for the average adult size, depending on tension and yarn.
- Strap Length/Style:
- Create straps using simple chain loops, slip stitches, or mohair yarn for a delicate look.
- Use longer chains for adjustable or halter-style straps (~40–50 cm straps, or customize as needed).
- Alternative Yarns:
- Keep the body acrylic but choose textured or colorful mohair for a more unique style.
- Substitute mohair yarn with other lightweight yarns for a similar effect.
- Experiment with Color:
- Mix and match—e.g., light-colored body with multicolored mohair.
- Use gradient or ombre yarn effects for a creative touch.
- Length Variation:
- Extend the main body for a longer top or crop it for a shorter one.
- Adjust the upper (mohair) part’s height for additional flair or coverage.
Pattern Abbreviations & Terminology
- CH: Chain
- HDC: Half Double Crochet
- ST: Stitch
- SL ST: Slip Stitch
- SC: Single Crochet
- SK: Skip
Step-by-Step Crochet Instructions
Main Body (Acrylic Yarn Section)
1. Foundation Chain
- Start with a slip knot, then chain 37 stitches (this represents the height of the body; adjust if needed).
2. Row 1: Half Double Crochet (HDC)
- Yarn over, insert the hook into the third chain from the hook (the loop on the hook does not count as a stitch).
- Pull up a loop (3 loops on the hook), then yarn over and pull through all 3 loops.
- Continue working HDC across the chain (you will have 35 HDC stitches).
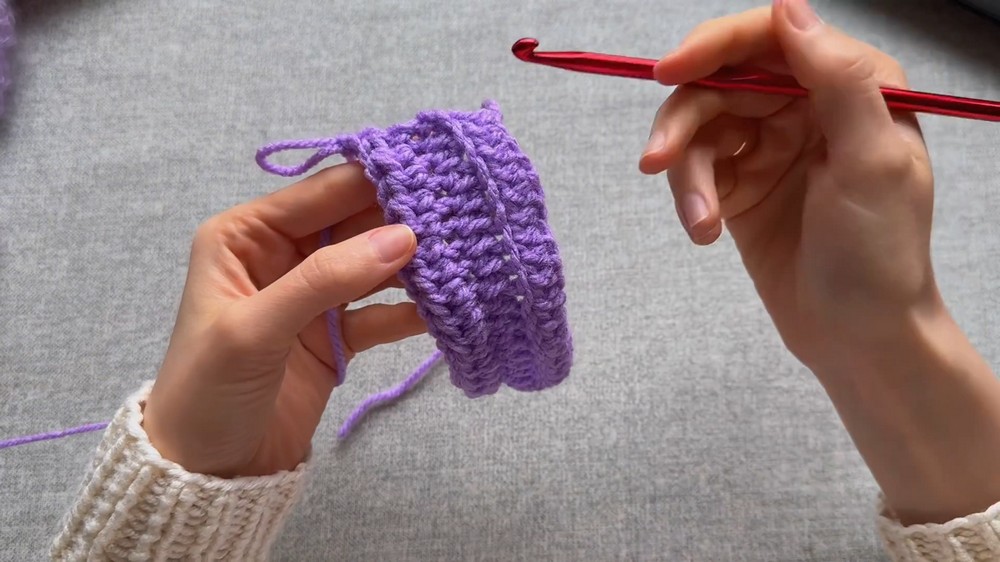
3. Row 2: Back Loop Only HDC
- Turn your work and CH 2 (does not count as a stitch).
- Yarn over, insert the hook into the third loop from the hook, working into the back loop only.
- Continue working HDC in the back loop across the row.
- At the end of the row, crochet the last ST through both loops to ensure a flat edge.
4. Continue Rows
- Repeat Row 2 until the total width of the body equals chest circumference (approximately 40–50 rows, depending on size).
Upper Section (Mohair Yarn)
1. Create the Mohair Chain
- Using mohair yarn, chain 15 (for height; adjust if needed).
2. Row 1: HDC
- Yarn over, insert the hook into the third chain from the hook, then pull up a loop.
- Continue working HDC across the chain.
3. Row 2: HDC
- Work the same technique as the Main Body, using HDC in back loop only.
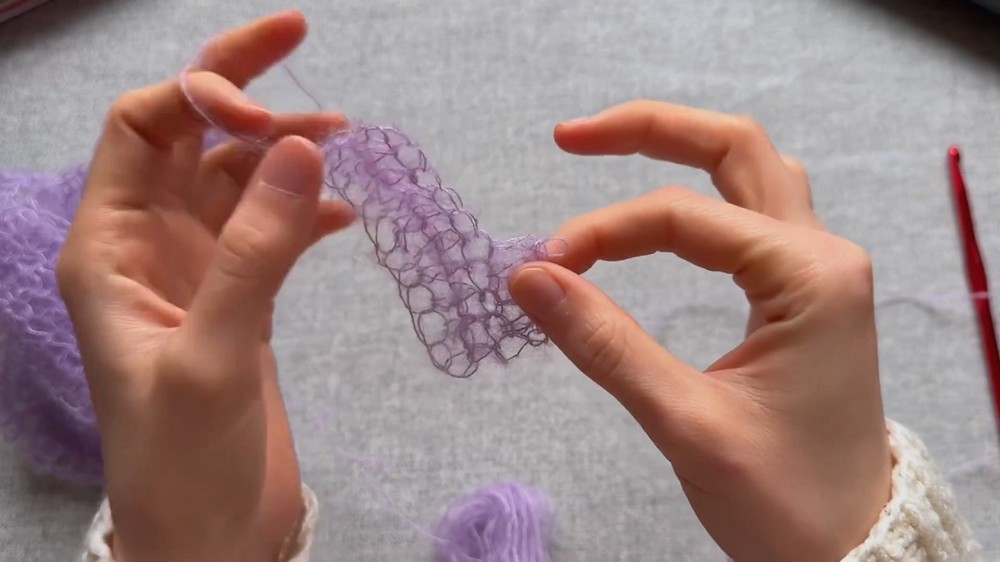
4. Continue Rows
- Crochet approximately 120 rows (3 times the width of the main body).
5. Note
- For every row of the acrylic body, join three mohair rows to create gentle folds in the mohair section.
Joining Components
1. Join the Main Body
- Fold the body into a tube (with wrong sides facing out) and use single crochet (SC) to sew the edges together.
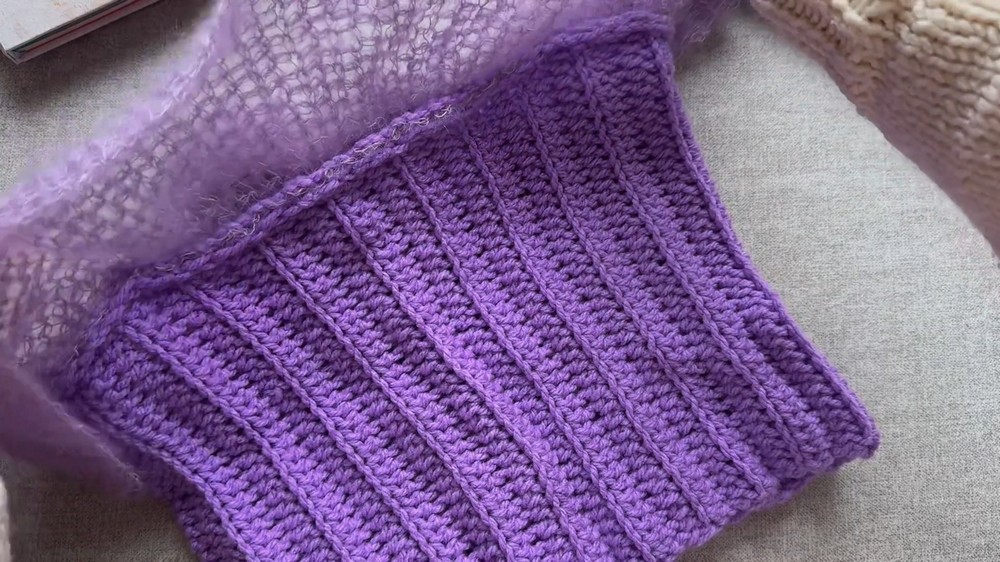
2. Attach Mohair Section
- Lay the top flat, with the acrylic body (main part) and mohair (upper part).
- Place the mohair section on top of the acrylic section, matching rows.
- Insert hook into the first row of mohair and the first corresponding stitch on the main body. Pull through and slip stitch to join.
- For every row on the main part, join 3 rows of the mohair part with slip stitches.
3. Fasten Off
- At the end of the join, chain 1, cut the yarn, and pull the loop tightly.
- Weave in loose ends using a yarn needle.
Straps
1. Create Straps
- Create 4 straps using your preferred method:
- Chain-only Straps: Chain 40–50 stitches for each strap, depending on your preferred length.
- Single Crochet Straps: Create a chain base, then work 1 row of SC across the chain for a thicker strap.
2. Attach Straps
- Use stitch markers to mark the placement of each strap (typically near the top corners).
- Sew straps securely using a yarn needle.
- Weave in ends.
Finishing
- Turn the top right-side out.
- Pull gently on the mohair part to adjust the folds evenly along the main body.
- Test the fit and adjust strap placements if needed.
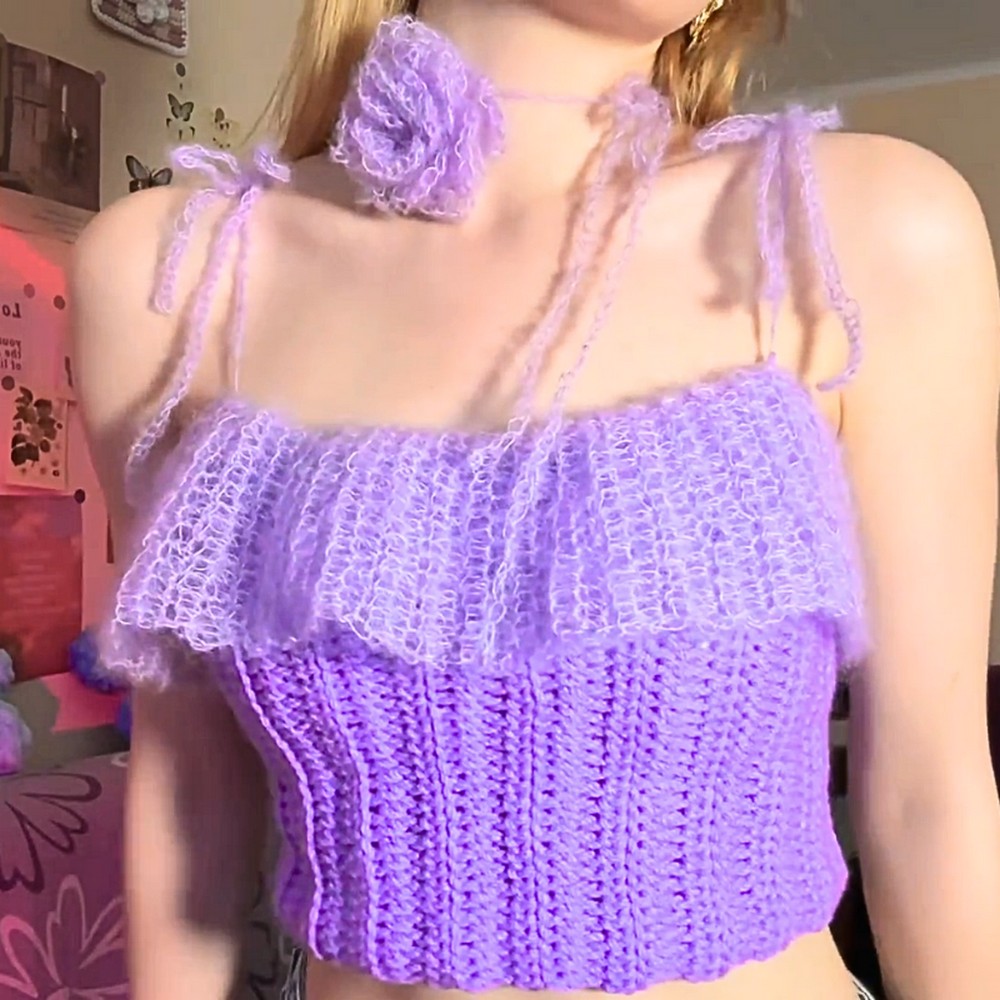
Creative Final Touches
- Rose Choker: Use leftover mohair to crochet a small decorative rose choker. Refer to additional tutorials on the creator’s channel for instructions.
- Decorative Borders: Add a single or double crochet border around the top edge or along the bottom for a clean, finished look.