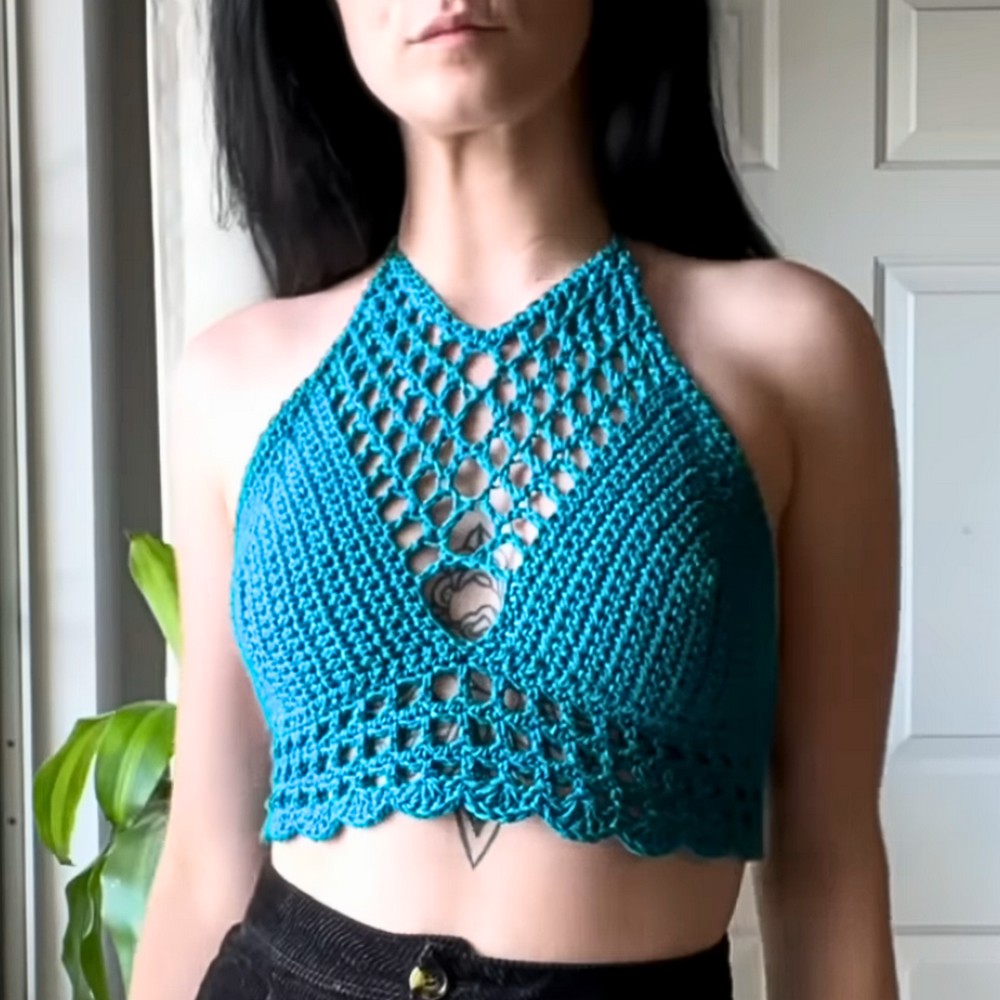
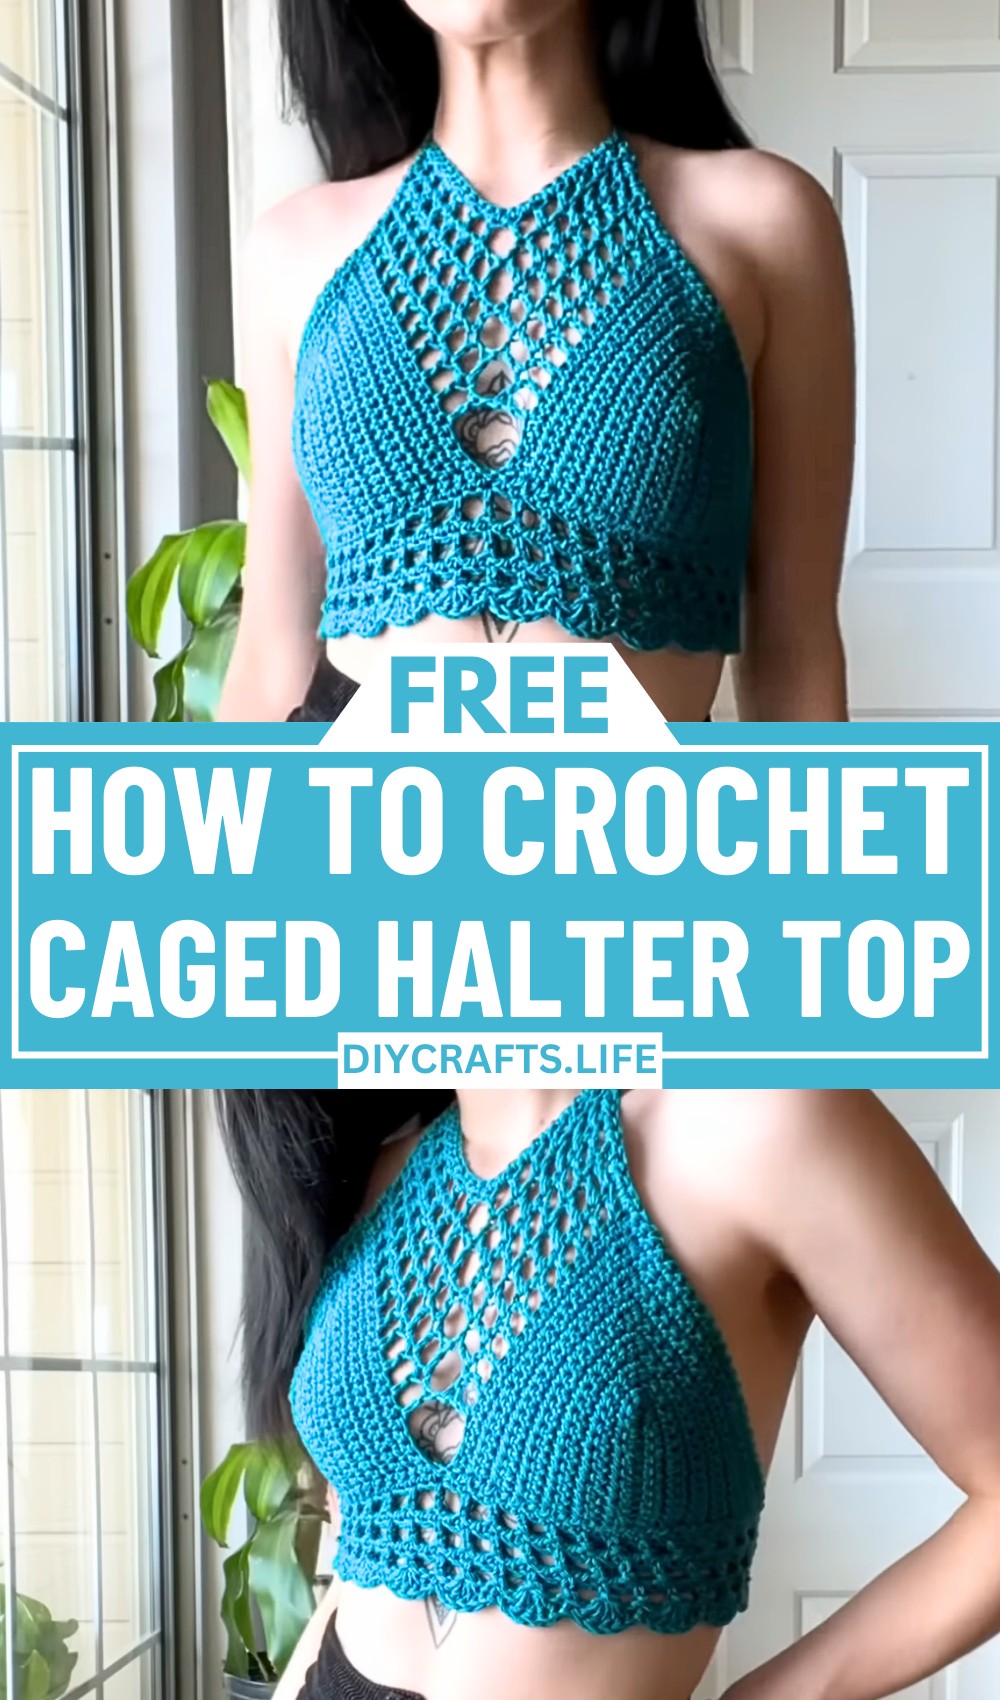
Turn heads with the Crochet Caged Halter Top, a bold and artistic creation that combines chic style with a striking silhouette. This stunning halter top is designed to accentuate your confidence while offering a perfect balance of comfort and flair. A unique piece that’s as fun to make as it is to wear, it’s the ultimate addition to a fashionable wardrobe.

Crochet Caged Halter Top
What makes this piece so special is its intricate caged design, featuring stunning openwork details that add texture and personality to the top. The halter neckline beautifully frames the shoulders and neck, creating a modern yet timeless look. Whether styled for a night out or a casual day, this top design is both versatile and a true expression of creativity. Customize it with your favorite colors to make it uniquely yours!
Credit Made by BJax
Materials & Tools Needed
- Yarn:
- The tutorial likely suggests using medium weight yarn (4) for stability and structure.
- Cotton yarn is ideal for breathability and comfort. Acrylic yarn works, but may trap heat.
- Suggested colors: Choose a solid color for the cage design to stand out, or even try gradient/ombre yarn for a unique look.
- Crochet Hook:
- Use a size appropriate for your yarn (commonly 5.0 mm (H/8)). The tutorial may specify another size, so double-check.
- Scissors:
- For cutting yarn cleanly.
- Tapestry Needle:
- Needed for sewing and weaving in loose yarn ends.
- Stitch Markers:
- Helpful for marking joining points, strap placement, or tracking sections.
Finished Size & Customization Ideas
- Approximate Size Details:
- The tutorial likely guides you for a size small/medium, with adjustments involving length and bust coverage. Caged halter tops typically have a neckline tie and an adjustable cage pattern, so sizing is flexible.
- Example finished bust size: 32–36 inches (S/M).
- Customization Ideas:
- Adjust Size:
- Increase foundation chains or rounds for larger bust sizes. Add extra rounds for longer coverage or repeat cage patterns for broader designs.
- Different Yarn Weights:
- Use lighter lace-weight yarns for a softer, more flowy look, or thicker yarns for a structured appearance. Adjust hook size accordingly.
- Straps & Ties:
- Customize strap length to fit comfortably or replace crochet straps with ribbons or cords for additional flair.
- Color Changes:
- Incorporate a dual-tone design by working contrasting colors for the cage pattern and halter ties.
- Styling Adjustments:
- Add beads or embellishments to the cage edges, or crochet a decorative edging around the hem for added detail.
- Adjust Size:
Pattern Abbreviations & Terminology
- ch – Chain
- sc – Single Crochet
- dc – Double Crochet
- tr – Treble Crochet
- sl st – Slip Stitch
- sk – Skip
- st(s) – Stitch(es)
- rep – Repeat
- rnd(s) – Round(s)
Step-by-Step Detailed Crochet Instructions
The design of the Crochet Caged Halter Top can be broken into the following components:
1. Foundation Panel (Bust Section)
Step 1:
- Start with a slip knot and chain a foundation base to fit across half of your bust width (e.g., for a size S/M, chain 40 or adjust based on measurements).
Step 2:
- Work dc (double crochet) stitches back across the chain for the foundation row. Ensure even tension.
Step 3:
- Continue repeating rows of dc stitches until you have a rectangle that covers half of your bust (adjust the number of rows based on desired coverage).

Step 4:
- Create two identical panels (front and back bust sections).
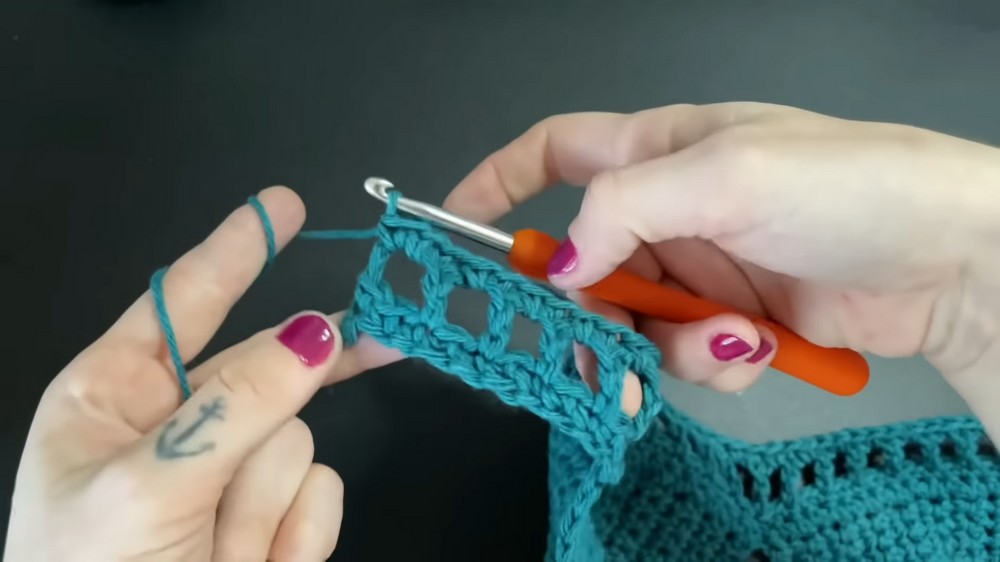
2. Cage Pattern (Middle Section)
Step 1:
- Start working the cage design in a decorative open mesh stitch pattern (e.g., chain-3, skip 2 stitches, then sc in next stitch).
Step 2:
- Ensure symmetry by counting stitches and chains per row. This section typically creates the signature "caged" look and may span multiple rows depending on the size of the cage spacing.
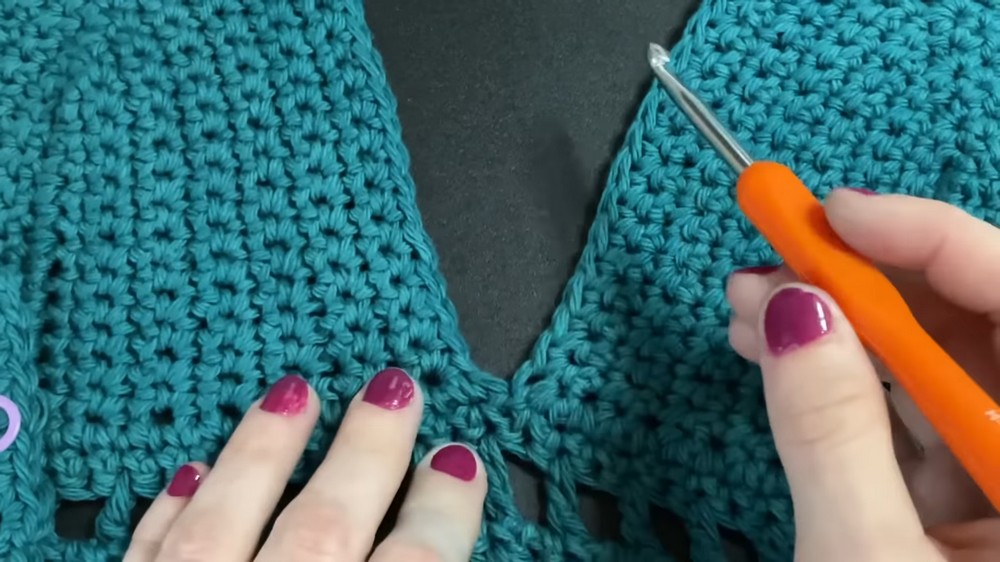
Step 3:
- Join the cage rows to the bust sections. Use slip stitches, sewing, or tapestry needle stitching for clean edges at the joints.
3. Straps & Ties
Step 1: Neck Strap:
- From the top corners of the bust panel, work chains long enough to tie around the neck comfortably. Secure the chain ends using sl st (slip stitch).
Step 2: Back Cross-Ties or Halter Cage Detail:
- Add cross-ties or straps using rows of chain stitches attached strategically to the back bust panel.
- Alternatively, create cage straps that crisscross over the back and tie at the base.
4. Decorative Edge (Optional)
Step 1:
- Add a simple sc edging along the hem of the bust or cage section for a finished look.
Step 2:
- If desired, work a picot edging by incorporating chains (e.g., (sc, ch 3, sl st on top of next sc)). This adds a delicate, decorative touch.
5. Finishing
Step 1:
- Weave in all loose ends using a tapestry needle.
Step 2:
- Block the finished halter top if necessary. Pin the fabric to its intended size and shape, then gently steam or wet it to relax the stitches.
Final Notes
The halter neck design is forgiving in terms of sizing due to the adjustable ties and straps. Try the halter top on frequently during the process to ensure proper fit. This versatile and trendy piece is perfect for summer wear or layering with other outfits. Experiment with designs and embellishments to truly make it your own!