Create festive charm with this Crochet Christmas Penguin decoration! With its adorable Santa outfit, it brings whimsy to your holiday tree. Fun, functional, and versatile, this handmade ornament can add a touch of personality to any Christmas setup or heartfelt gifts.
This crochet penguin doubles as a holiday ornament or a tabletop decoration. Its durable crochet design ensures it lasts for years, while the customizable colors let you match your theme. Cute and functional, it's a unique addition sure to delight family and guests alike.
Crochet Christmas Penguin Ornament Pattern
Crafting this penguin is a joy for all skill levels! With clear steps and room for creativity, it's beginner-friendly yet engaging for experts. Use your favorite colors to personalize, and let your imagination flow as you create a timeless and festive holiday favorite.
Credit Cennagurumi
Materials and Preparation:
To complete this project, you’ll need the following:
- Yarn Type: Acrylic or cotton yarn in the following colors: blue, white, red, black, and towel yarn (white).
- Hook Size: 2.20 mm crochet hook.
- Additional Tools:
- Scissors
- Stitch marker (optional, to keep track of rounds)
- Yarn needle (for sewing pieces and hiding tails)
- Fiberfill stuffing
- Yarn Weight Requirements: DK (double knitting) or light worsted weight yarn is suitable.
Abbreviations and Notes:
Abbreviations:
- SC: Single Crochet
- Inc: Increase (work 2 SC in the same stitch)
- Dec: Decrease (combine 2 SC together)
- Sl St: Slip Stitch
- Ch: Chain

Pattern Notes:
- The pattern is worked in continuous rounds unless stated otherwise. Use a stitch marker when necessary to track your position.
- Change colors as indicated in the instructions for a clean, festive look.
- Important Tip: The penguin is a small amigurumi, so keep your stitches tight to avoid gaps where stuffing may show.
Gauge, Approximate Size, and Pattern Notes:
- Gauge: Not specified; the size of the penguin isn’t dependent on an exact gauge. Aim for tight, even stitches.
- Approximate Size: Finished penguin decoration is roughly 3–4 inches tall (depending on the yarn and tension).
- Special Techniques:
- Magic Ring (used to begin most pieces).
- Working in Back Loop Only (BLO) for certain rows to create texture.
- A gauge swatch is not needed for this project.
Step-by-Step Pattern:
Penguin Body:
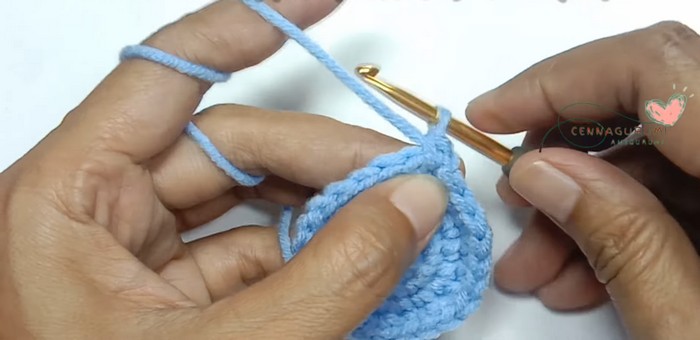
- Row 1: Create a Magic Ring. Work 6 SC inside the ring. (6 stitches)
Slip Stitch (Sl St) to join, Ch 1. - Row 2: Work Inc in each stitch around (2 SC in each stitch). (12 stitches)
Sl St to join, Ch 1. - Row 3: SC, Inc – repeat the pattern 6 times. (18 stitches)
Sl St, Ch 1. - Row 4: (SC, Inc, SC) – repeat 6 times. (24 stitches)
- Sl St, Ch 1.
- Row 5: (SC in the next 3 stitches) – repeat 6 times. (30 stitches)
Sl St, Ch 1. - Row 6: (SC in the next 2 stitches, Inc, SC in the next 2 stitches) – repeat 6 times. (36 stitches)
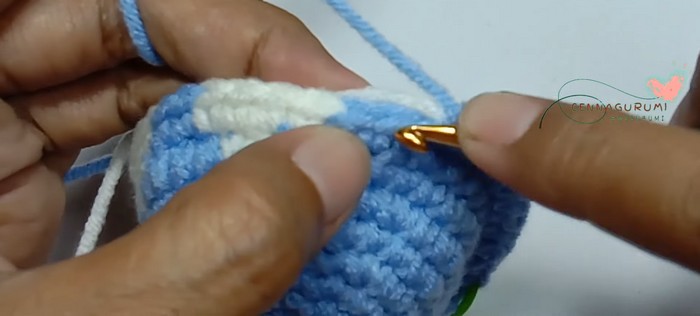
Sl St, Ch 1. - Row 7: Begin using blue and white yarns for color changes:
- Work 14 SC in blue, 2 SC in white, 4 SC in blue, 2 SC in white, 14 SC in blue. (36 stitches)
- Row 8: Work 13 SC in blue, 4 SC in white, 2 SC in blue, 4 SC in white, 13 SC in blue. (36 stitches)
- Row 9: Work 12 SC in blue, 5 SC in white, 2 SC in blue, 5 SC in white, 12 SC in blue. (36 stitches)
- Row 10: Work 12 SC in blue, 12 SC in white, 12 SC in blue. (36 stitches)
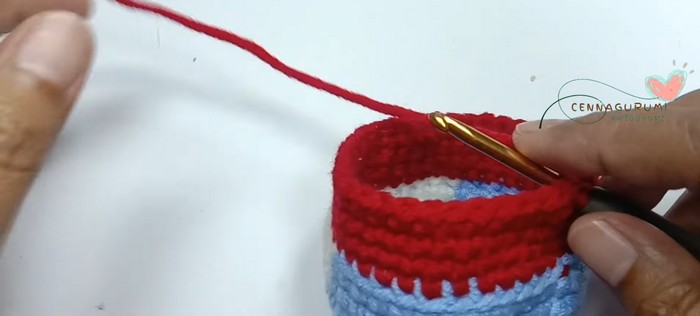
- Change to red yarn.
- Row 11: In BLO, SC in each stitch around. (36 stitches)
- Rows 12–13: SC in each stitch (use red). (36 stitches)
- Row 14: Change to black yarn and SC in each stitch. (36 stitches)
- Row 15: Return to red yarn and SC in each stitch. (36 stitches)
- Row 16: (SC in the next 2 stitches, Dec, SC in the next 2 stitches) – repeat 6 times. (30 stitches)
- Row 17: (SC in the next 3 stitches, Dec) – repeat 6 times. (24 stitches)
- Row 18: (SC, Dec, SC) – repeat 6 times. (18 stitches)
- Row 19: (SC, Dec) – repeat 6 times. (12 stitches) Stuff the body with fiberfill.
- Row 20: Work Dec around to close the top. (6 stitches)
Cut the yarn, fasten off, and weave in the end.
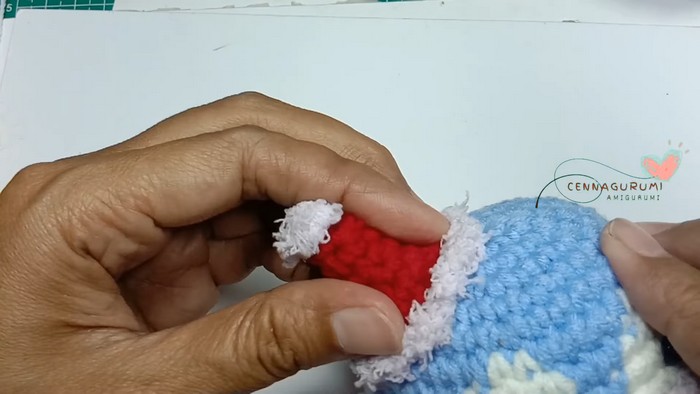
Trim for the Body (white towel yarn):
In the BLO of Row 11: (SC, Ch 1, SC) around each stitch.
Fasten off and hide the tail.
Hat:
- Row 1: In a Magic Ring, work 4 SC. (4 stitches)
Sl St to join, Ch 1. - Row 2: (SC, Inc) – repeat 2 times. (6 stitches)
- Row 3: (SC, Inc, SC) – repeat 2 times. (8 stitches)
- Row 4: (SC in the next 3 stitches, Inc) – repeat 2 times. (10 stitches)
- Row 5: (SC, Inc) – repeat 5 times. (15 stitches)
- Row 6: SC in each stitch. (15 stitches)
Cut the yarn, fasten off, and add decorative stitches (SC, Ch 1, SC) around the brim of the hat.
Arms:
- Row 1: In a Magic Ring, work 6 SC. (6 stitches)
Sl St to join, Ch 1. - Row 2: SC in each stitch around. (6 stitches)
Make two pieces. Leave a long tail on each for sewing.
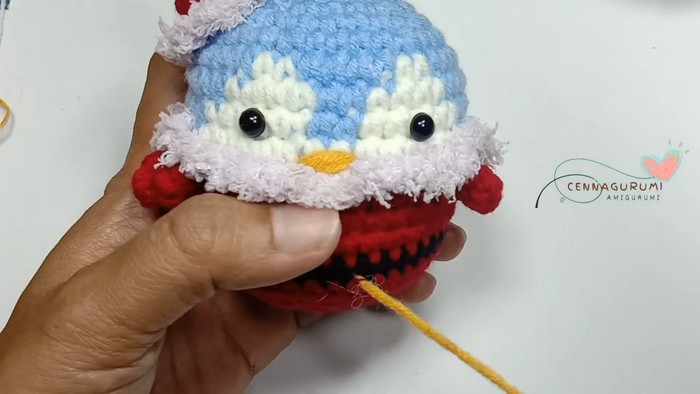
Assembling:
- Attach the arms and hat to the penguin’s body.
- Use a yarn needle and long tails to firmly sew the pieces together.
- Add any additional decorations (e.g., small pompom on the hat, buttons, or eyes).
Pattern Question
Question: Can I use different yarn colors or types for this pattern?
Answer: Absolutely! You can customize the colors or use different yarn types to suit your holiday theme. Just ensure the yarn weight is consistent to maintain the shape and size.
Conclusion
This Crochet Christmas Penguin is a delightful holiday craft that’s both fun to make and rewarding to use. It offers endless creative possibilities, durability, and tons of festive charm—a perfect project to brighten up your holidays and spread cheer!