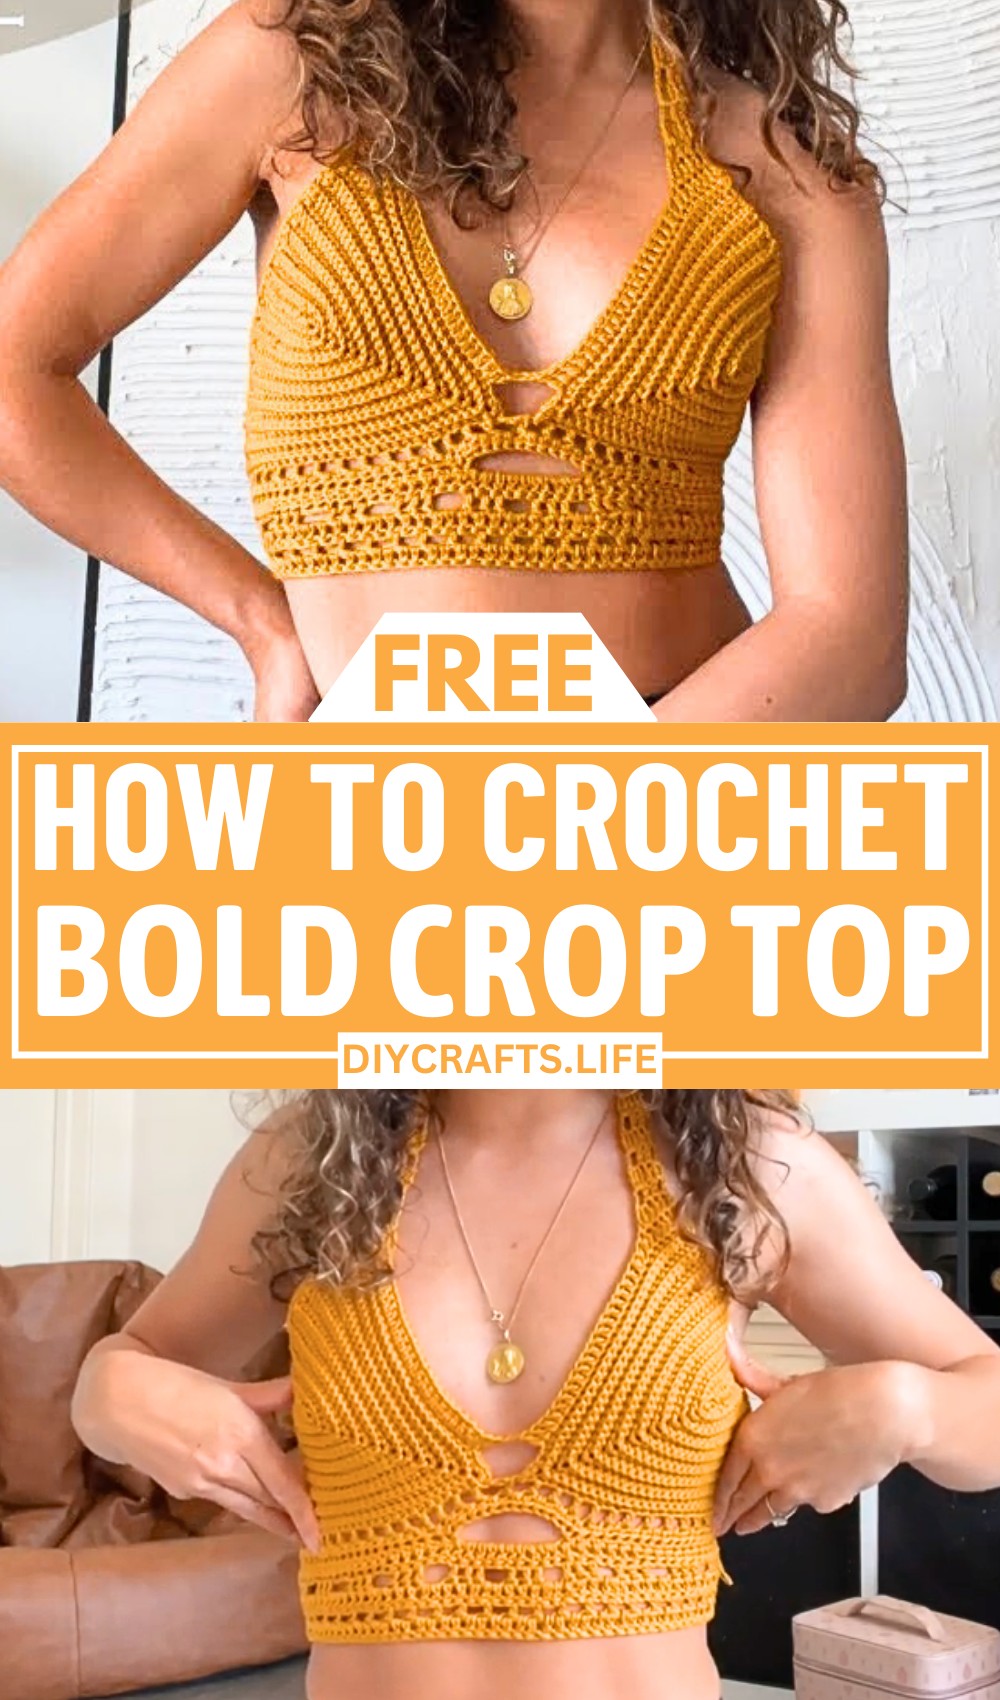
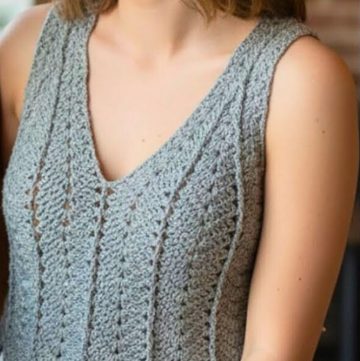
Create a look that’s undeniably bold and one-of-a-kind with this gorgeous crochet crop top! Featuring intricate keyhole cutouts and Aztec-inspired accents, this top is more than just fashion—it’s a statement. Whether paired with jeans for a casual vibe or layered for a polished evening look, this pattern lets you crochet a piece that turns heads and exudes confidence.

Crochet Crop Top
This design blends artistry and functionality seamlessly, with unique textured stitches and a flattering backless element that elevates its allure. The keyhole cutouts and geometric-inspired details make it stand out, offering versatility for customization—from colors to fit. Its design invites you to express your creativity while crafting a wearable work of art that’s stylish, comfortable, and perfect for any occasion.
Credit Emma Warrender
Materials & Tools Needed
- Yarn:
- Medium-weight or worsted cotton yarn works best for structure and durability (recommended for summer wear).
- A neutral shade or bold colors (like the Aztec-inspired design) depending on your style.
- Crochet Hook:
- A hook that matches your yarn weight, typically 4 mm to 5 mm for medium-weight yarn.
- Scissors:
- For cutting excess yarn neatly.
- Stitch Markers:
- These help mark critical points such as the center or edges of stitches.
- Measuring Tape:
- Needed for customizing the chain and ensuring the proper fit.
- Tapestry Needle:
- Used to sew in the loose ends neatly.
Finished Size & Customization Ideas
Approximate Size:
- Measurements are based on your body. To adjust:
- Measure from the center bust (nipple line) to the side of your chest for each cup.
- The width of the central body section depends on customization, which you measure across your underbust.
Customization Suggestions:
- Adjust the Size:
- Start with a longer or shorter chain for each cup to modify the coverage per your body size.
- Make the straps or braids longer for more adjustable ties if needed.
- Vary the Yarn Weight:
- Experiment with thinner yarn for a lighter, more delicate top or a chunkier crop by using thicker yarn.
- Change Colors:
- Use multicolored gradients, stripes, or a single bold shade to match your look.
- Modify the Length:
- Add more rows to the body section for a full-length top or keep it as a short crop.
- Add Design Embellishments:
- Introduce tassels, beads, or buttons for a fun and unique look.
Pattern Abbreviations & Terminology
Here are the pattern abbreviations and stitch terms used:
- Ch: Chain
- SC: Single Crochet
- HDC: Half Double Crochet
- DC: Double Crochet
- SL ST: Slip Stitch
- St: Stitch
- YO: Yarn Over
- V-Stitch: Stitches worked into the same space to create a "V" shape
- Back Loop Only (BLO): Working into the back part of the stitch to create texture.

Step-by-Step Crochet Instructions
Step 1: Create the Cups
- Measure Your Chain:
- Measure from the center of your bust (nipple line) to the side of your chest. Use that measurement to determine the chain length (e.g., 16 chains).
- Start with Chains:
- Make a starting chain (e.g., Ch 16).
- First Row:
- Row 1: Single Crochet (SC) into each stitch along the chain until you reach the other end.
- At the final stitch, place 5 single crochets into the same stitch to create the rounded bottom corner of the cup.
- Place a stitch marker in the third stitch to mark the center point.
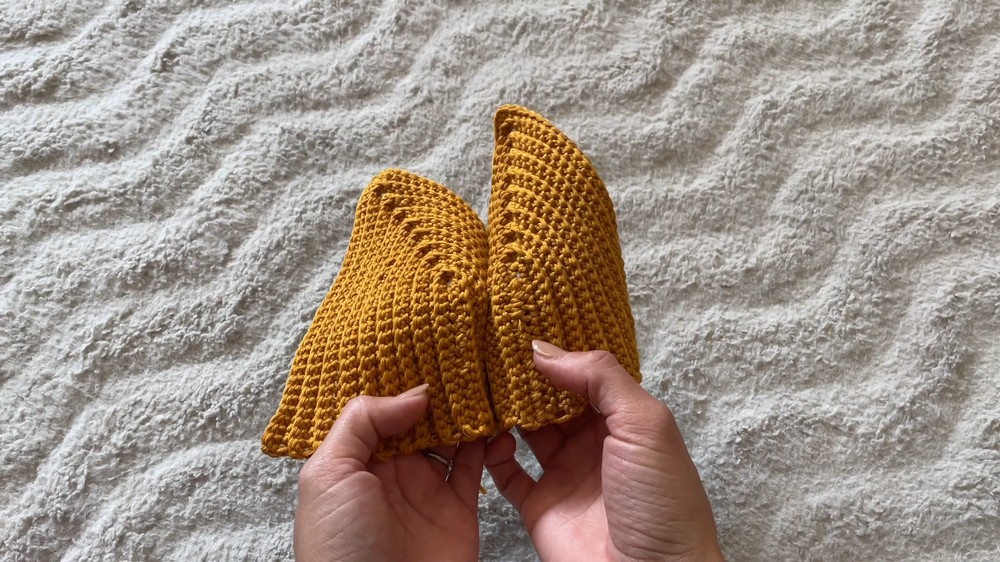
- Continue Stitching:
- SC along the opposite side of the chain until you reach the end.
- Add Rows for Size:
- Chain 1, turn, and begin SC into the back loop only (BLO) for texture.
- In each round, when you reach the stitch marker, remove it, insert 3 single crochets into the center loop, and replace the marker in the middle stitch.
- Repeat this process until the cup is large enough to cover from the center of your bust to under your armpit.
Tip: If coverage isn’t sufficient, continue repeating steps until the desired size is achieved. Create a second cup using the exact same process.
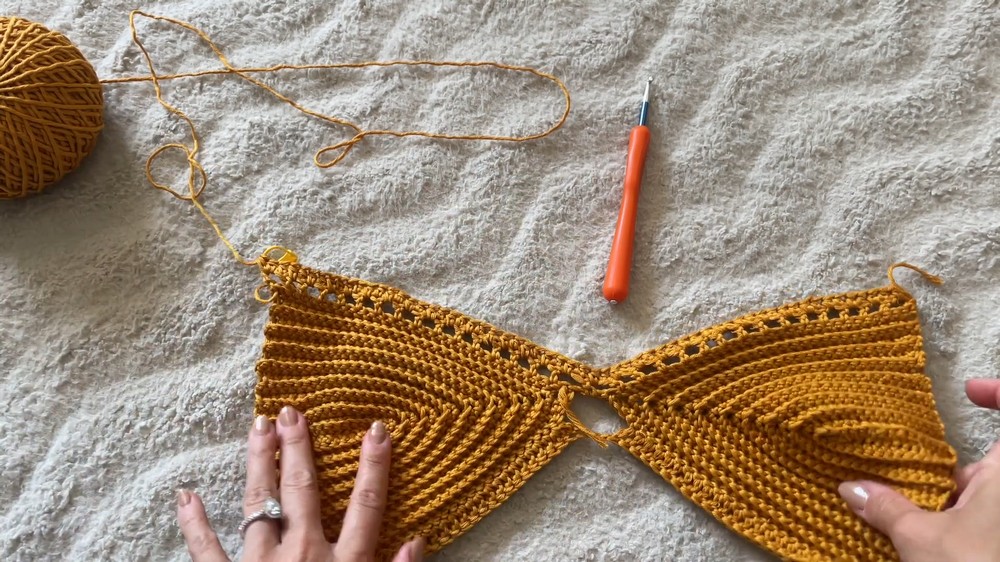
Step 2: Join the Cups
After making the two cups:
- Lay both cups side by side with the points facing up.
- Attach yarn to the very top of one cup, SL ST to secure.
- Chain 5 (or more, depending on the size of your desired keyhole spacing).
- SL ST into the top stitch of the opposite cup.
- Continue working DCs along the edges of both cups until the row is complete.
Step 3: Add The Bottom Section
- Connect the Cups at the Bottom:
- Flip the piece and SL ST to connect the bottom edges of both cups. Chain 3 and attach to either side securely.
- Create Space Stitches:
- Chain 4 to start, and work a row of Space Stitches across the bottom seam:
- Skip a stitch, DC into the next, and repeat.
- For the center chain between the cups, work directly into the chain space with DCs.
- Chain 4 to start, and work a row of Space Stitches across the bottom seam:
- Add Texture Rows:
- Alternate rows of Space Stitches (Ch 1, skip 1, DC) and Half Double Crochets (HDCs).
- Continue adding rows in your chosen sequence until desired crop length is reached.
- For Aztec vibes, use alternating rows of Small and Large Space Stitches (e.g., chain 2 instead of chain 1 for a wider "hole").
Step 4: Keyhole Cutouts
Optionally, add Keyhole Cutouts to the body:
- Hold the top against your body and mark where you want the keyholes.
- In your next row of single crochets, chain across the desired keyhole width (e.g., 5 or 13 chains).
- Skip stitches to match the chain length, and attach the chain to the base with an SC to form the cutout. Continue the row as normal.
- Repeat the above steps for each desired keyhole.
Step 5: Add Length and Finishing Rows
- Add rows of larger V-Stitches or Space Stitches to elongate the crop top.
- Finalize with a clean edge:
- Add SCs or HDCs along the bottom for a neat finish.
Step 6: Straps
- Halter Neck Straps:
- SC or DC 6 stitches at the top corner of each cup.
- For Strap Pattern:
- Row 1: DC across the 6 stitches.
- Row 2: Work DC, Ch 1, skip 1, DC for a space-stitch effect.
- Alternate rows of solid double crochets and space stitches until the strap is long enough to tie behind your neck (e.g., ~30 rows).
- Side Ties:
- Cut 6 strands of yarn per side and attach through space stitches on either side of the underbust.
- Braid the yarn strands and secure with a knot at the end.
- Fray the excess yarn for tassels.

Step 7: Final Touches
- Sew in all loose ends using a tapestry needle.
- Check for symmetry between both straps and ties.
- Optional: Add embellishments like beads or charms to tassels for a bohemian look.
Styling and Additional Notes
- Style Ideas: Pair with high-waisted jeans or skirts. For a true Aztec vibe, layer with similar earthy tones or gold accessories.
- Adjustments:
- For longer tops, keep repeating rows of pattern with large and small space stitches.
- For added support, crisscross the back straps.
This detailed guide includes all the steps for creating your Crochet Crop Top—a stylish, versatile, and customizable addition to your wardrobe! Happy crocheting! 🎉