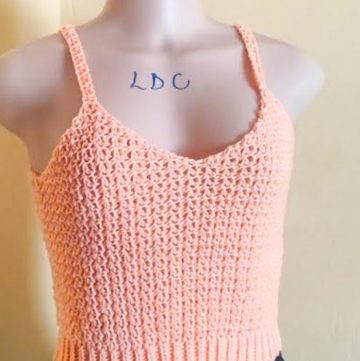
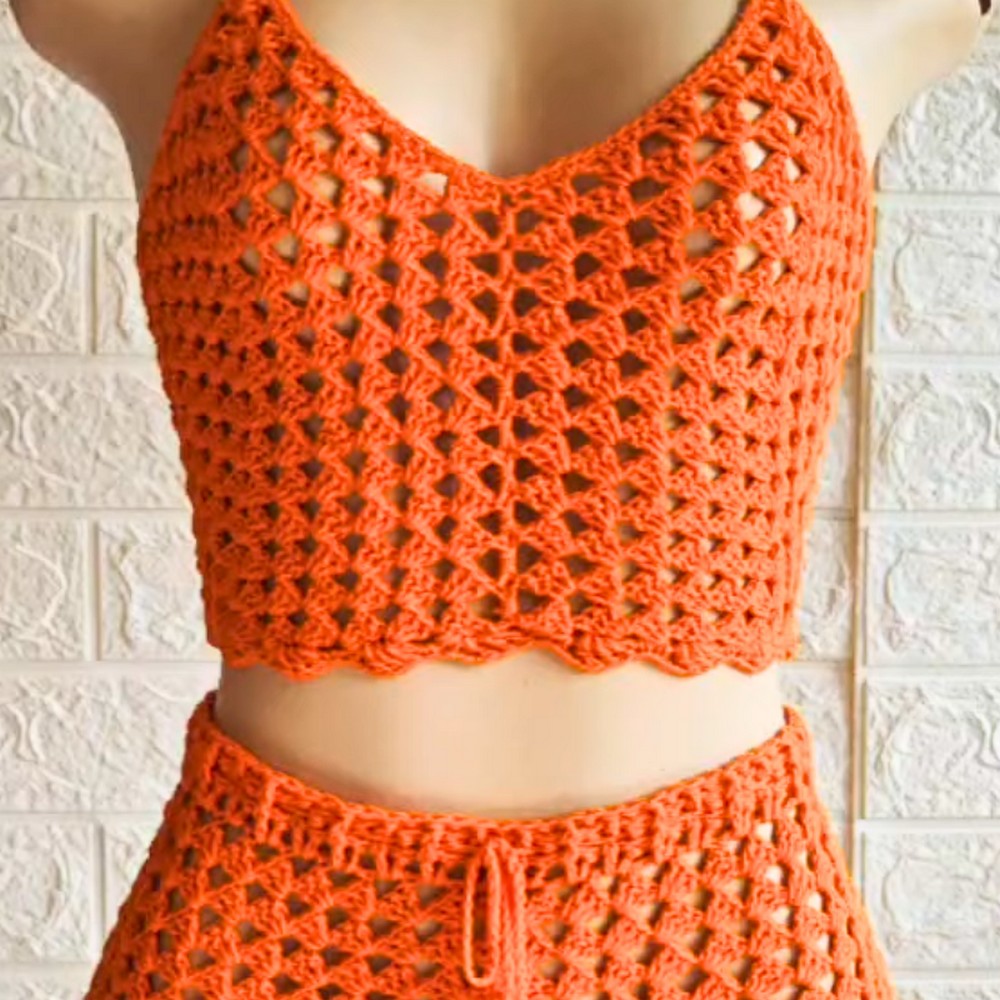
This crochet granny stitch crop top is a stylish and comfortable garment perfect for any casual or summer look. With its unique v-neck design and airy, see-through finish, it can be worn as a standalone top or as a lovely cover-up over your swimwear or halter. It pairs beautifully with skirts, shorts, or jeans, making it a versatile addition to your wardrobe.
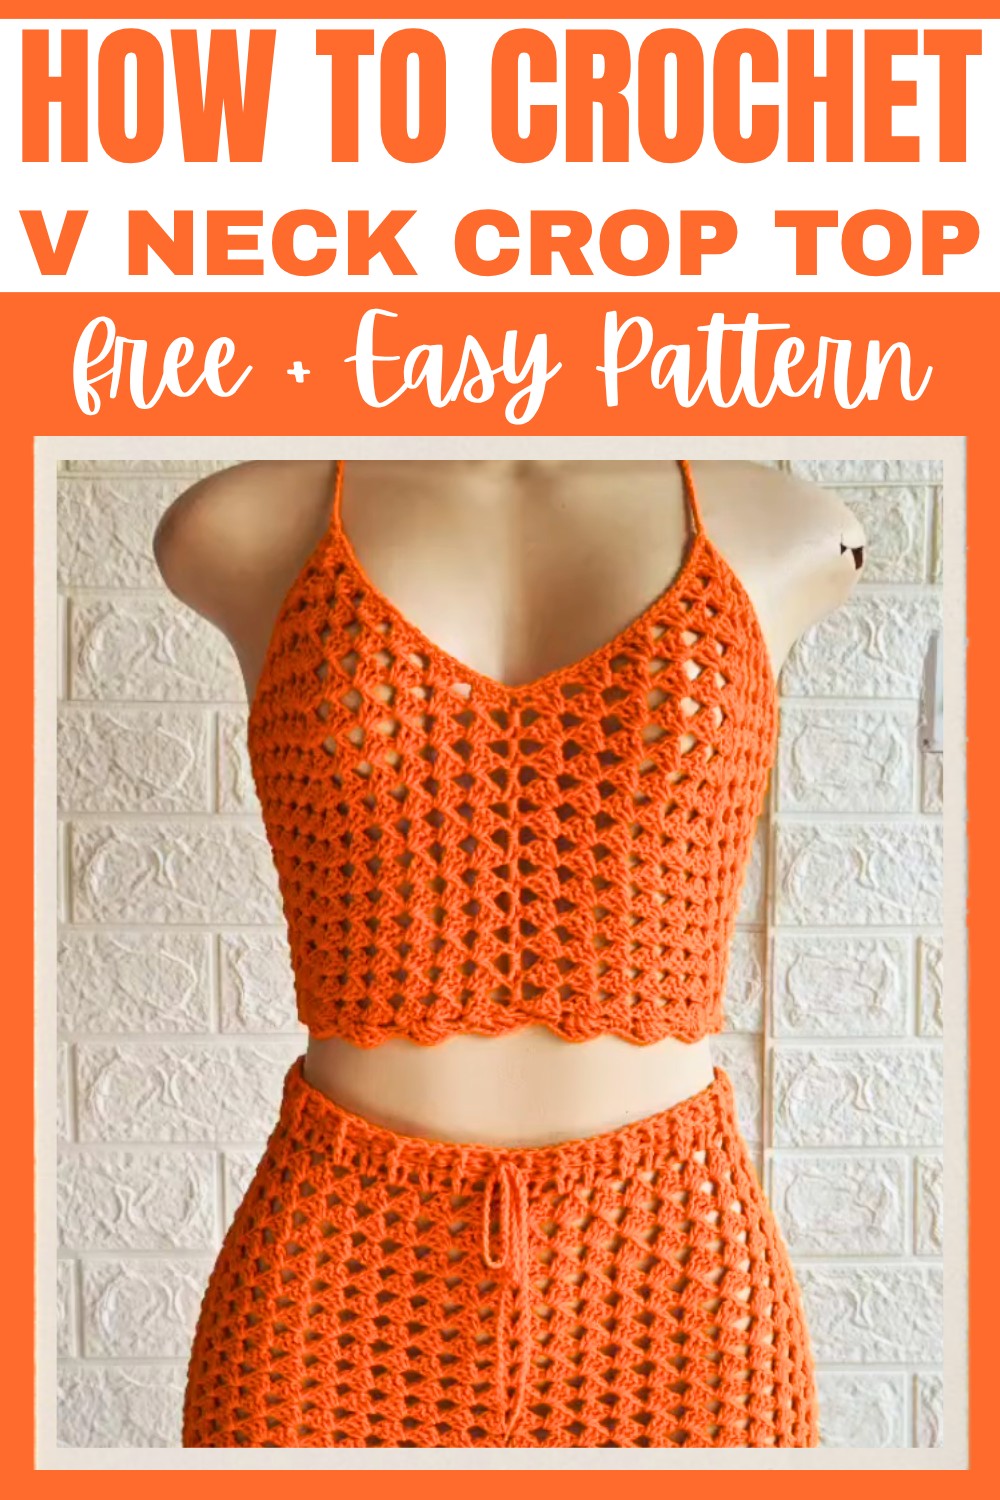
Crochet Granny Stitch V-Neck Crop Top Pattern
What makes this pattern special is its simplicity and charm. It creates clean and triangular panels that are joined to form a perfectly fitted top. The granny stitch texture brings an elegant touch, and the option to line or leave it as is lets you customize it to your style. With an adjustable lace-up back and playful scallop edging, this top truly stands out.
Making this top involves basic crochet techniques like double crochets, single crochets, and chains. The design uses two identical panels that are joined and finished with soft straps and scalloped edges. This pattern is simple enough for beginners and quick for seasoned crochet fans. Plus, it’s lightweight and budget-friendly, requiring just half a ball of yarn!
Credit Shyler crochets
Materials & Tools Needed
- Yarn: Alize Cotton Gold (or any similar size 3 lightweight yarn). You will need approximately half a ball (~180 yards).
- Crochet Hook: 4mm crochet hook.
- Other Tools:
- Measuring tape.
- Scissors.
- Darning (tapestry) needle for weaving in ends.
Pattern Abbreviations and Terminology
(Written in US terms)
- ch: chain
- sc: single crochet
- dc: double crochet
- sl st: slip stitch
- sp: space
- st: stitch
- rep: repeat
Step-by-Step Crochet Instructions
The pattern is worked in two identical panels that are sewn together. Then, additional finishing touches (straps, scalloped edging, and lacing) add details to the top.
1. Create the Triangle Panel
Each panel begins with a triangle that expands to a specific width.
Step 1: Starting the Triangle
- Make a slip knot and chain 5.
- Join with a sl st to the first chain to form a ring.
- Row 1:
- Ch 3 (counts as 1 dc), place 3 dc, ch 2, and 3 dc into the ring to create a shell.
- Ch 1, then work 1 more dc into the same ring.
- Turn your work.
- Row Count: 7 dc (3 dc on one side, 3 dc on the other, and 1 dc at the end), plus 1 ch-2 space.
Step 2: Increasing the Triangle
- Row 2:
- Ch 4 (counts as 1 dc + ch 1), turn.
- Place 3 dc in the first ch-1 space, ch 1.
- In the center ch-2 space, work a shell (3 dc, ch 2, 3 dc).
- Ch 1, work 3 dc in the next ch-1 sp, ch 1.
- End with 1 dc in the top of the turning chain.
- Row Count: 13 dc + 4 ch spaces.
- Continue repeating Row 2, adding shells and expanding on each row until your triangle’s base equals ¼ of your bust circumference (it should stretch slightly).
- For the example in the video, 6 rows were created for a base width of 8 inches.

2. Flatten One Side of the Triangle
Once the triangle is formed:
6. Row 1 (flattening one side):
- Ch 3, turn (this is your flat side — no increases).
- Skip the first st, work 3 dc in the next ch-1 space, ch 1.
- Continue this pattern to the center ch-2 space, where you will work a shell (3 dc, ch 2, 3 dc).
- Ch 1, continue creating 3-dc groups along the other side of the triangle.
- Finish with 3 dc, ch 1, 1 dc in the last space (this remains the expanding edge).
- Repeat Row 1 of flattening for 5 rows (or as required for your size):
- XS-Small: 5 rows.
- Medium-Large: 7 rows.
- XL-2XL: 9 rows.

3. Level Off Both Sides
After shaping one side:
8. Row 1 (flattening both sides):
- Ch 3, turn.
- Start working 3 dc in each ch-1 space, including at the center shell.
- At the end of the row, finish with 1 dc on top of the turning chain (instead of continuing to increase).
- Repeat Row 1 five times to create five rows of flattened edges on both sides.
4. Make the Second Panel
- Repeat the exact process described above to create a second identical panel.
- Do NOT fasten off the yarn at the end of the second panel, as this yarn will be used for joining.

5. Join the Panels
- Lay both panels flat with the longer edges in the middle.
- Using the working yarn from the second panel, join the two panels together along the long edge (center front):
- Work 2 sc in each row evenly along the long edge to join the panels.
- Fasten off and weave in any loose ends.
6. Clean Up the Top Edge
- To even out the top edge (neckline and armholes):
- Attach yarn to one corner of the top edge.
- Work 1 sc in each dc and 1 sc in each ch-1 space across the entire top edge.
- In each ch-2 space at the peaks, place 3 sc to maintain the shape.
- Fasten off and weave in ends.
7. Add Straps
- For the straps, attach yarn to one of the corners where the center shell is located.
- Ch 200-250 (or adjust based on your preferred strap length).
- Fasten off and repeat for the second strap on the other corner.
8. Add Scalloped Edging
- Turn the top upside down to work along the bottom edge.
- Attach yarn at one corner of the bottom hem.
- Create scallops as follows:
- Ch 3, 3 dc into the same space, skip the next space, and sc into the next row or space.
- Continue alternating scallops (ch 3 + 3 dc in one space) and sc across the bottom edge.
- Fasten off and weave in ends.
9. Lace Up the Back
- Use the straps to lace up the back in a crisscross pattern through the loops created along the edges of the triangles.
- Adjust the straps to fit snugly, and tie a knot or bow at the base.

Finishing Touches
- Weave in all loose ends using a darning needle.
- Steam block or lightly block the top to even out the shape and scallops, if necessary.
Size Variations
- Adjust the number of rows during the triangle and leveling portions based on your size. Refer to the recommendations in Step 7.
- Adjust the number of chains for straps to accommodate additional support for larger sizes.