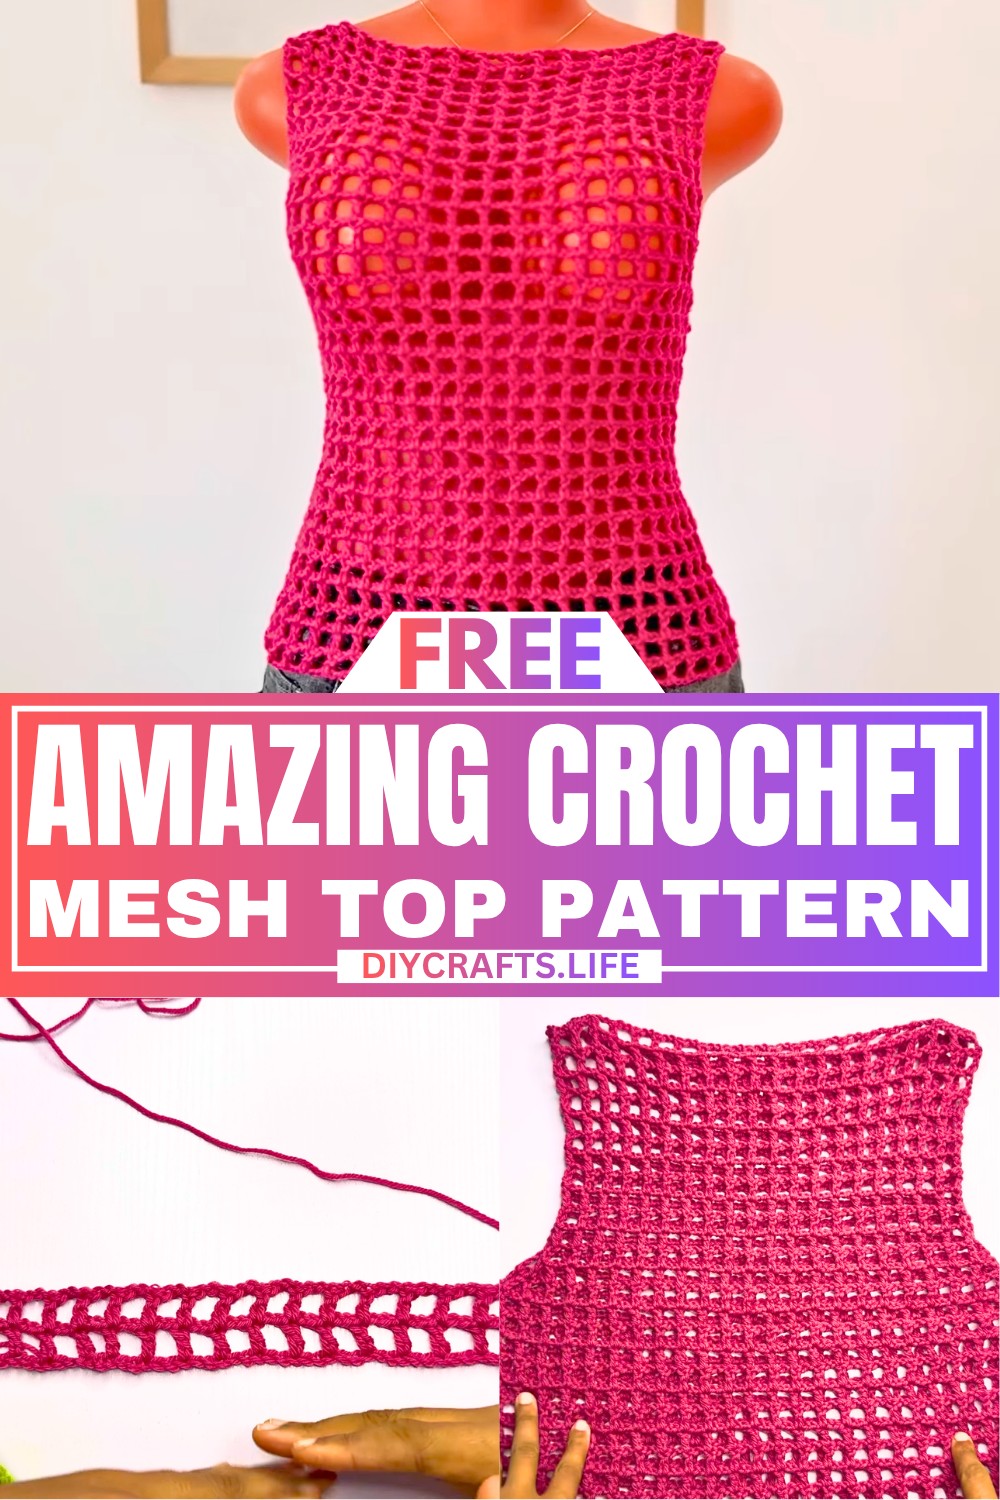
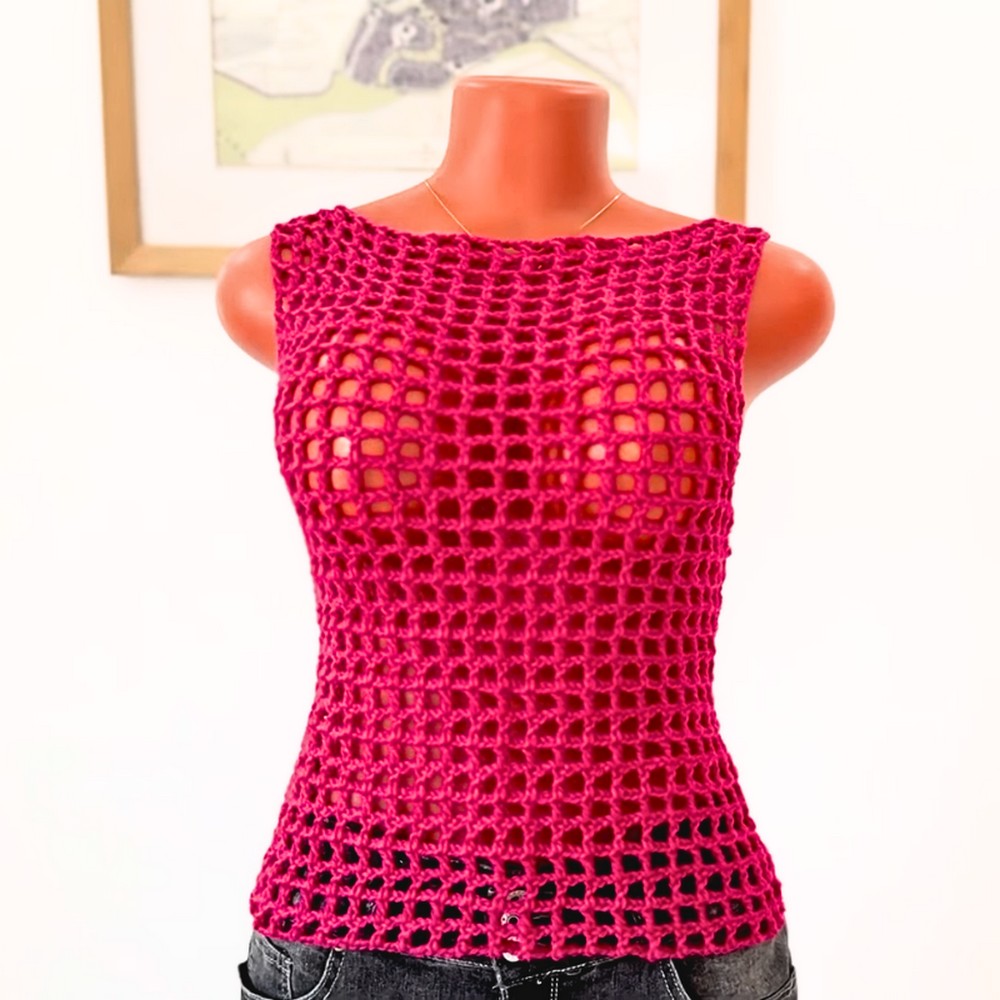
Crocheting a mesh top is a fun way to create stylish, lightweight clothing for warm weather. This design is simple, yet beautiful, with its breezy open stitches that make it ideal for layering over tank tops or pairing with jeans, skirts, or shorts. It's a versatile piece that combines comfort and elegance for your wardrobe. You can even make one as a thoughtful gift for someone special.
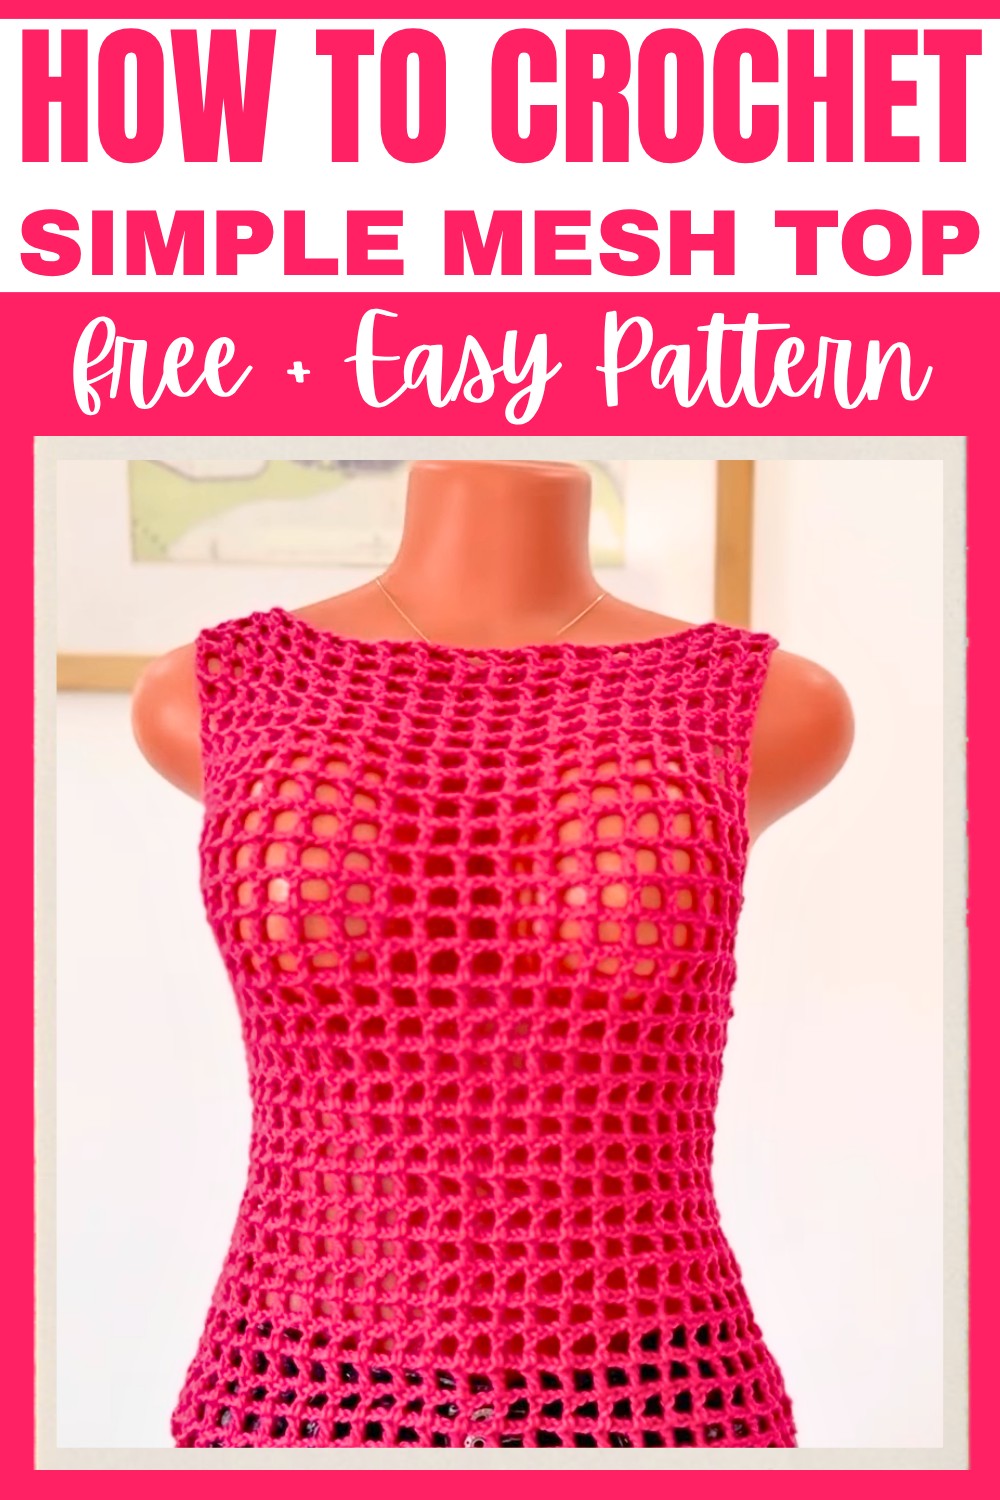
Crochet a Mesh Top
To crochet this mesh top, all you need are basic materials like yarn, a crochet hook, scissors, and a few tools such as stitch markers and a tape measure. The making process involves working on two separate panels—one for the front and one for the back—and stitching them together to form the top. Simple decrease methods shape the armholes and shoulders, giving the top a polished look. Once it's done, the result is a handmade treasure you'll cherish for its personal touch and practical charm.
Credit FTK Crochet
Materials & Tools Needed
- Yarn: 4-ply acrylic yarn (or your preferred yarn type)
- Crochet Hook: 5.5 mm
- Scissors
- Tapestry needle
- Measuring tape
- Stitch markers
Pattern Abbreviations & Terminology
- Ch: Chain
- Dc: Double Crochet
- Sk: Skip
- St(s): Stitch(es)
- Rep: Repeat
- Turning Chain: The extra chain(s) made at the end of a row to turn your work.
Note: U.S. crochet terms are used.
Step-By-Step Crochet Instructions
The finished top consists of two identical panels, which will later be joined at the shoulders and sides.
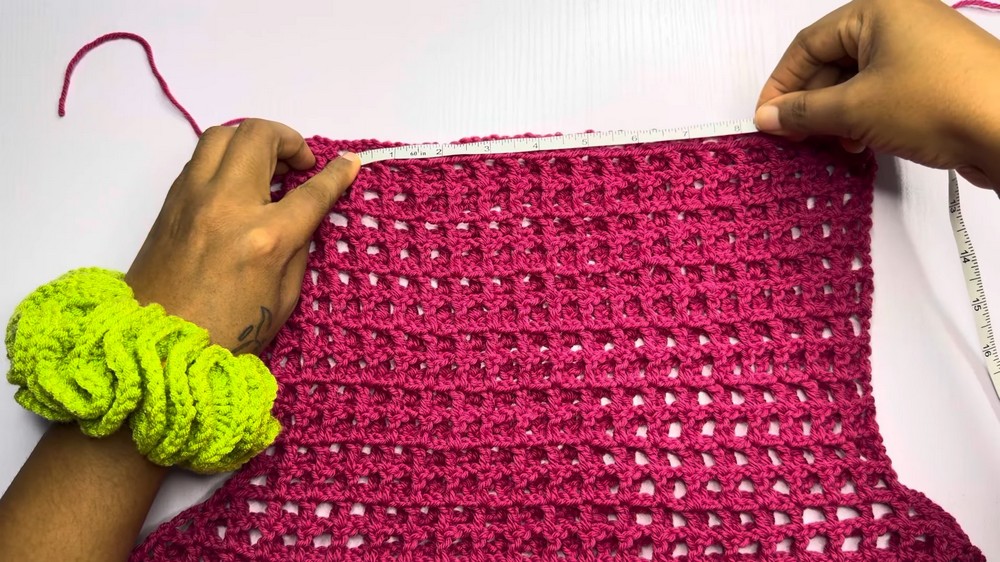
1. Take Measurements
- Bust measurement: Wrap the tape around the widest part of your chest.
- Desired length: Measure from under your bust to your desired top length.
You will crochet two panels. Divide the bust measurement by 2 to create front and back panels (e.g., 40" bust = 20" wide for each panel).
2. Foundation Chain
- Create a foundation chain in multiples of 3 plus 1.
Example: If your panel width is 20” and you need 73 chains, work to 72 (a multiple of 3), then add 1. - Check your chain length: Ensure your chain is the correct width as per your measurement.
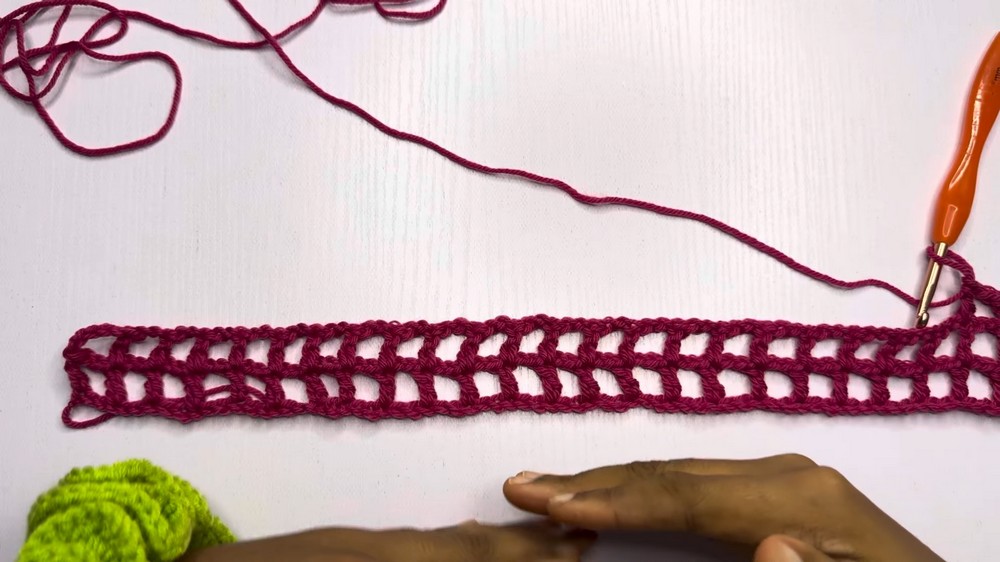
3. Mesh Stitch Pattern
The mesh stitch is made with alternating double crochets and chains.
Row 1:
- Ch 6 (counts as turning chain and the first dc + ch-3 space).
- Insert your hook into the 6th chain from your hook. Work 1 dc.
(This creates the first mesh space.) - Ch 2, Sk 2 chs, and into the 3rd chain, work 1 dc.
- Repeat [Ch 2, Sk 2, 1 dc] across the row until you reach the last stitch.
- End with a final dc.
Row 2:
- Ch 5 (turning chain). Turn your work.
- Skip the first mesh space and work 1 dc into the dc of the previous row.
- Continue the sequence: [Ch 2, 1 dc into previous row’s dc] across the row.
- End with a dc in the 3rd chain of the previous row’s turning chain.
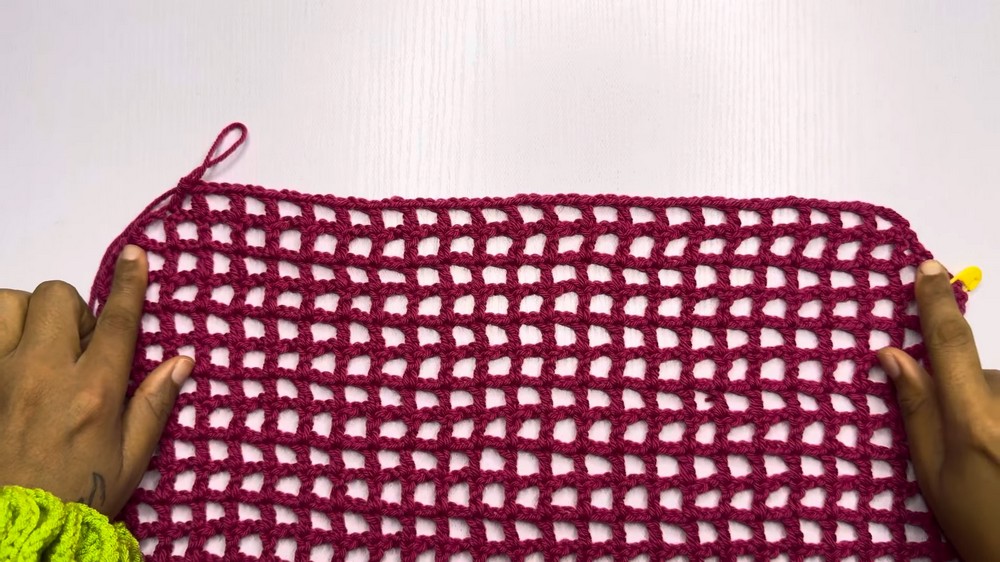
Row 3 and Beyond:
- Repeat Row 2 to build the mesh pattern.
- Continue working rows of mesh stitch until the panel measures the desired length from under your bust to just under your arms.
For the tutorial example, 15 rows created 9 inches.
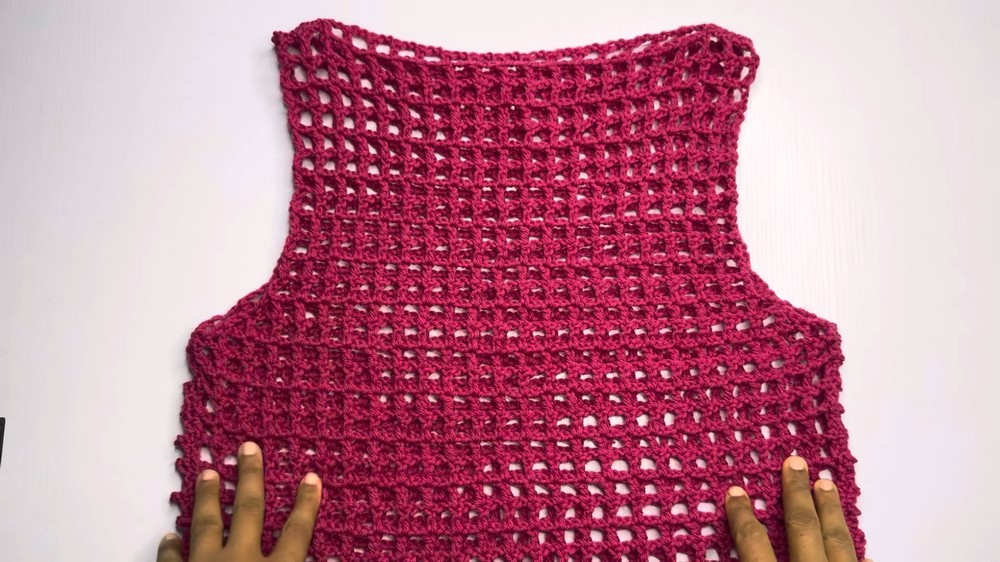
4. Armhole Shaping (Decreases)
Next, we create a sloped edge for the armholes.
Row 16 (First Decrease Row):
- Ch 3 (instead of Ch 5 for a decrease).
- Turn your work. Skip the first mesh space, and work dc into the first available dc from the previous row.
- Continue [Ch 2, 1 dc into previous row’s dc] until the last two mesh spaces. At the end of the row, do NOT work a Ch 2.
- Yarn over, skip the last mesh space, and work a dc in the top of Row 15's turning chain.
Row 17 (Second Decrease Row):
- Ch 3 (decrease chain) and turn the work.
- Skip the first space and work 1 dc in the first available dc.
- Repeat the mesh stitch sequence across, but for the last two mesh spaces, do not make a Ch 2.
Instead: Skip the second-to-last mesh space and work 1 dc in the previous row’s last dc.
Row 18 (Third Decrease Row):
- Ch 3, turn the work, and start with another decrease by skipping the first stitch and the first mesh space.
- Continue the mesh stitch as before.
(In the video, the tutorial uses three rows of decreases, but you can add more rows if a deeper armhole/sloped edge is preferred.)
5. Back to Regular Mesh
After shaping the armholes, resume creating the mesh pattern as before (Ch 5 for the turning chain) until the arm section (from armpit to shoulder) measures half the armhole circumference. In the example, this is 9 inches, with 15 rows.
6. Create an Identical Second Panel
Repeat all steps above to crochet the second panel of the same size.
7. Seaming the Panels Together
Use a tapestry needle and yarn (or opt for slip stitches or single crochet for a decorative seam).
- Join at the Shoulders
- With the panels laid flat and aligned, measure and leave 8 inches unsewn at the neck area.
- Sew from the top outer edge toward the neck, attaching about 3 mesh spaces on each side.
- Join the Sides
- Align the sides of the panels and leave the first 15 rows (arm opening) unsewn.
- Sew from the end of the armhole opening down to the hem.
Optional: Adjustments
- If your top feels too short, you can extend the length by adding more mesh rows at the bottom edge of the panels.
- For a looser fit, add more chains to the foundation chain or use a larger hook.
Finishing Touches
- Weave in all loose ends with a tapestry needle to ensure your project looks neat.
- Block your top to even out the stitches and give the garment a professional look.