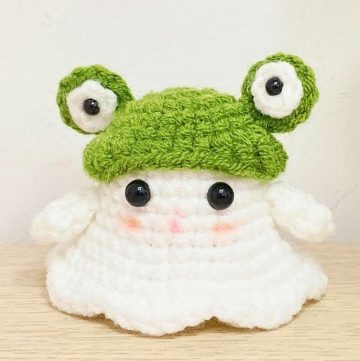
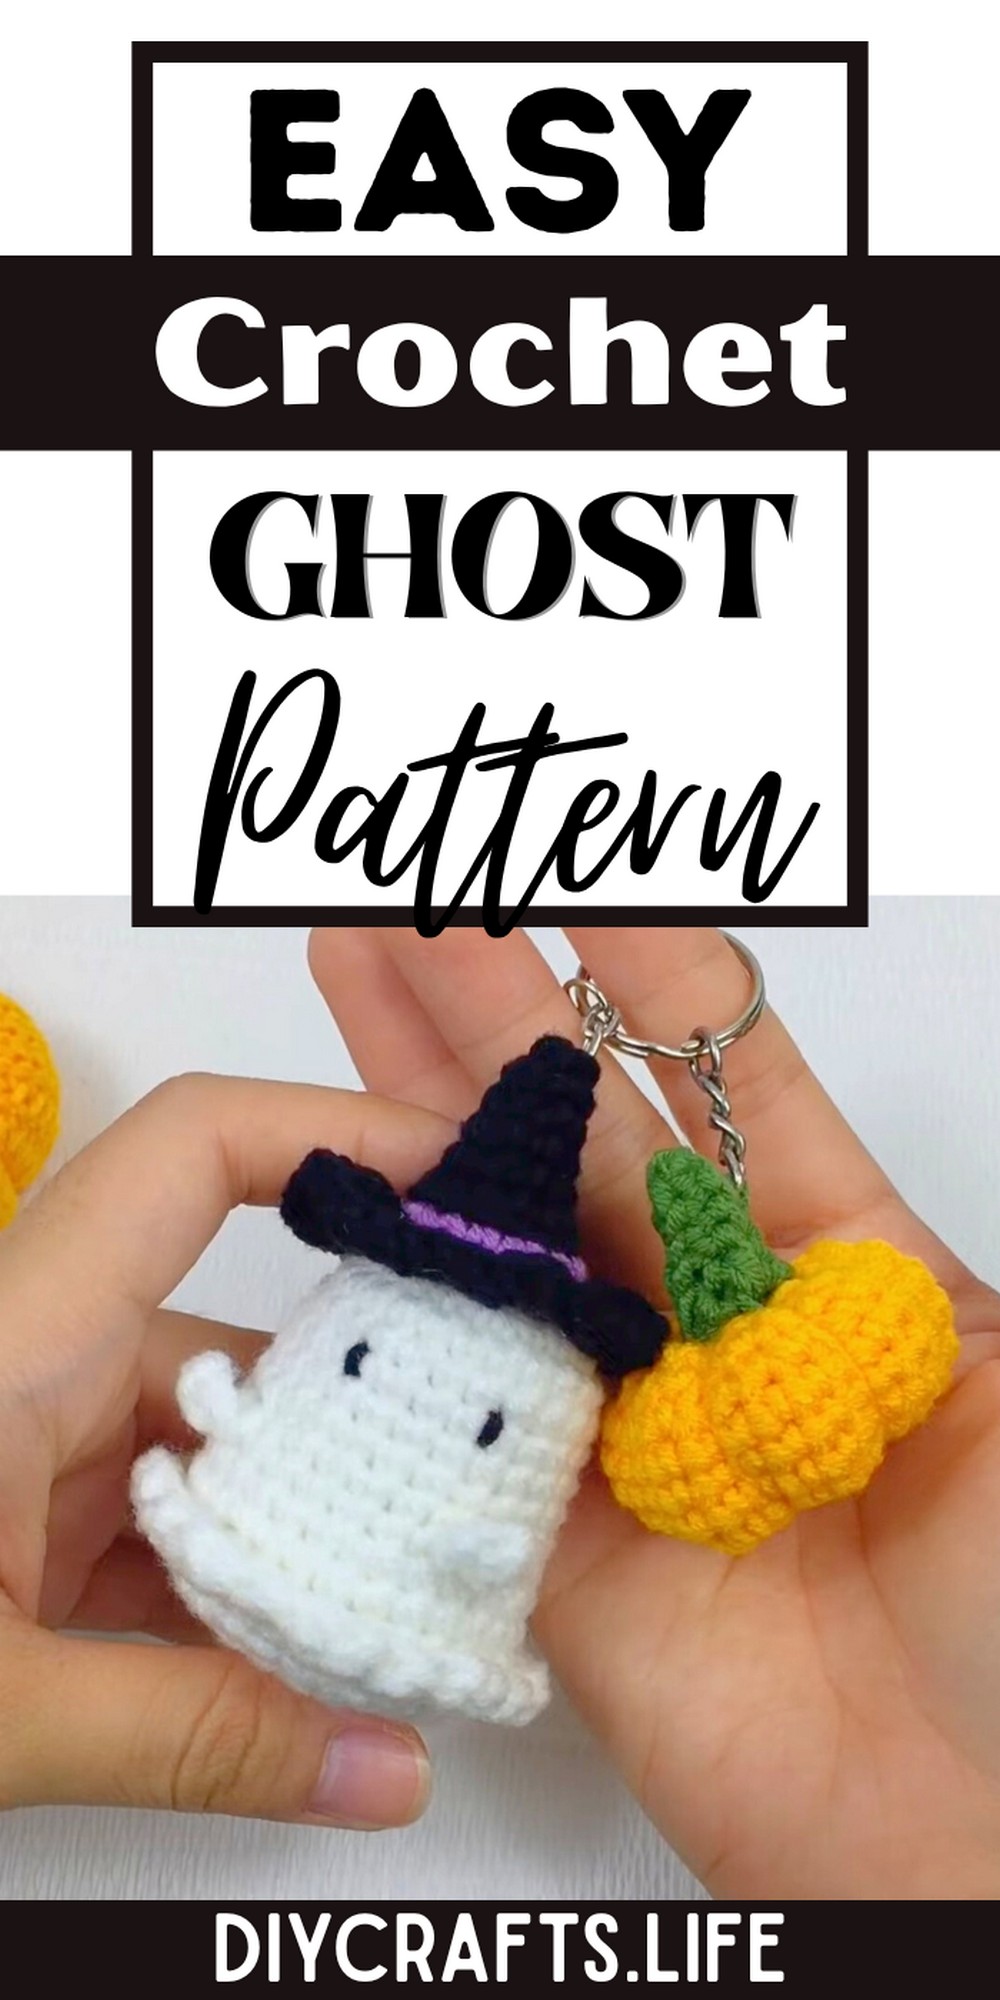
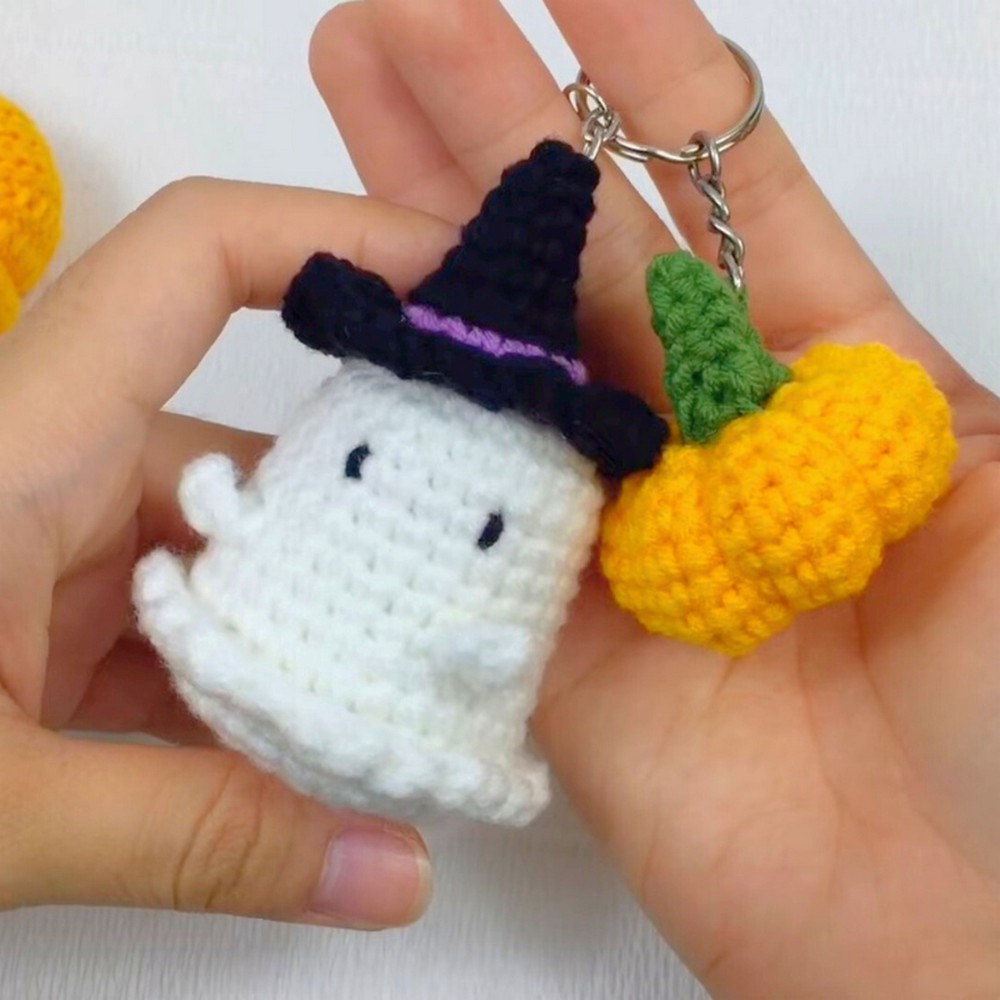
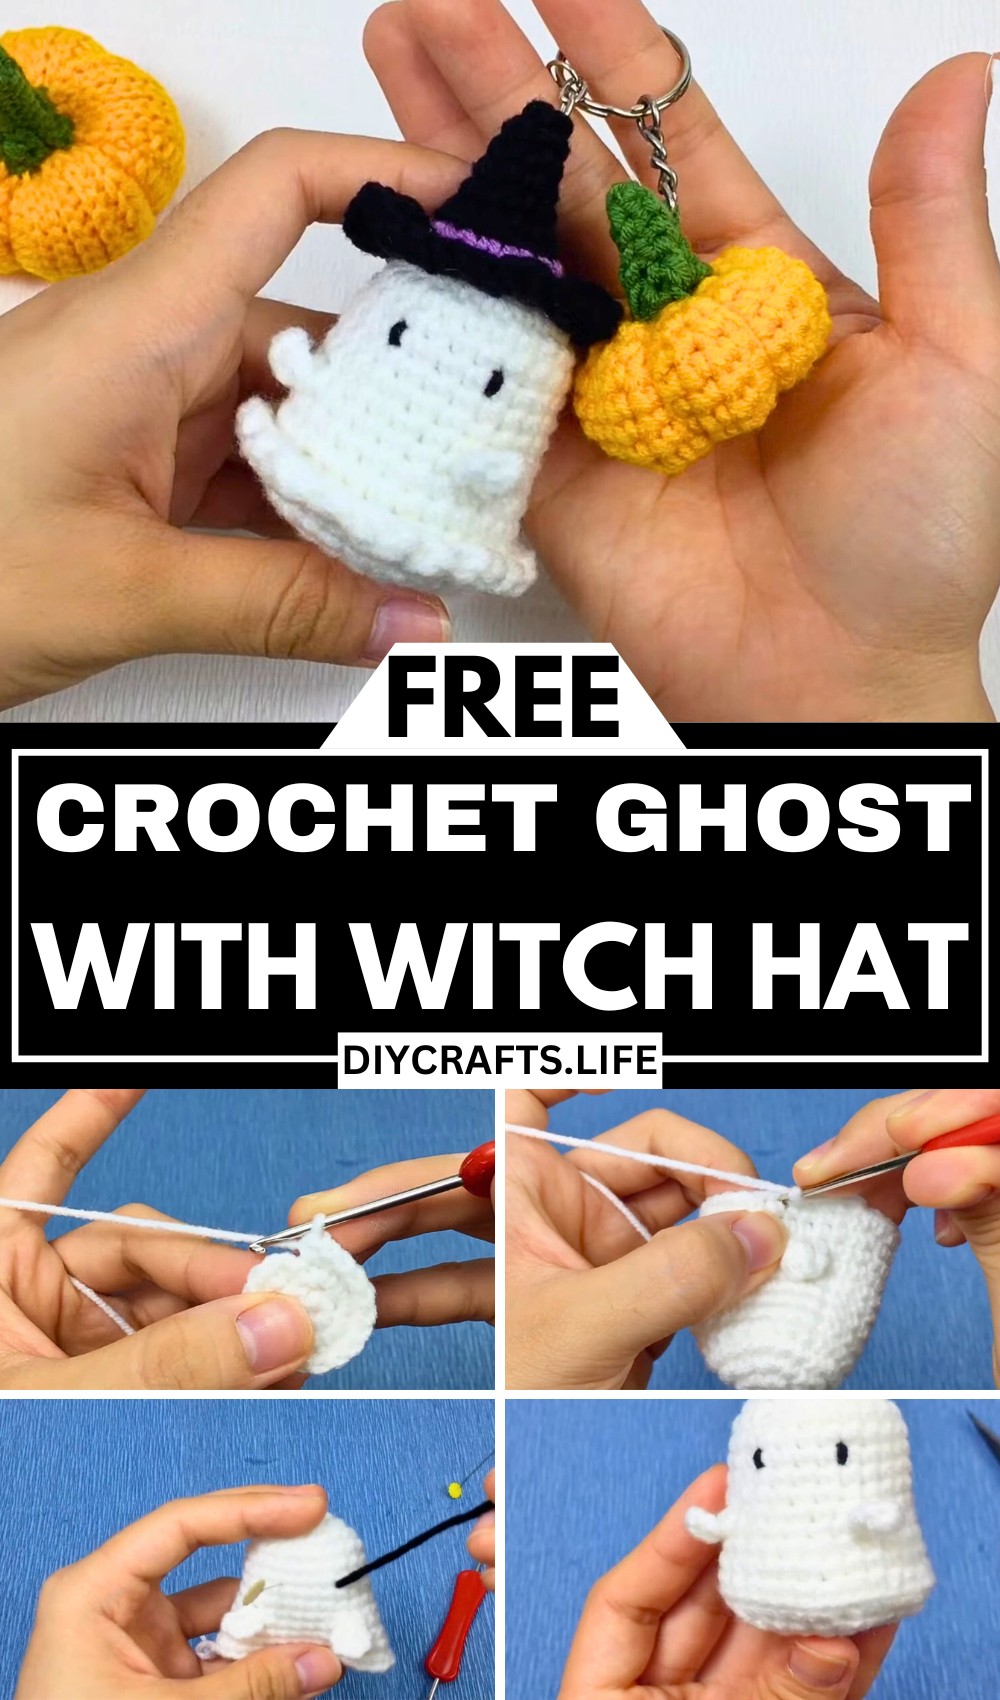
Create the cutest Halloween décor with this charming crochet ghost wearing a witch hat! This delightful project combines festive aesthetics with practicality, making it perfect as a keychain, key cover, or decorative piece. Customizable and fun, it’s ideal for adding spooky flair.
This crochet ghost is as functional as it is adorable. Use it as a keychain, key cover, or Halloween decoration. Its durable design ensures it withstands daily use, while the witch hat adds a crafty, spooky charm. Lightweight yet sturdy, this project is perfect for year-round or seasonal fun.
Crochet Halloween Ghost with Witch Hat
This crochet project is beginner-friendly, yet creative enough for seasoned crafters. The easy-to-follow pattern lets you customize the ghost’s size, hat design, and detailing. Whether you're just starting out or enhancing your skills, crafting this ghost is simple, enjoyable, and endlessly creative.
Materials and Preparation
For this adorable Halloween project, you will need the following materials:
- Yarn:
- White yarn for the ghost body (e.g., medium-weight acrylic or cotton yarn).
- Black yarn for the witch hat.
- Purple yarn for the decorative brim of the hat.
- Crochet Hook: Size 3.0 mm or the hook size suitable for your yarn weight.
- Fiberfill Stuffing: To fill the ghost’s body.
- Keychain Ring: Optional, for creating the ghost keychain.
- Stitch Marker: To track rounds if necessary.
- Tapestry Needle: For sewing or hiding yarn ends and embroidering details.
- Scissors: To cut yarn.
Abbreviations and Notes
Below are the abbreviations used in the pattern:
- SC: Single Crochet
- INC: Increase (2 SC into the same stitch)
- DEC: Decrease (Single Crochet Decrease over two stitches)
- CH: Chain
- SL ST: Slip Stitch
- TREBLE CROCHET (TR): Yarn over twice and pull through.
Important Notes:
- The ghost's arms and finer details (e.g., embroidered eyes) require attention to placement—refer to the video for visual help.
- This project uses basic amigurumi techniques (worked in rounds). Mark the beginning of rounds if the pattern doesn’t mention “joined rounds.”
- Using fiberfill stuffing ensures the ghost holds a firm shape. Adjust the quantity to achieve the desired firmness.
Gauge, Approximate Size, and Pattern Notes
- Gauge: Not specified. However, tight stitches are recommended to achieve the dense fabric suitable for amigurumi.
- Approximate Size: The finished ghost (including the witch hat) is about 3–5 inches tall, making it perfect as a keychain or small decoration.
- Special Techniques:
- Magic Ring: Used to start the ghost and the witch hat.
- Working in Front/Back Loops: Creates texture and shaping, especially for decorative edges.
- Gauge Swatch: Not needed for amigurumi, but ensure stitches are uniform and relatively tight.
Step-by-Step Pattern
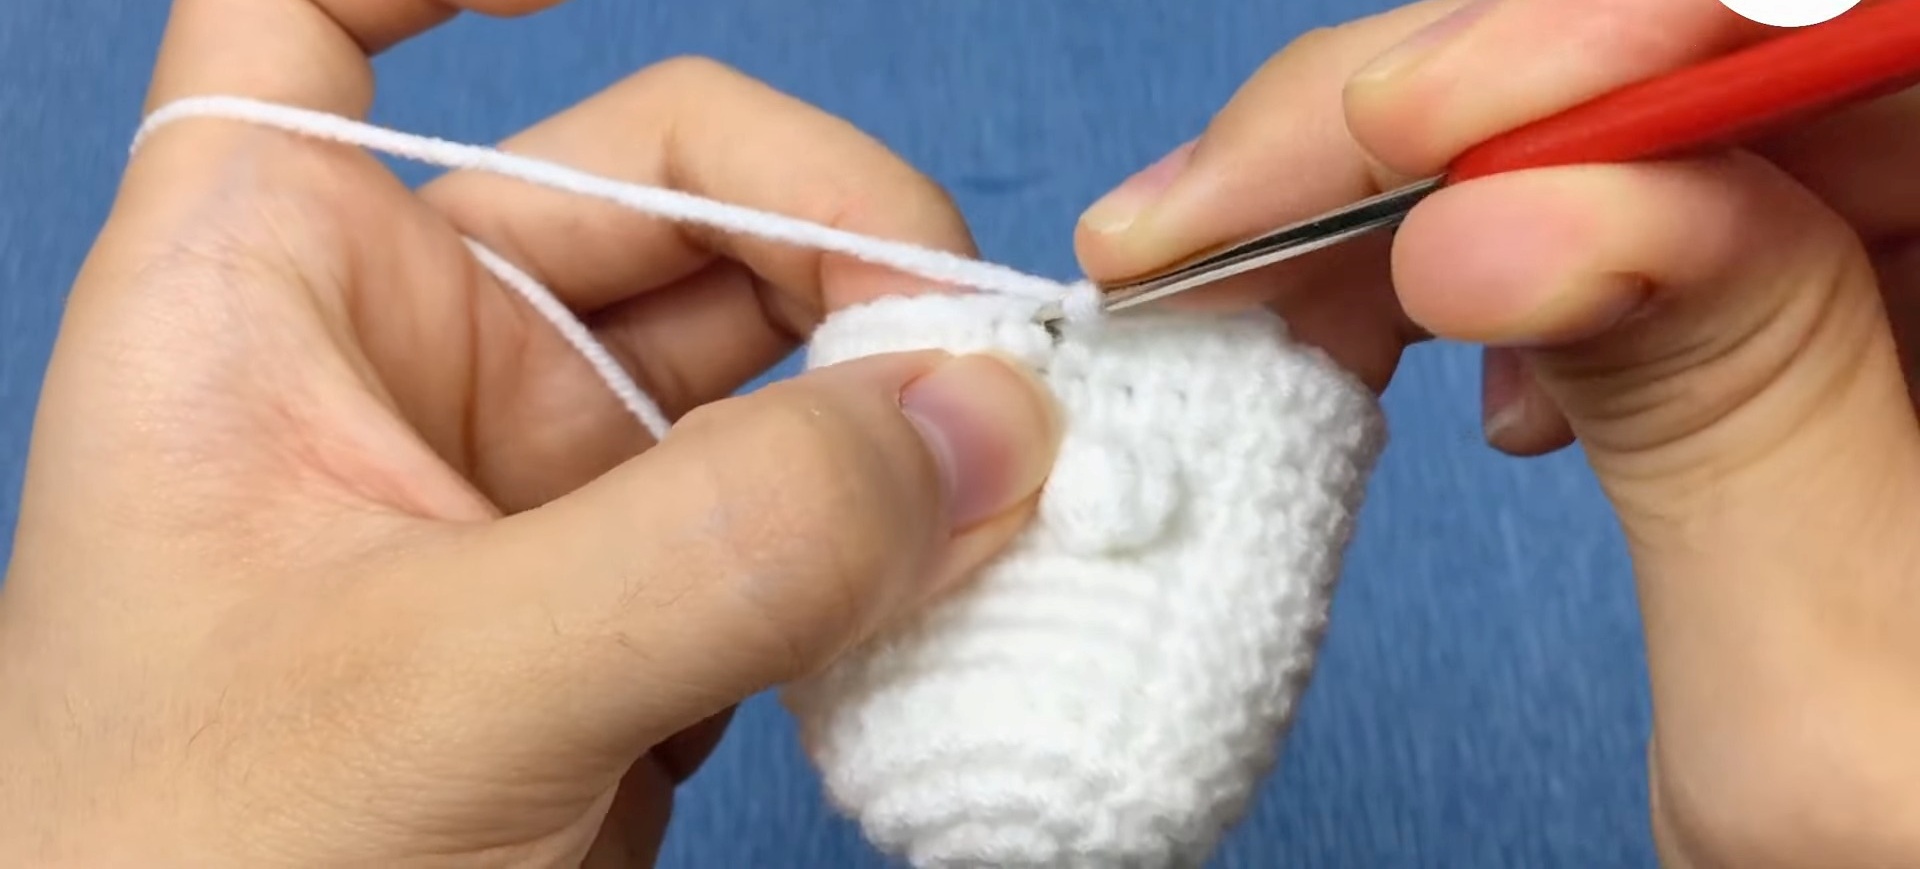
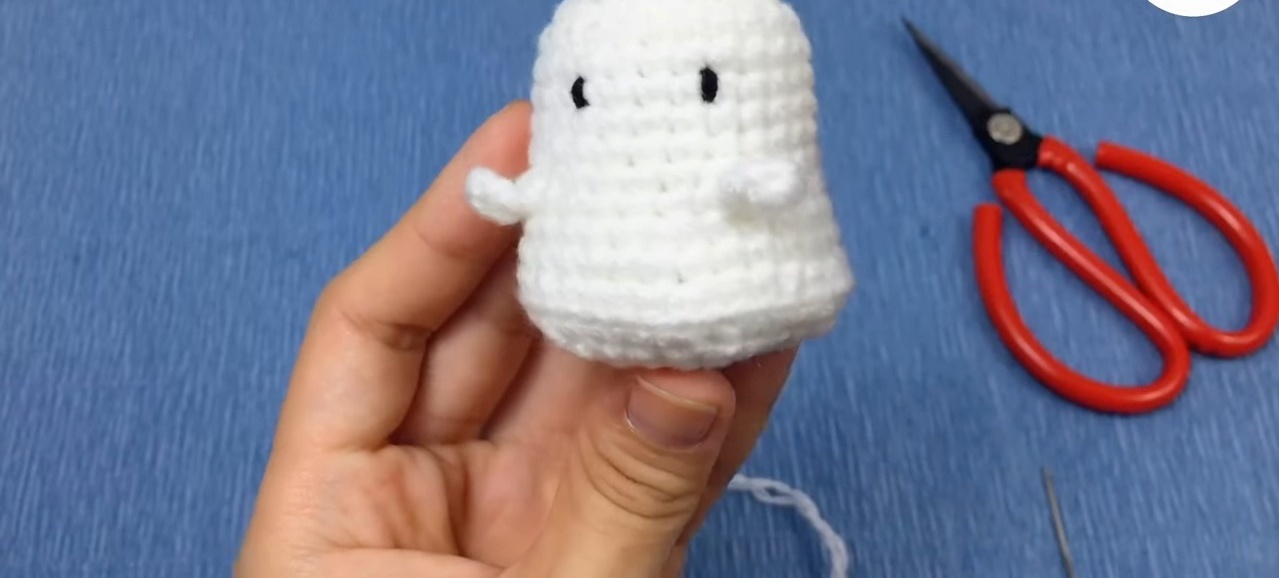
Ghost Body
Row 1:
- Begin with a magic ring. CH 1, work 6 SC into the ring. Pull the ring tight. Slip Stitch to close the round.
Row 2:
- CH 1, work INC (2 SC in each stitch) in every stitch around. You should have 12 stitches. Slip Stitch to close the round.

Row 3:
- CH 1, crochet 1 SC in the first stitch, then INC in the next stitch. Repeat this pattern (SC, INC) 6 times. You should have 18 stitches. Slip Stitch to close.
Row 4:
- CH 1, work 2 SC in the first two stitches, then INC in the next stitch. Repeat this pattern (2 SC, INC) 6 times. You should have 24 stitches. Slip Stitch to close.
Rows 5–9:
- CH 1, work 1 SC in every stitch for 24 stitches, completing 4 rounds. Slip Stitch to close after each round.
Arms:
- Attach the arms in Row 9 using the following method:
- CH 3, perform a TREBLE CROCHET (Yarn over twice, pull through loops as shown in the video). CH 3, SL ST back into the same stitch. This creates one arm.
- SC into the next 6 stitches, repeat the process above to make the second arm.
- SC around until completing the round.
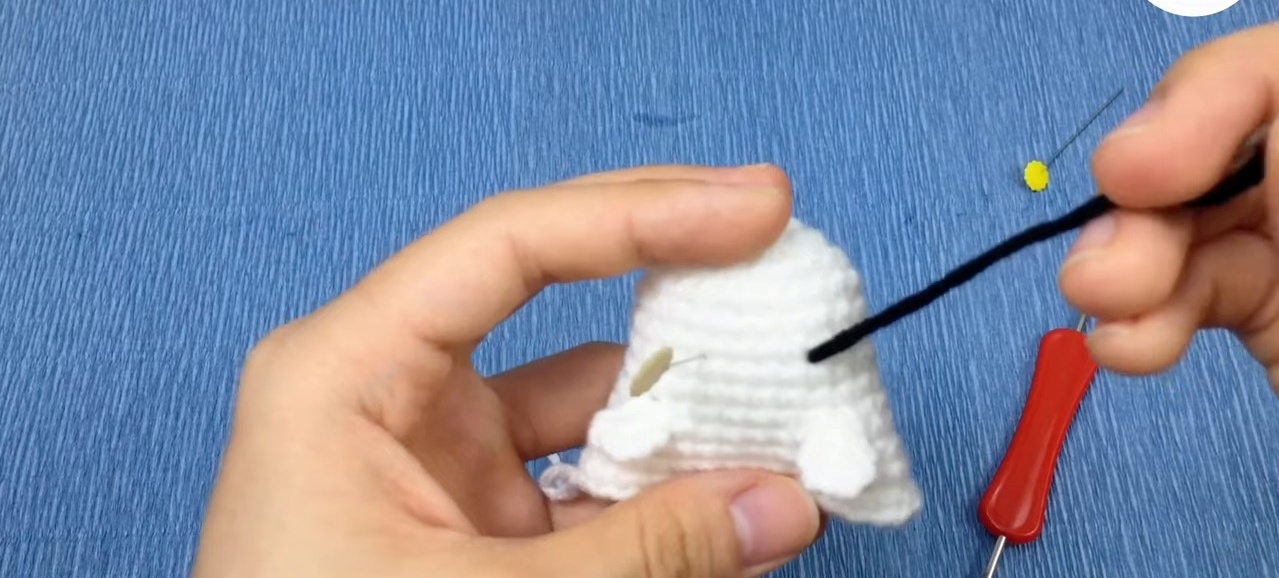
Adding Details and Finishing the Body
Eyes:
- Embroider black eyes on the ghost. Mark the center between the arms and locate Row 7. Eyes should be placed 4 stitches apart. Secure embroidery thread at the back.
Stuffing:
- Fill the ghost with fiberfill to achieve a firm shape.
Rows 15–19:
- Decrease the stitch count gradually by working DEC (SC Decrease) 6 times in each round until the ghost body is closed.
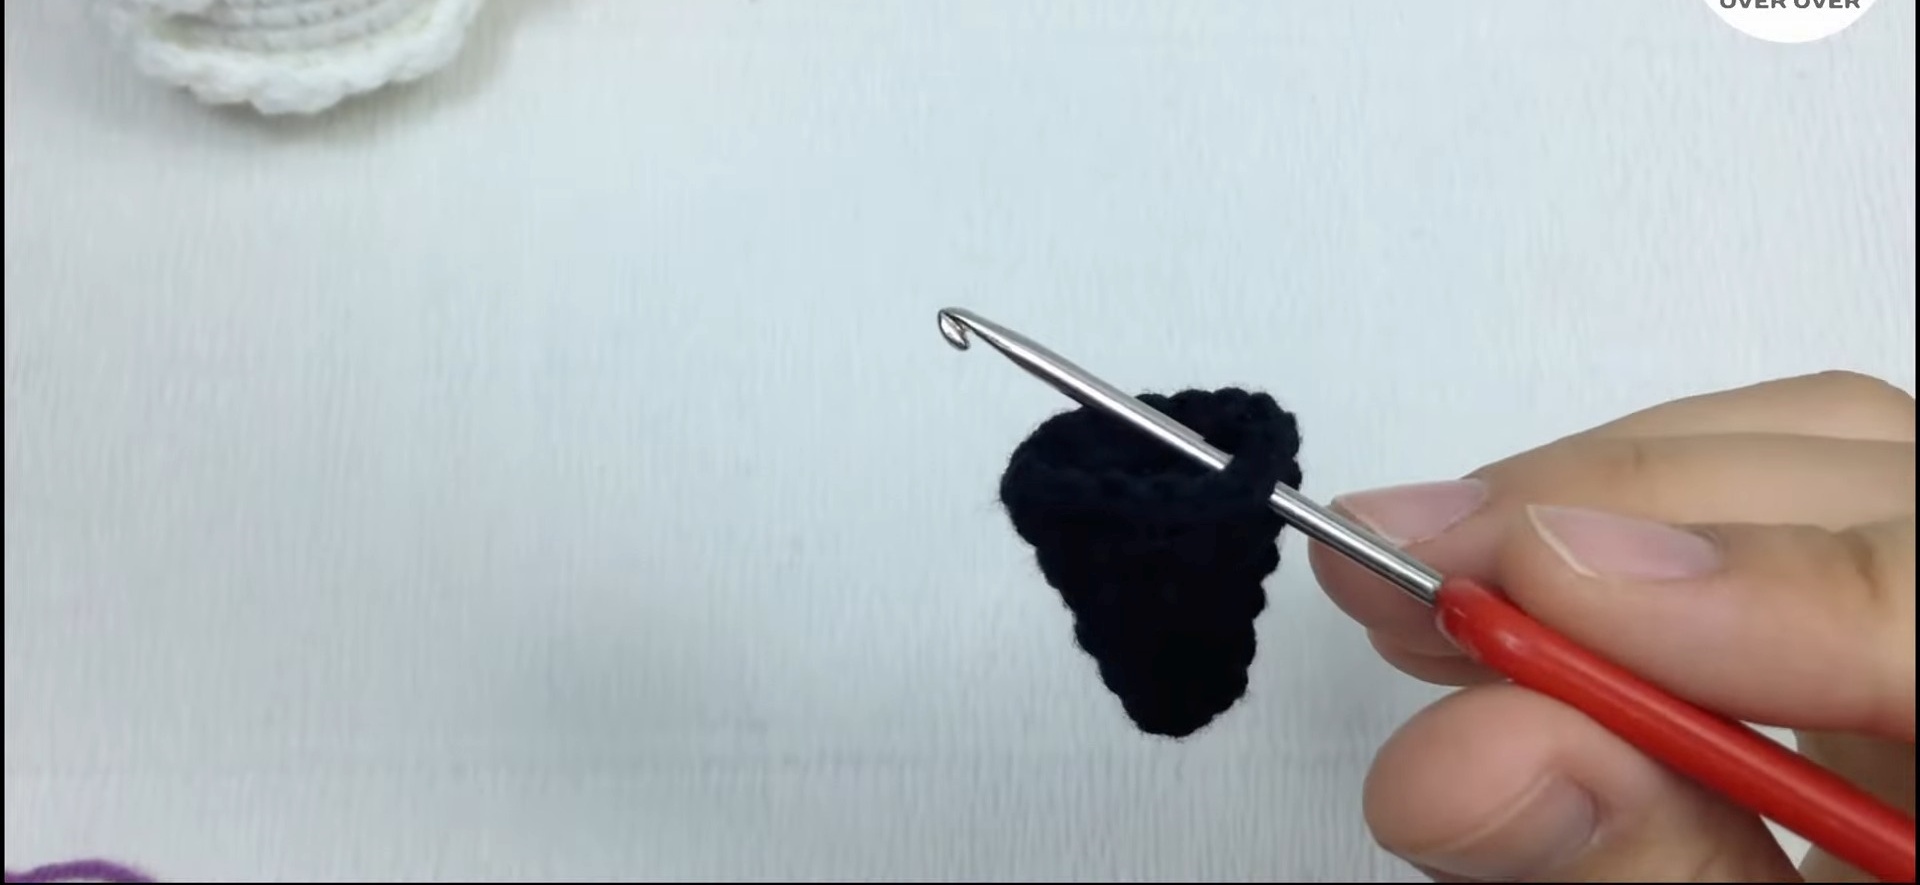
Witch Hat
Base (Black Yarn):
Row 1:
- Begin with a magic ring. CH 1, work 4 SC into the ring. Pull tight and Slip Stitch to close.
Rows 2–6:
- Gradually increase stitches as follows:
- Row 2: SC 1 in the first stitch, INC in the next stitch. Repeat twice. (8 stitches total).
- Row 3: SC 1, INC twice. Repeat twice, increasing evenly, until you reach Row 6 with 15 stitches.
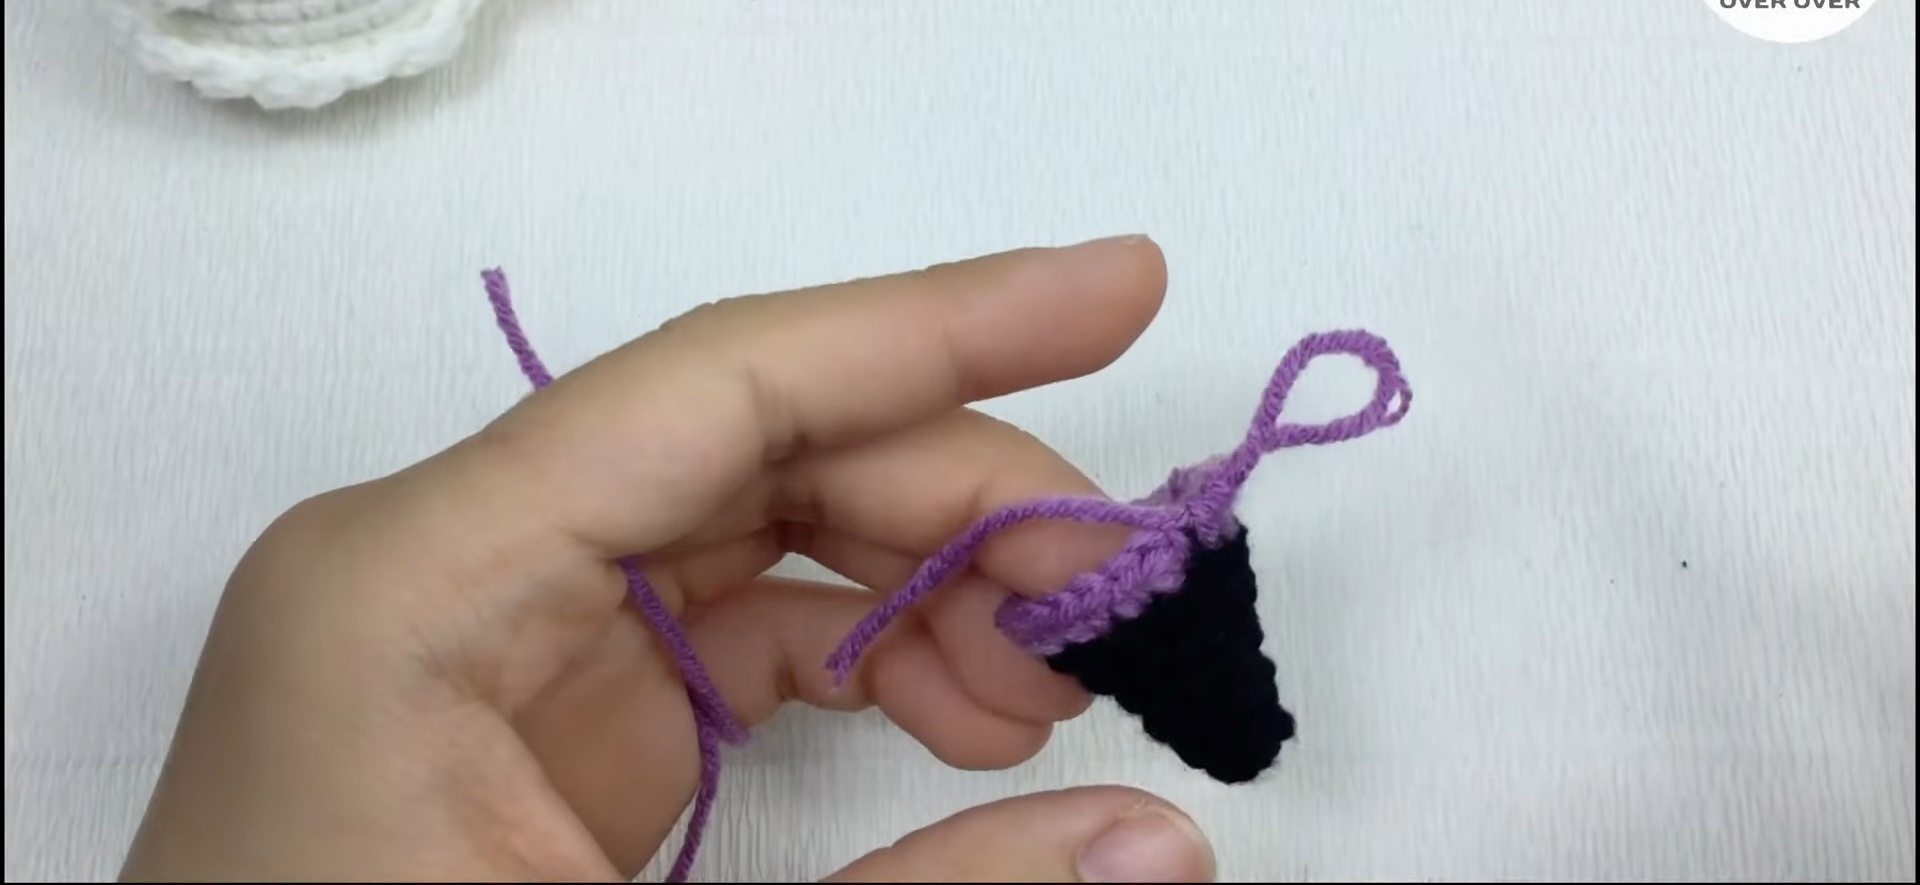
Brim (Purple Yarn):
Row 7:
- Join purple yarn in the front loop only. CH 1, work SC 2, then INC in the next stitch. Repeat (SC, INC) until you have 20 stitches.
Row 8:
- Switch back to black yarn and work the brim in front loops only. CH 2, perform a double crochet increase in every stitch, creating a flared brim of 40 stitches. Fasten off and hide the yarn ends.
Assembly
- Attach the witch hat to the ghost using either sewing or hot glue. Adjust placement as needed above the ghost's head.
- Secure a keychain ring to the top of the hat for portability (optional).
Pattern Question
Question: Can I turn the ghost into a key cover instead of a keychain?
Answer: Yes! With slight modifications, you can adapt the ghost into a key cover. The pattern includes instructions for this variation, so you can select the version that best suits your preference.
Conclusion
Add an extra touch of spooky charm to your Halloween this year with this delightful crochet ghost. Whether for yourself or as a gift, this fun, practical, and customizable project is a must-try. You’ll love bringing this whimsical ghost to life!