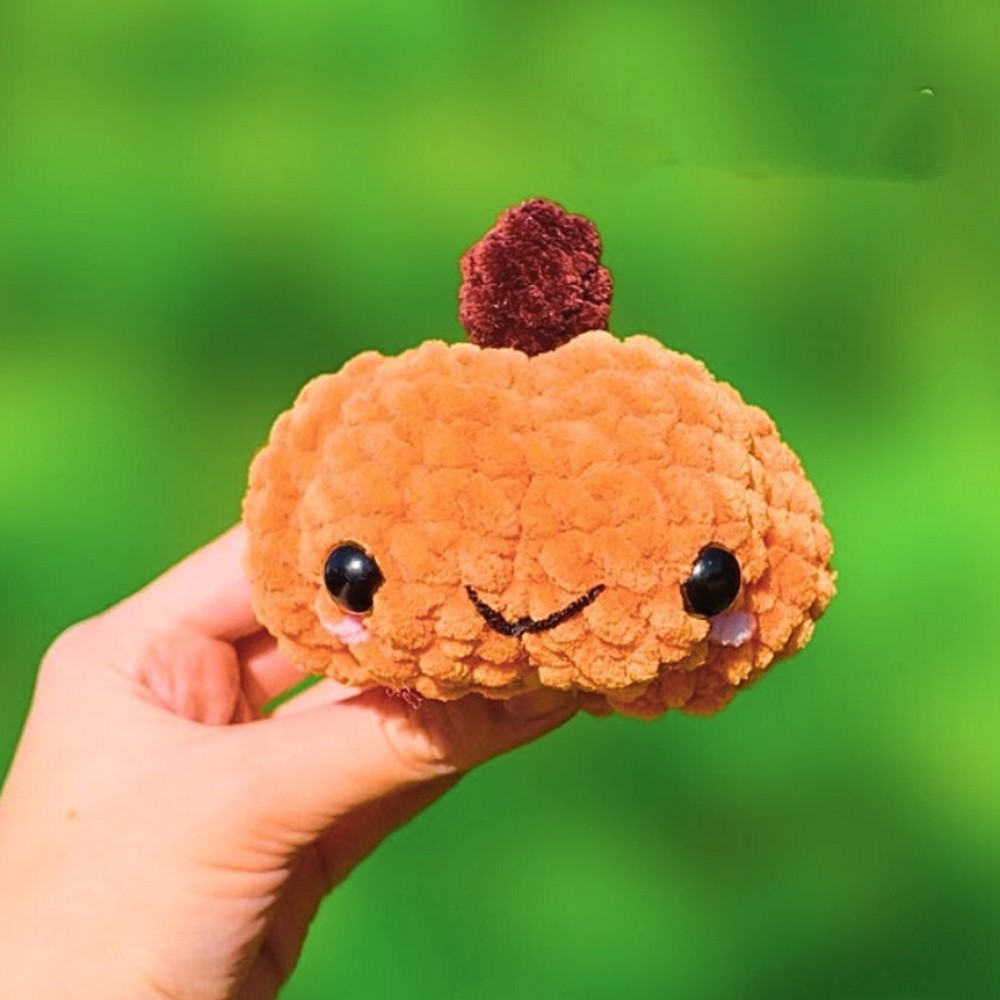
Create a charming crochet pumpkin to brighten your home or gifts! This adorable handmade project stands out for its versatility and seasonal appeal. Whether you use it as festive decor, a whimsical toy, or a heartfelt gift, it’s the perfect way to add a cozy touch to your space.
This crochet pumpkin is durable, delightfully huggable, and customizable for all occasions. Use it as fall decor, a table centerpiece, or even on your desk for some seasonal flair. Its soft texture and fun shape make it a standout for Halloween, Thanksgiving, or year-round coziness.
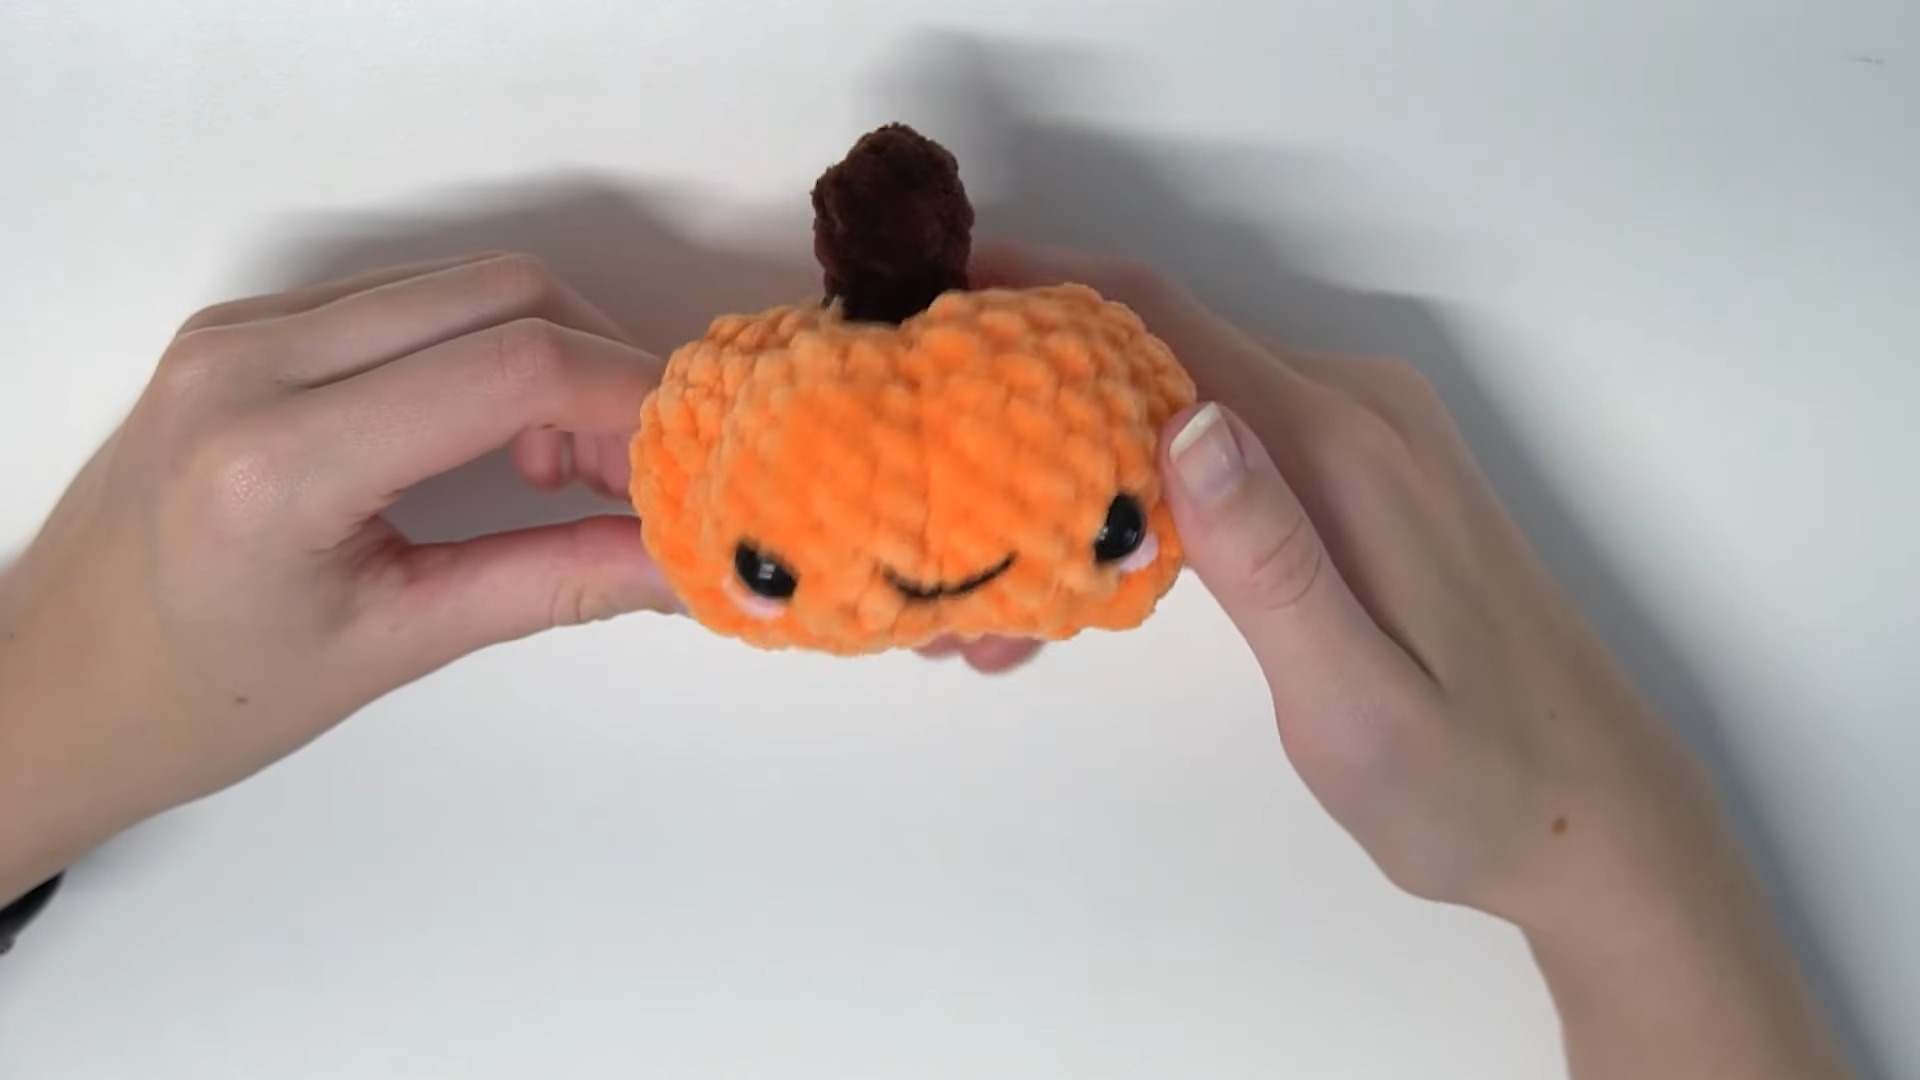
No Sew Crochet Pumpkin
Crafting this pumpkin is beginner-friendly yet enjoyable for seasoned crocheters. Customize the size, colors, or playful features like a smiley face or blush. It’s a fun and creative way to practice stitches while creating a decorative piece you’ll love using or gifting.
Materials and Preparation
Here is everything you’ll need to create your adorable crochet pumpkin:
-
Yarn:
- Weight: #6 (super bulky)
- Colors: Orange and Brown (for the stem)
- Optional: Thin black yarn for embroidery (if adding a face)
-
Hook Size: 5 mm crochet hook
-
Additional Tools:
- Yarn needle
- Scissors
- 12 mm safety eyes (optional, for the face)
- Polyester stuffing
Preparation Notes:
- Ensure you have enough yarn for all sections of the pumpkin (orange for the body, brown for the stem).
- Safety eyes and optional blush embroidery are a great way to personalize your pumpkin.
Abbreviations and Notes
Abbreviations Used:
- CH: Chain
- SC: Single Crochet
- INC: Increase (two SCs in one stitch)
- DEC: Decrease (combine two stitches into one)
Pattern Notes:
- You’ll use the magic ring method to start (alternatively, you can use the two-chain method as shown in the video).
- When switching colors, secure the yarn ends tightly with a knot to ensure no loosening during use.
- Keep a stitch marker handy (or use scrap yarn) to track your rounds easily.
Gauge, Approximate Size, and Pattern Notes
Gauge:
- Specific gauge is not provided in the video, but matching the yarn weight and hook size should yield proper results.
Approximate Size:
Final pumpkin dimensions are small and ideal for decor (around hand-sized, depending on stuffing and tension).
Special Techniques:
- Using lines of yarn to shape the pumpkin for its ridges is key to its design.
- No gauge swatch is needed for this project thanks to the flexibility of amigurumi.
Step-by-Step Pattern
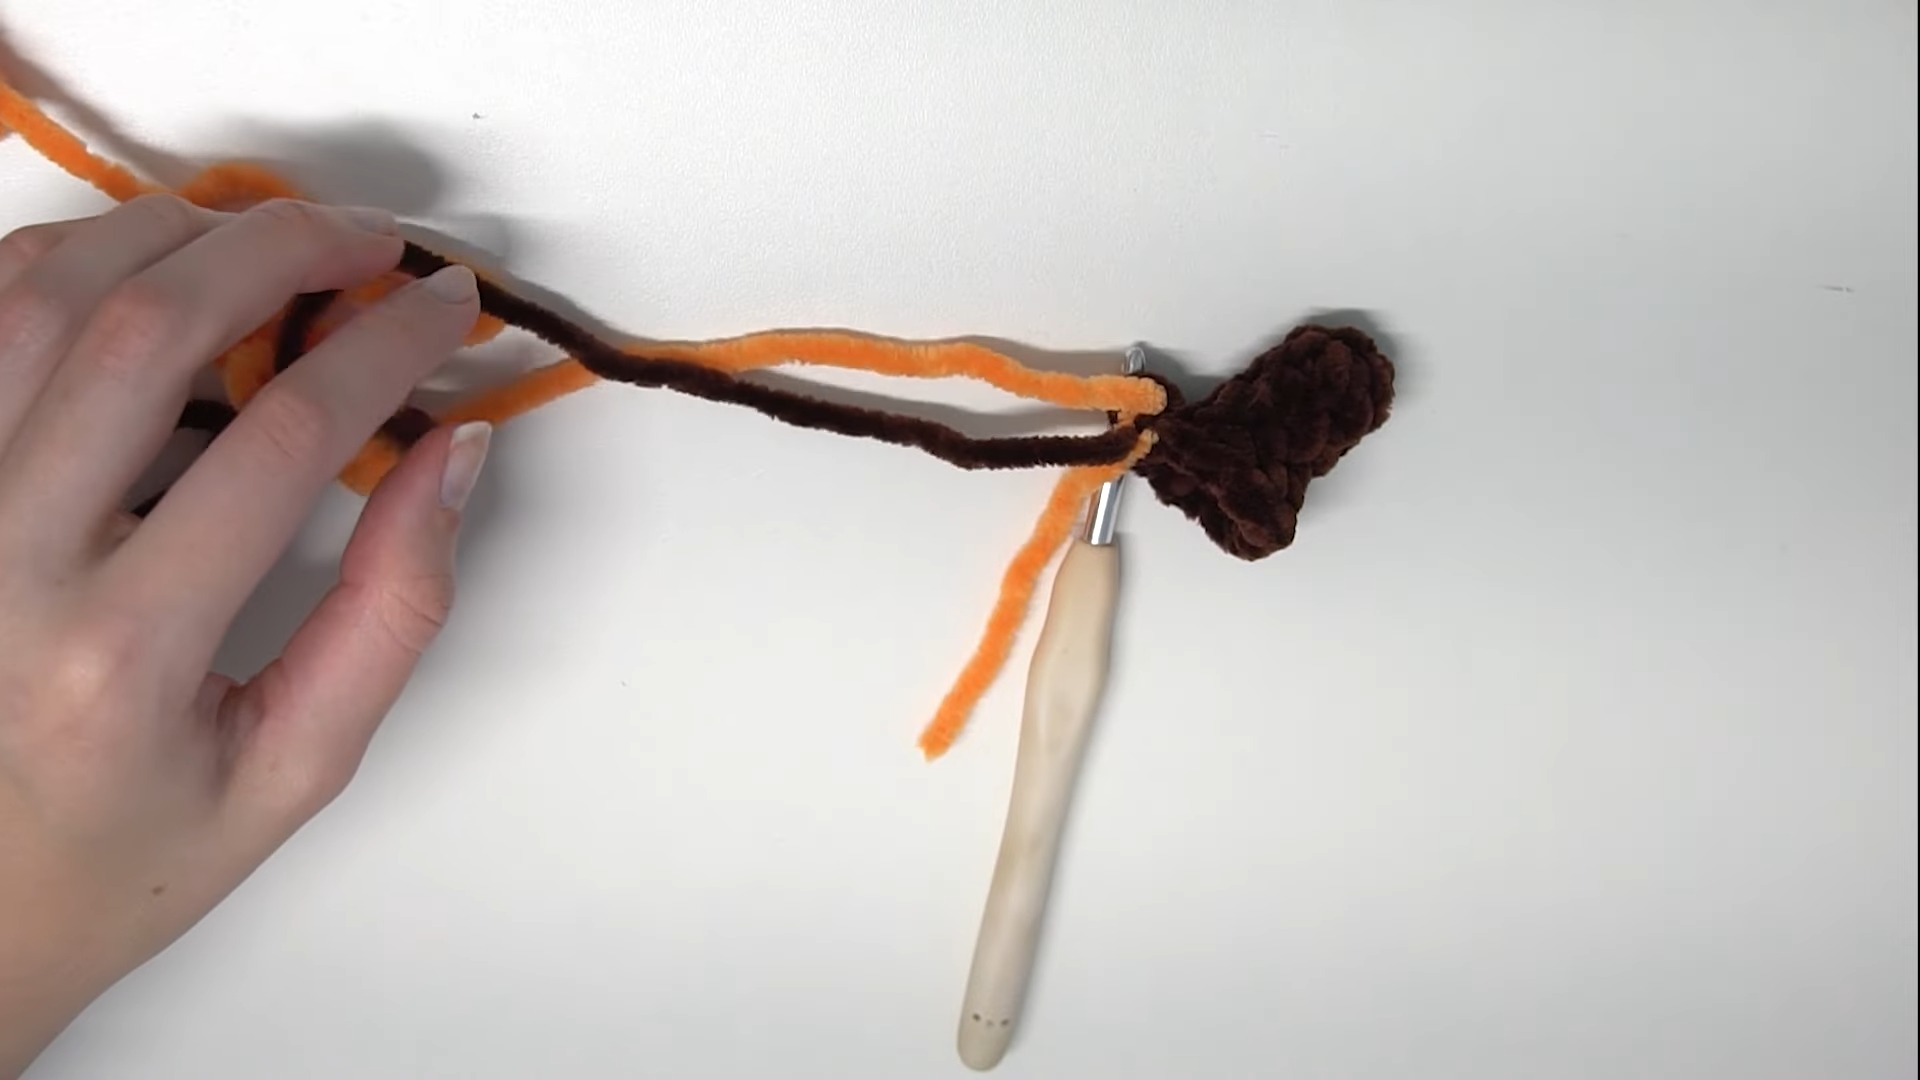
1. Create the Stem
- With brown yarn, make a magic ring (or use the two-chain method).
- Round 1: Work 4 SCs into the magic ring.
- Round 2: SC, INC around (repeat 2x) — end with 6 stitches.
- Rounds 3–5: SC in each stitch around for 3 rounds. Keep the stitches tight for the stem shape.
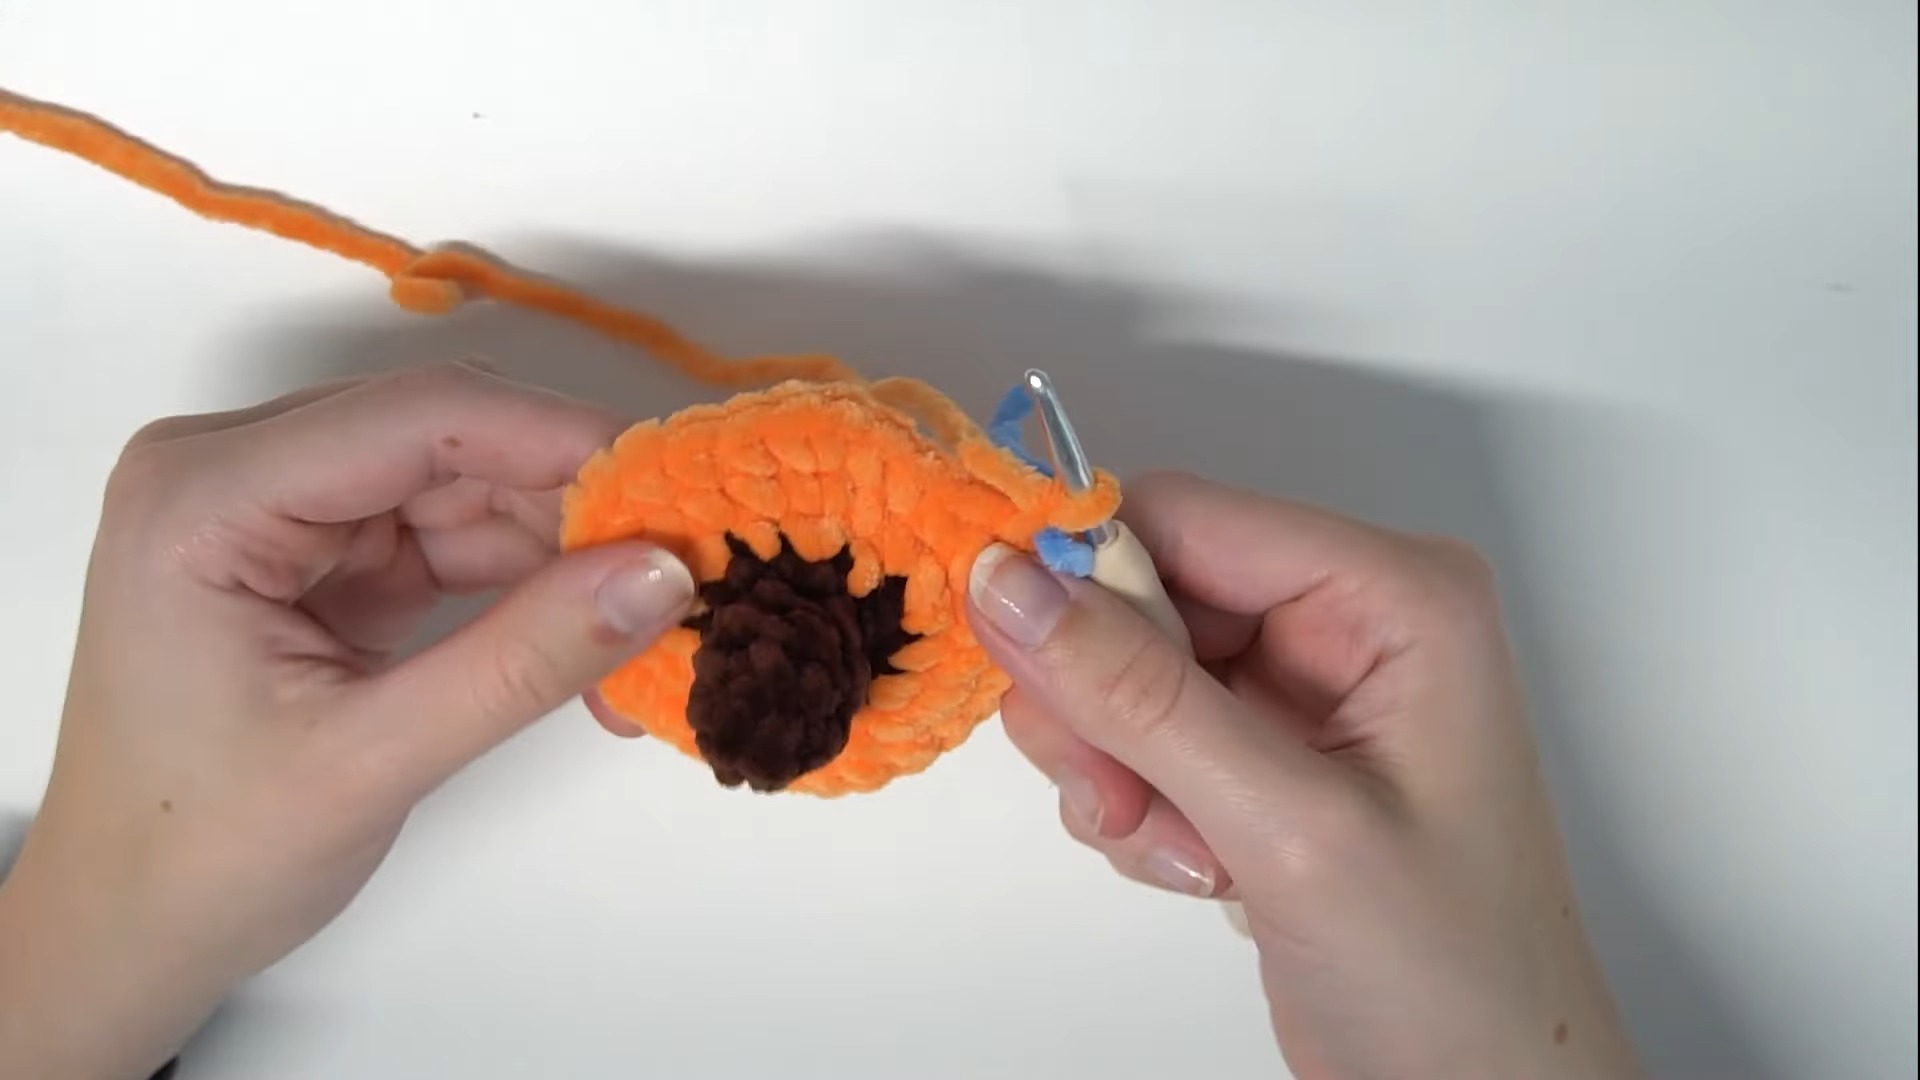
2. Transition to the Pumpkin Base
- At the end of Round 5, switch to orange yarn to begin the body. Secure with a knot and trim the brown yarn tail.
- Round 6: With orange yarn, SC, INC around (repeat 6x) — end with 12 stitches.
- Round 7: SC 2, INC around (repeat 6x) — end with 18 stitches.
- Round 8: SC 3, INC around (repeat 6x) — end with 24 stitches.
- Round 9: SC 4, INC around (repeat 6x) — end with 30 stitches.
- Round 10: SC 5, INC around (repeat 6x) — end with 36 stitches.
3. Form the Body
- Rounds 11–14: SC in each stitch around for 4 rounds to grow the body’s height.
- Begin decreasing to shape the pumpkin:
- Round 15: SC 4, DEC (repeat 6x) — end with 30 stitches.
- Round 16: SC 3, DEC (repeat 6x) — end with 24 stitches.
- Round 17: SC 2, DEC (repeat 6x) — end with 18 stitches.
4. Add Stuffing
- Stuff your pumpkin gradually as you decrease, ensuring the body is full and firm (avoid overstuffing the stem).
5. Finish Closing
- Round 18: SC, DEC around (repeat 6x) — end with 12 stitches.
- Round 19: Work 6 DEC — end with 6 stitches.
- Leave a long tail for sewing.
6. Close the Pumpkin Bottom
- Using a yarn needle, sew through the front loops of the remaining 6 stitches all around. Tighten to close the hole.
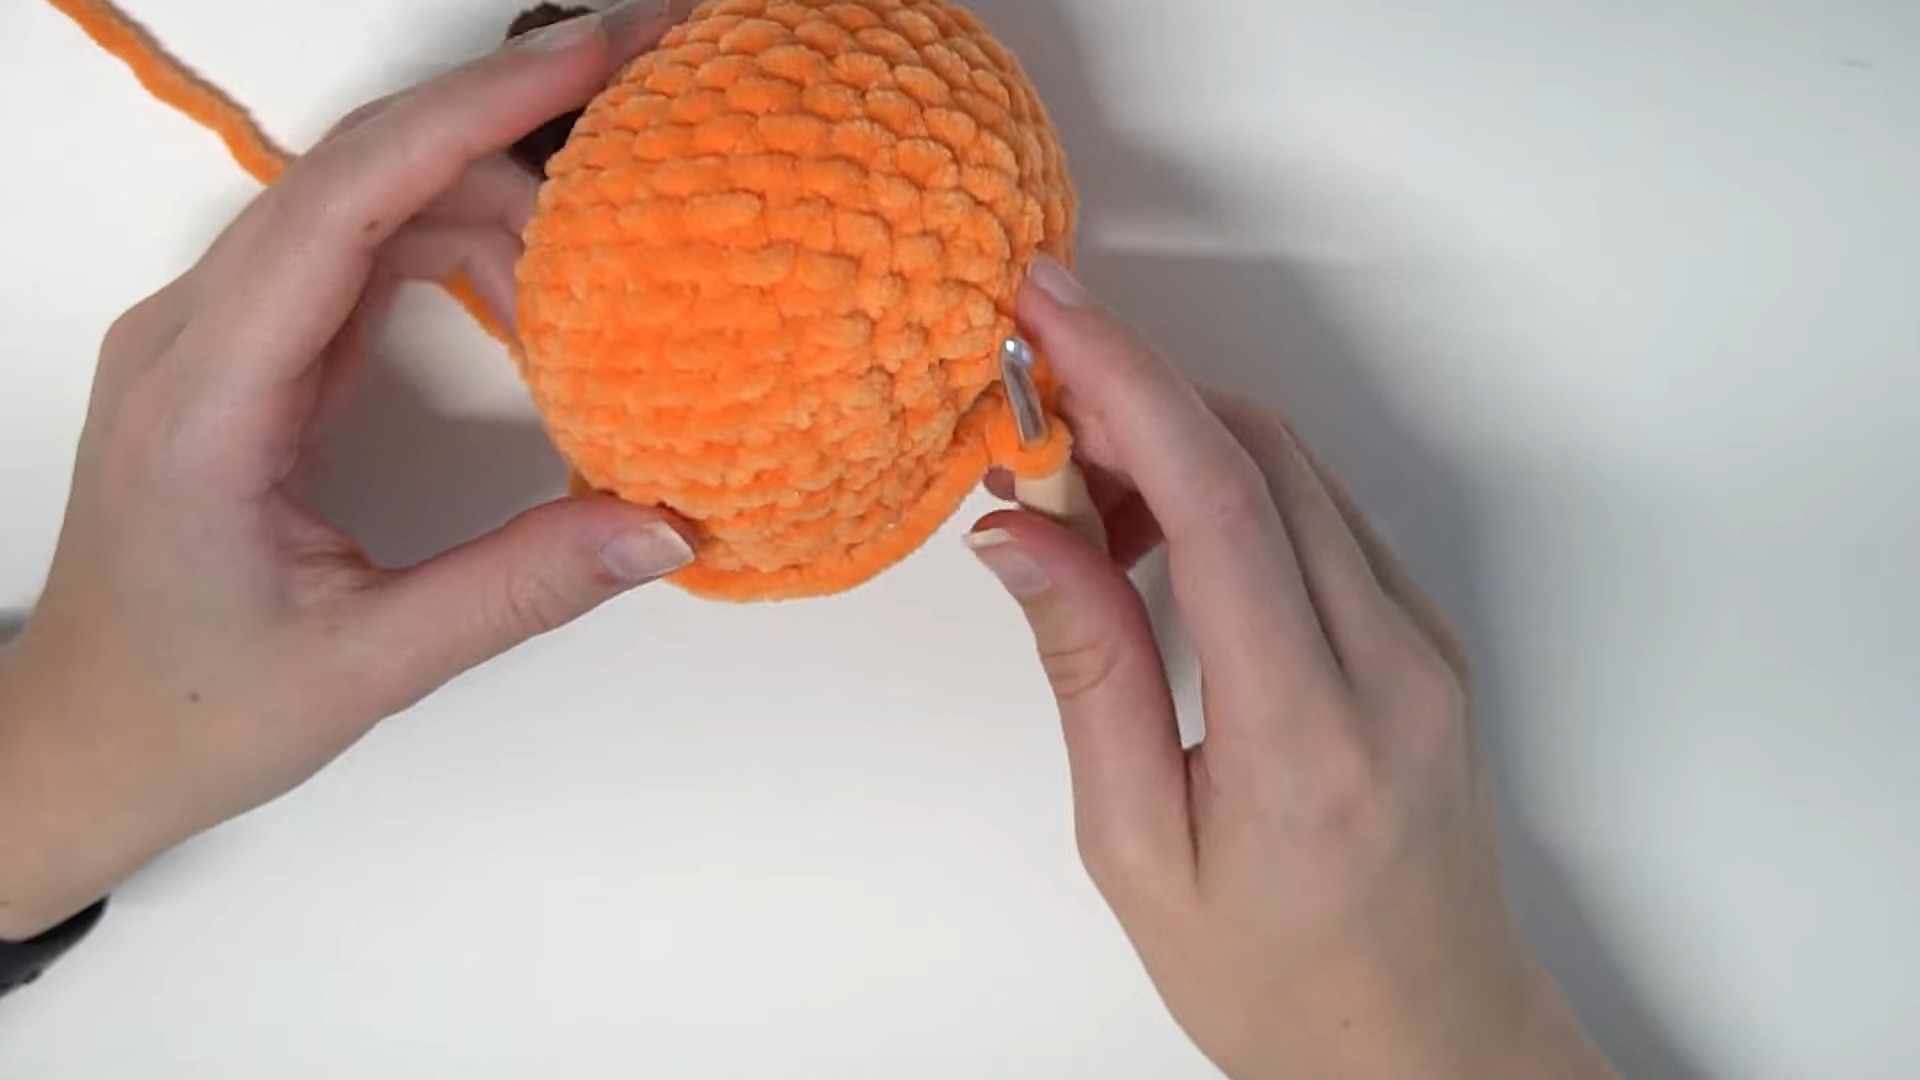
7. Shape the Pumpkin Ridges
- Start at the bottom and weave the yarn tail up to the top center (near the stem).
- Create a line by pulling the yarn tightly. Repeat this process 6 times around the pumpkin’s perimeter to form ridges.
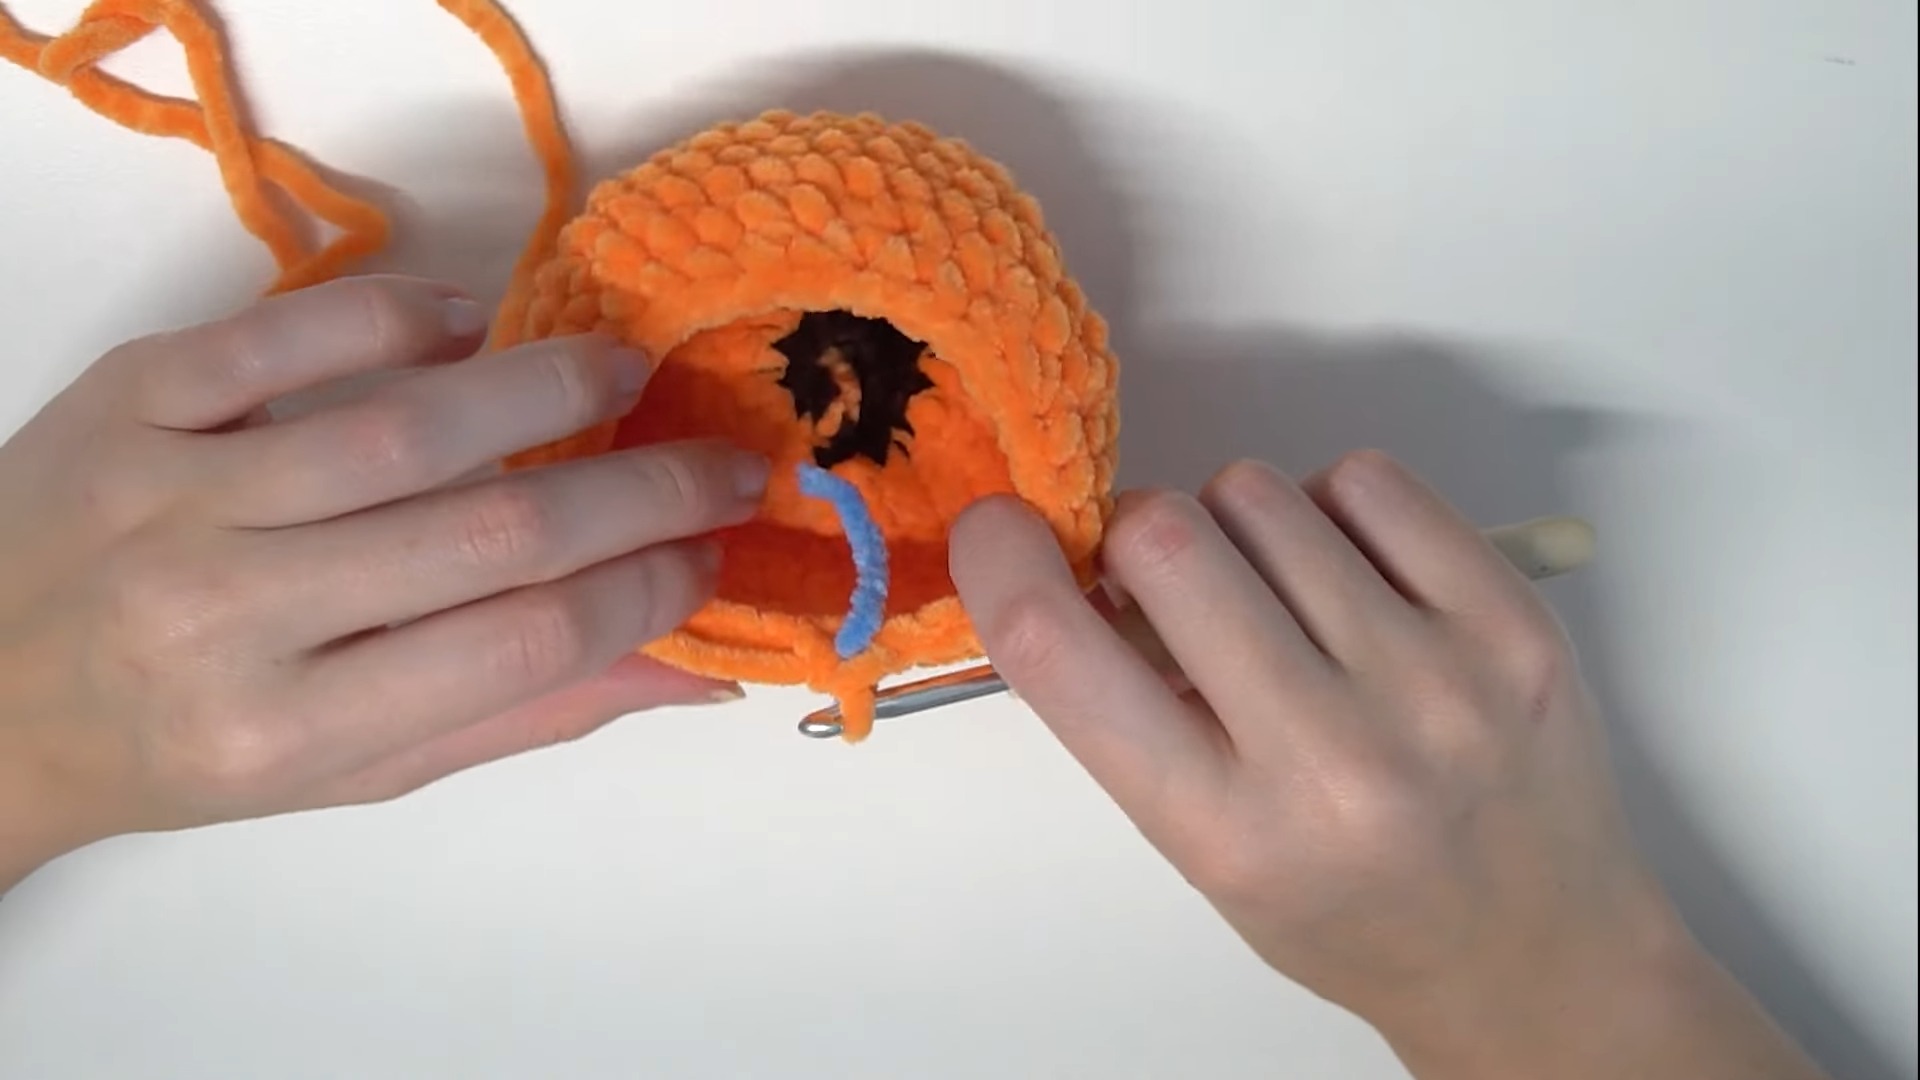
8. Customize the Face (Optional)
- Position the safety eyes between Rounds 13 and 14, spacing them about 6 stitches apart. Clip them securely.
- Embroider a smile using thin black yarn:
- Create a simple V-shape between the eyes by stitching into the bottom center and looping through.
- Add blush (optional): Embroider small blush circles on the stitches below and beside each eye.
9. Final Touches
- Secure all yarn tails by weaving them into the body, then trim any excess yarn.
Pattern Question
Question: How do I shape the pumpkin and add the ribs for the textured look?
Answer: Use long yarn tails to create lines by stitching from the pumpkin's top near the stem to the base. Pull the yarn tightly to define the ribs. Repeat this process evenly around the pumpkin for a realistic look.
Conclusion
Crocheting this pumpkin is both relaxing and rewarding. With its charming design, practical uses, and creative possibilities, it’s perfect for fall or gift-giving. Try this project to sharpen your skills and create something you’ll love displaying or gifting to others.