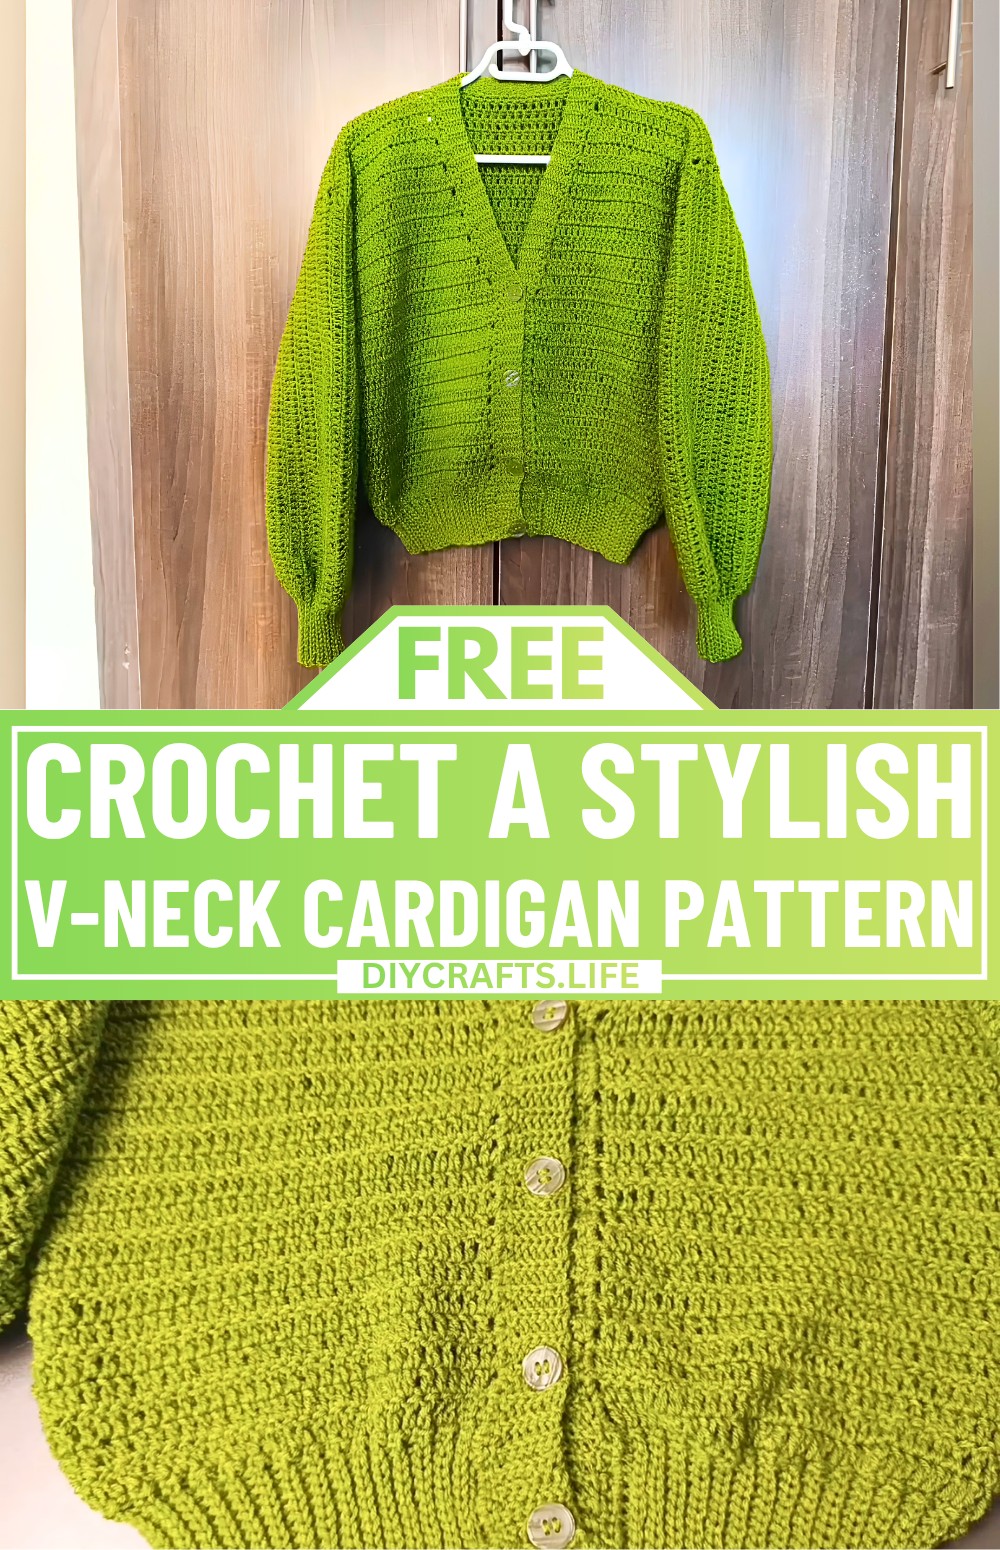
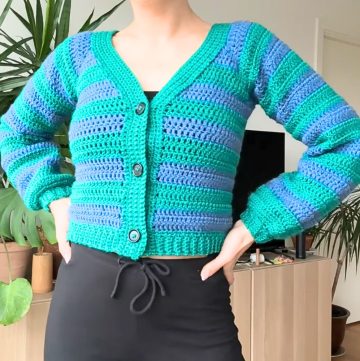
Make yourself a cozy, stylish V-neck crochet cardigan that’s perfect for everyday wear. This crochet design is easy to create and has a timeless appeal with a comfortable fit. This cardigan is not only practical but also a classic wardrobe piece that will keep you warm without feeling bulky. But what makes this V-neck-shaped cardigan truly enjoyable to create his how simple and beginner-friendly the process can be.
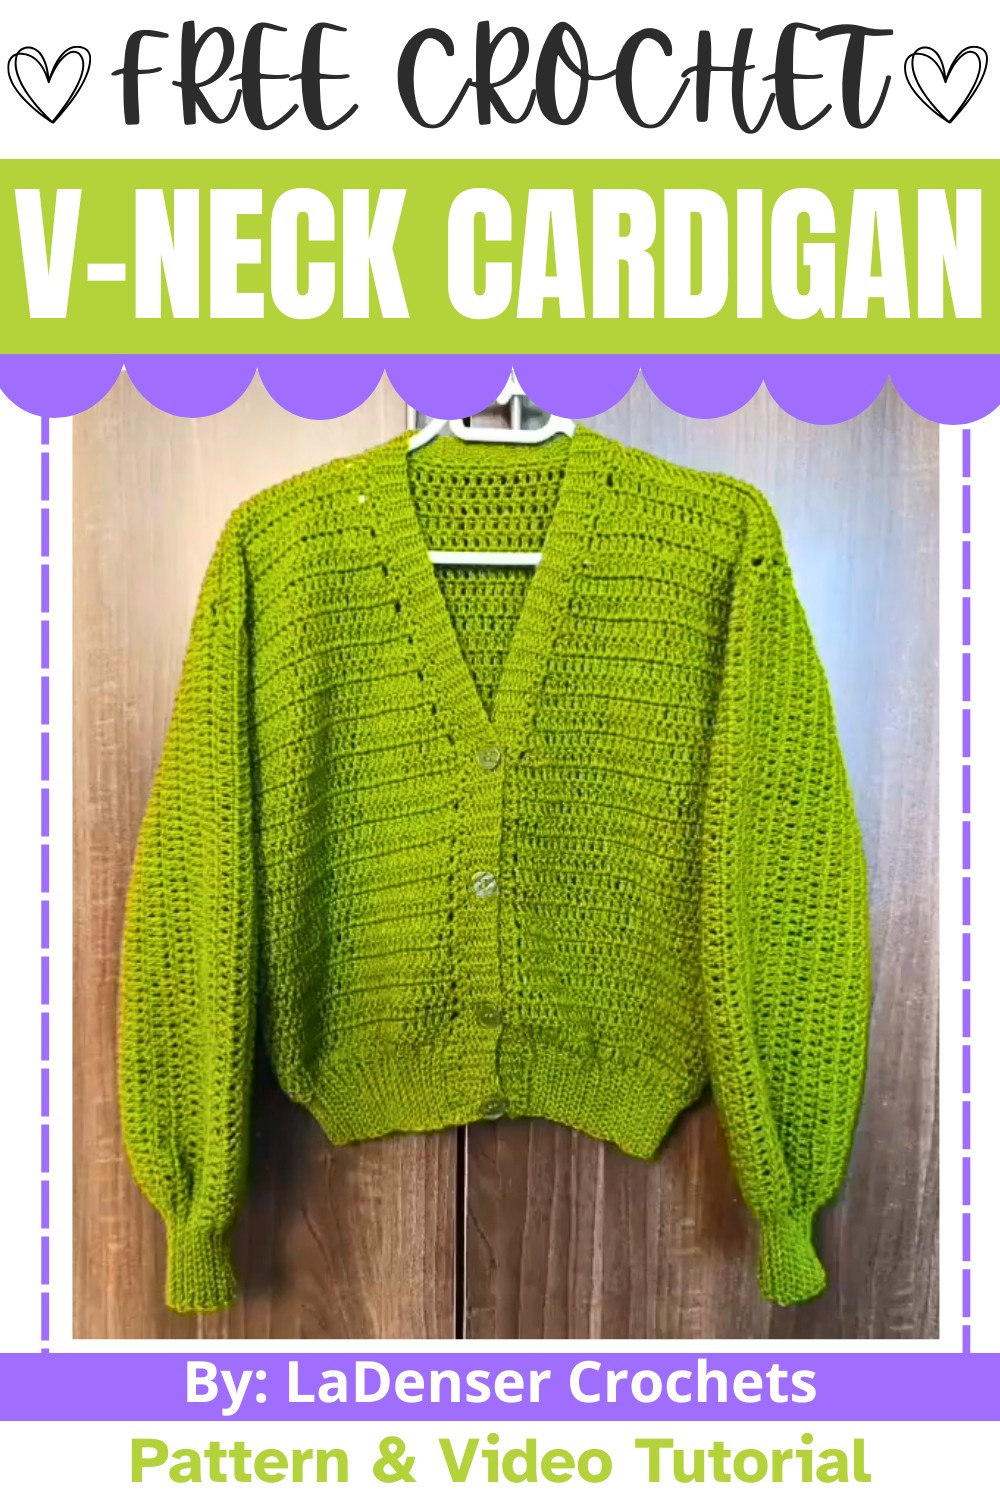
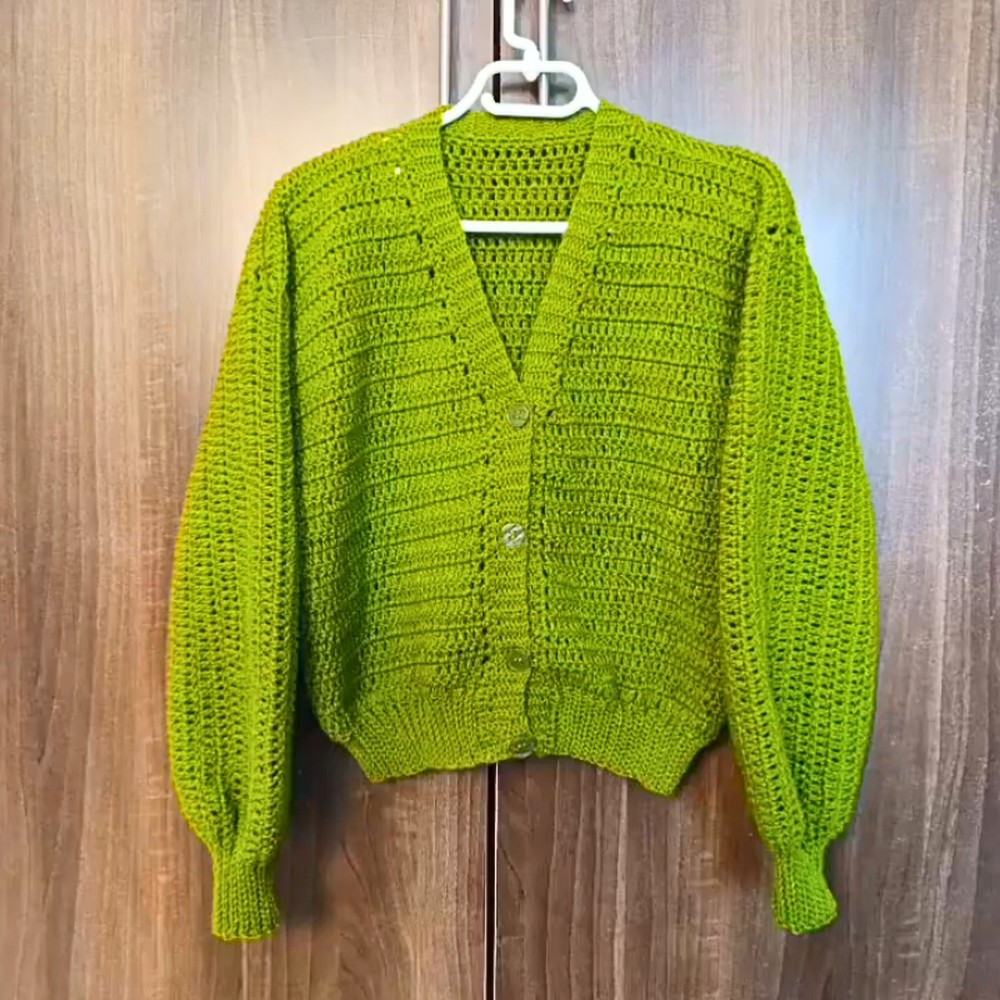
Crochet V-Neck Cardigan Pattern Free
The beauty of this pattern lies in its simplicity; it uses the double crochet stitch for the body and features neat ribbing for the edges. By following the tutorial step by step, you can create a cardigan with a snug fit at the chest, full-length sleeves, and a polished, buttoned front. Even if you’re new to crochet, the straightforward design will encourage you to try your hand at making your own wearable creation. The V-neck style adds a touch of elegance while allowing room for scarves or accessories, making it versatile for any occasion.
Credit LaDenser Crochets
Materials & Tools Needed
- Yarn: Medium-weight yarn (Size 4) or similar suitable for creating sweaters/cardigans.
- Crochet Hook: 3.5 mm for the main body of the cardigan.
- For the ribbing, you may use a smaller hook (e.g., 2.5 mm) for a tighter effect.
- Measuring Tape: For chest, armhole, sleeve, and total cardigan length measurements.
- Stitch Markers: To mark specific points such as the start of the V-neck and placement for buttons.
- Scissors: For cutting yarn.
- Sewing Needle: Large-eyed needle suitable for sewing buttons or weaving in ends.
- Buttons: 4 or more, depending on your preference.
Finished Size & Customization Ideas
- Standard Measurements in Tutorial:
- Chest: 36 inches.
- Full Length: 20 inches. Subtract 2 inches for ribbing, leaving 18 inches for the main panels.
- Sleeve Length: 21–22 inches.
- Customizing:
- Adjust bust measurement and sleeve length according to your preference.
- Use additional rows to enlarge the panels or fewer to create a smaller cardigan.
- Button placement can be variable depending on aesthetic preference or functionality.
Pattern Abbreviations & Terminology
- ch: Chain
- dc: Double crochet
- sc: Single crochet
- sl st: Slip stitch
- hdc: Half double crochet
- yo: Yarn over
- blo: Back loop only
- tog: Together (used for decreases)
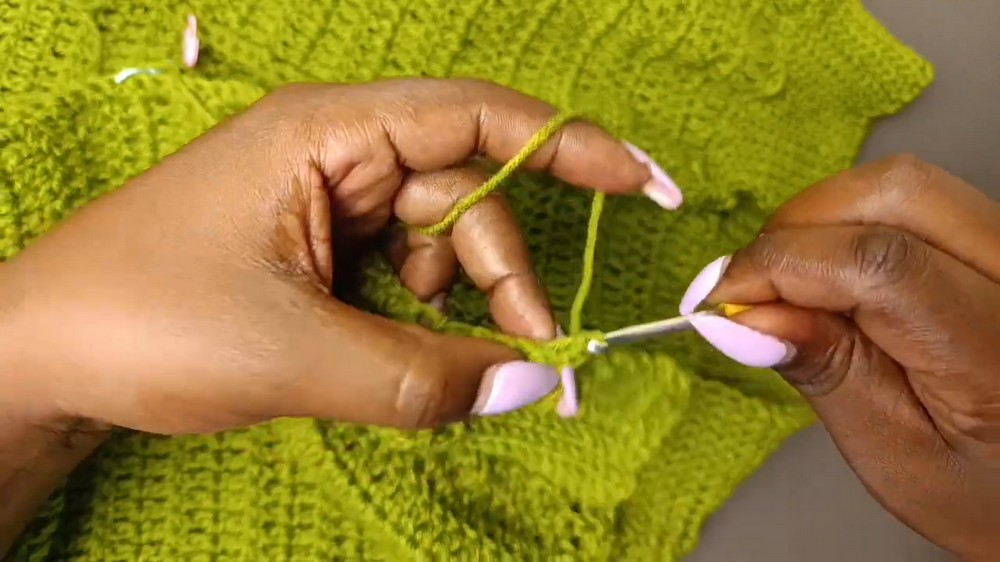
Step-by-Step Crochet Instructions
Front Panels:
- Measurements: Calculate quarter bust measurement (e.g., 36 ÷ 4 = 9 inches).
- This determines the width of each front panel.
- Start with a slip knot.
- Foundation Chain: Begin with enough chains to slightly exceed the quarter bust measurement (e.g., ch 35 for Liz’s measurements).
- Adjust based on your bust size.
- Row 1:
- Skip the first chain, dc into the second chain from the hook and each subsequent chain across.
- Row ends with the total number of stitches equal to your original chain count (e.g., 35 dc).
- Row 2 – Row 17:
- Start each new row with ch 3 (counts as 1st dc). Turn and skip the first stitch.
- Continue placing 1 dc into every stitch, ensuring to finish the row with 1 dc into the top of the turning chain.
- Row 17 should bring the panel height to approximately 9 inches (check using measuring tape).[
V-Neck Shaping (Decreasing Rows):
- Row 18:
- Begin V-neck decreases. After chaining 3 and turning:
- Dc2tog into the second and third stitches (a decrease).
- Dc normally for the rest of the row.
- Begin V-neck decreases. After chaining 3 and turning:
- Row 19:
- Decrease at the end of the row: Work till two stitches remain and dc2tog.
- Row 20:
- Work normally without decreases. Use a stitch marker to label rows without decreases.
- Repeat: Alternate between two rows of decreases and one normal row until you shape the panel into the V-neck design.
- Stop once the total panel height equals 18 inches. Tie off the yarn.
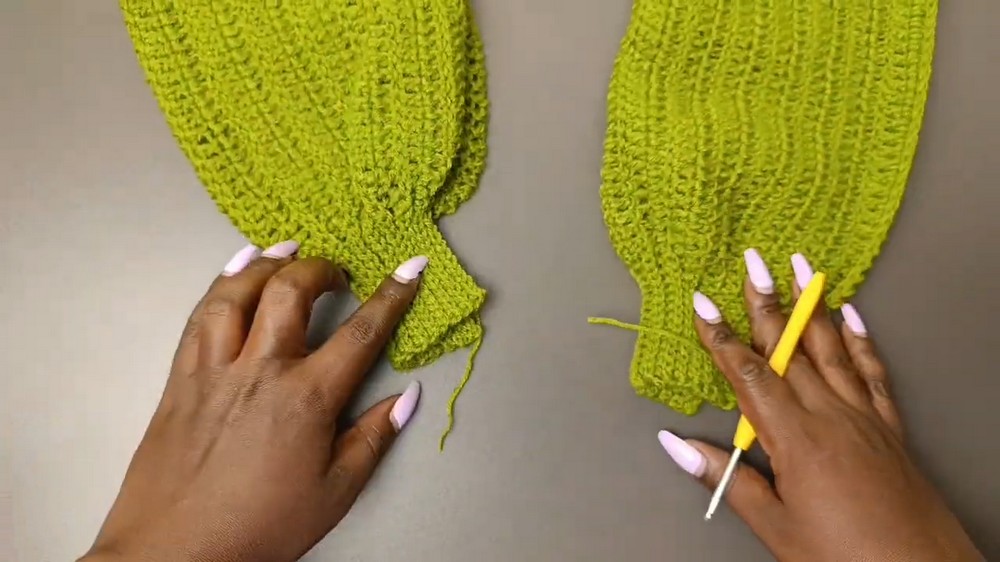
Back Panel:
- Foundation Chain: Create a chain exactly double the front panel width (e.g., 70 chains).
- Rows 1–74: Follow the same pattern as the front panel (dc stitches throughout).
- Stop once the panel height equals the total height of the front panels (e.g., 18 inches). Tie off yarn.
Sleeves:
- Foundation Chain: Start with a chain for your desired sleeve length (e.g., ch 75 for a sleeve length of 21 inches).
- Row 1 (Ribbing Section):
- Slip stitch into 13 stitches.
- Work 1 sc into the next stitch, 1 hdc, and place a stitch marker here.
- Finish the row using dc stitches across.
- Row 2 & Beyond:
- Dc across until you reach the marked stitch.
- After the marker, work 1 hdc in the marked stitch, then 1 sc.
- Continue the next 13 stitches using sl st (blo).
- Alternate between rows until sleeve width measures 16–18 inches. Tie off yarn.
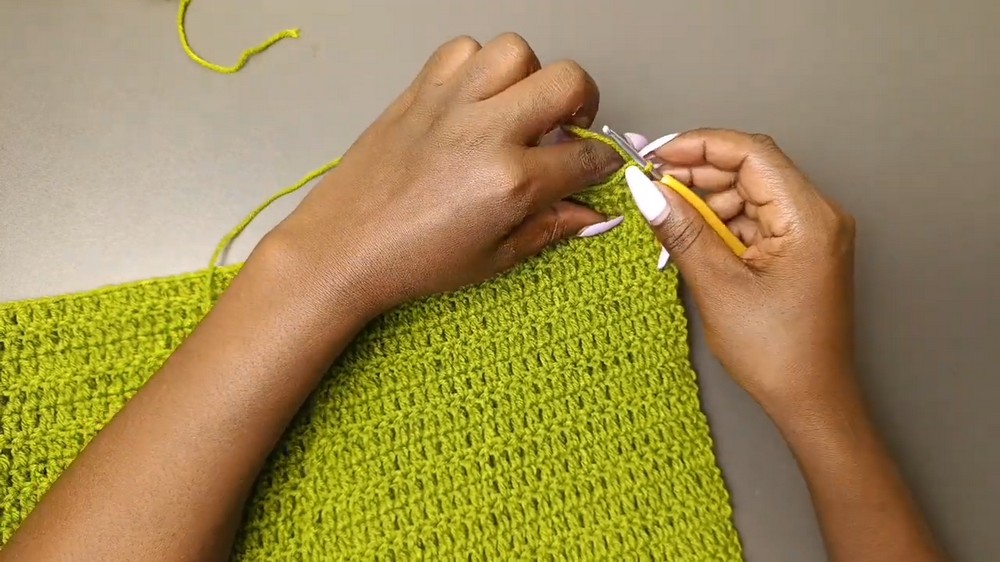
Assembly & Joining:
- Shoulder Seams:
- Place one front panel on each side of the back panel (V-shape on the inside).
- With a yarn and hook, sc join corresponding stitches along the shoulders.
- Use two sc stitches per row when joining the panels. Tie off.
- Sleeve Attachment:
- Fold sleeve lengthwise. Mark midway along the sleeve rows.
- Align the marked middle with the shoulder seam.
- Sc join one side of the sleeve to one armhole edge.
- Repeat for the other side.
- Side Seams:
- Fold the cardigan so sleeves align with the body.
- Sc join corresponding stitches from the wrist to the hem.
- Repeat on the opposite side.
Ribbing:
- Bottom Ribbing:
- Attach yarn at the hem. Ch 13 for the foundation.
- Work rows of sl st into back loops, attaching each slip stitch to the corresponding panel row at the hem.
- Repeat across. Tie off yarn.
- Button Band Ribbing:
- Work single crochet across the front edges (including neckline) to form a base.
- Repeat ribbing rows (sl st blo), adding buttonholes where stitch markers are placed (chain 2, skip 2 stitches for holes).
- Attach Buttons:
- Sew buttons to align with buttonholes using a sewing needle and thread or yarn.
Finishing Techniques
- Weave Ends: Use a large-eyed needle to weave in all loose yarn ends securely.
- Block: Lightly steam or block the cardigan to smooth stitches and allow ribbing to stretch neatly.
Notes
- Ribbing can be replaced with single crochets for a tighter finish; use a smaller hook for this method.
- Add decorative details like stripes or color changes for a personalized look.