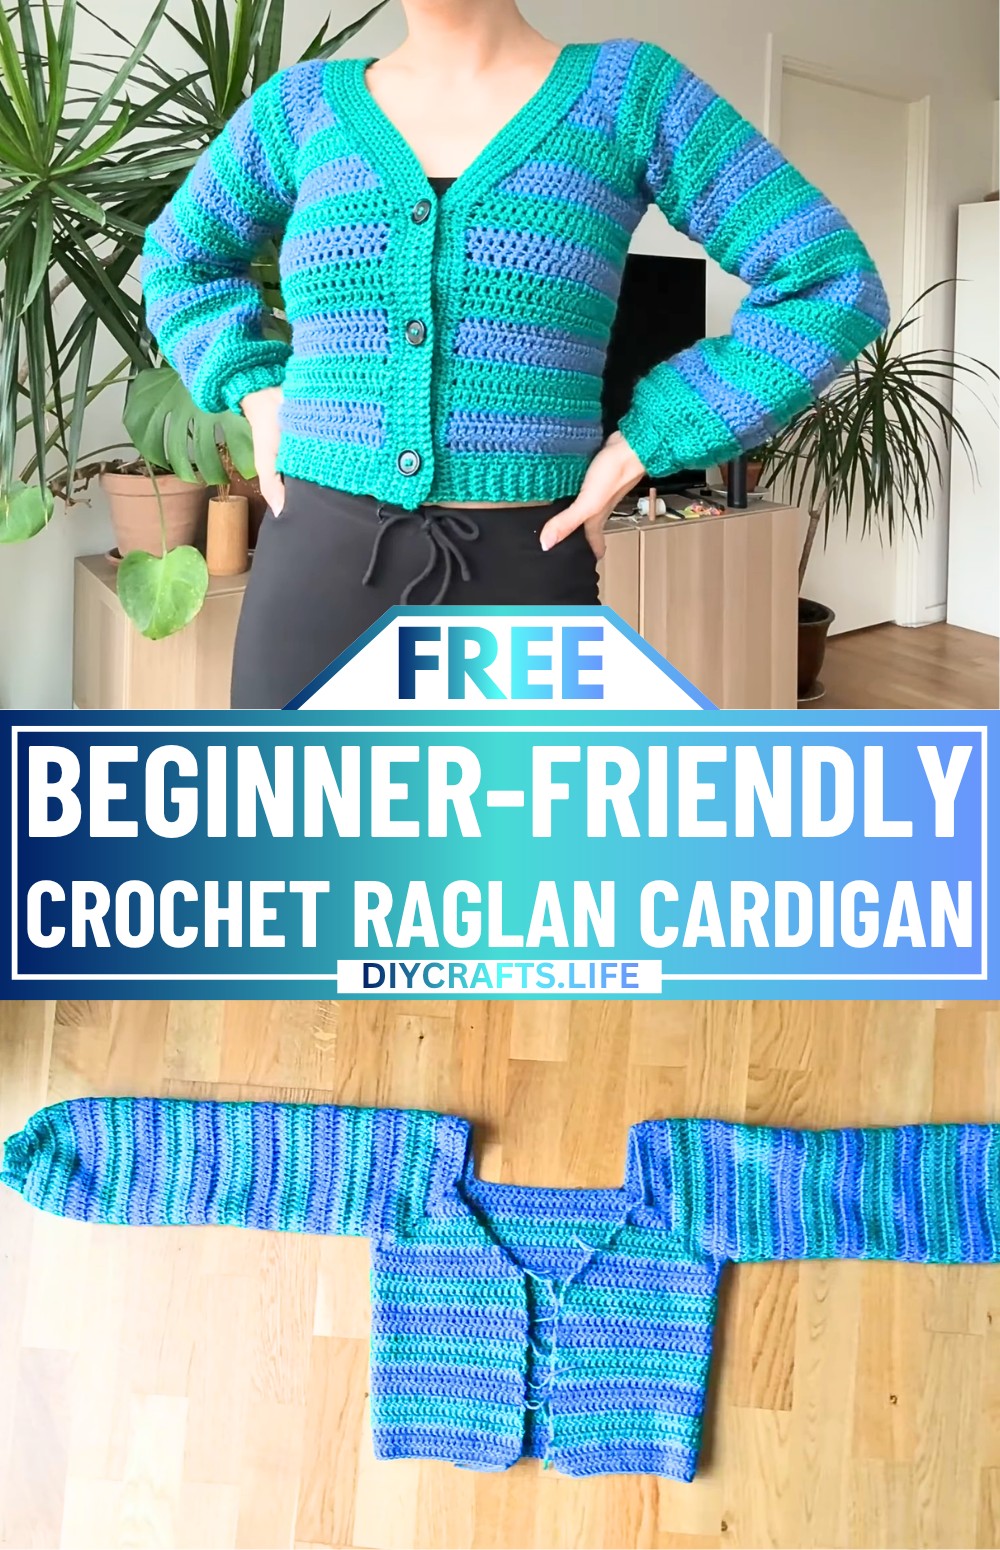
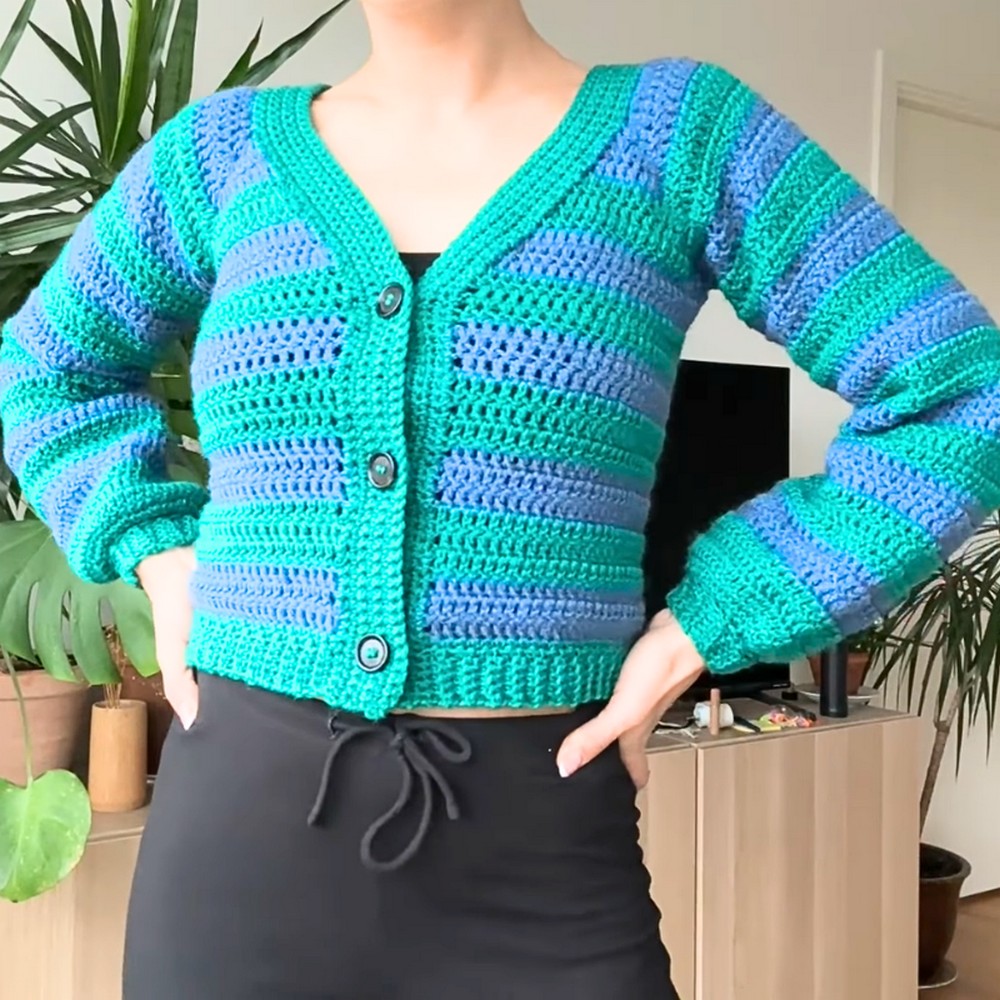
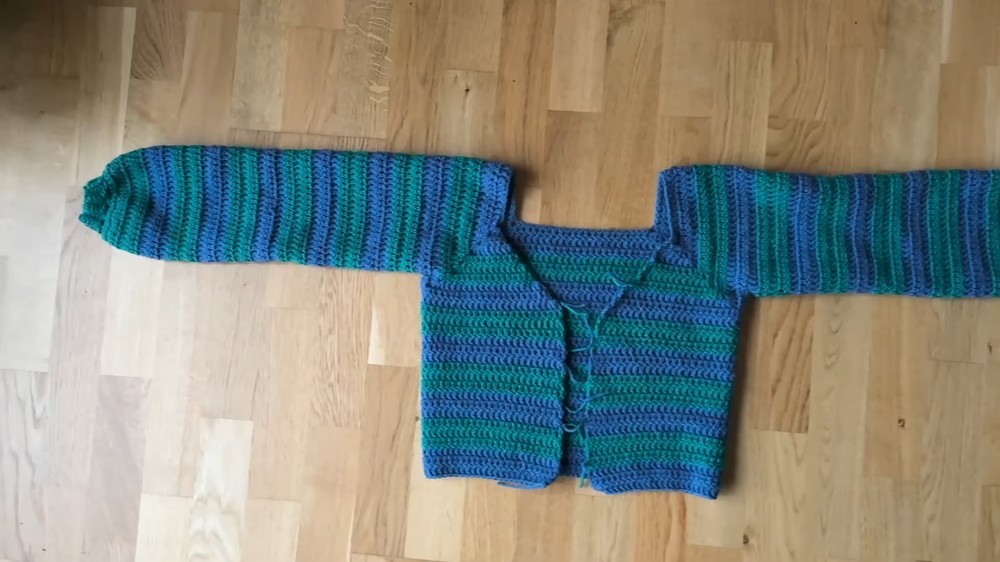
A crochet cardigan is a cozy yet stylish wearable item that not only keeps you warm but also adds a soft, fashionable touch to your everyday look. This crochet pattern features a raglan-style design that is worked from the top down, allowing beginners to start with simple steps that gradually grow into a beautiful cardigan. Light and stylish, it is perfect for cooler days or for layering over your favorite outfit. What makes it special is its ability to fit snugly while allowing room for personalization with colors, buttons, and hem accents.
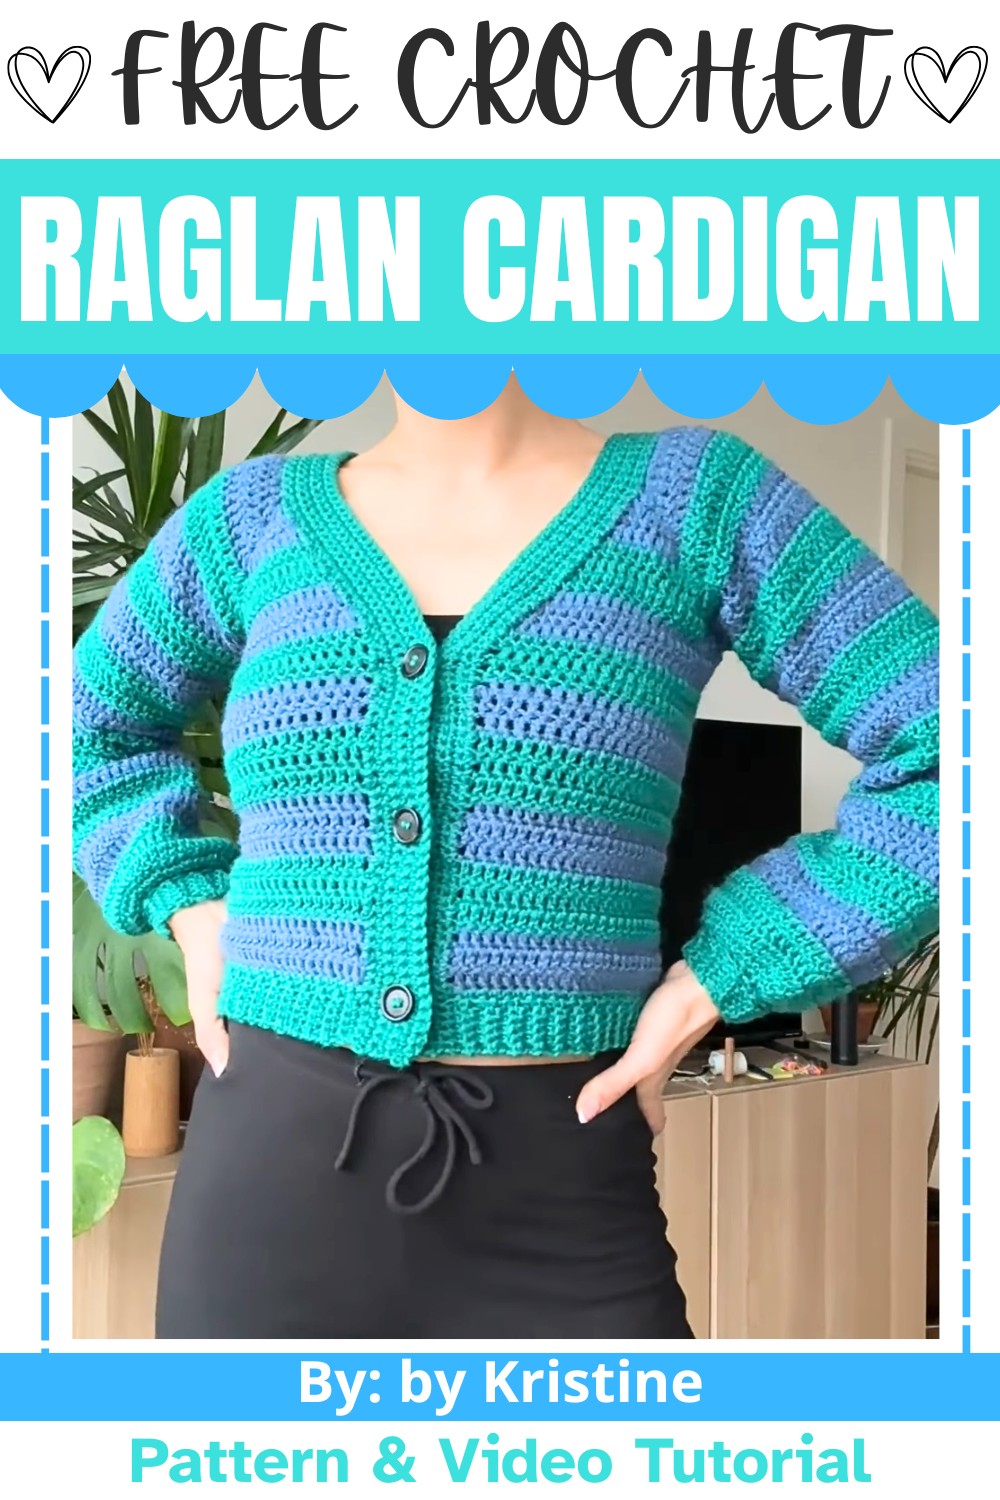
Crochet Raglan Cardigan Tutorial
Making it is exciting because it’s done row by row, starting with basic stitches that gradually shape into the sleeves, body, and ribbed hems. If you're new to crochet, the method used here is simple and clear to follow, so you don’t need to feel overwhelmed. With stitch markers and a few gentle increases, you’ll watch your creation come to life in a smooth and manageable way. Once complete, you’ll have a wardrobe-handcrafted crochet piece that’s both practical and stylish.
Credit by Kristine
Materials & Tools Needed
- Yarn: Wool blend yarn in two colors (or as desired)
- Blue color for starting
- Second color for accents/sleeves
- Hook: 5mm crochet hook
- Scissors
- Stitch markers: 4 recommended
- Optional: Sewing needle or darning needle for assembling loose ends
- Optional: Buttons (if adding closures)
Finished Size & Customization Ideas
- Size Guidelines: The base chain length (64 chains) is used for all sizes.
- Adjust the final size by adding rows until the raglan increases/bust measurements fit.
- Customization Ideas:
- Length: Add more rows after connecting the armholes for a longer body.
- Sleeve Fit: Sew or adjust stitches if the sleeve width feels too large.
- Button Placement: Customize the button placement based on your preferences.
- Personalization: Use additional decorative stitches or use multiple colors as accents.
Pattern Abbreviations & Terminology
- Ch: Chain
- St(s): Stitch(es)
- Sl st: Slip stitch
- DC: Double crochet
- SC: Single crochet
- Dec: Decrease
- YO: Yarn over
Step-by-Step Detailed Instructions
Starting the Yoke (Top Section)
- Slip Knot & Base Chain:
- Begin with a slip knot.
- Create 64 chains. Add stitch markers to divide the chain:
- Marker in the 1st chain.
- Work 20 chains, add a marker in the 21st chain.
- Work 20 chains, add a marker in the 21st chain. Finish with another marker in the last chain.
- Row 1:
- Chain 3 (counts as 1 DC).
- Work 5 DC in the chain with the first stitch marker (chain 3 counts as 1).
- Remove the marker and place it in the middle stitch of the 5 DC cluster.
- Continue 1 DC in each chain until the next marker.
- Repeat, placing 5 DC at each marker (removing and relocating the marker in the middle stitch of every corner).
- Row 2 & Beyond:
- Always start with a Ch 3 (counts as 1 DC).
- Increase in the first and last stitch: Work 2 DC in the first and last stitch of each row.
- Work 5 DC clusters where stitch markers denote corners.
- Continue adding rows until the yoke grows large enough for the corners to meet at the underarm (try the project on).
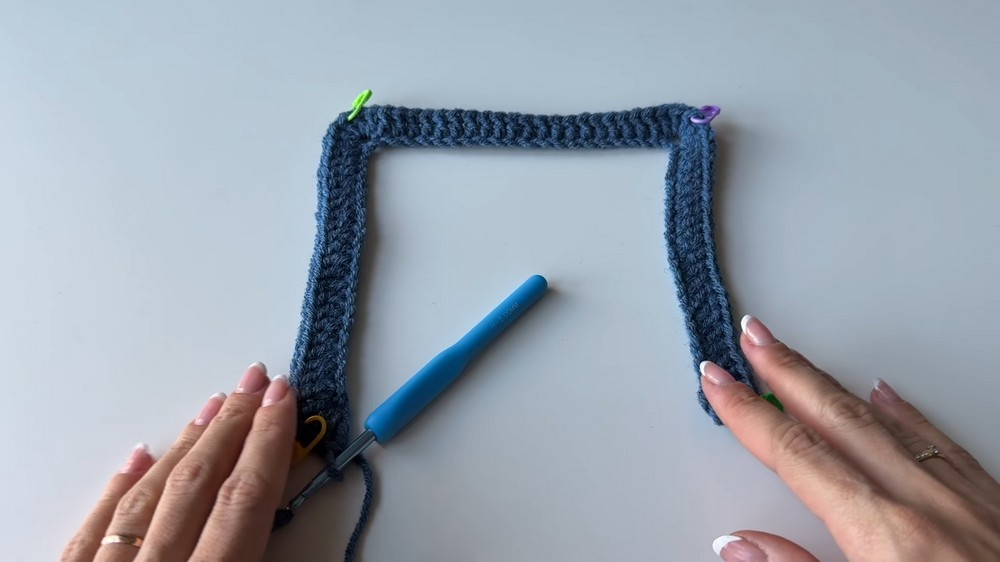
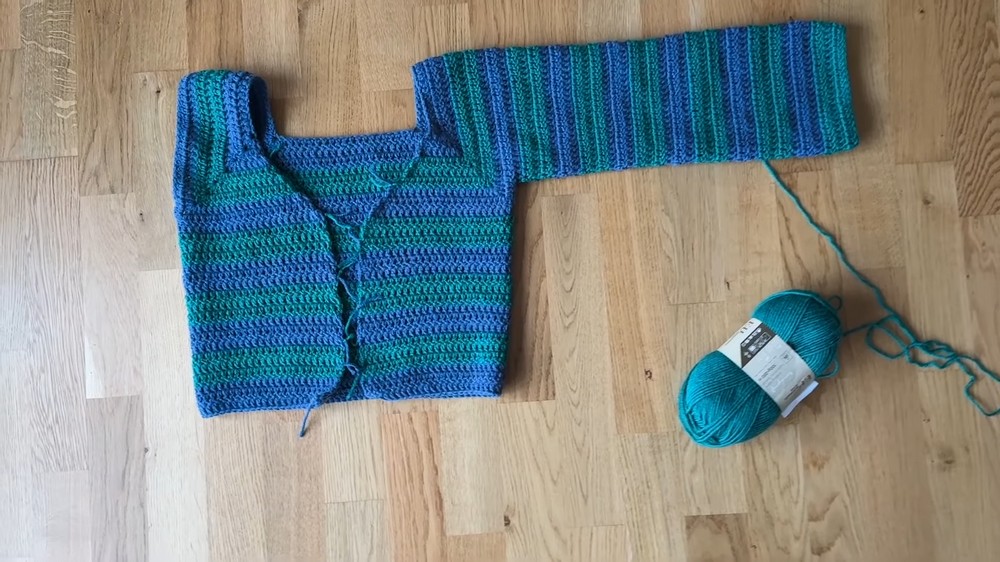
Joining for the Body
- Connecting the Yoke:
- Place a DC through both corner stitches at the underarms to join.
- Create openings for the sleeves; the joined stitches mark the starting point of the body section.
- Body Rows:
- No increases: Continue working DC stitches across the body without increasing on the edges.
- Add rows until desired length. Try the project on to check fit.
Sleeves
- Starting Sleeves:
- Attach yarn back at the armhole center or sew the sleeve edges slightly together for a snugger fit.
- Begin with Ch 3, then work DC stitches evenly around the sleeve opening.
- Connect rounds: Use Sl st to join the last stitch to the starting chain of each round.
- Sleeve Decreases:
- Add decrease rounds if a narrower sleeve fit is desired.
- Continue working rounds until you achieve the sleeve length you want.
- Cuff:
- Change to single crochet (SC) for the cuff.
- Add decreases using SC to make the cuff snug around the wrist.
- For a ribbed effect:
- Work rows of SC in back loops only.
- Create desired cuff length by repeating these rows.
Hem for Body
- Add Ribbed Hem (Optional):
- Start at the bottom corner using SC stitches.
- Work rows of SC (back loop only) for stretch and texture, similar to sleeve cuffs.
- Repeat until desired hem length is achieved.
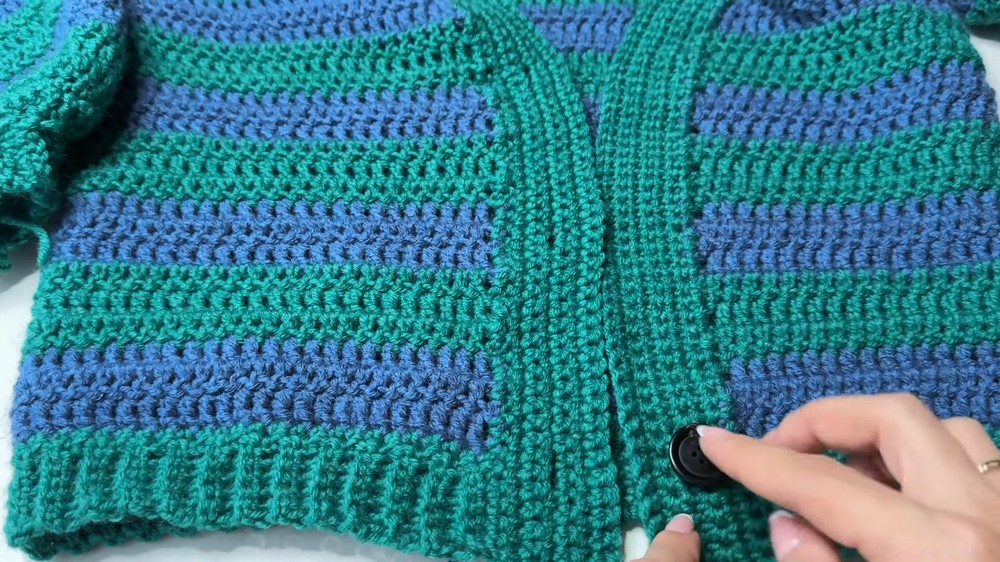
Button Band & Button Holes
- Inner Border:
- Attach yarn at the inner front edge of the cardigan.
- Work multiple rows of single crochet evenly across the edge.
- Button Holes:
- Determine button spacing and use stitch markers as guides.
- Create holes by skipping 2 stitches and chaining 2 in place.
- On the next row, work SC into the chains to finalize holes.
- Adding Buttons:
- Sew buttons on the opposite side corresponding to the button holes.
Finishing Touches
Weaving in Loose Ends:
- Use a sewing or darning needle to securely weave in all loose ends to tidy up the inside of the cardigan.
Fastening Off:
- After completing all edges and cuffs, fasten off securely by chaining 1 and cutting the yarn. Tighten the knot securely.
Final Fit:
- Try on your cardigan and make any final adjustments as needed.